Advertisement
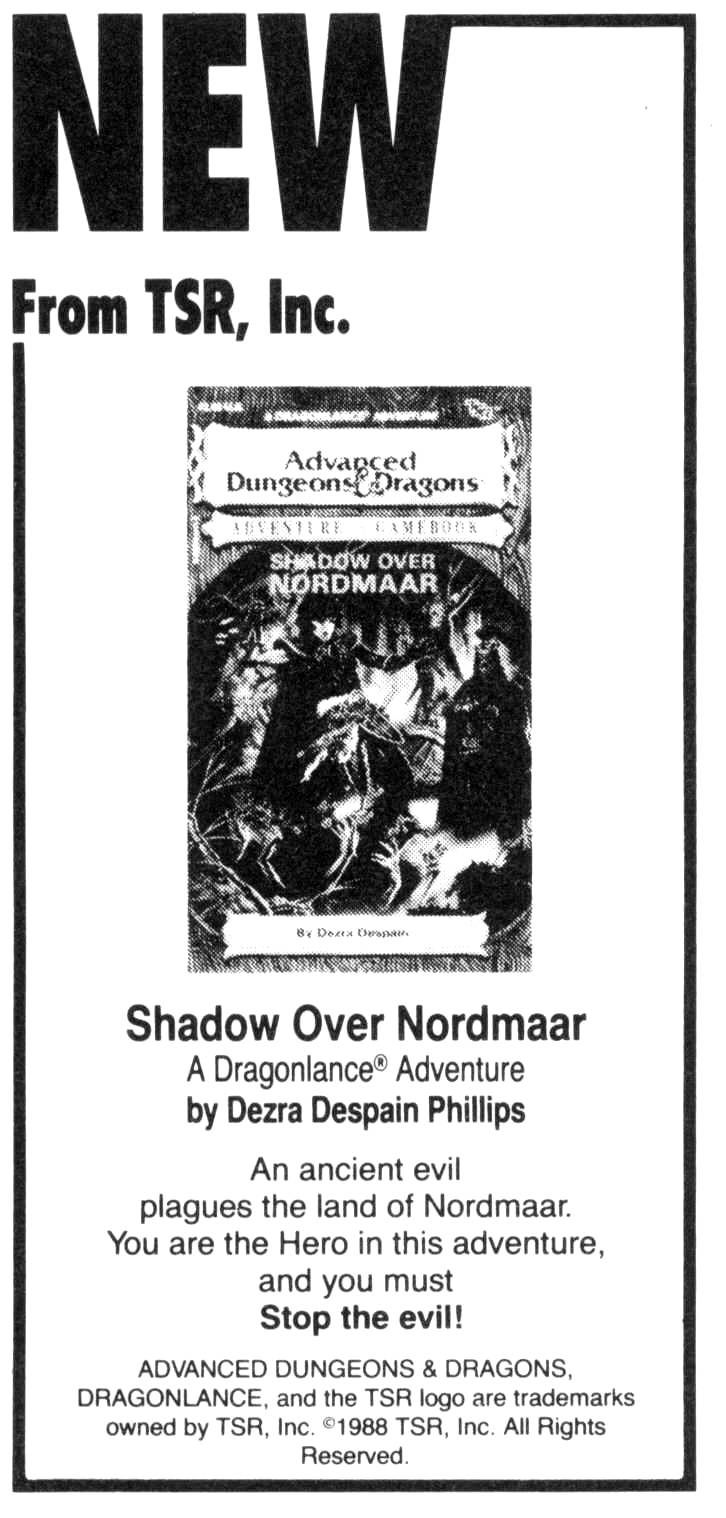
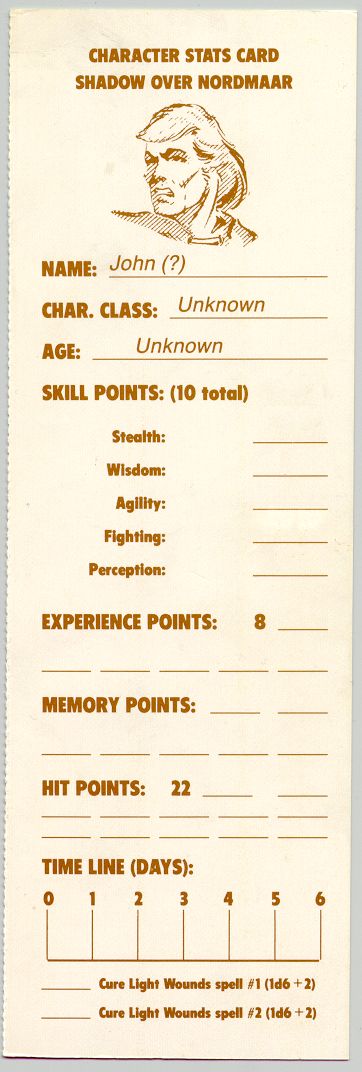
AD&D Adventure Gamebook #16: Shadow over Nordmaar
- from Dragon #131, page 39
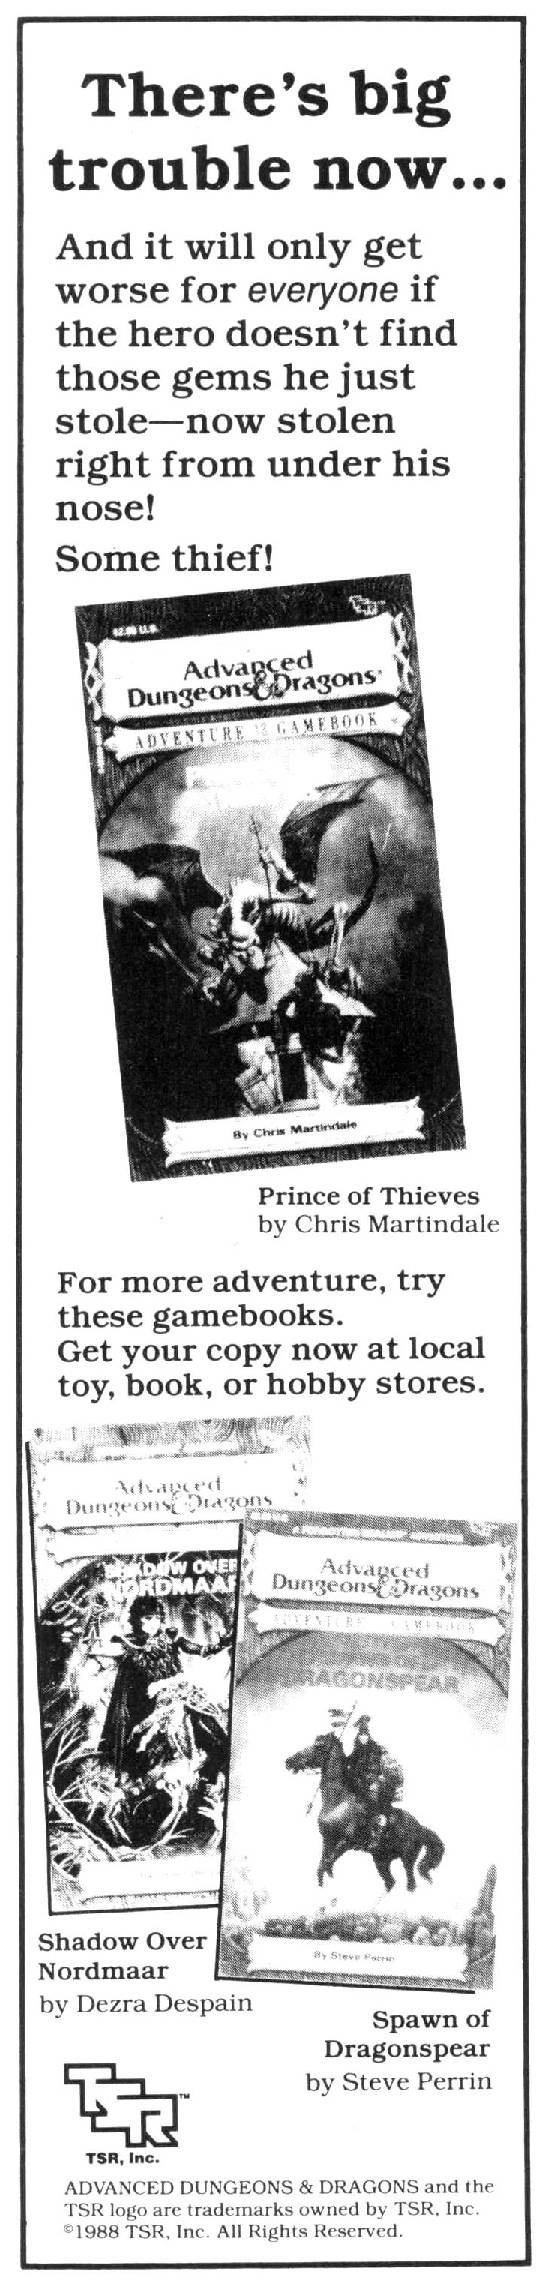
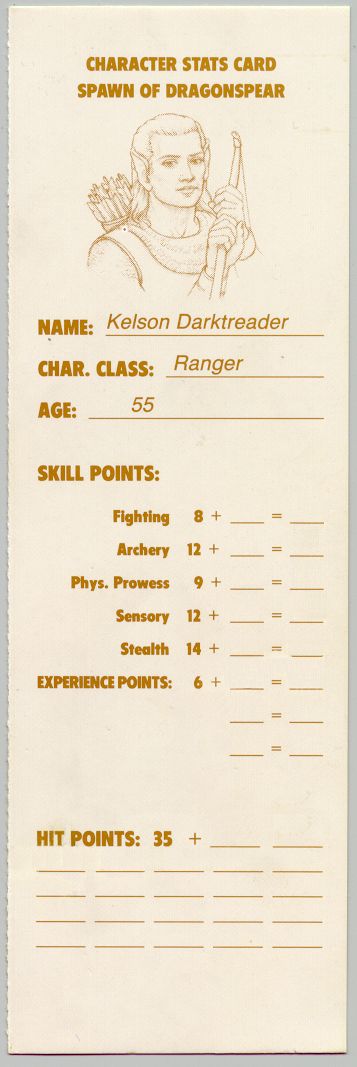
AD&D Adventure Gamebook #17: Spawn of Dragonspear
- from Dragon #135, page 46
AD&D Adventure Gamebook #18: Prince of Thieves
- from Dragon #137, page 32
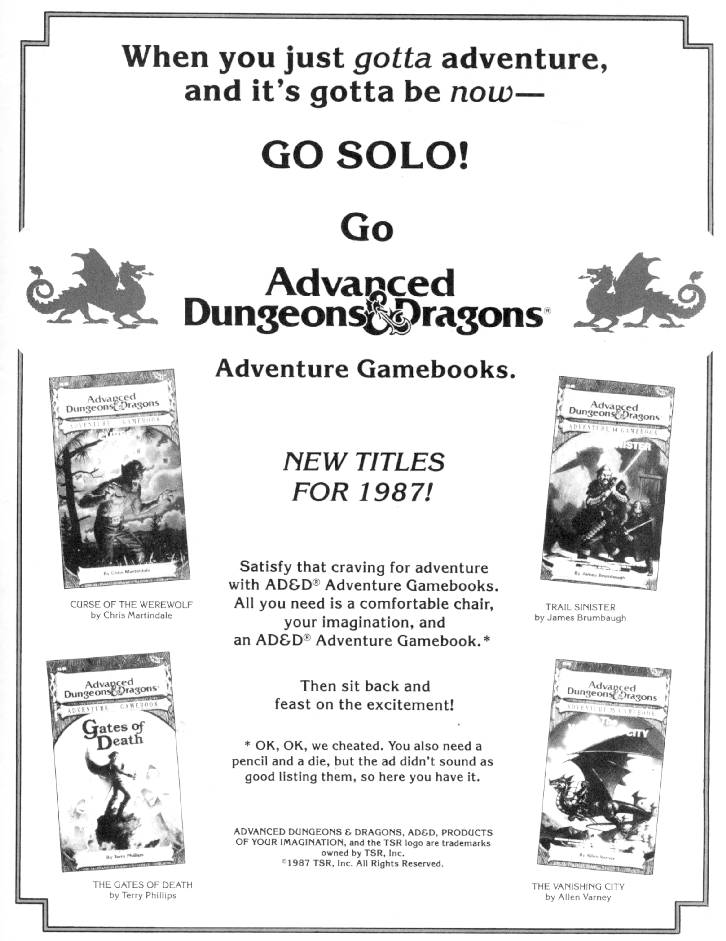
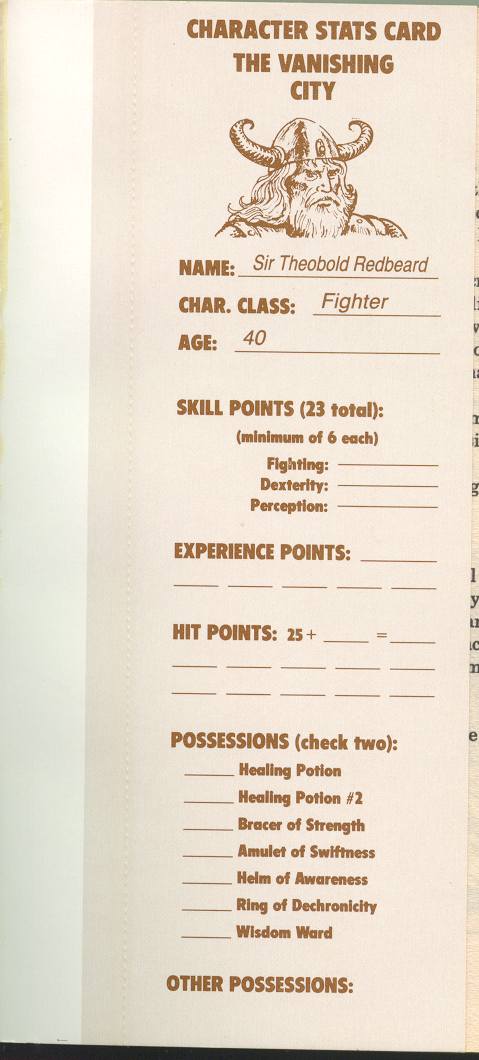
AD&D Adventure Gamebooks: New Titles for 1987
- from Dragon #124, page 93;
note the different art on the cover of The Vanishing City
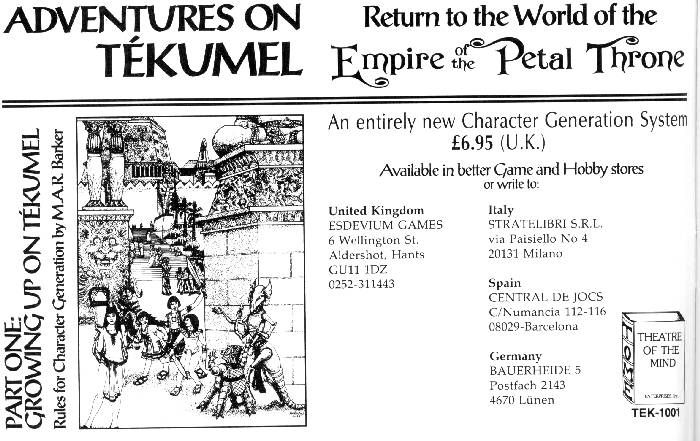
Adventures on Tékumel: Growing Up on Tékumel
- from Dragon #184, page 20
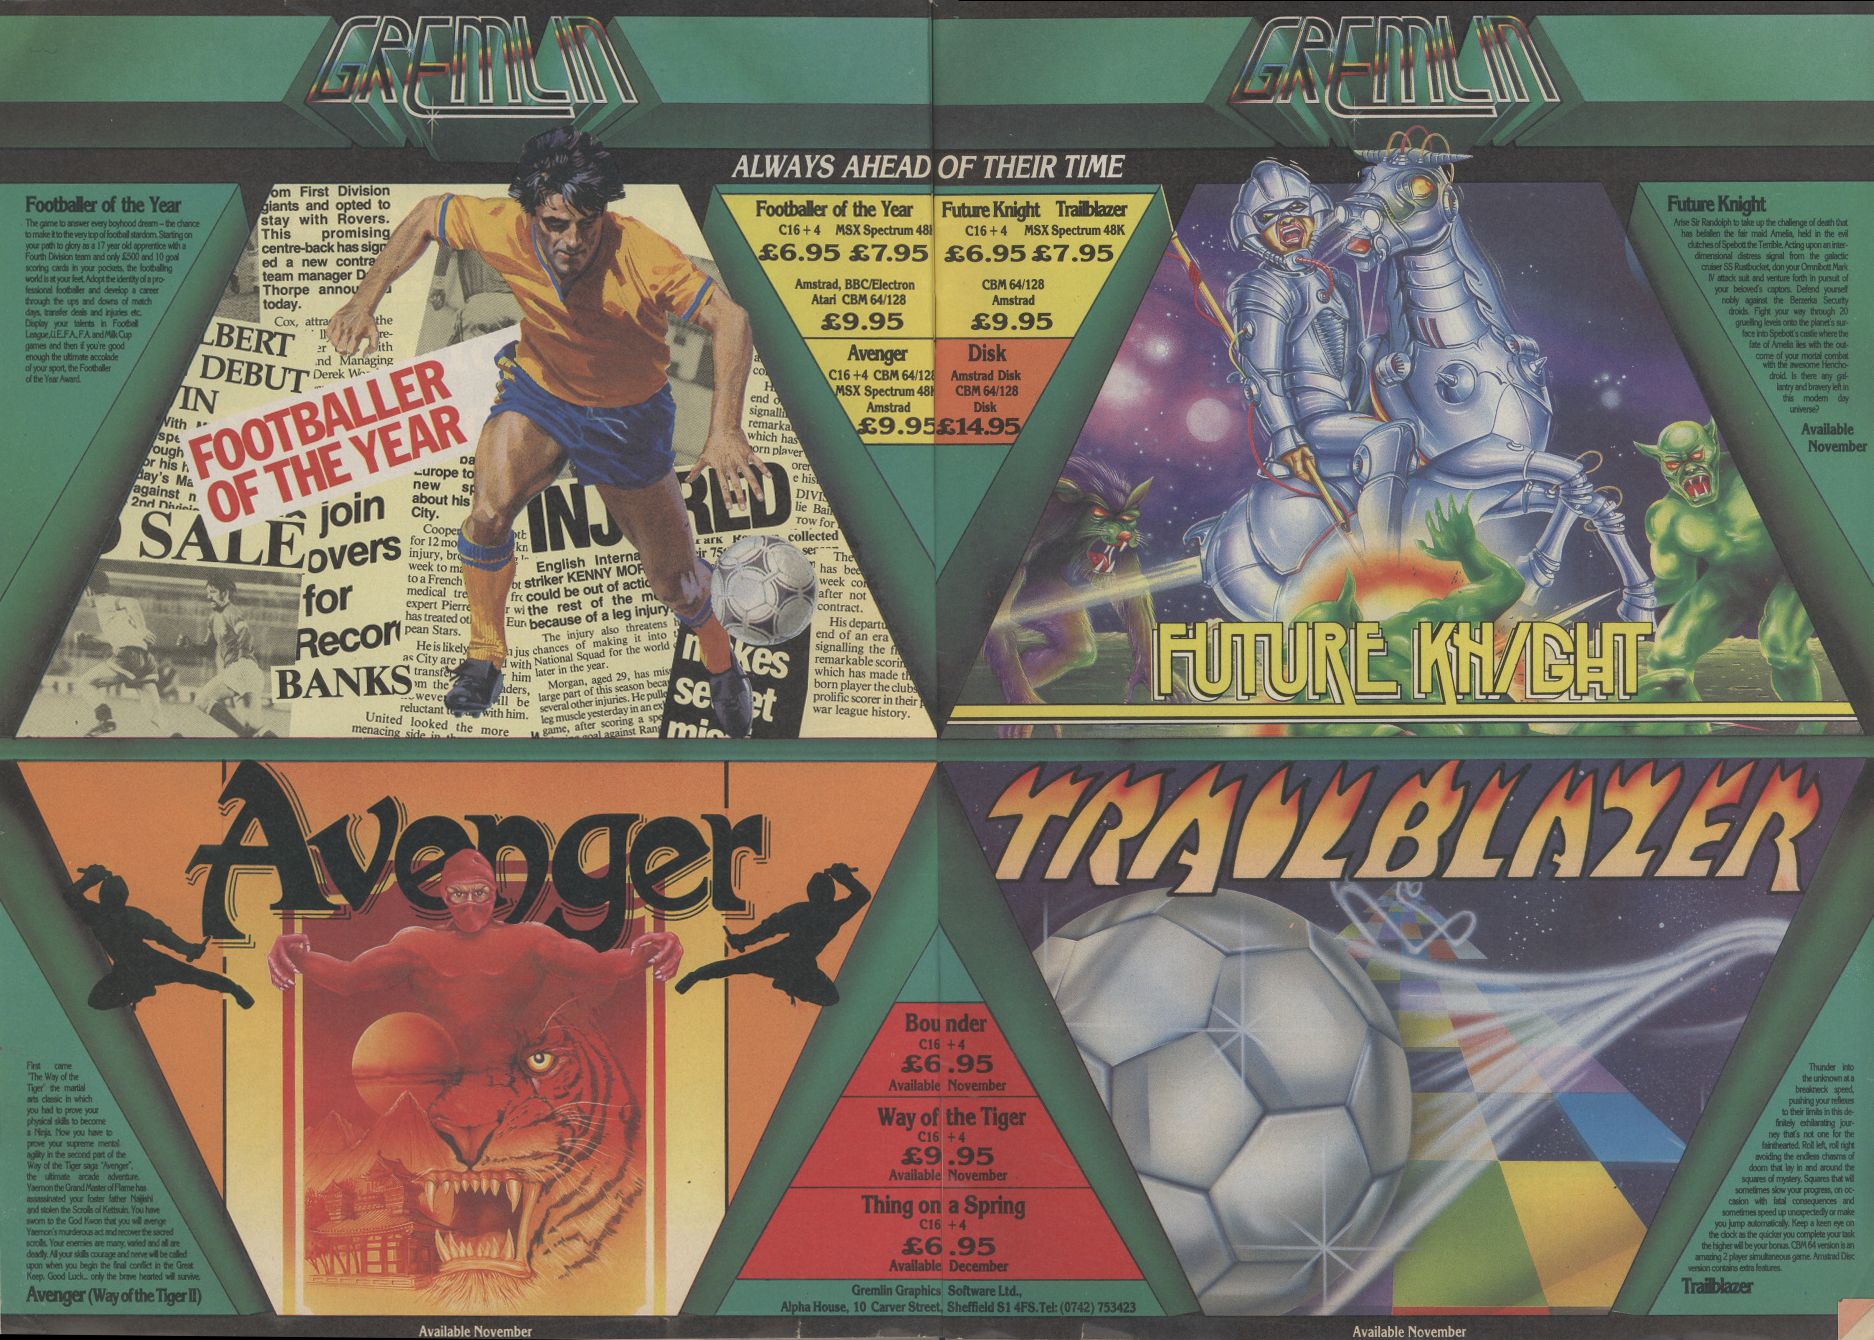
Avenger Computer Game Ad
- This advertisement for the Avenger computer game comes from Computer Gamer issue 19, pages 10-11. The identical ad also appeared in issue 20, pages 24-25; issue 21, pages 26-27; and issue 22, pages 10-11. Thanks to Ryan Lynch for sharing the image.
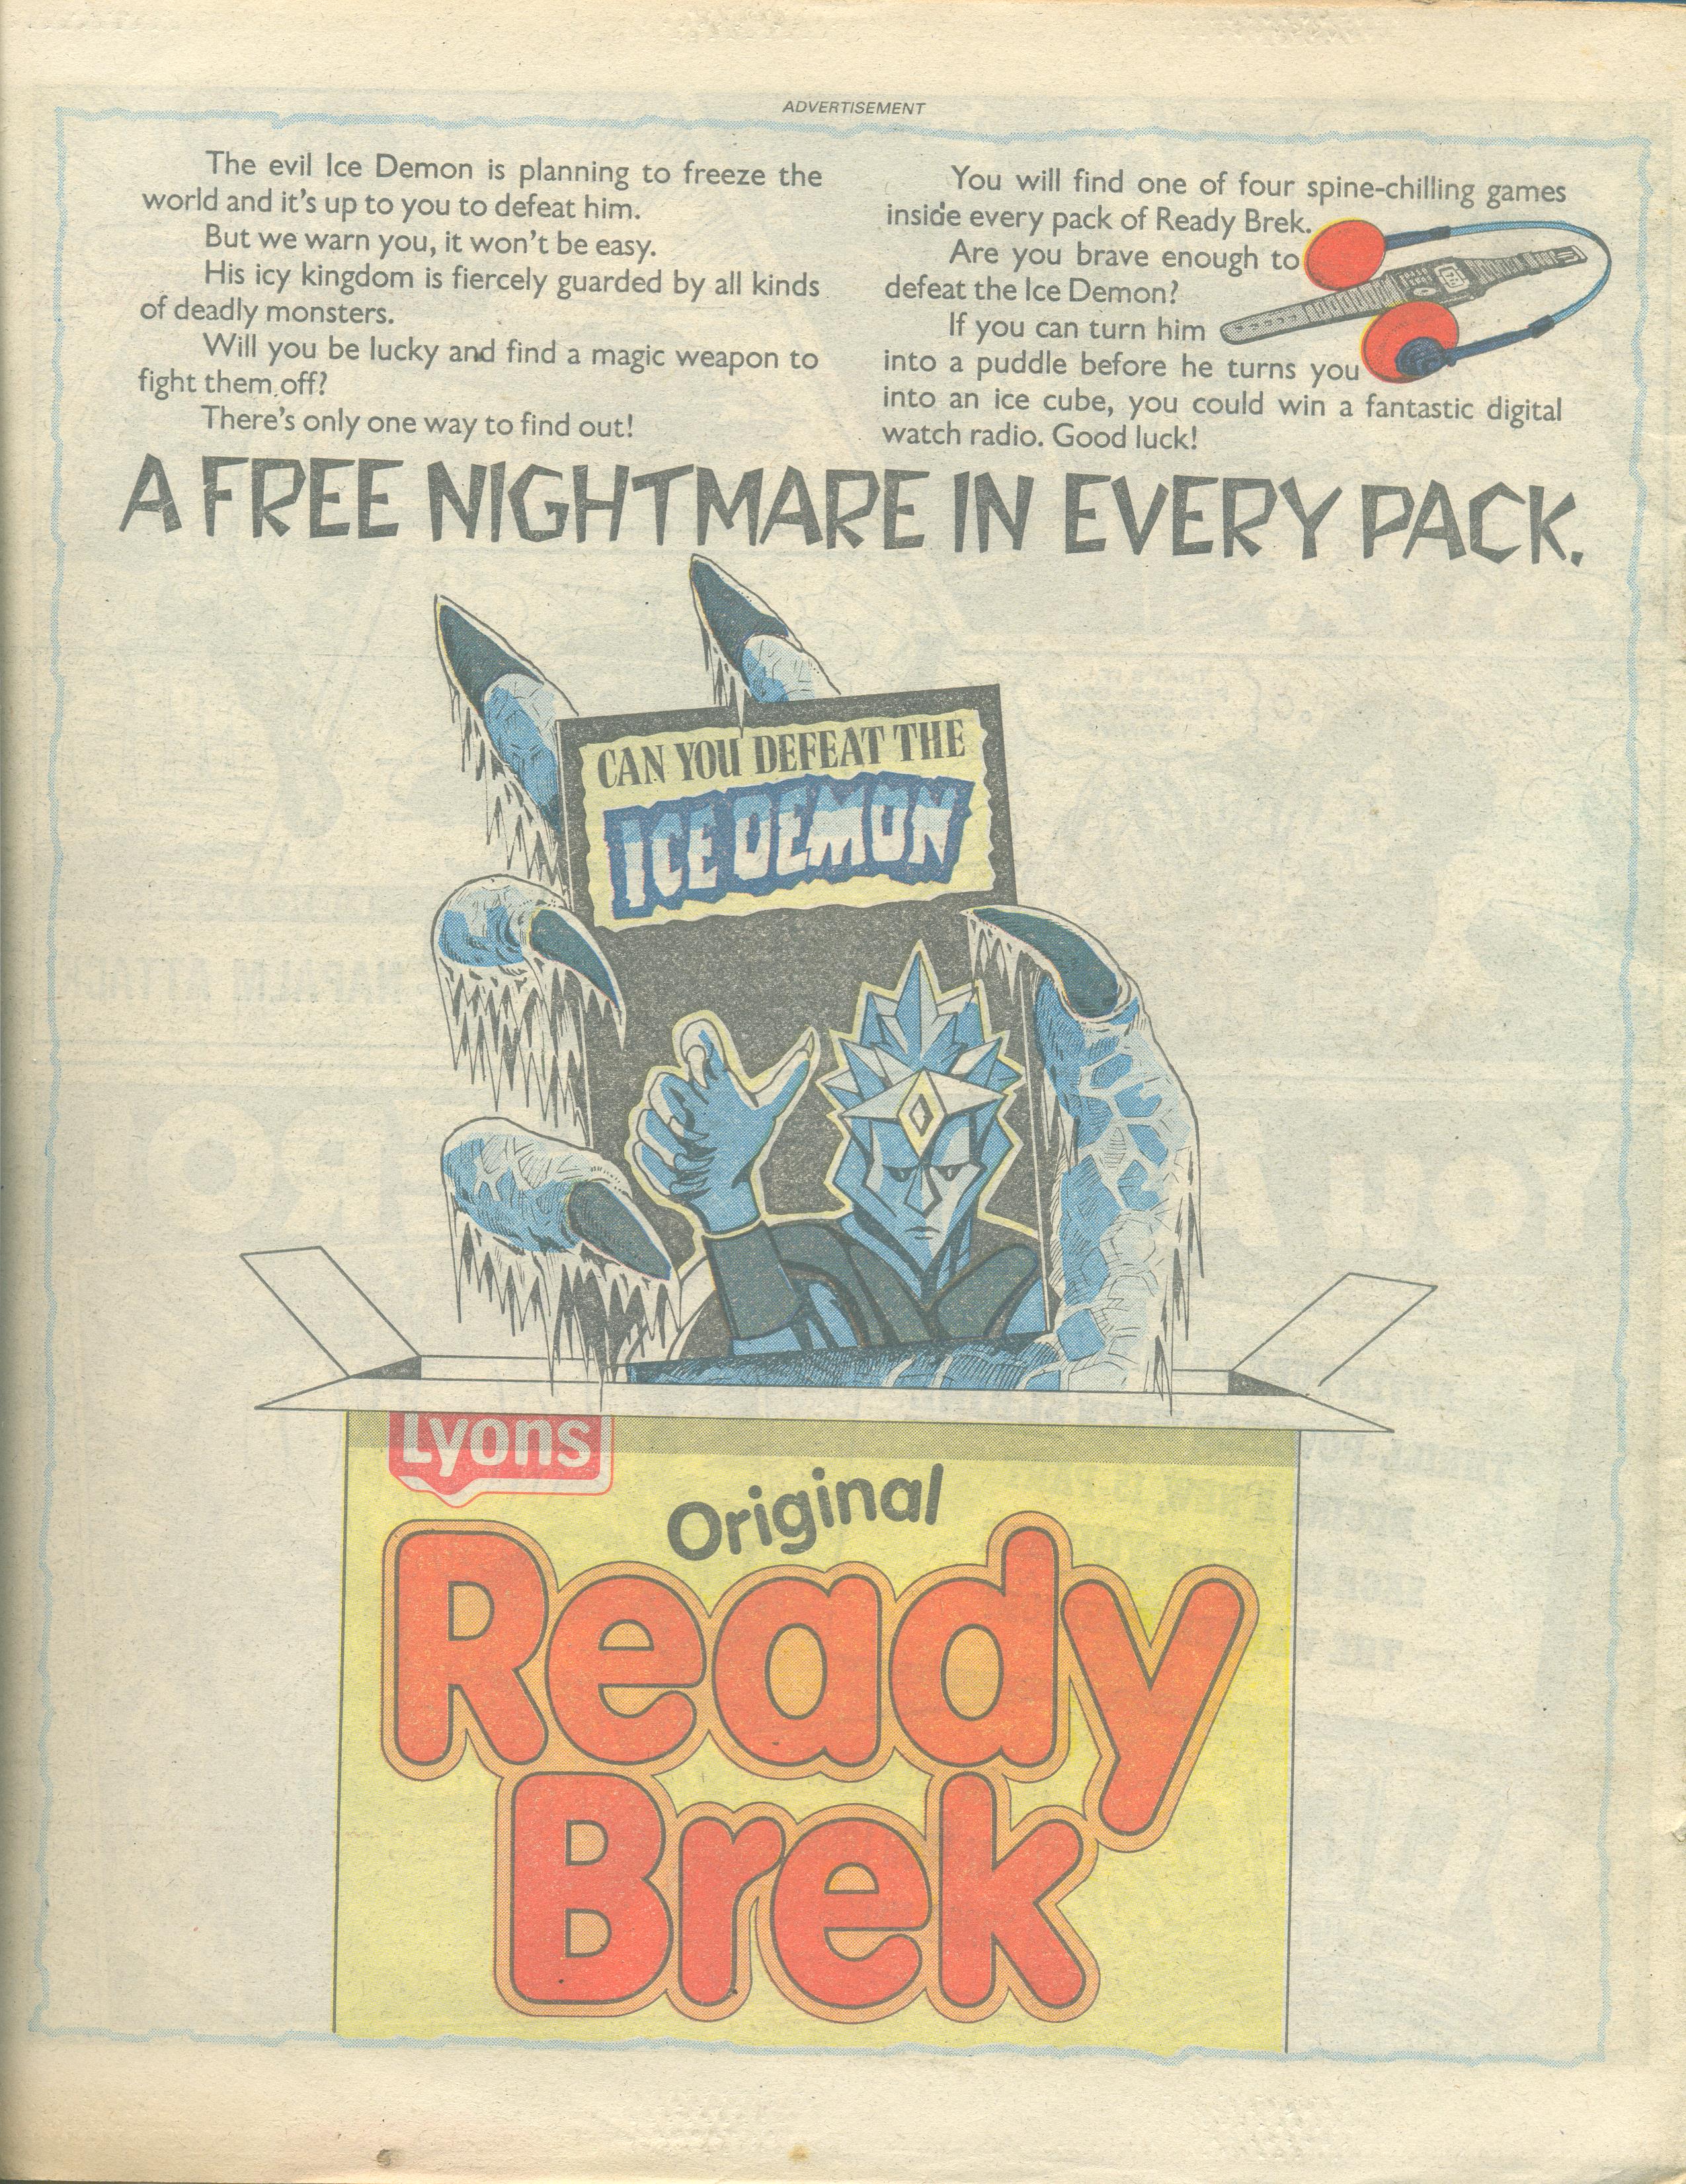
Can You Defeat the Ice Demon? Ad
- from Eagle comic, November 23, 1985. Thanks to Ed Jolley for the scan.
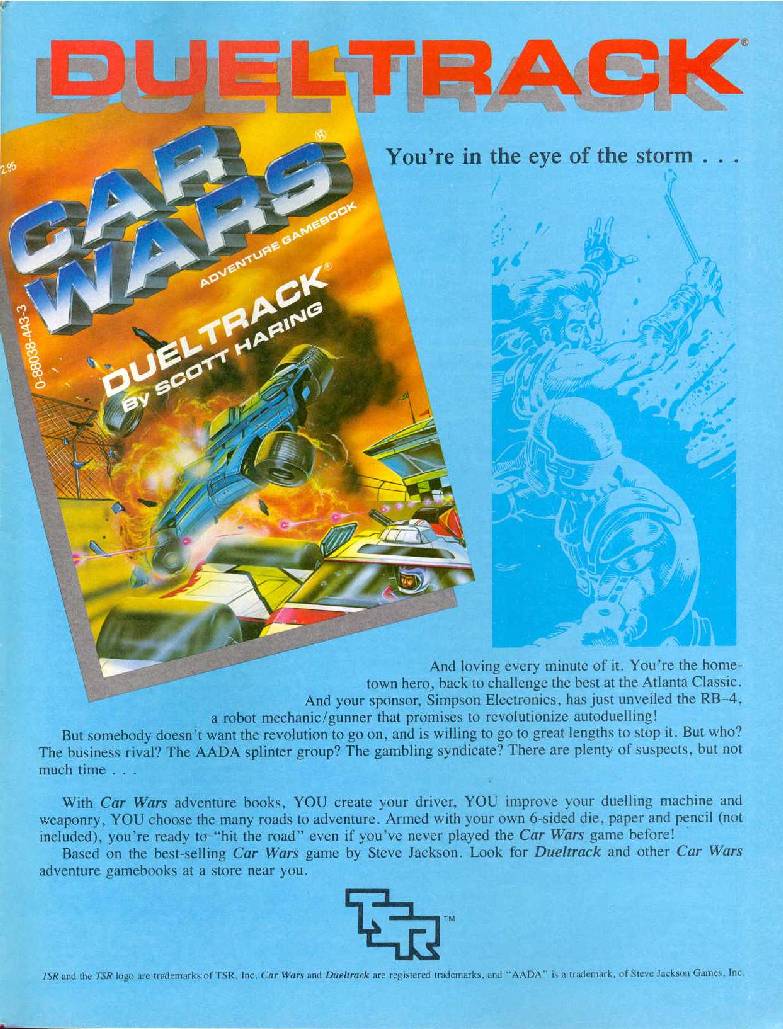
Car Wars Adventure Gamebook #4: Dueltrack
- from Dragon #121, page 87
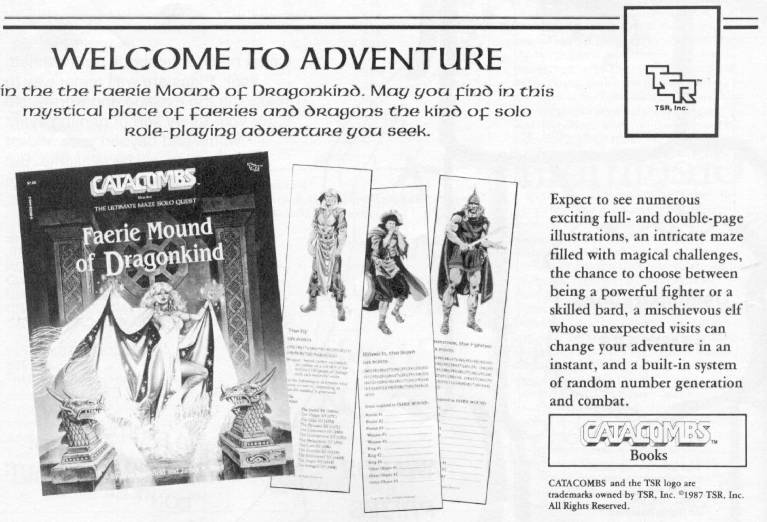
Catacombs #1: Faerie Mound of Dragonkind
- from Dragon #122, page 86
Catacombs #4: The Final Bug
- from Dragon #132, page 23
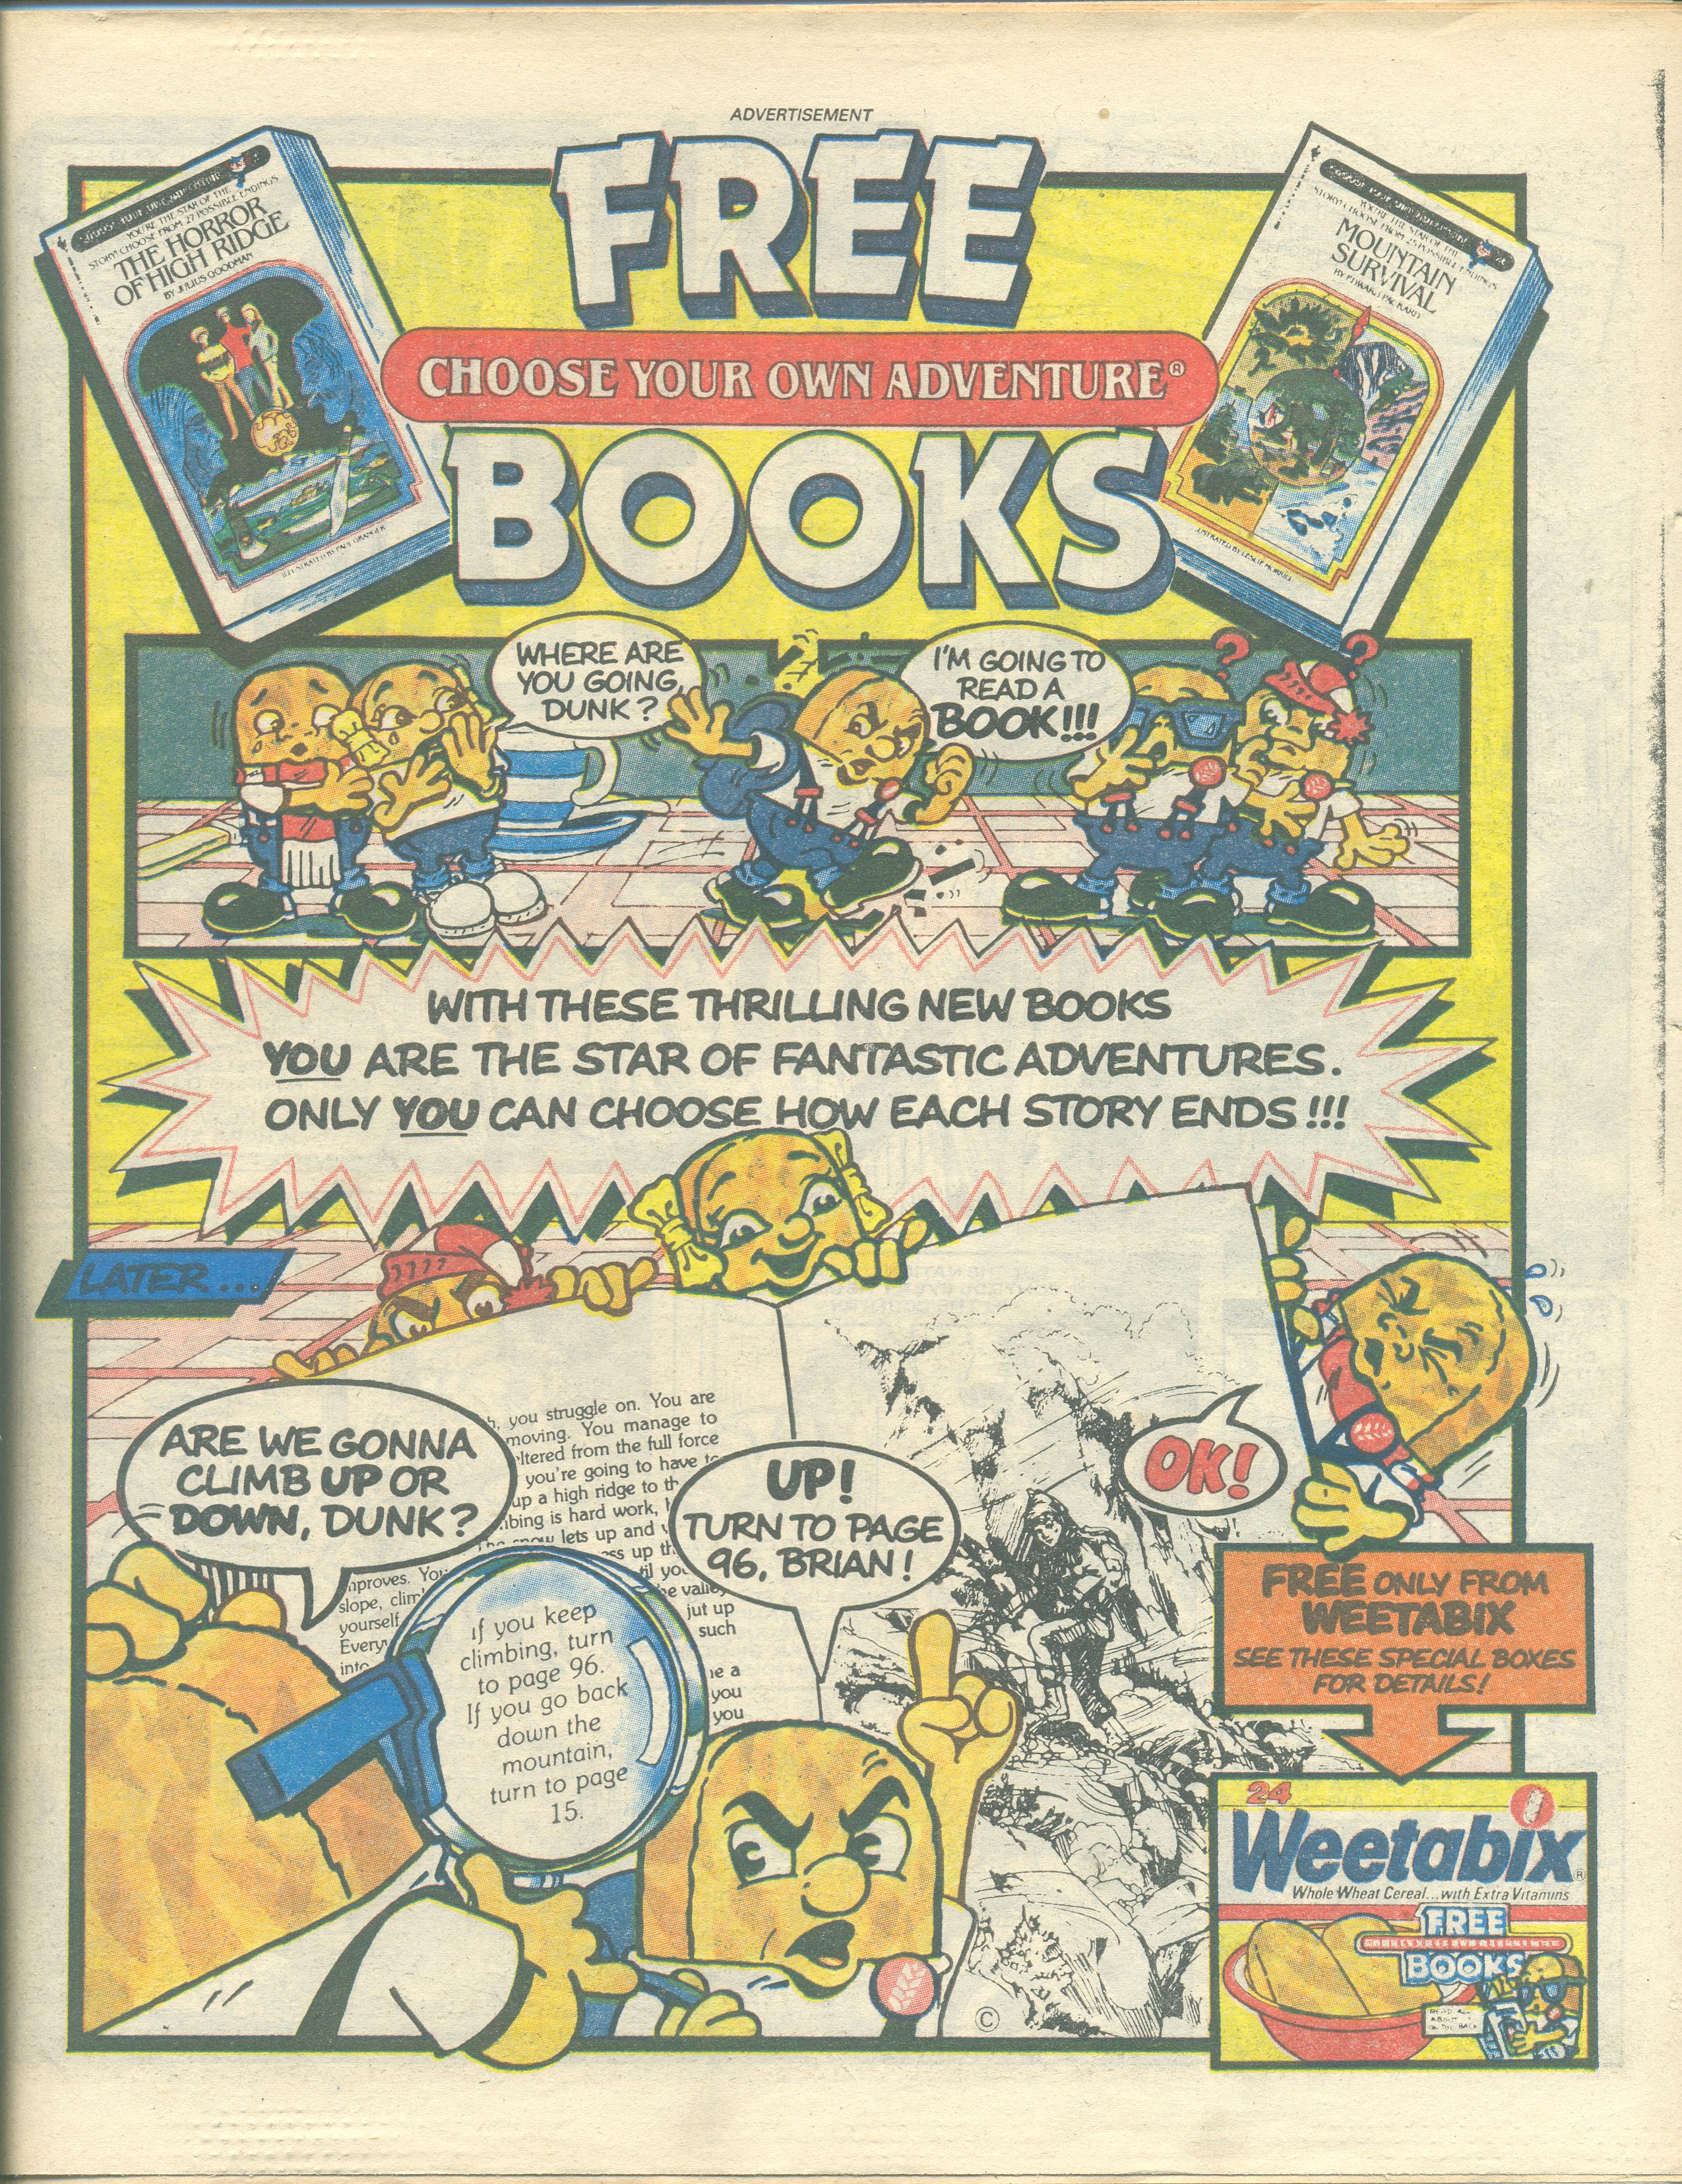
Choose Your Own Adventure / Weetabix Ad #1
- from Eagle comic, June 23, 1984. Thanks to Ed Jolley for the scan.
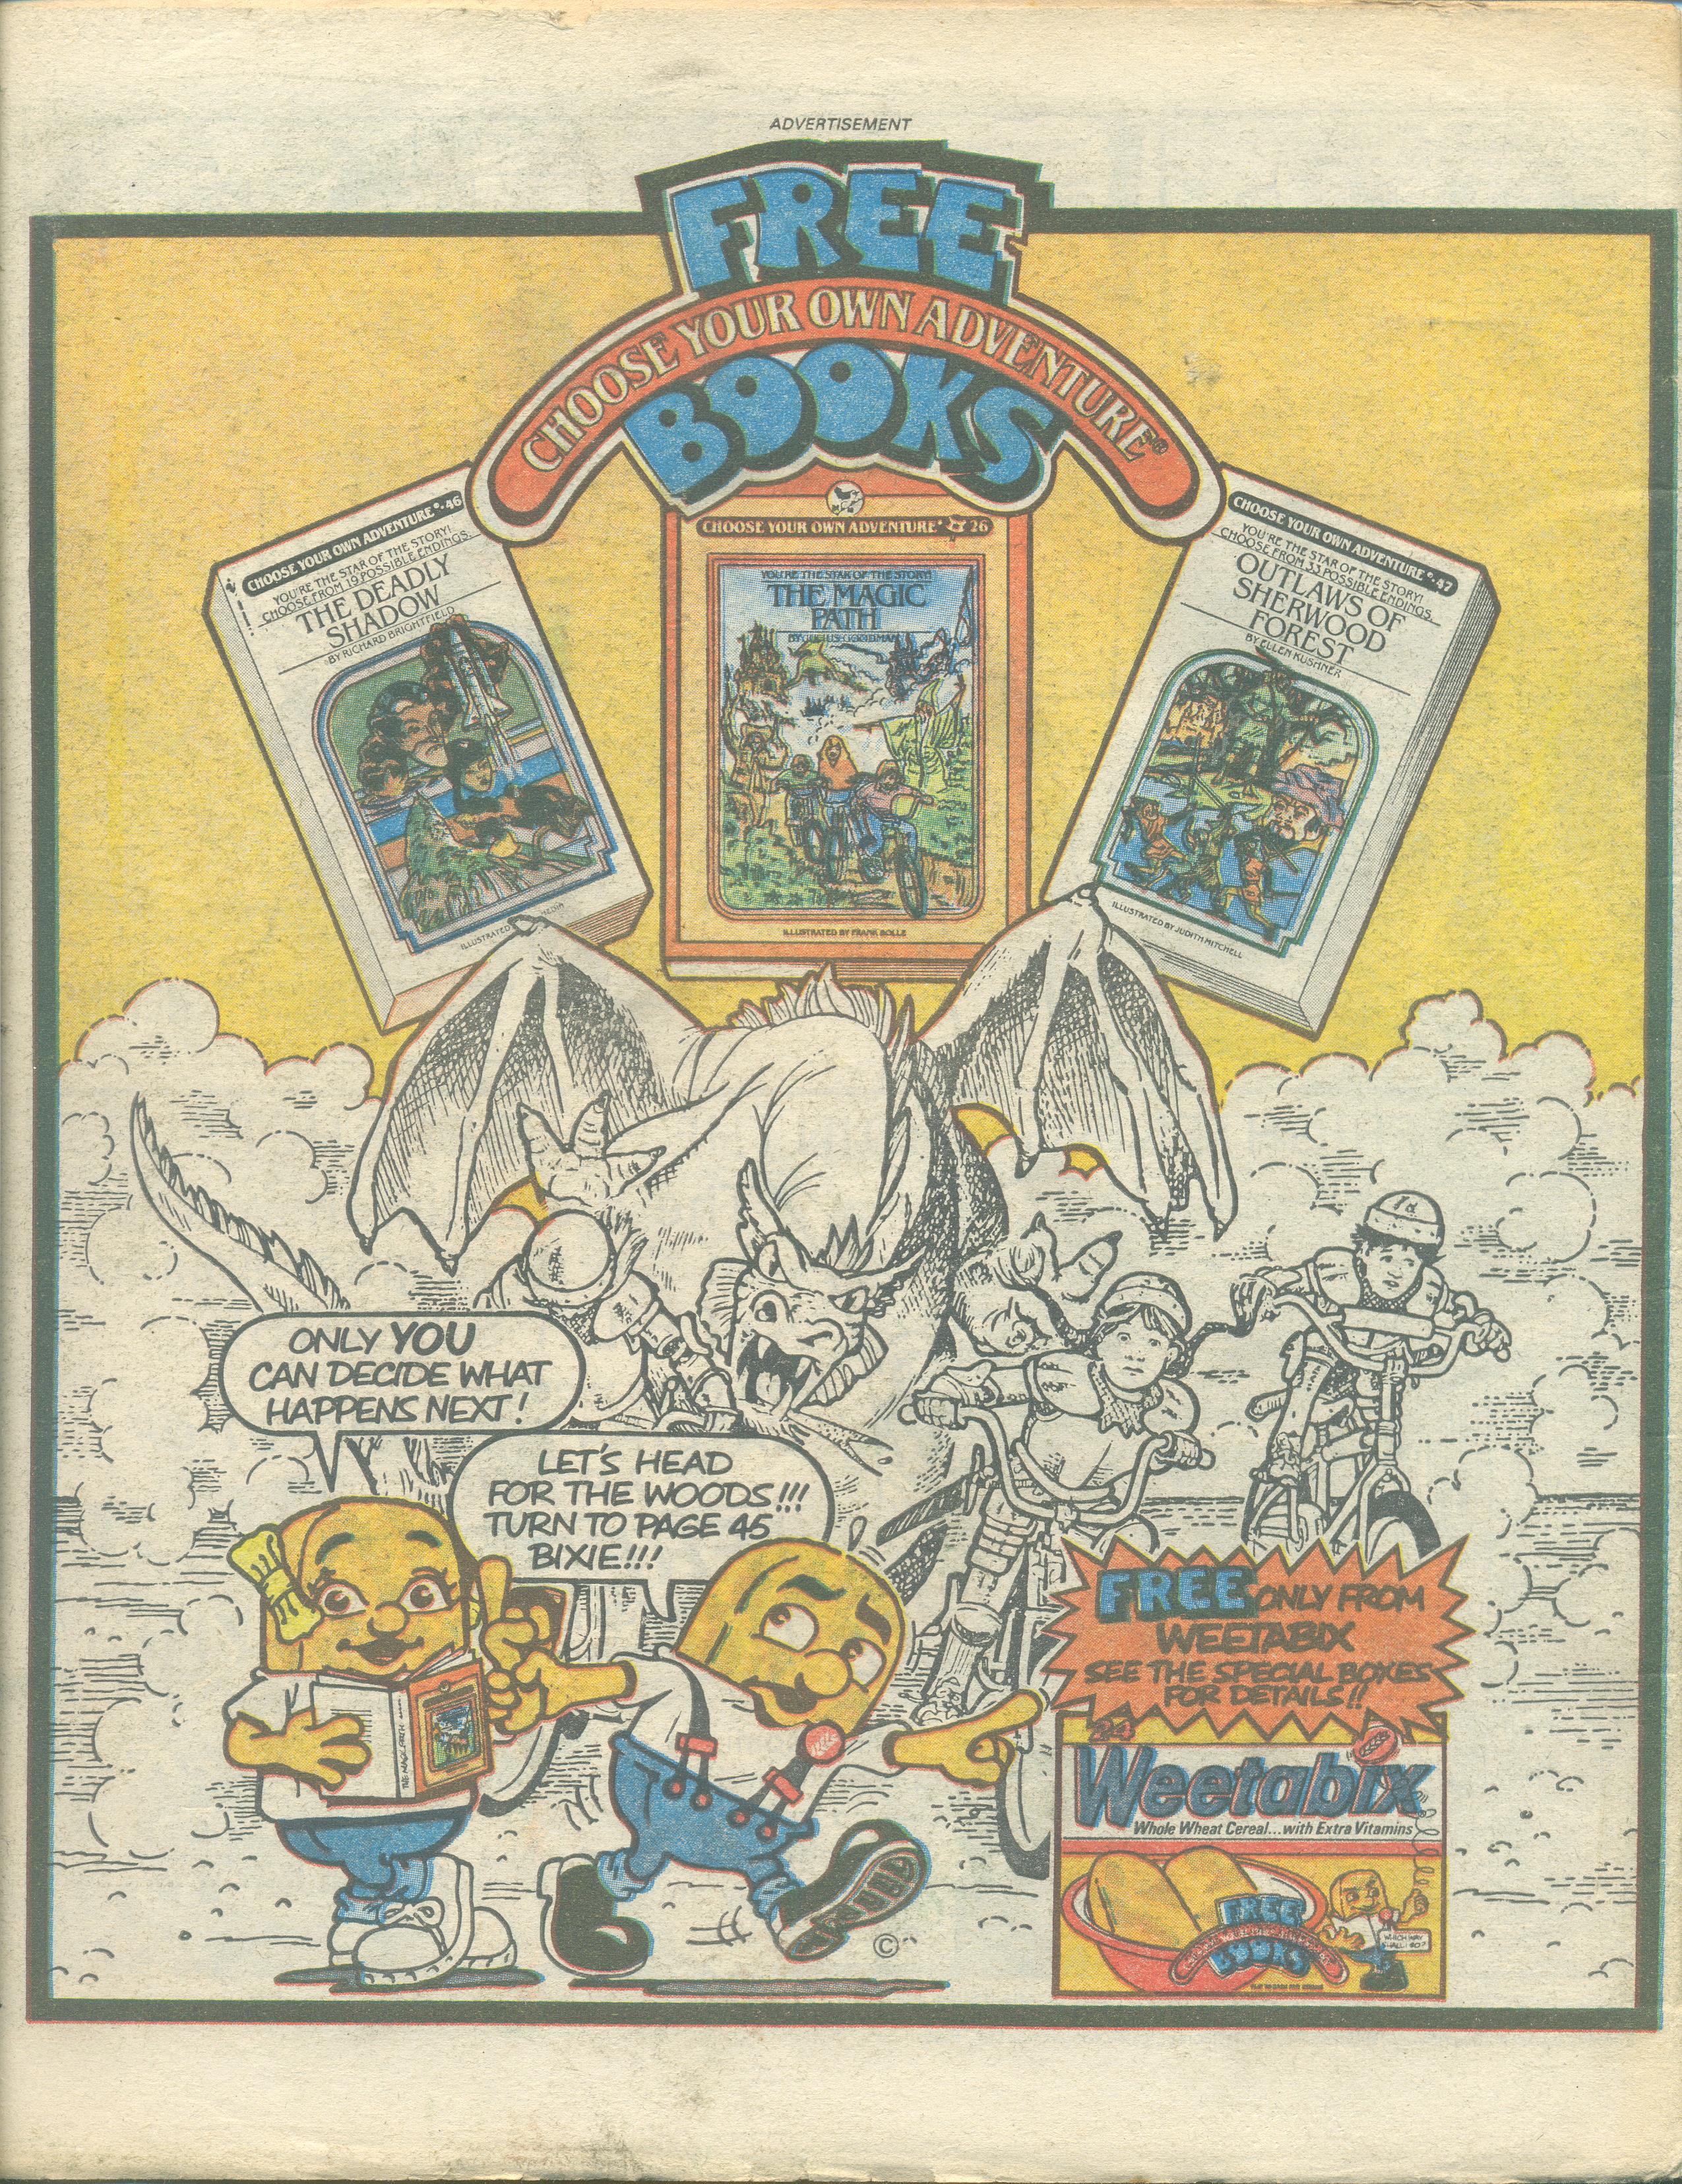
Choose Your Own Adventure / Weetabix Ad #2
- from Eagle comic, June 29, 1985. Thanks to Ed Jolley for the scan.
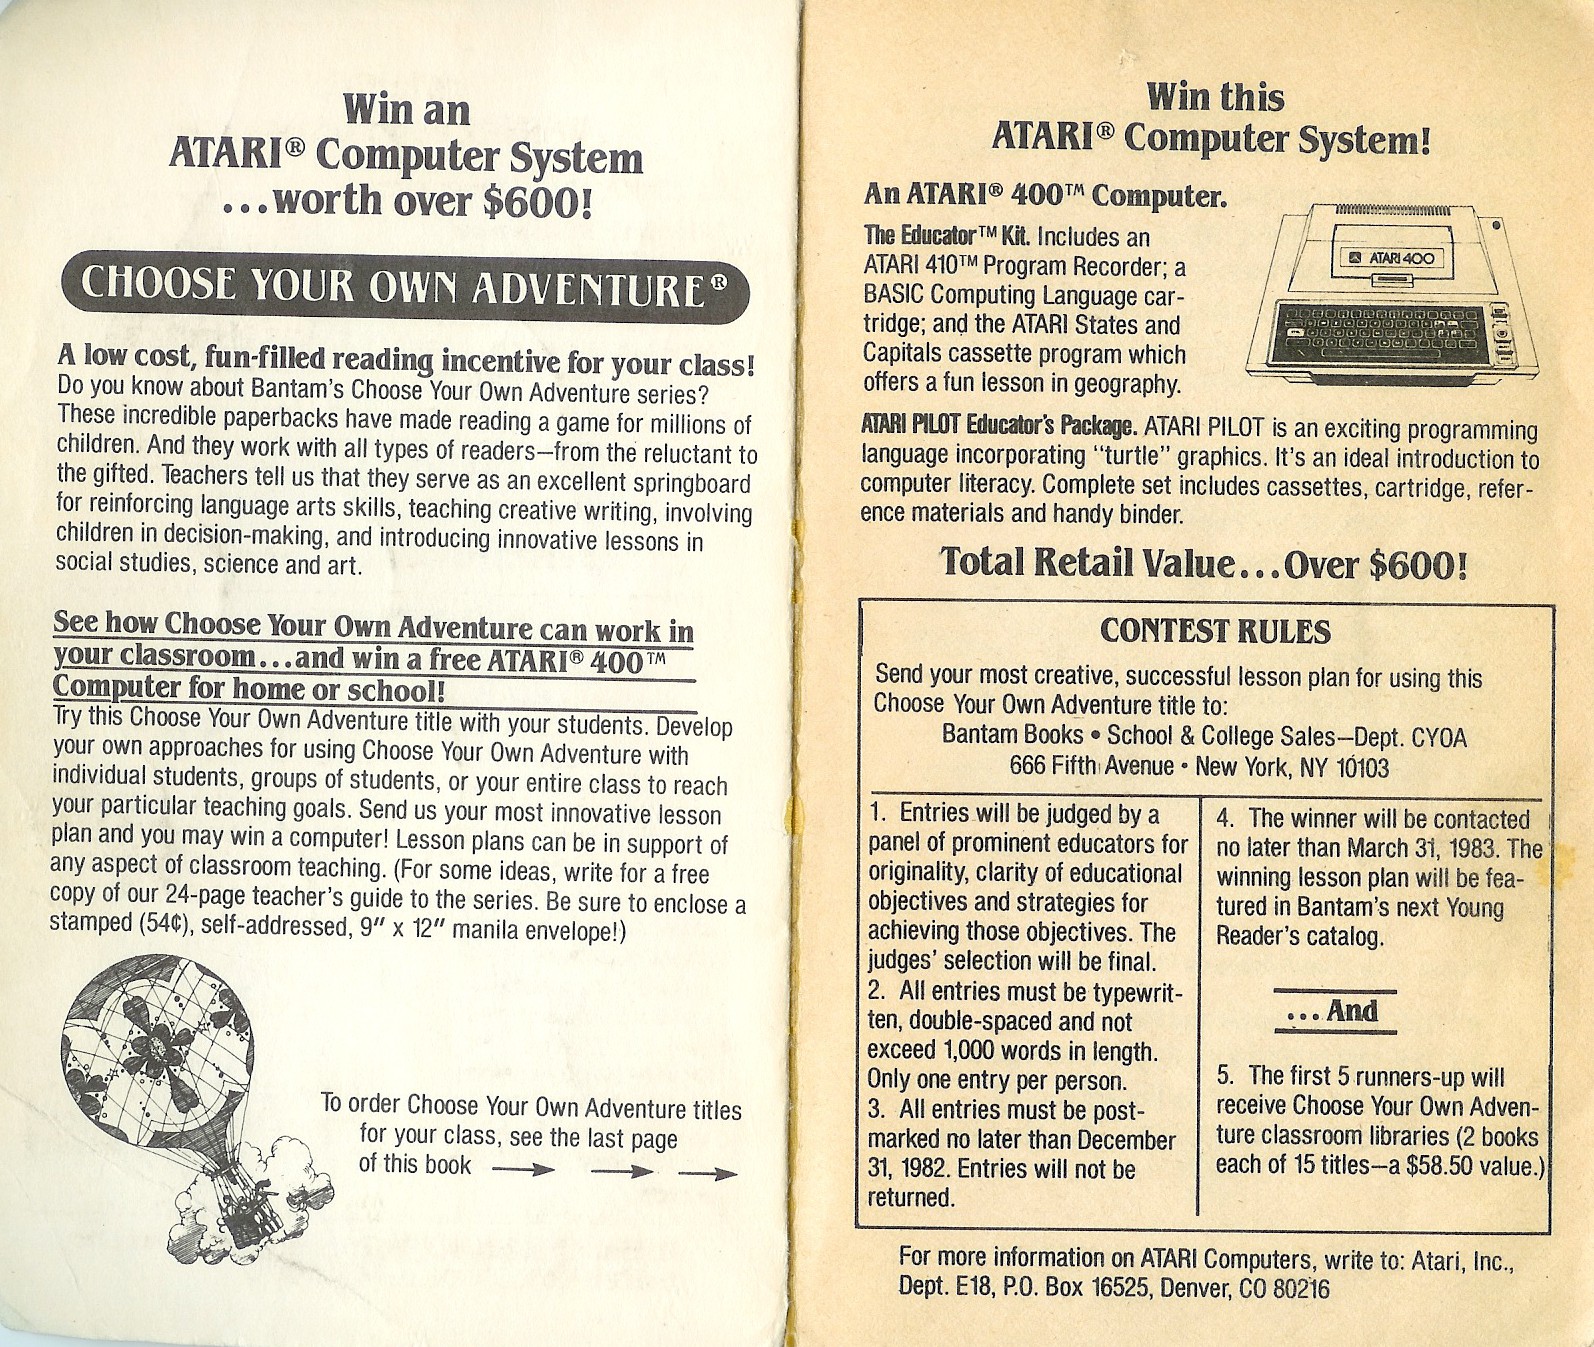
Choose Your Own Adventure Atari Contest
- Advertisement from the promotional teacher's copy of Inside UFO 54-40.
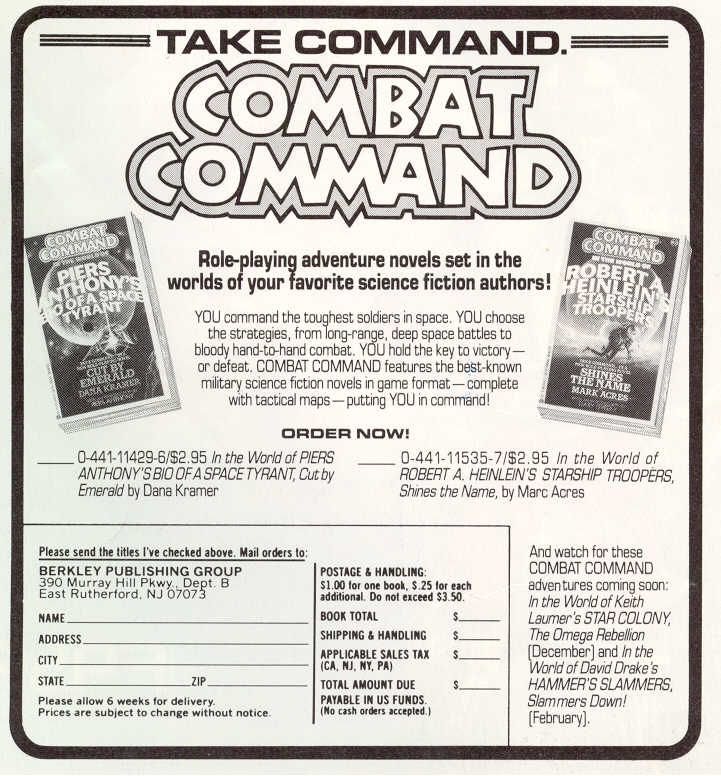
Combat Command
- from Dragon #126, page 24
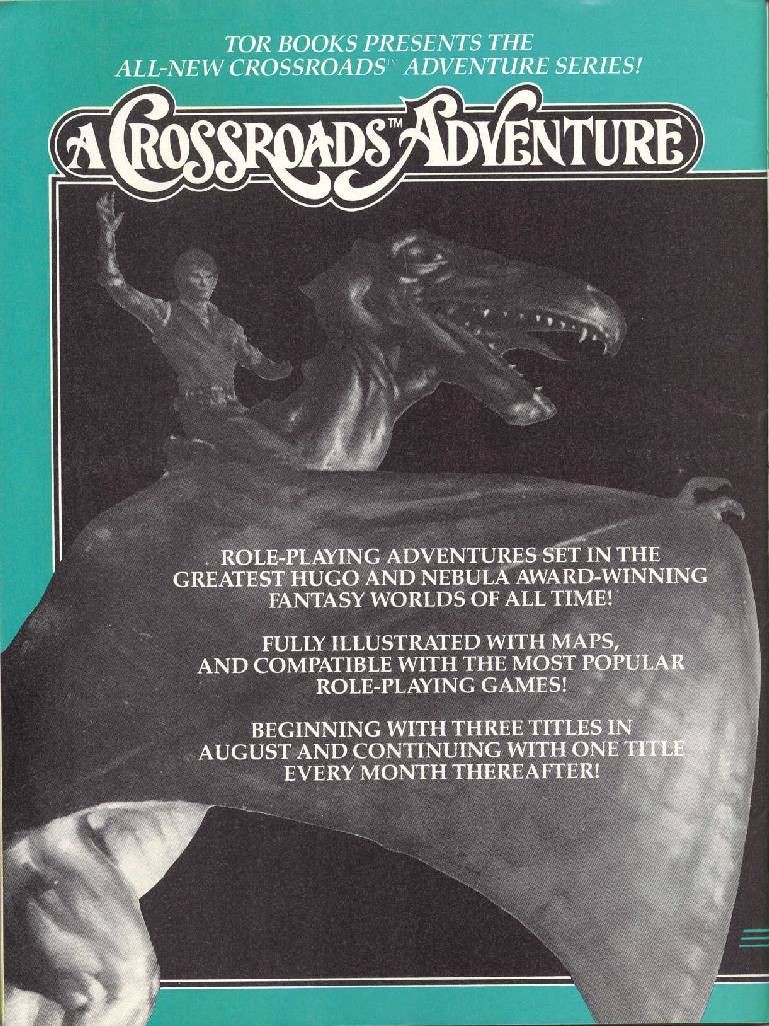
Crossroads Adventures (left side)
- from Dragon #124, page 80
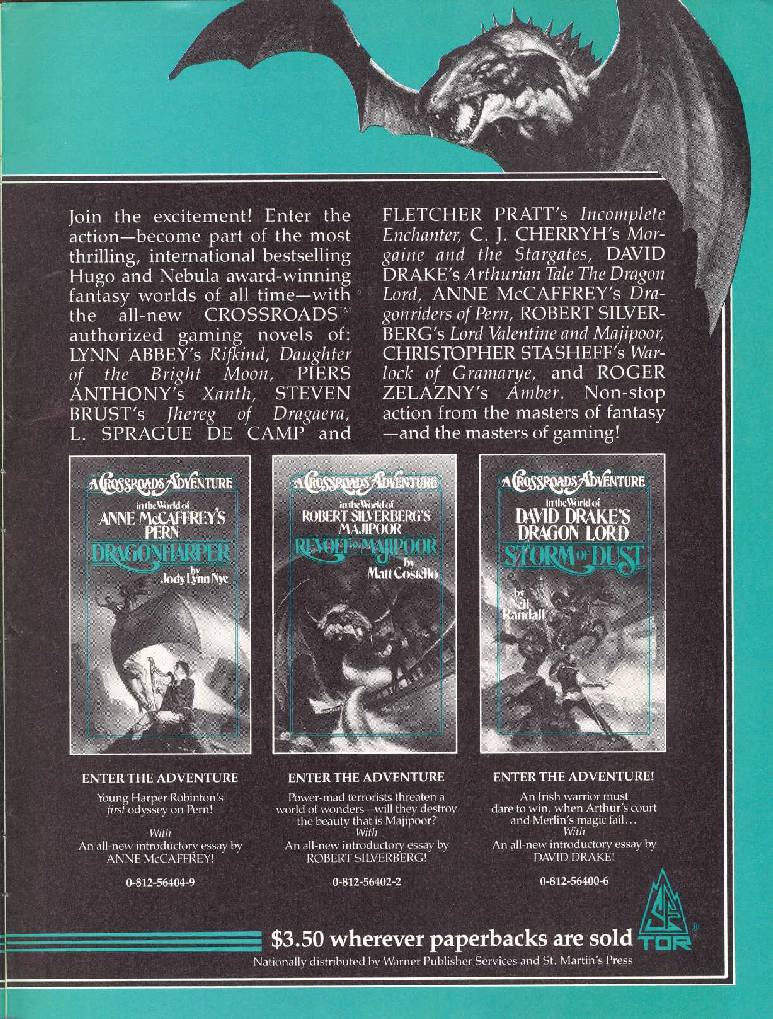
Crossroads Adventures (right side)
- from Dragon #124, page 81
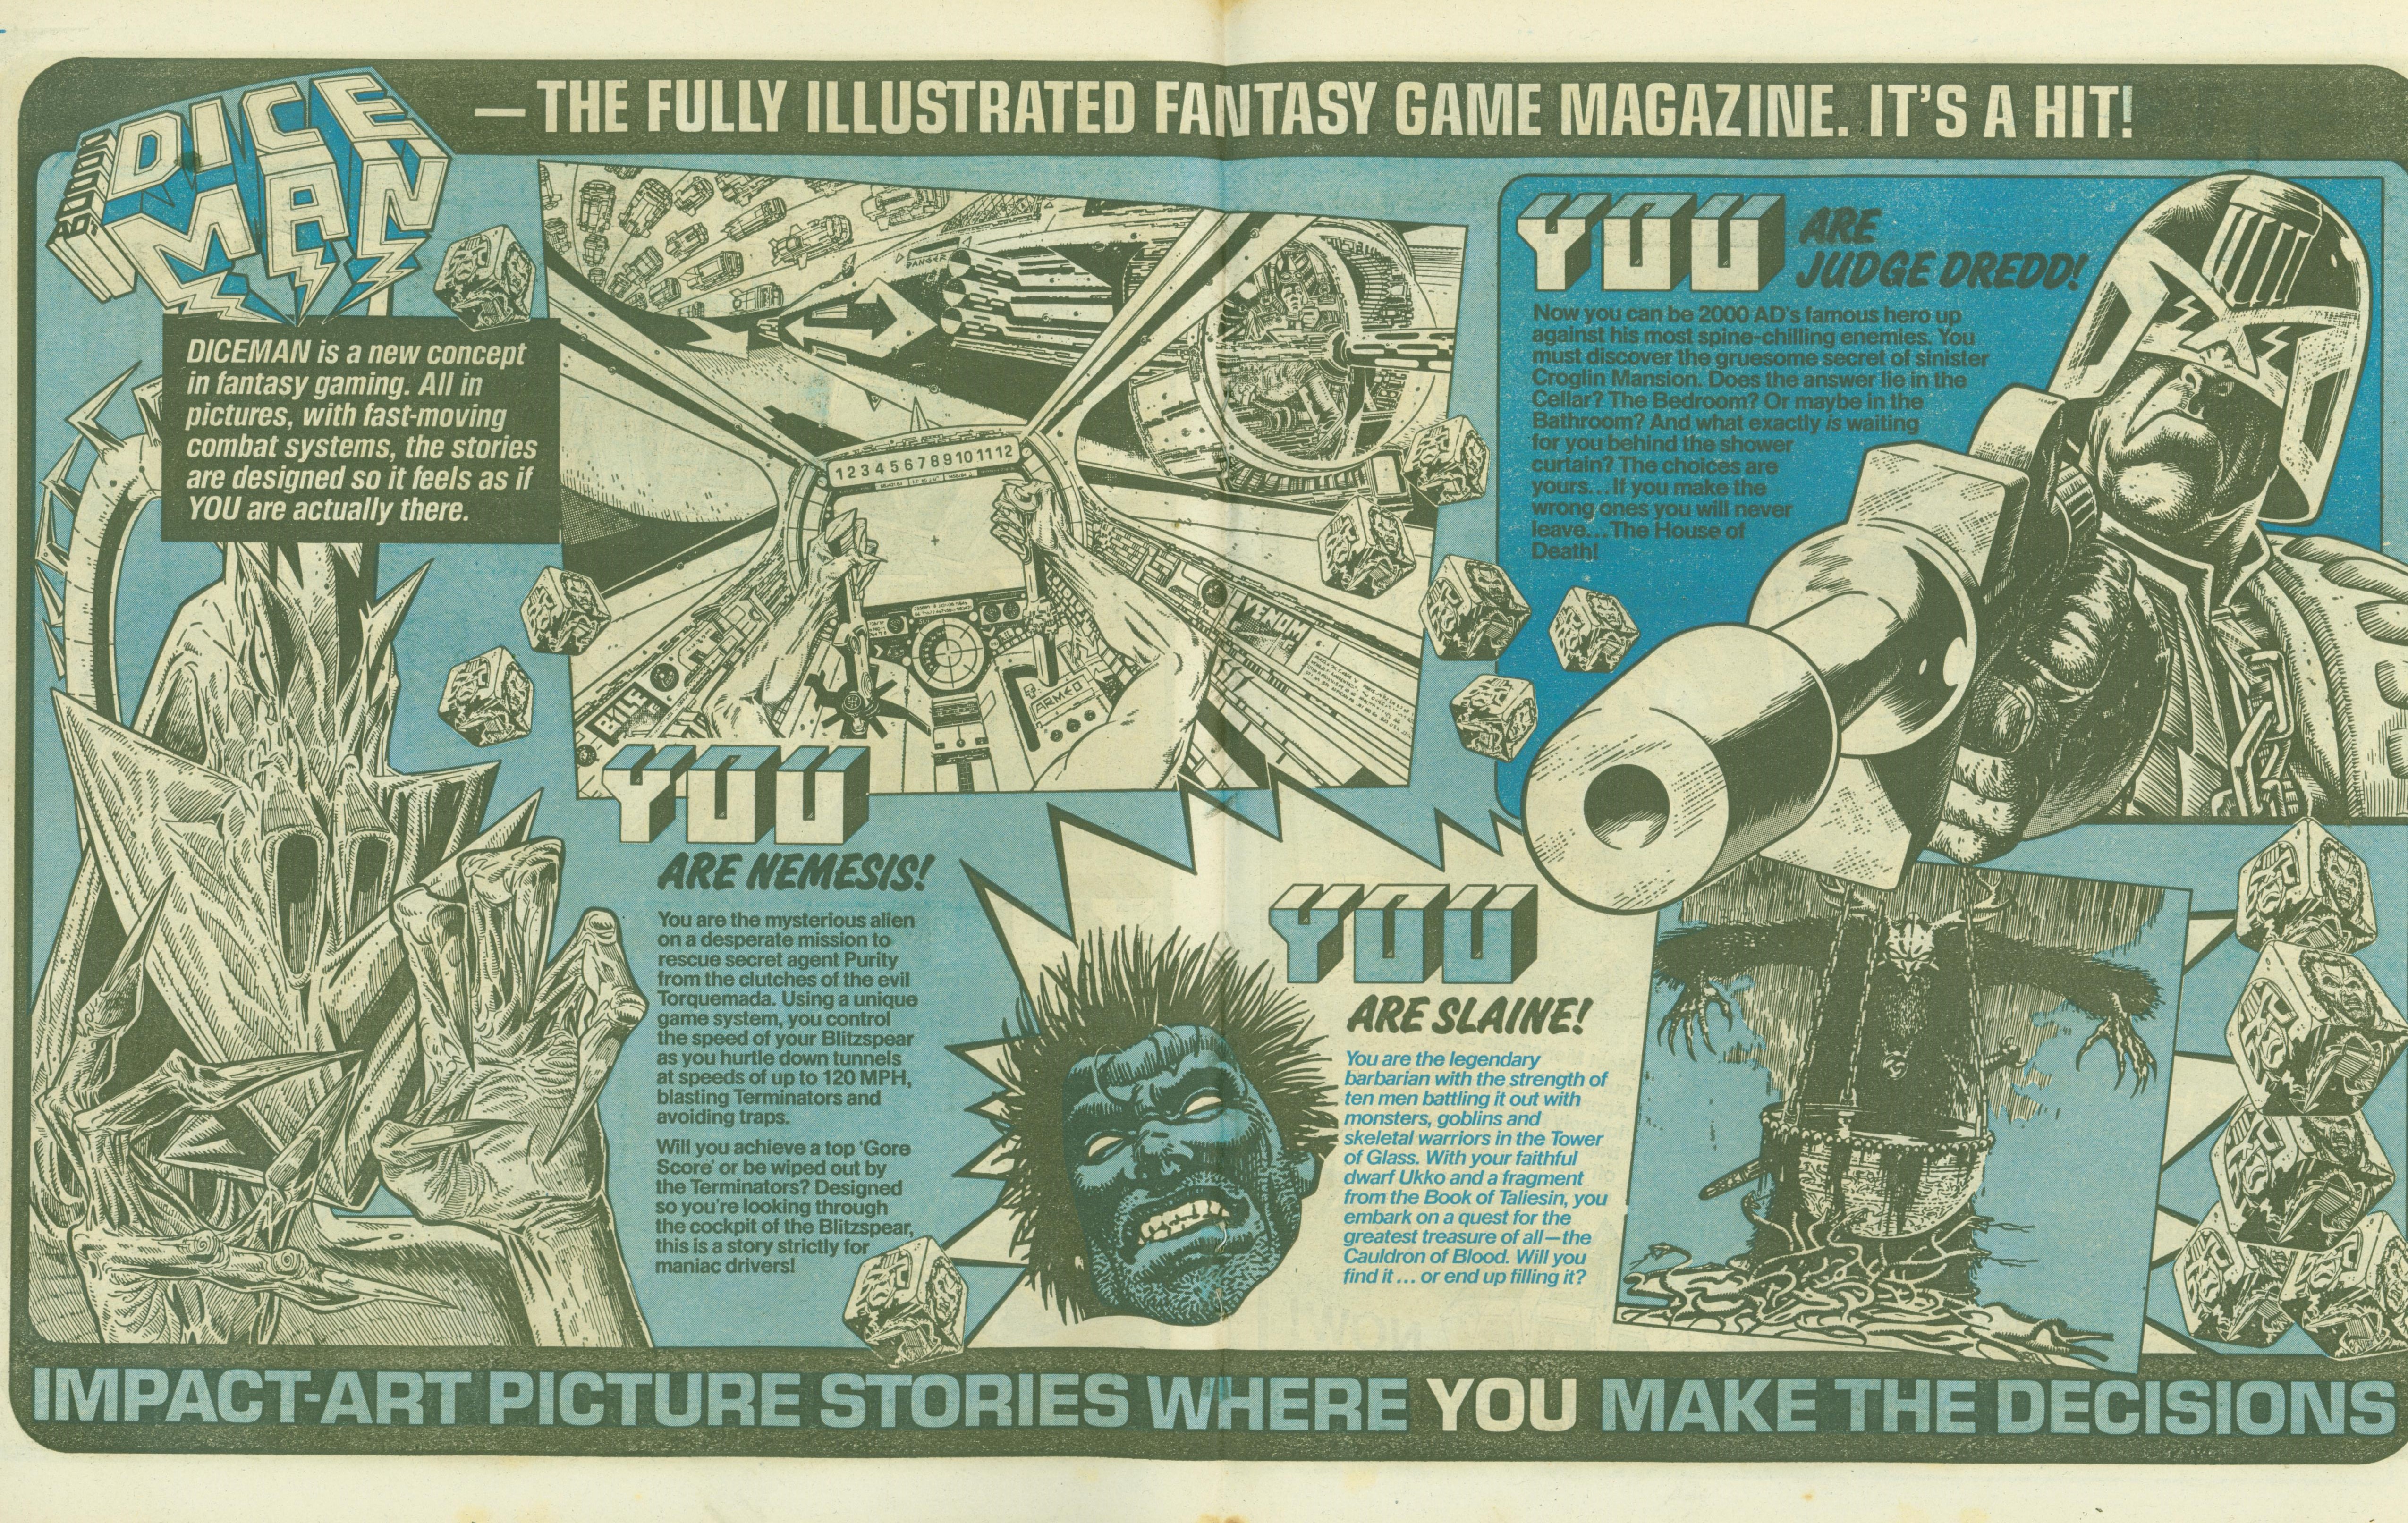
Diceman #1 Ad (part 1 of 3)
- from Eagle comic, January 25, 1986. Thanks to Ed Jolley for the scan.
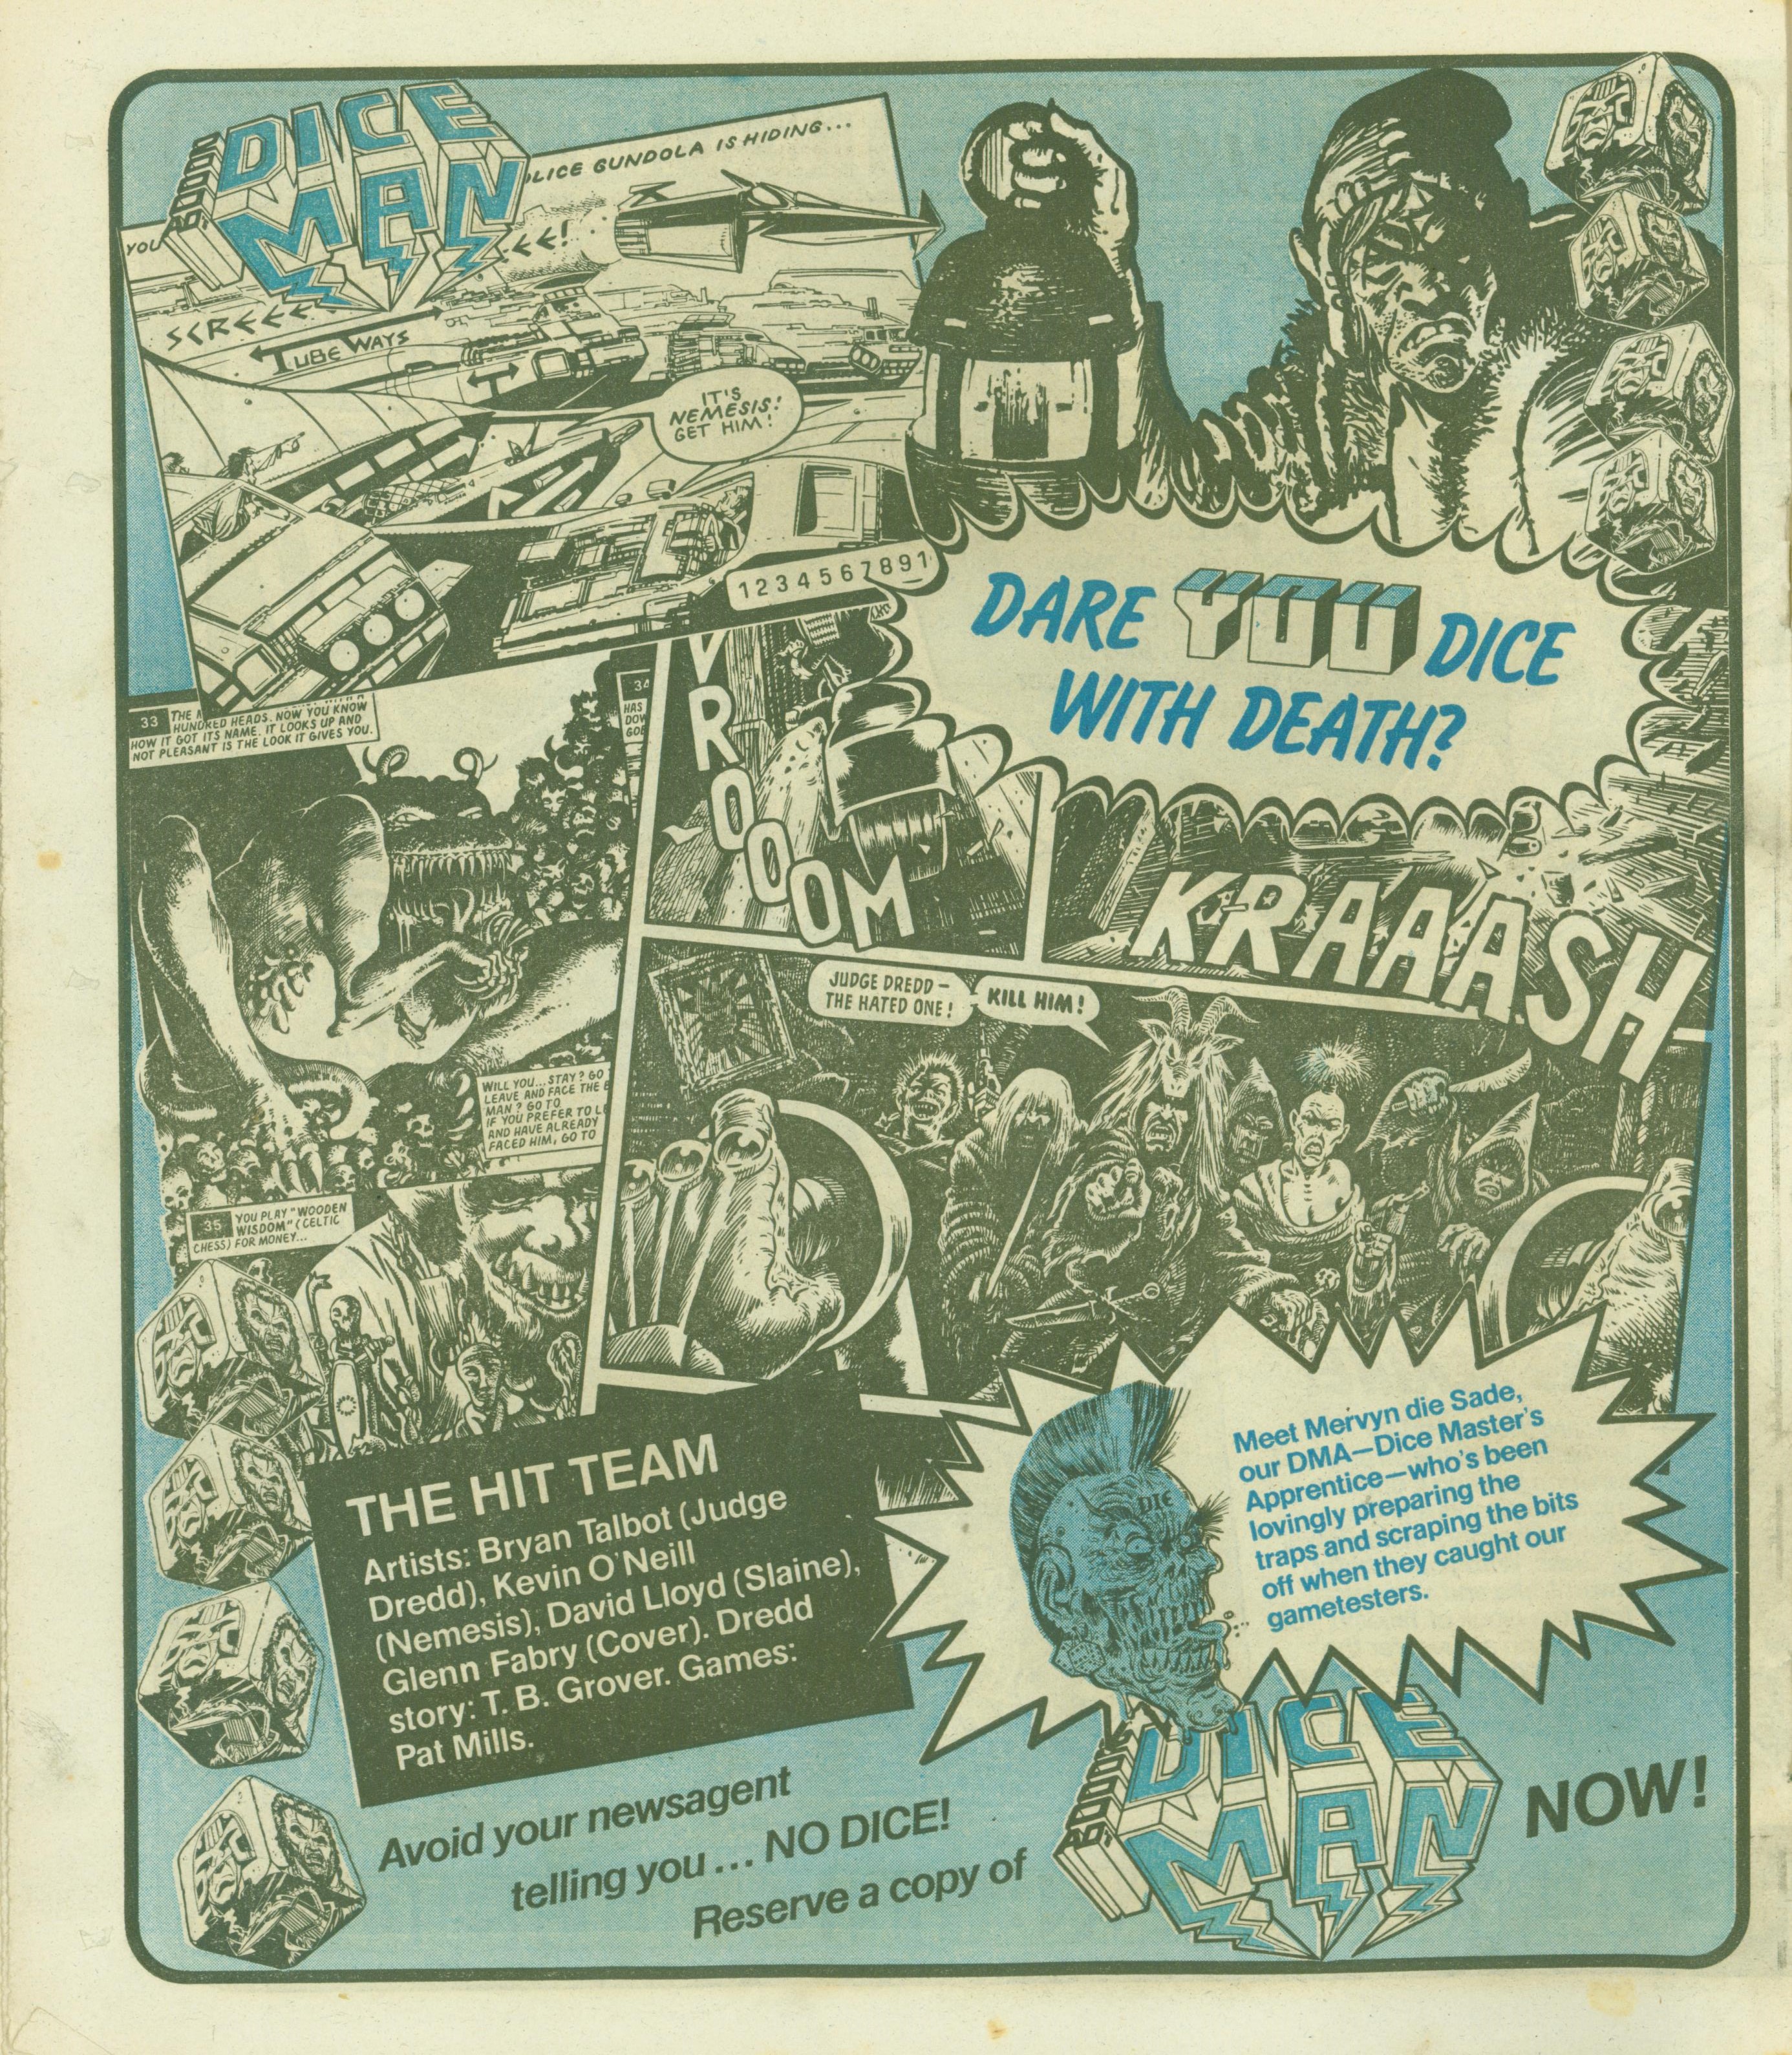
Diceman #1 Ad (part 2 of 3)
- from Eagle comic, January 25, 1986. Thanks to Ed Jolley for the scan.
Diceman #1 Ad (part 3 of 3)
- from Eagle comic, January 25, 1986. Thanks to Ed Jolley for the scan.
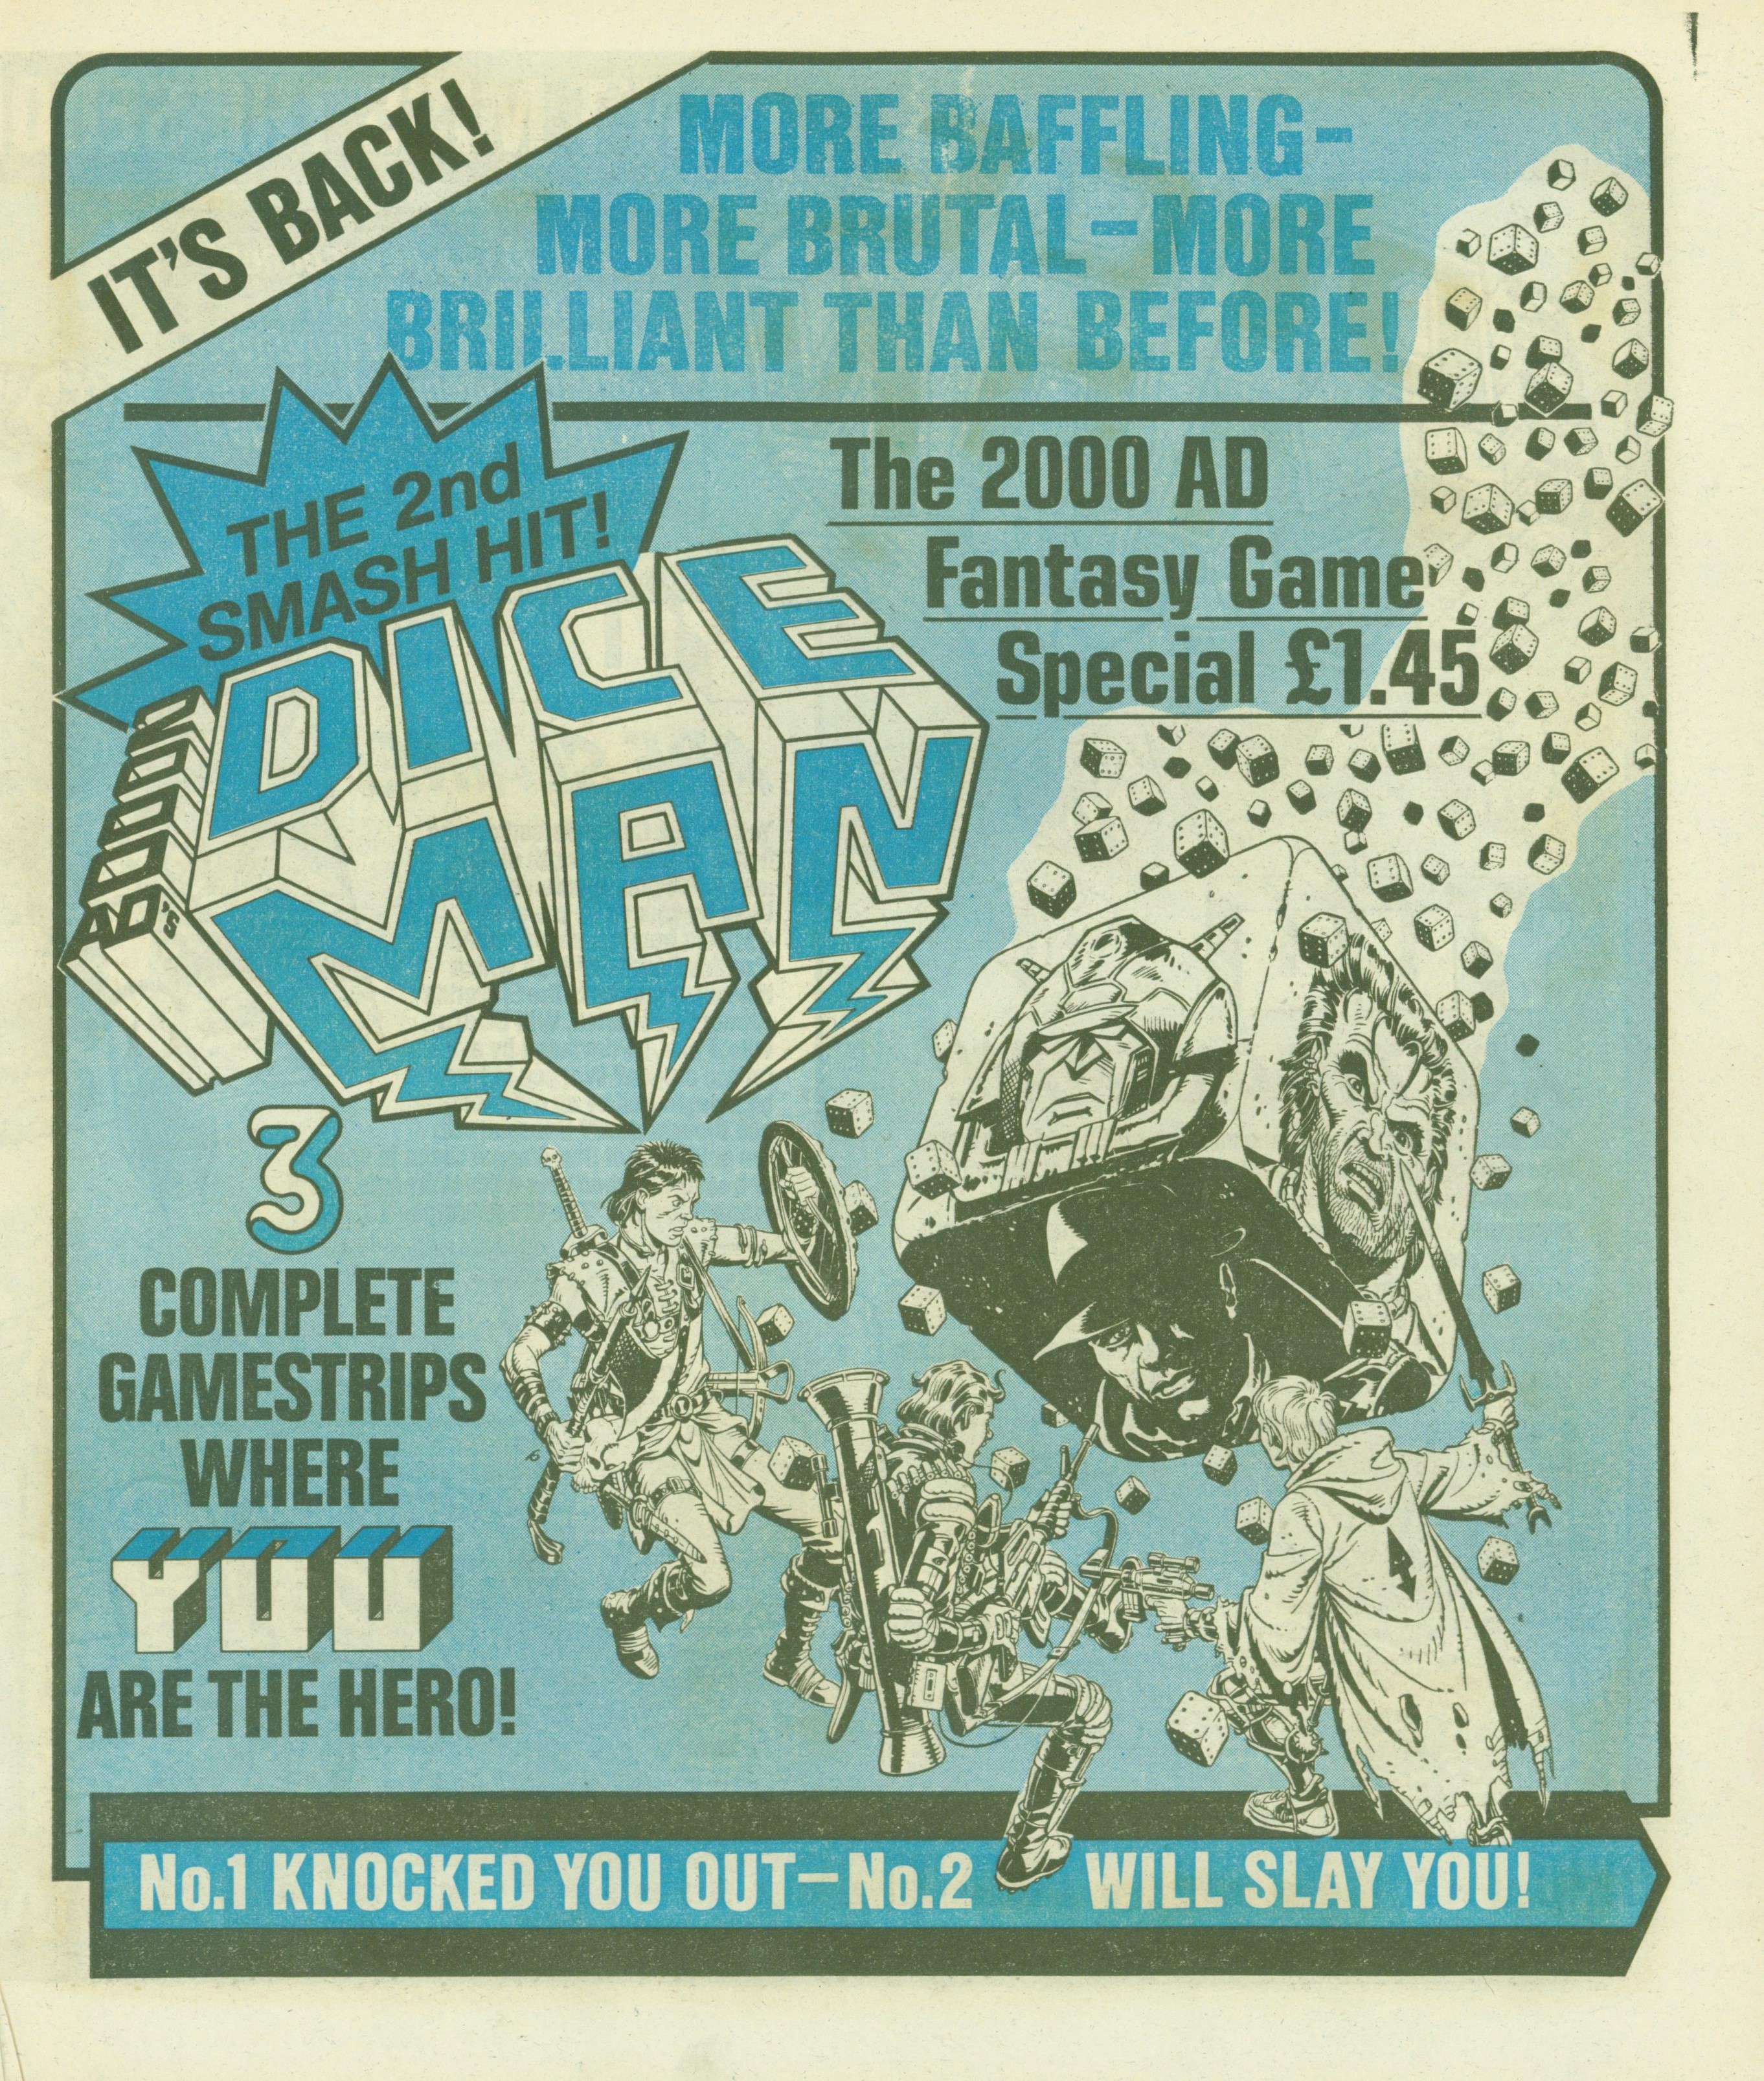
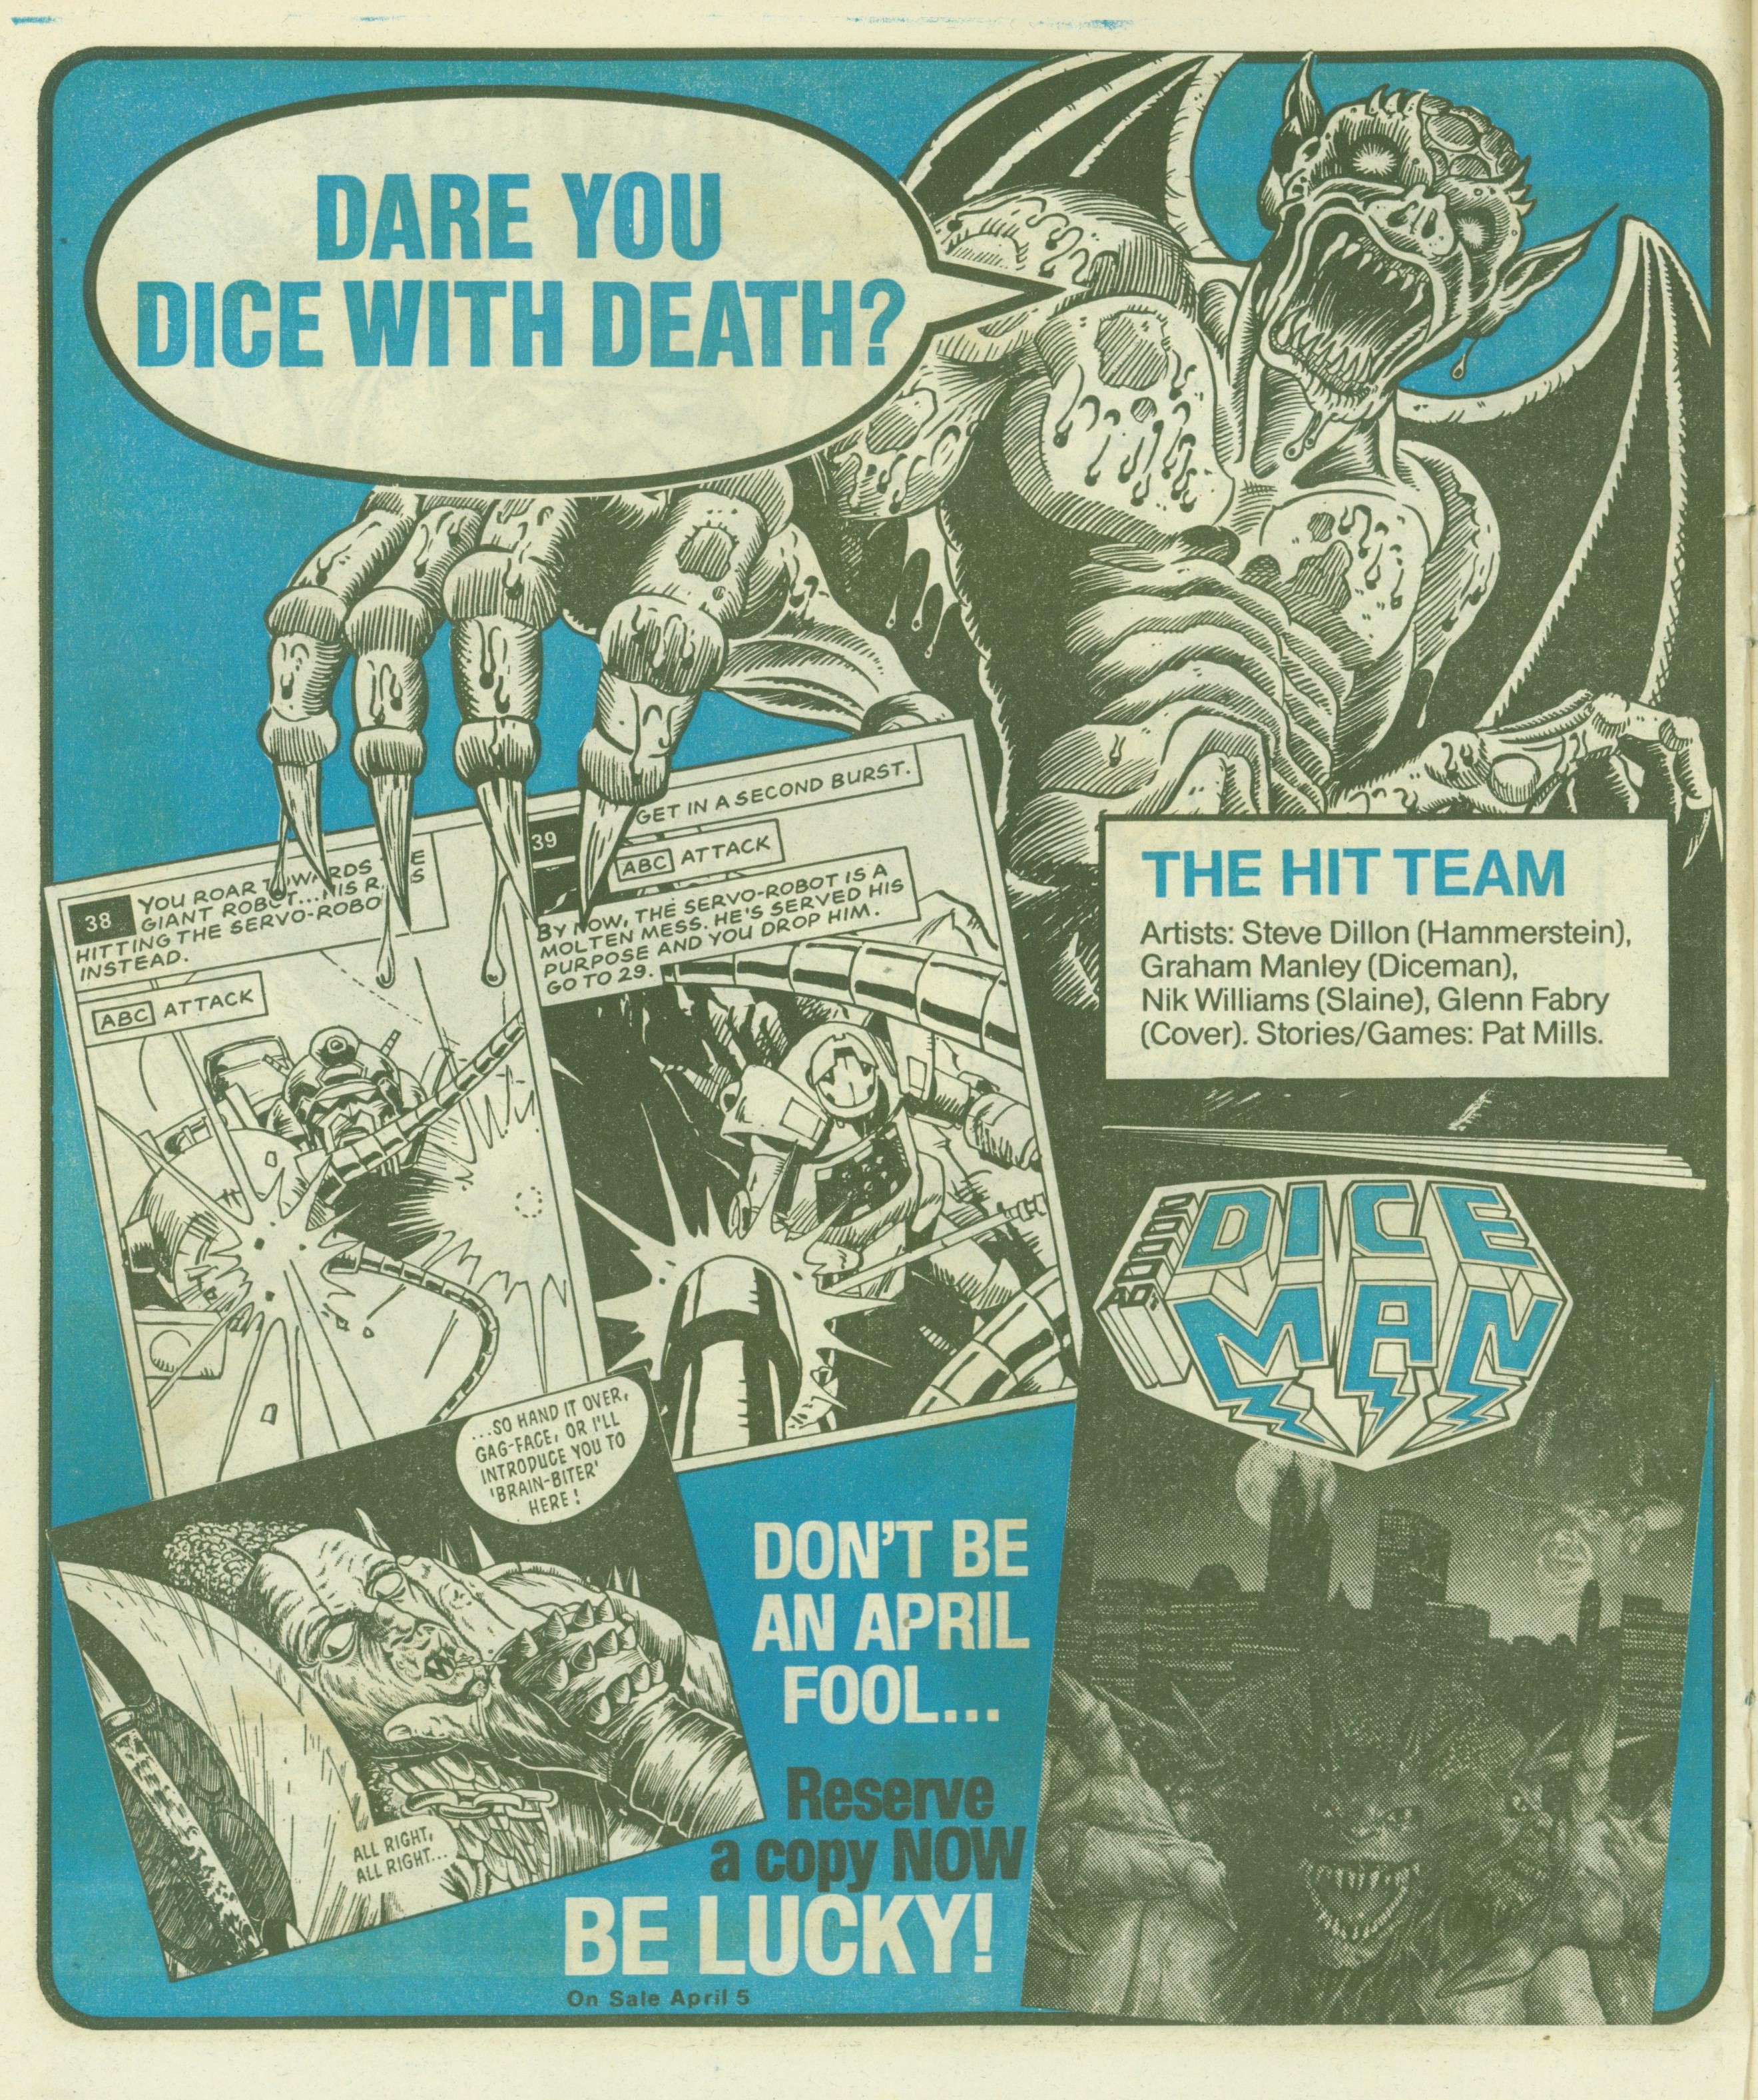
Diceman #2 Ad (part 1 of 3)
- from Eagle comic, April 5, 1986. Thanks to Ed Jolley for the scan.
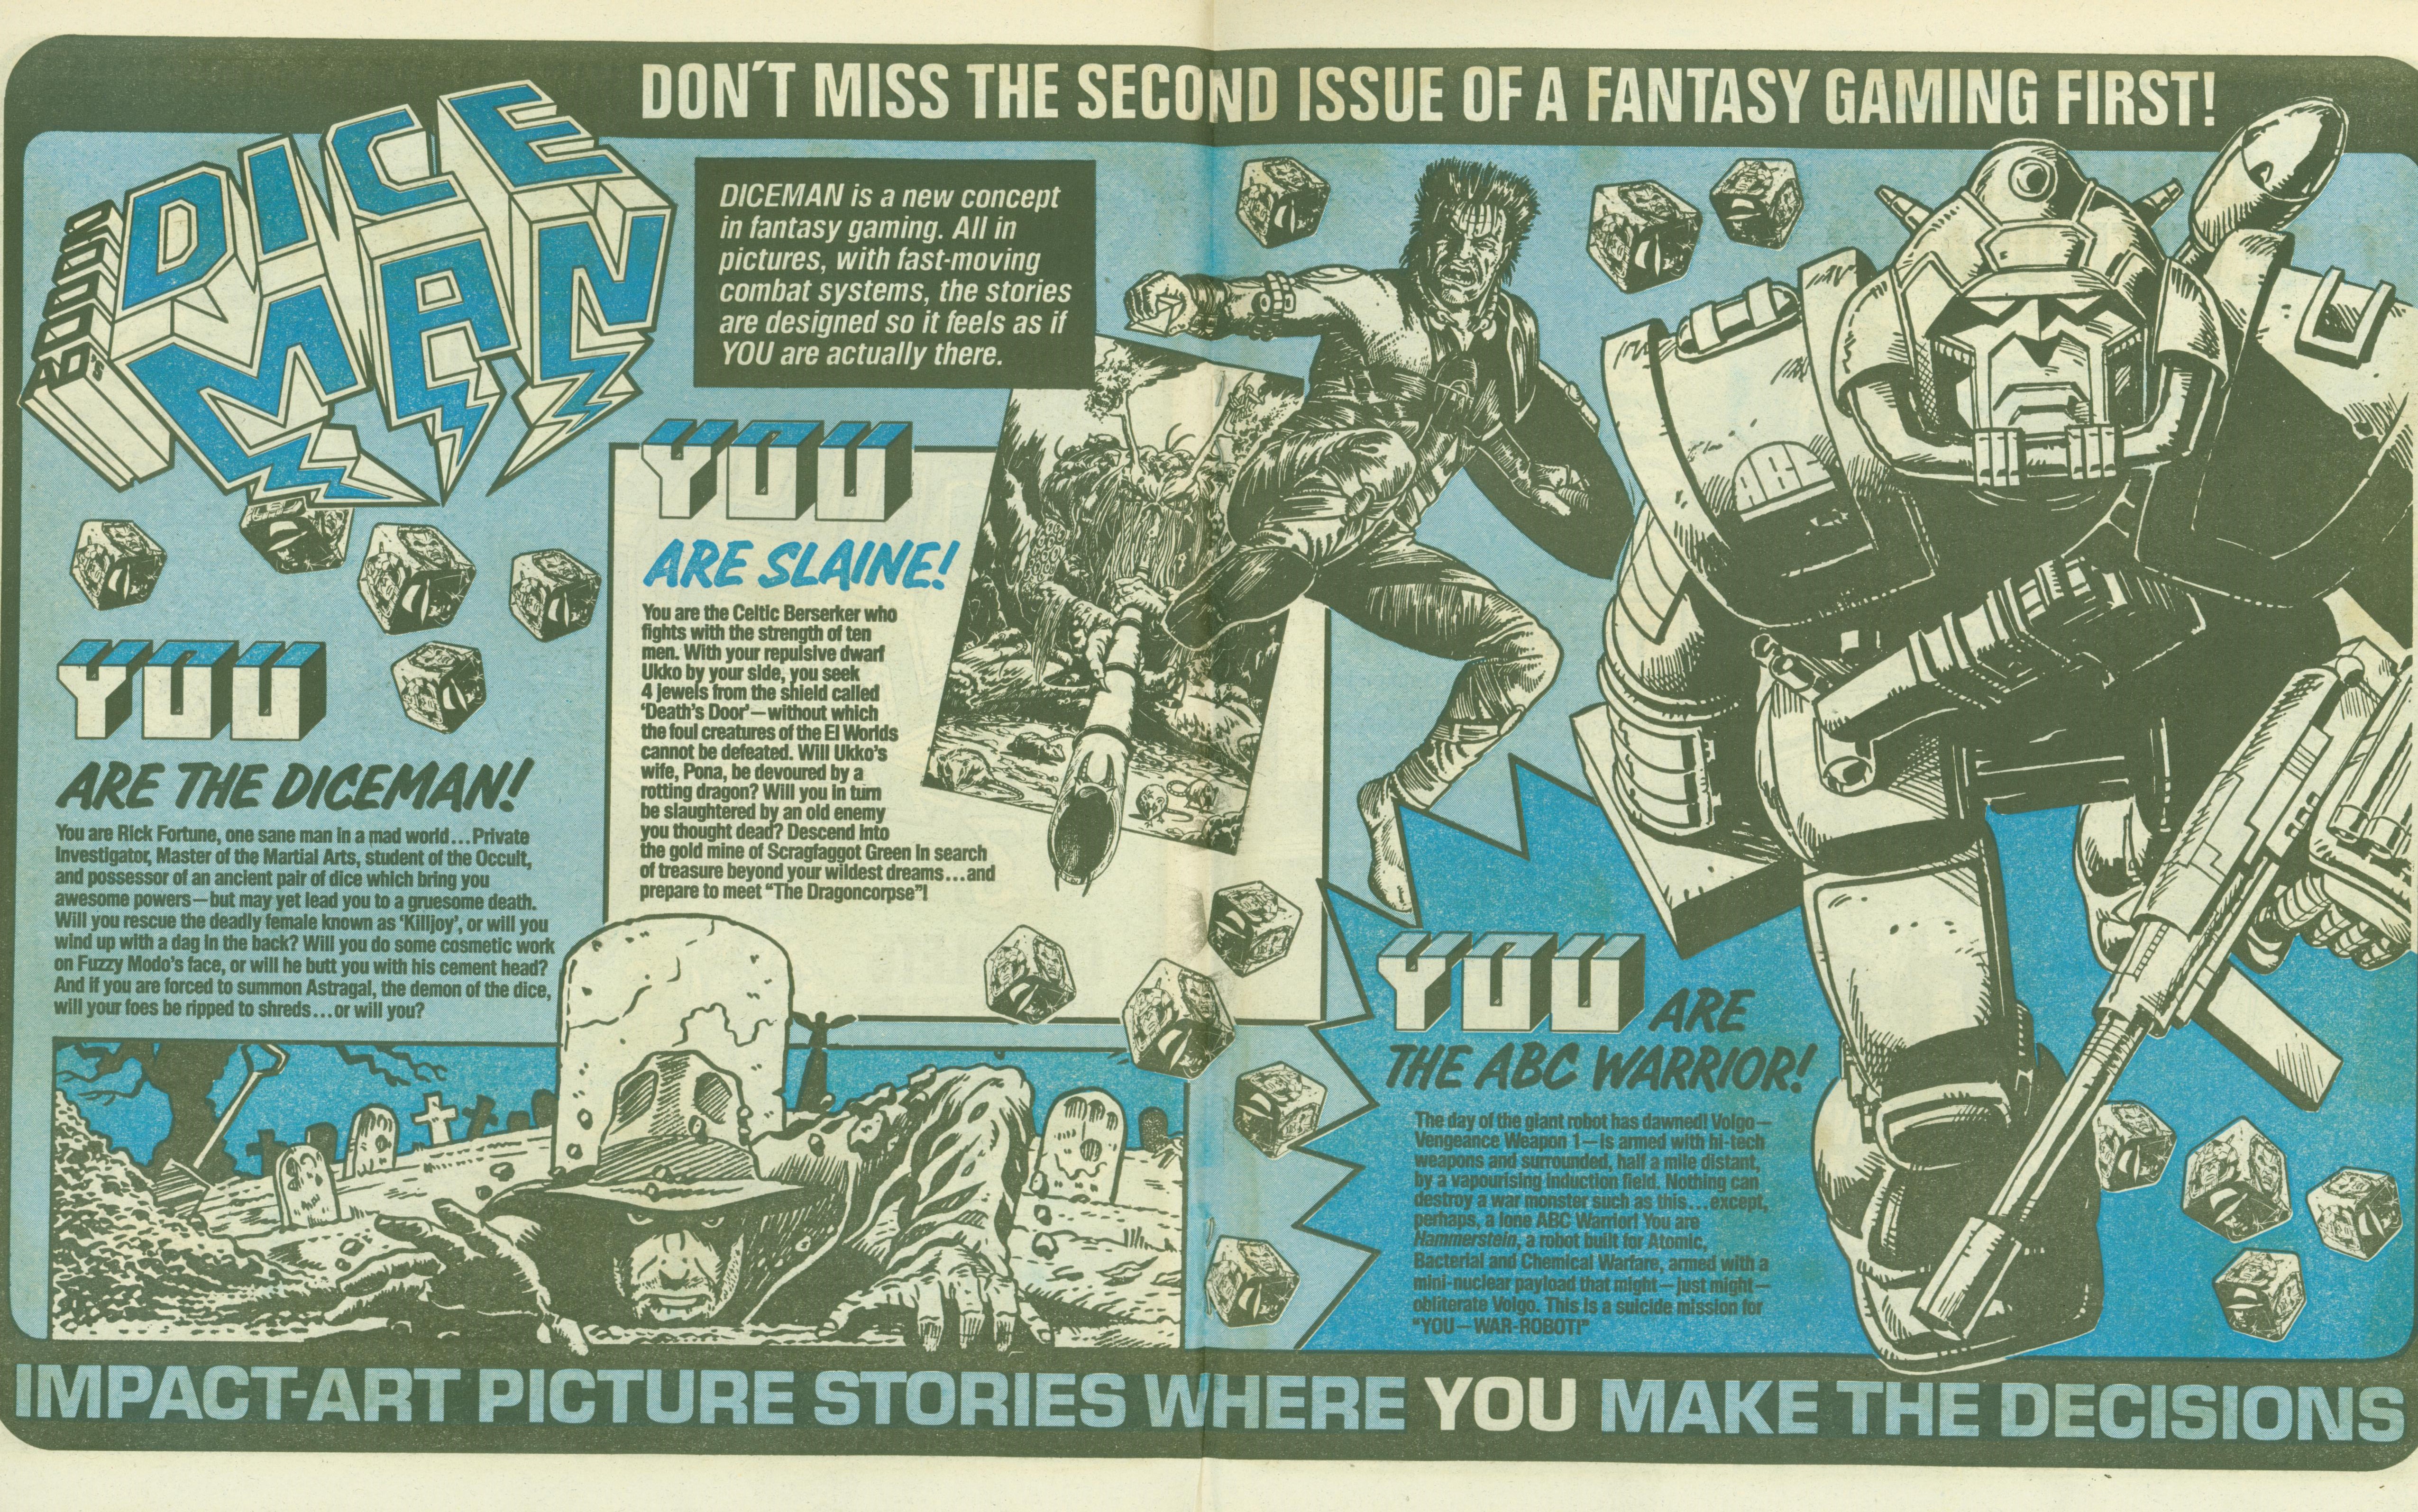
Diceman #2 Ad (part 2 of 3)
- from Eagle comic, April 5, 1986. Thanks to Ed Jolley for the scan.
Diceman #2 Ad (part 3 of 3)
- from Eagle comic, April 5, 1986. Thanks to Ed Jolley for the scan.
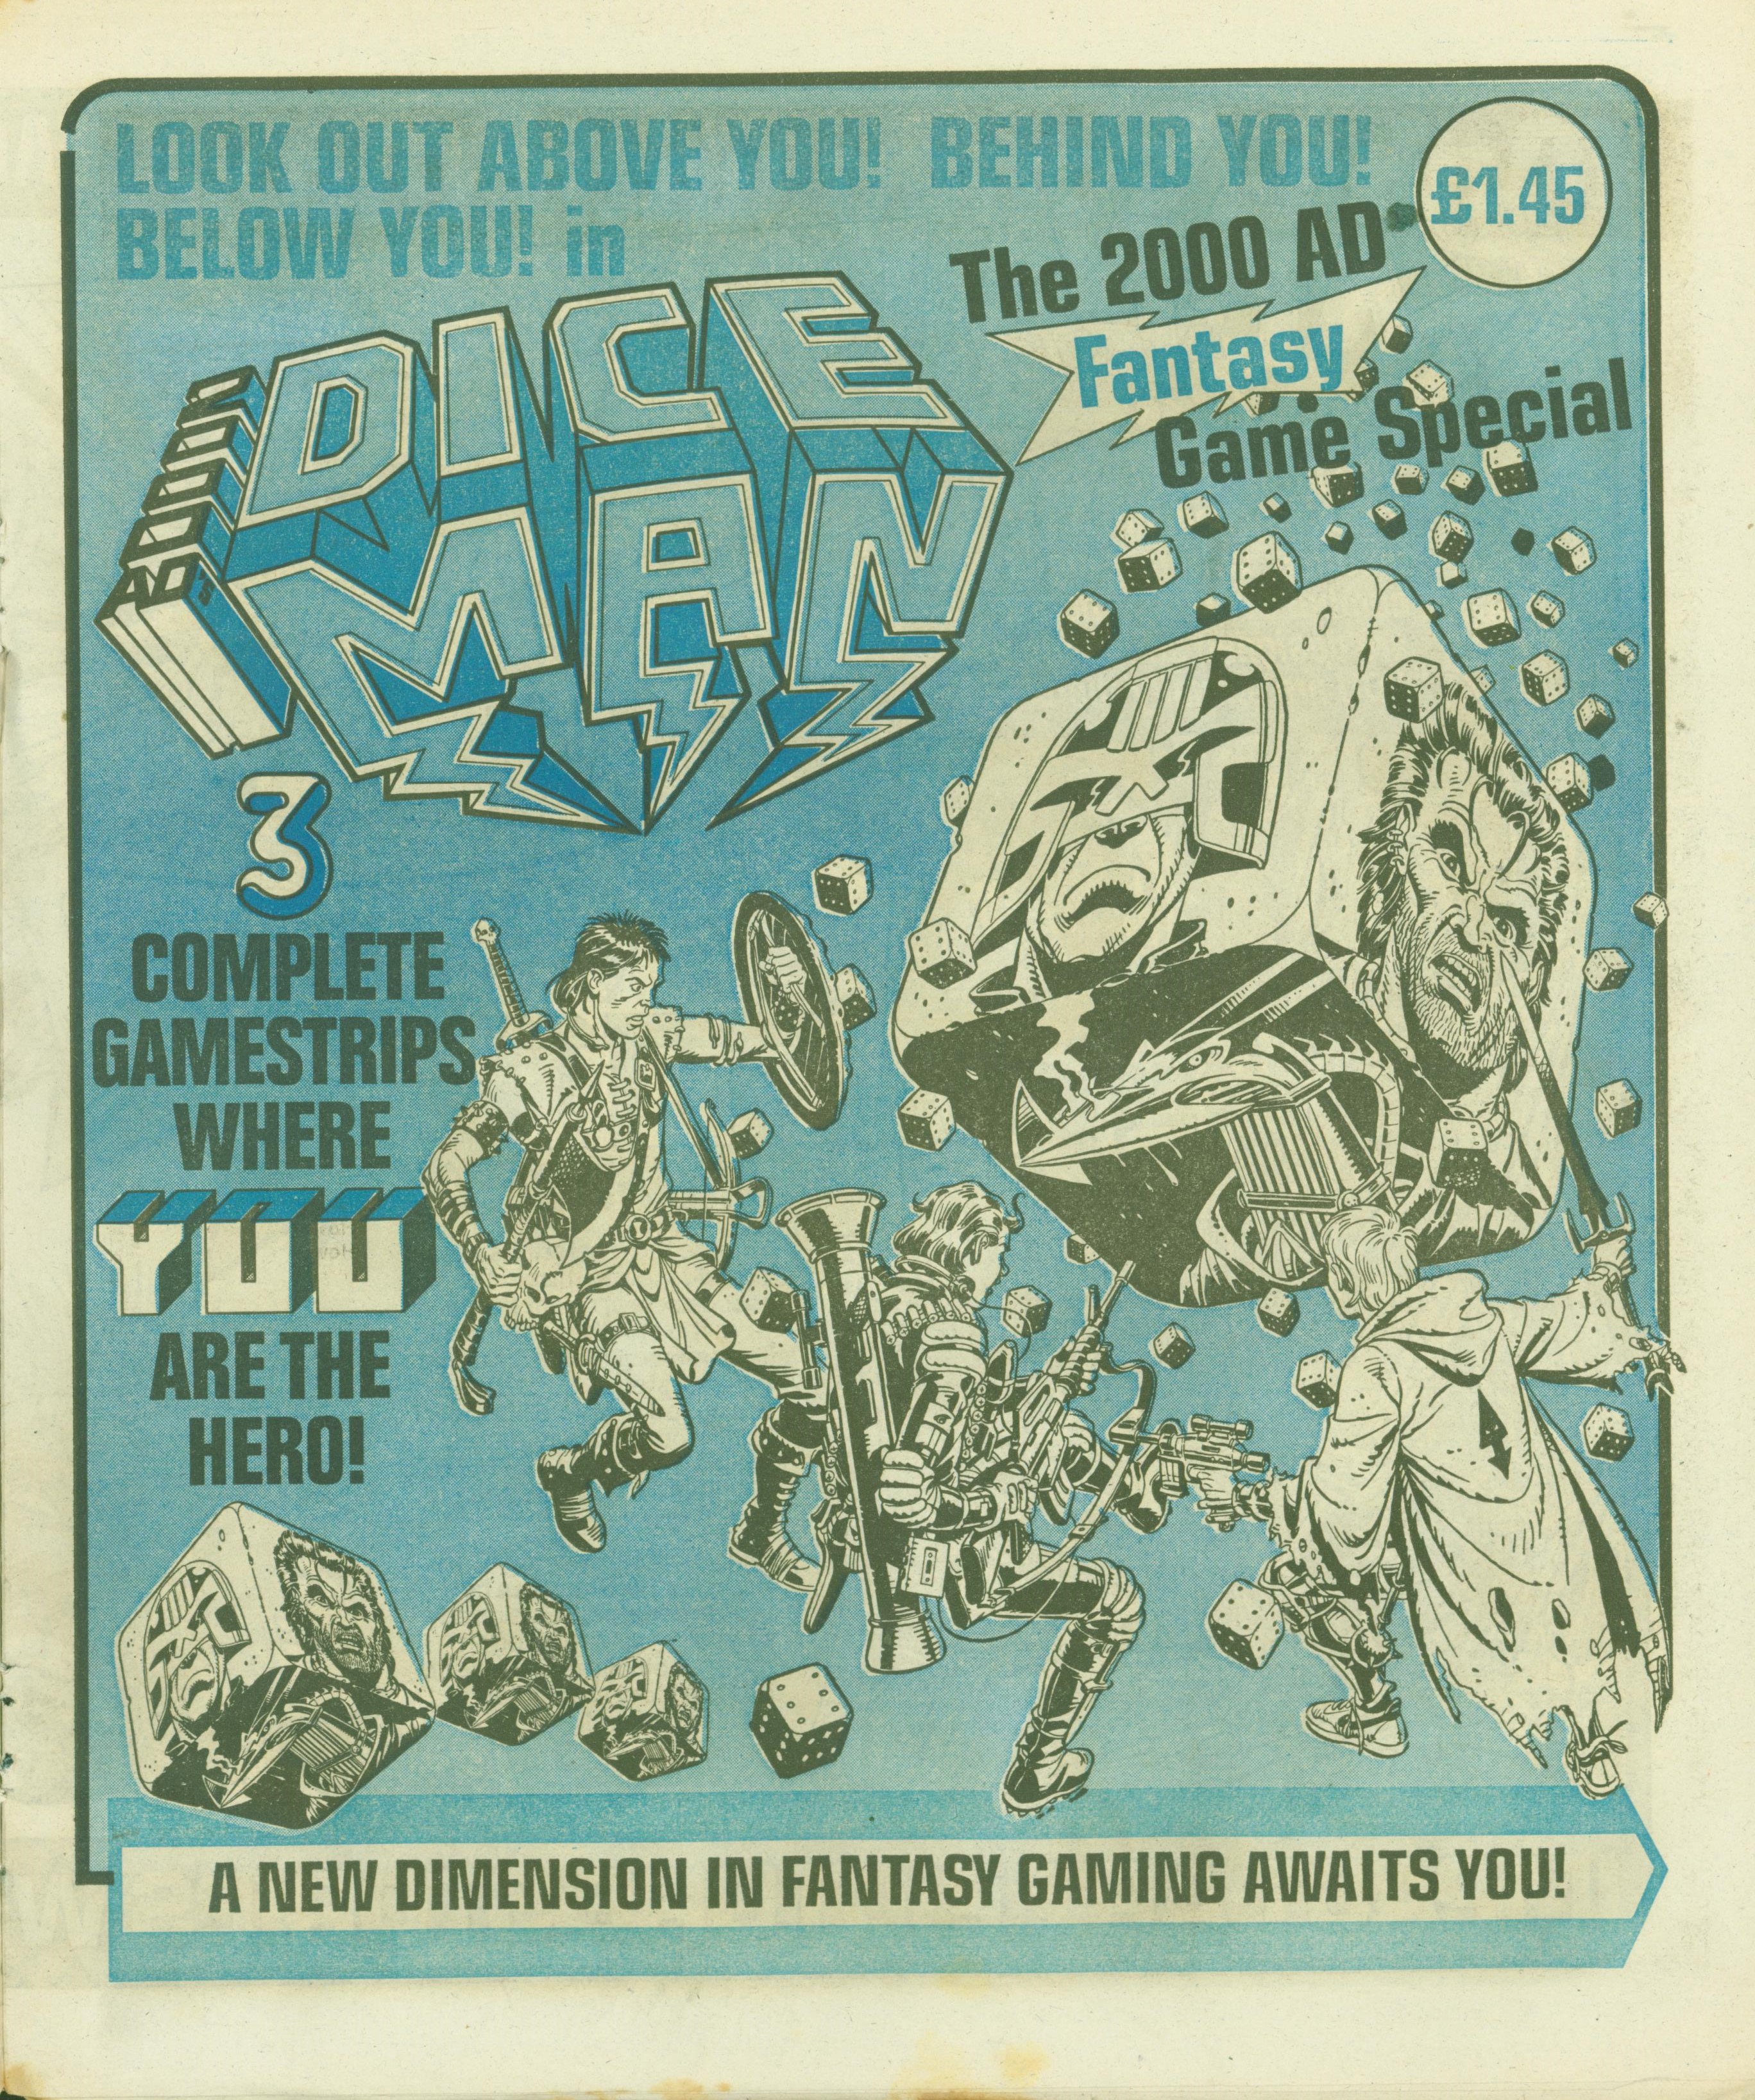
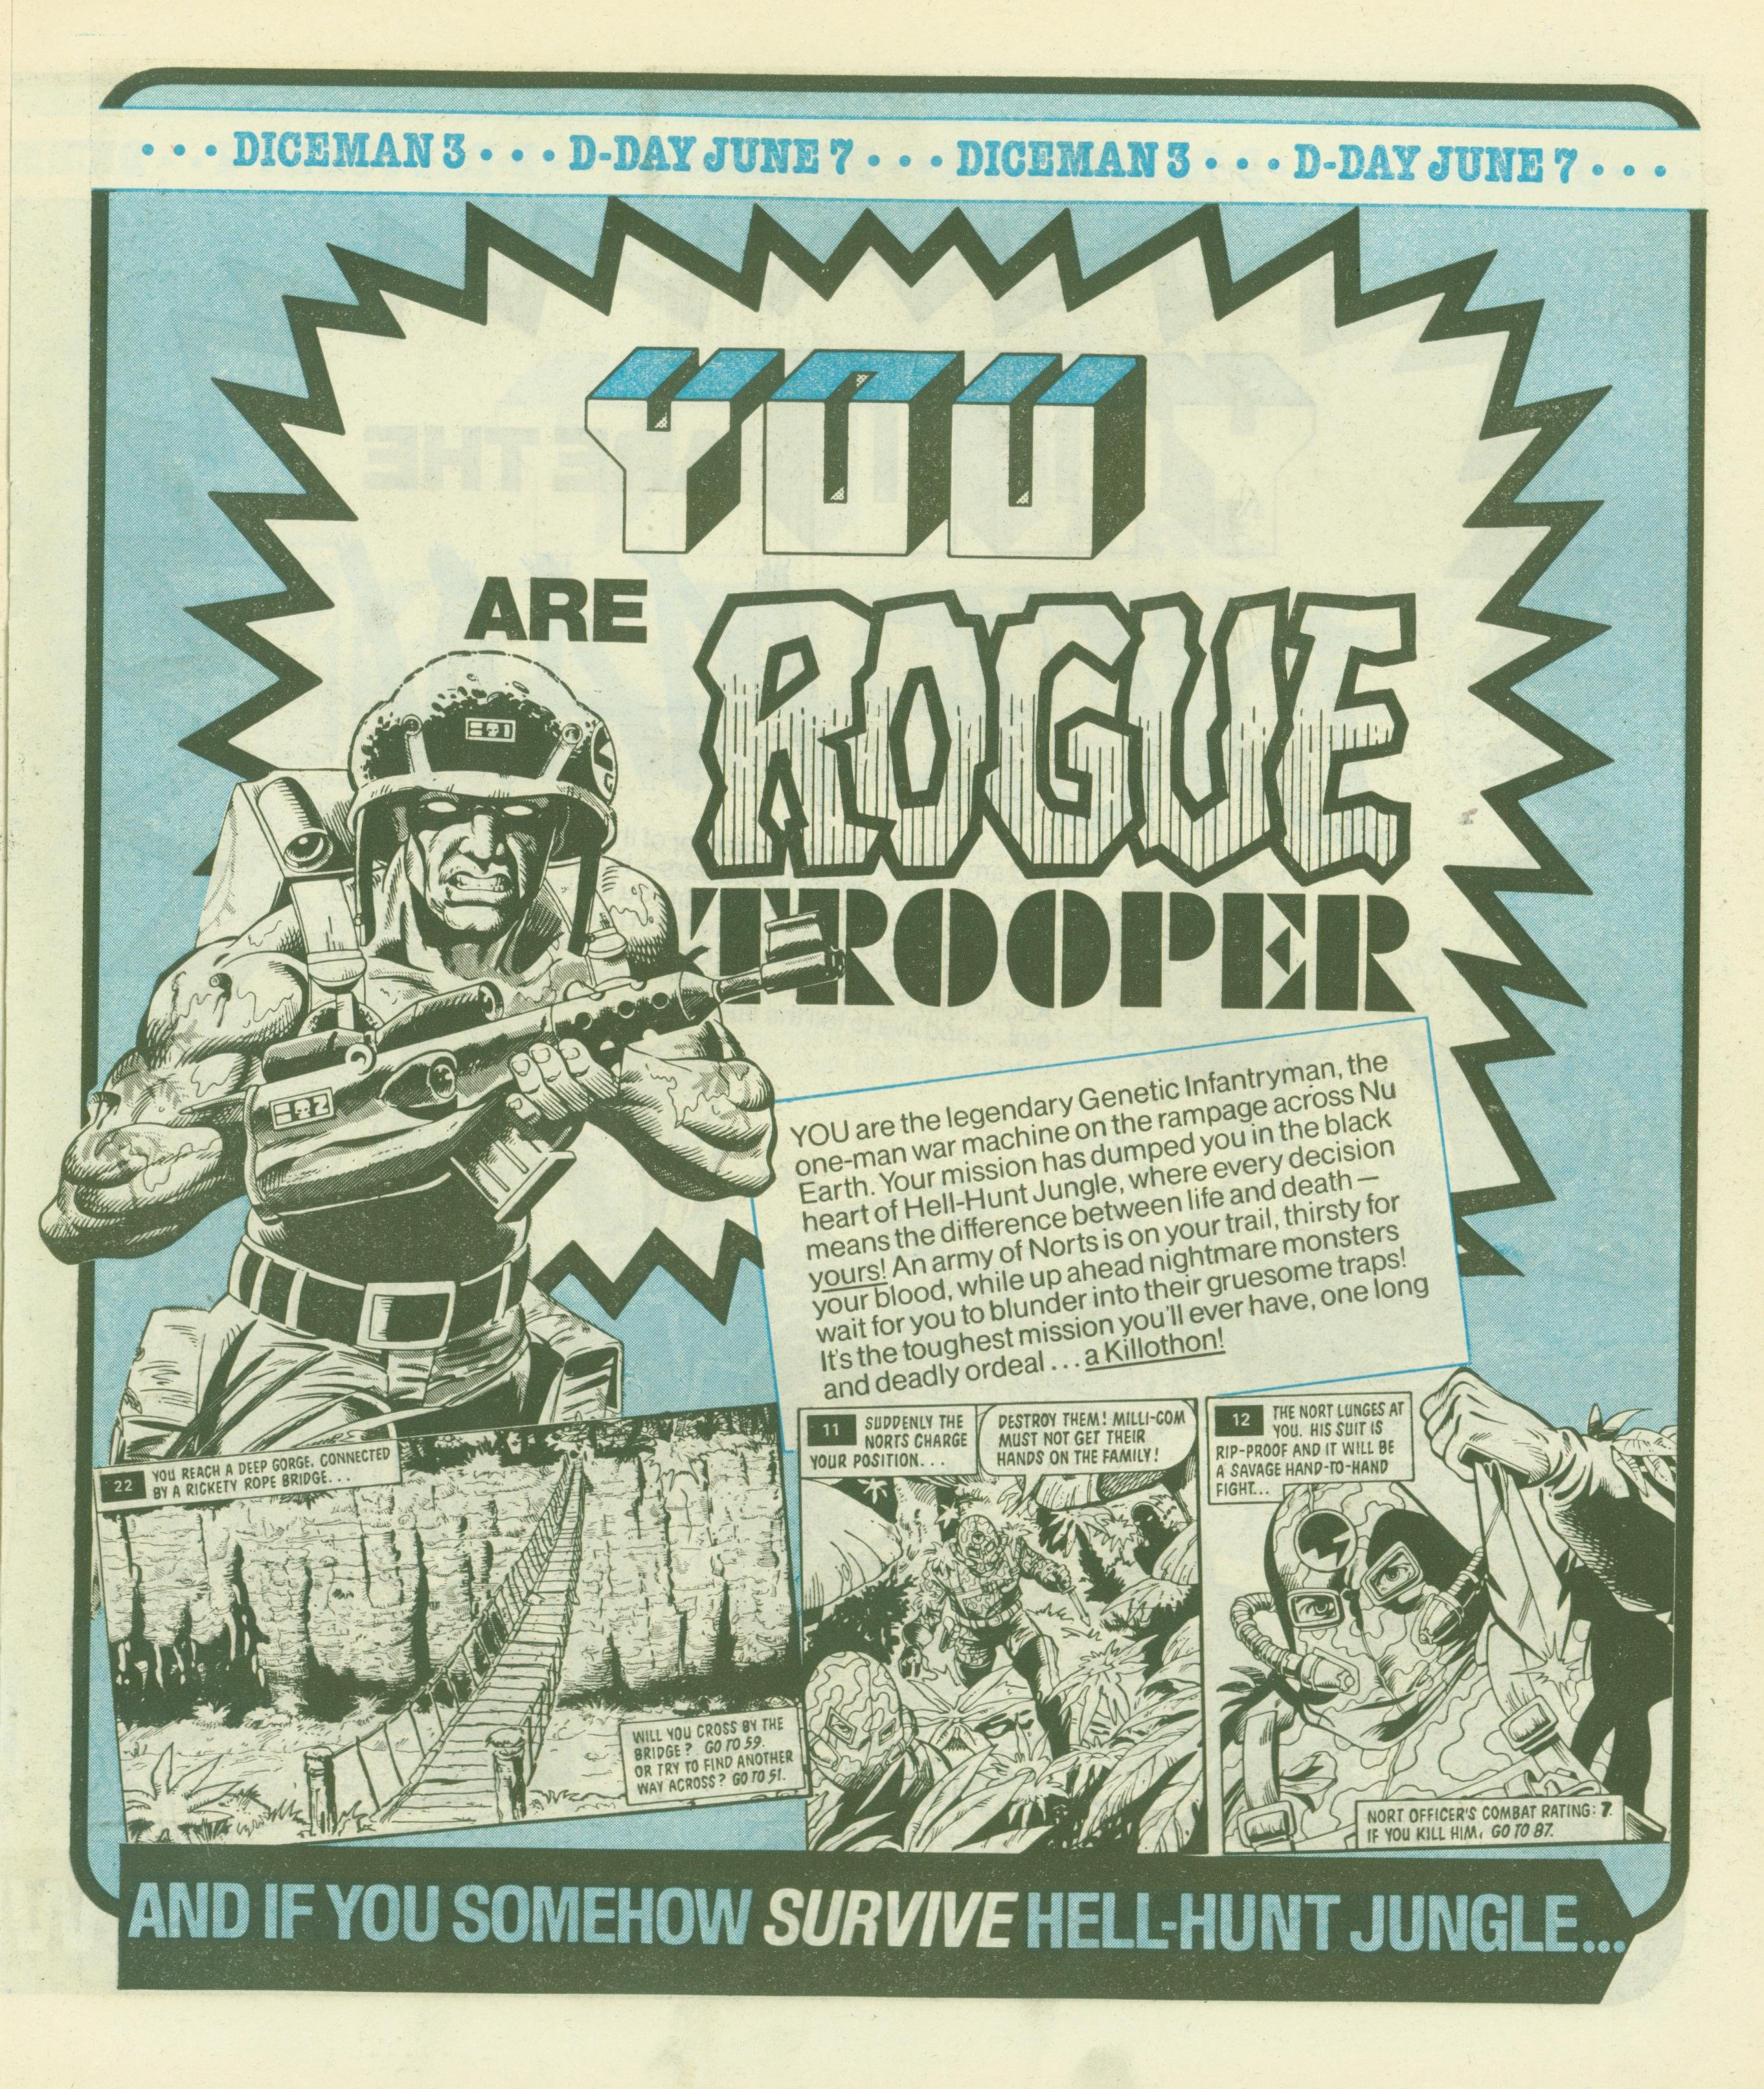
Diceman #3 Ad (part 1 of 3)
- from Eagle comic, June 7, 1986. Thanks to Ed Jolley for the scan.
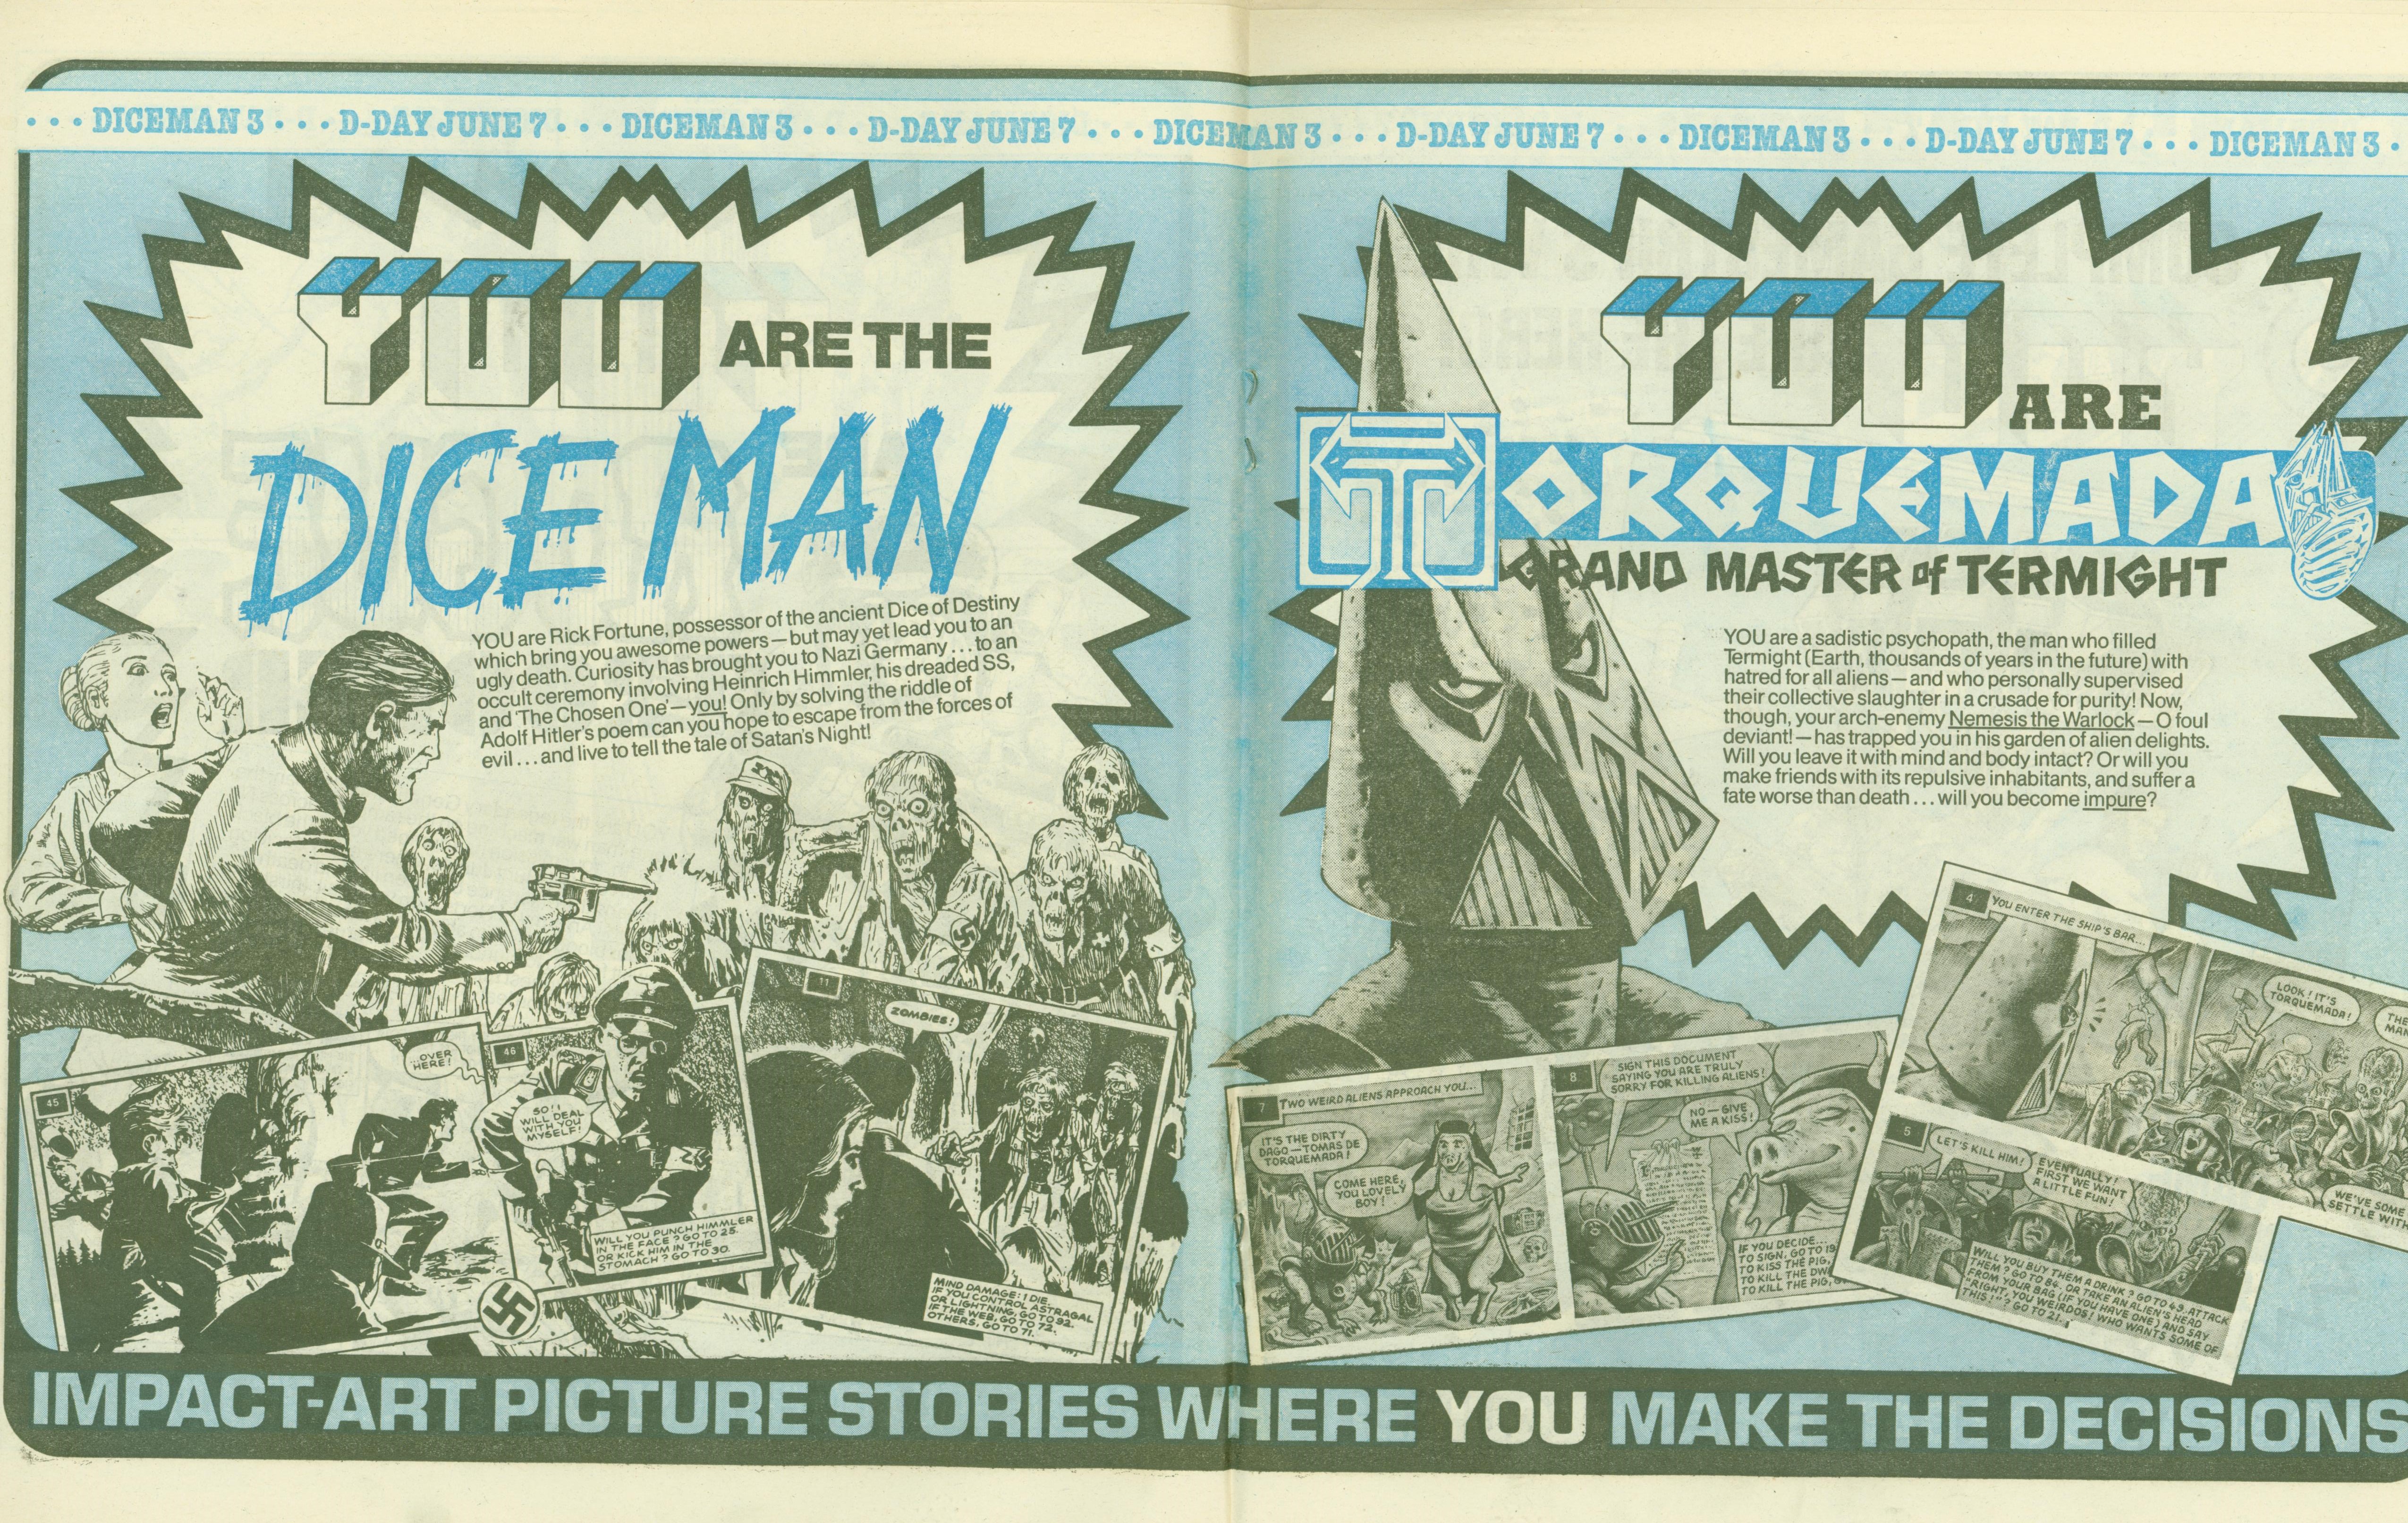
Diceman #3 Ad (part 2 of 2)
- from Eagle comic, June 7, 1986. Thanks to Ed Jolley for the scan.
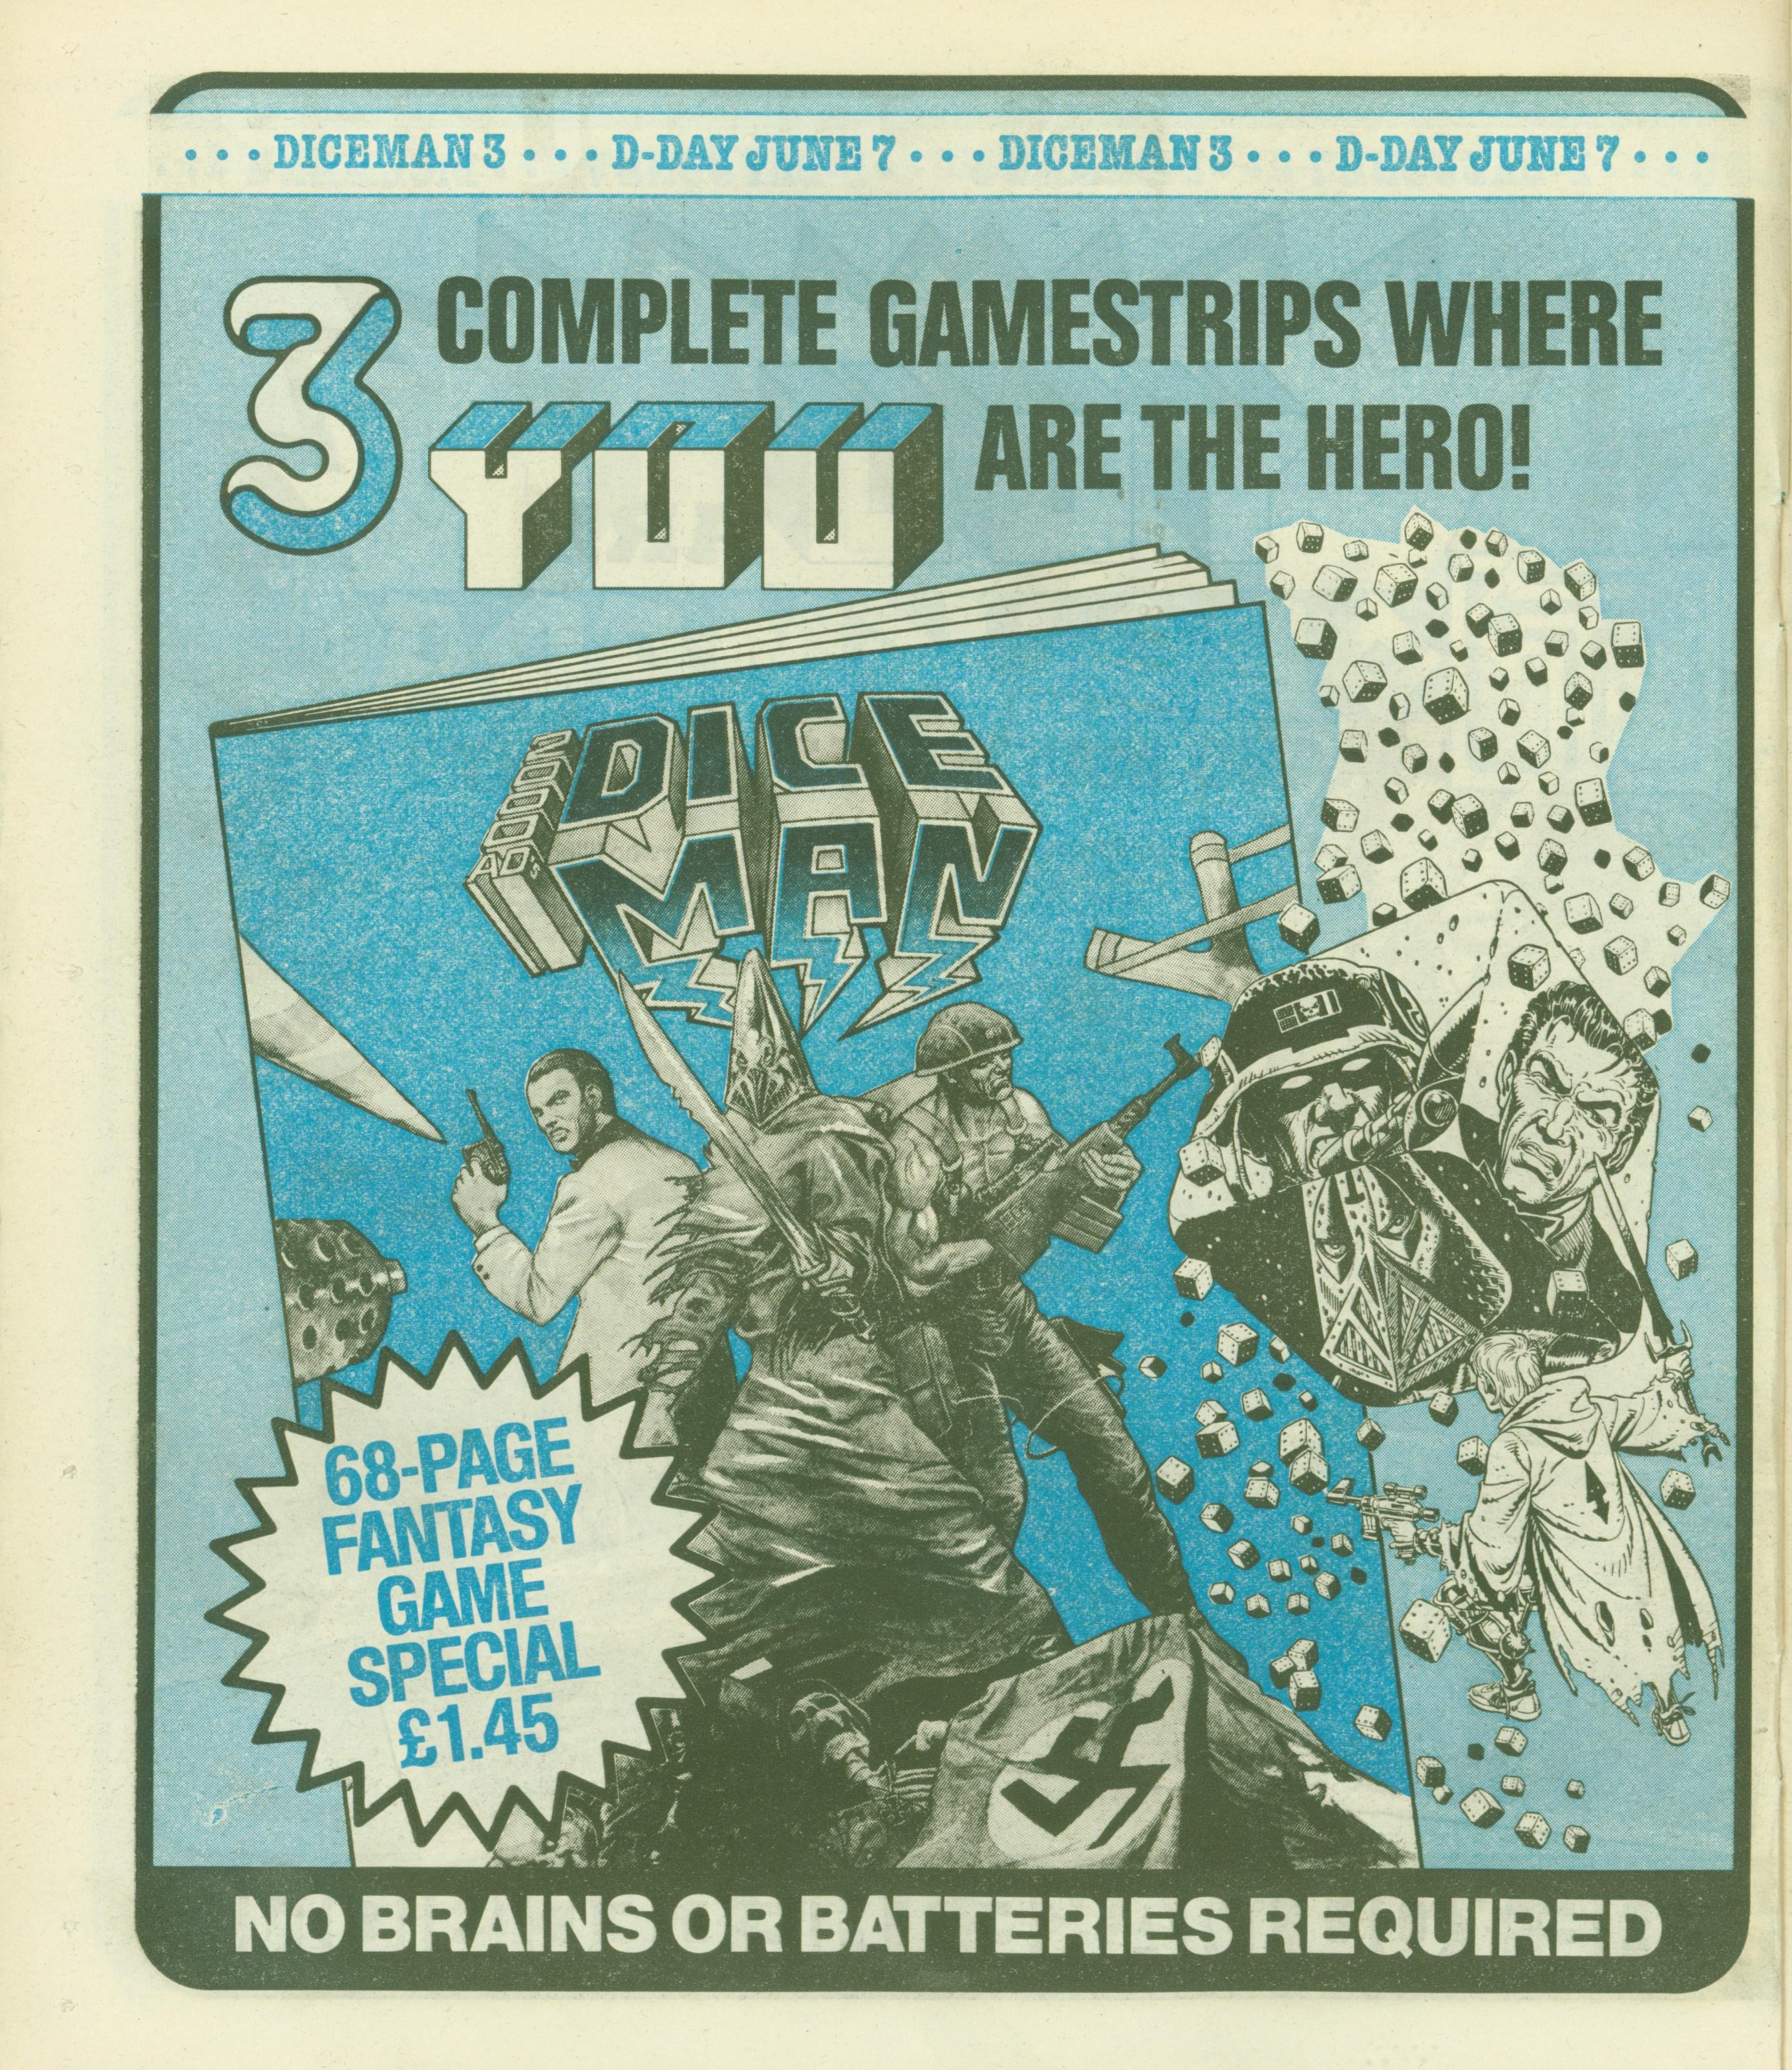
Diceman #3 Ad (part 3 of 3)
- from Eagle comic, June 7, 1986. Thanks to Ed Jolley for the scan.
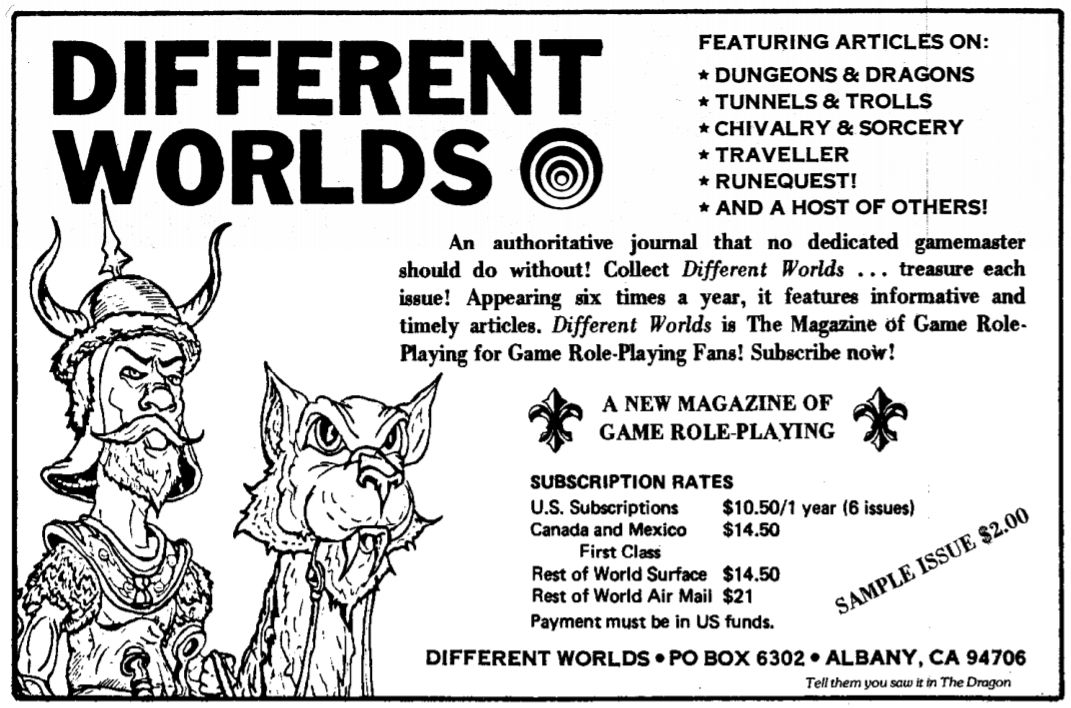
Different Worlds Ad
- from Dragon #30, page 38. Reprinted in Dragon #31, page 34. Thanks to Pedro Panhoca for the scan.
Endless Quest series from Dragon #95
- Thanks to Jim Oaks for the image!
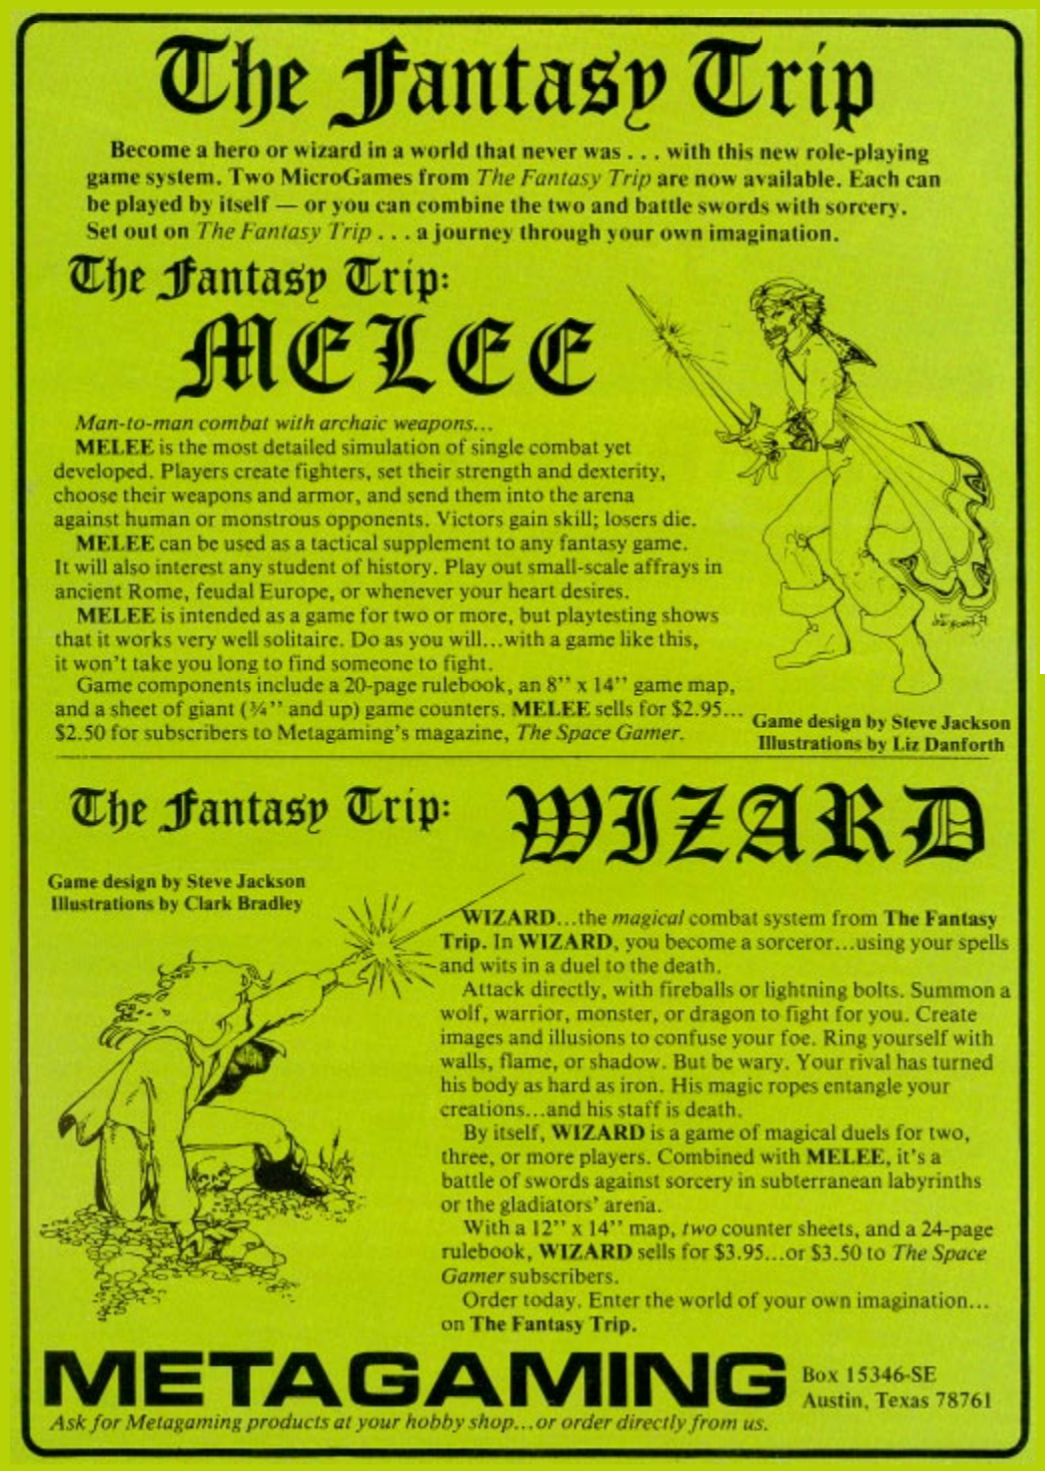
Fantasy Trip Ad (green)
- from Dragon #12, page 32. Thanks to Pedro Panhoca for the scan.
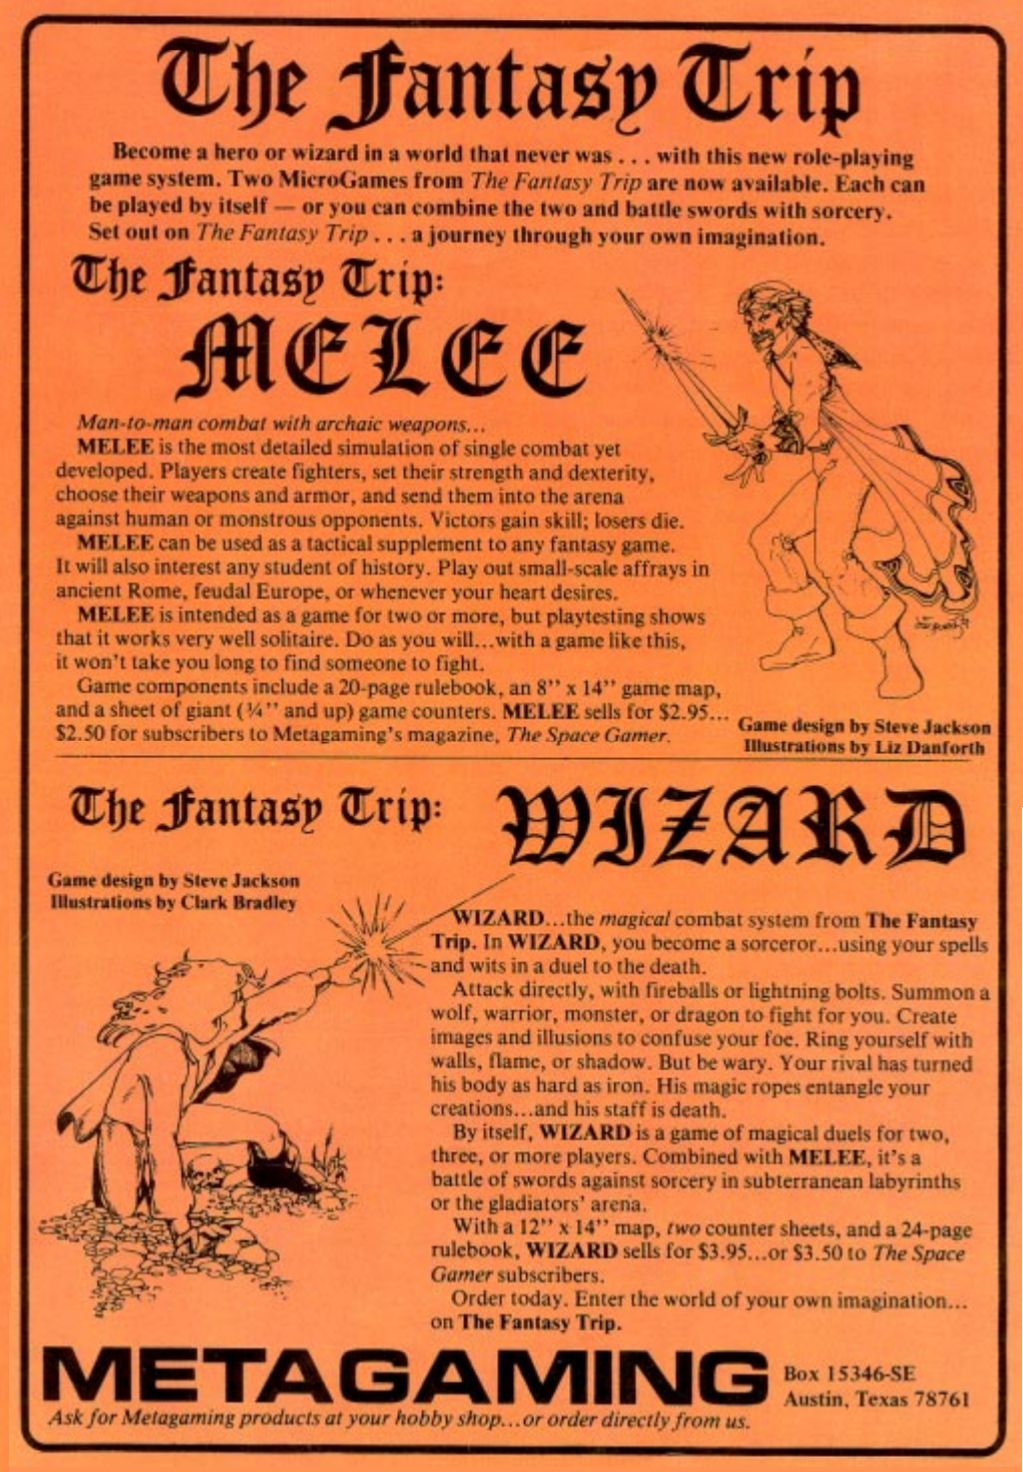
Fantasy Trip Ad (orange)
- from Dragon #14, page 34. Thanks to Pedro Panhoca for the scan.
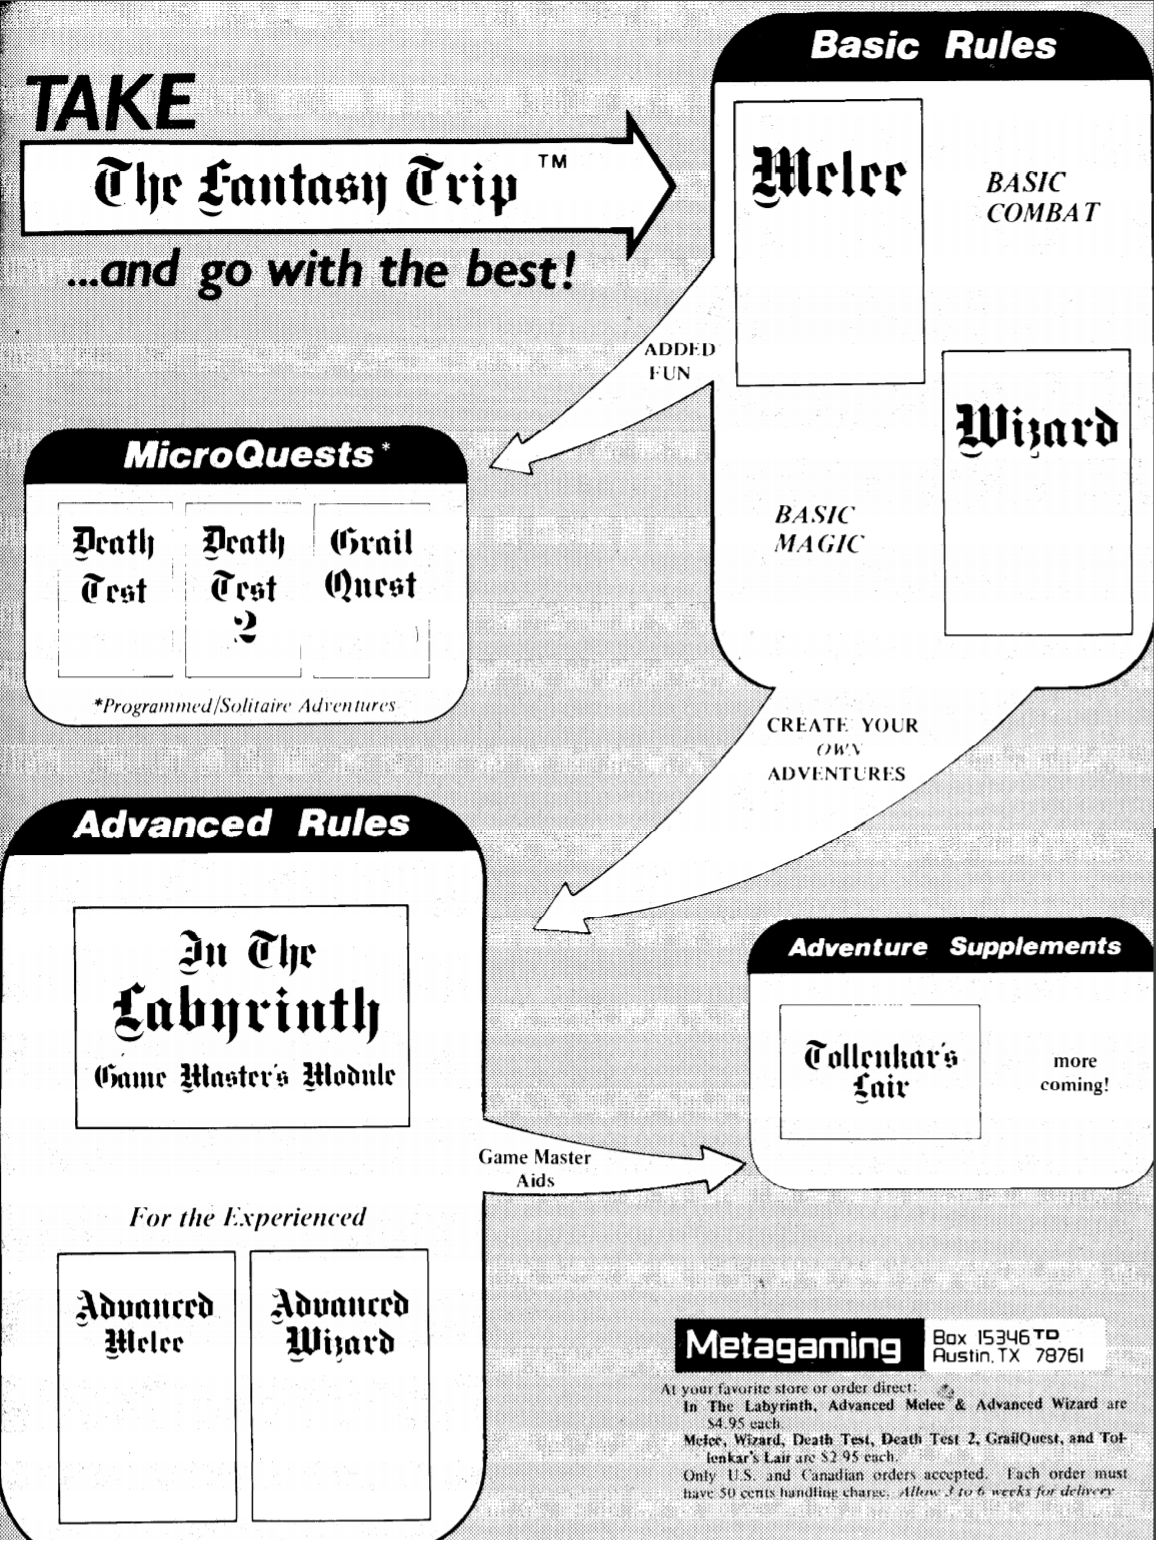
Fantasy Trip: Take the Fantasy Trip Ad
- from Dragon #37, page 53. Reprinted in Dragon #39, page 63; #41, page 61; #43, page 77; and #45, page 75. Thanks to Pedro Panhoca for the scan.
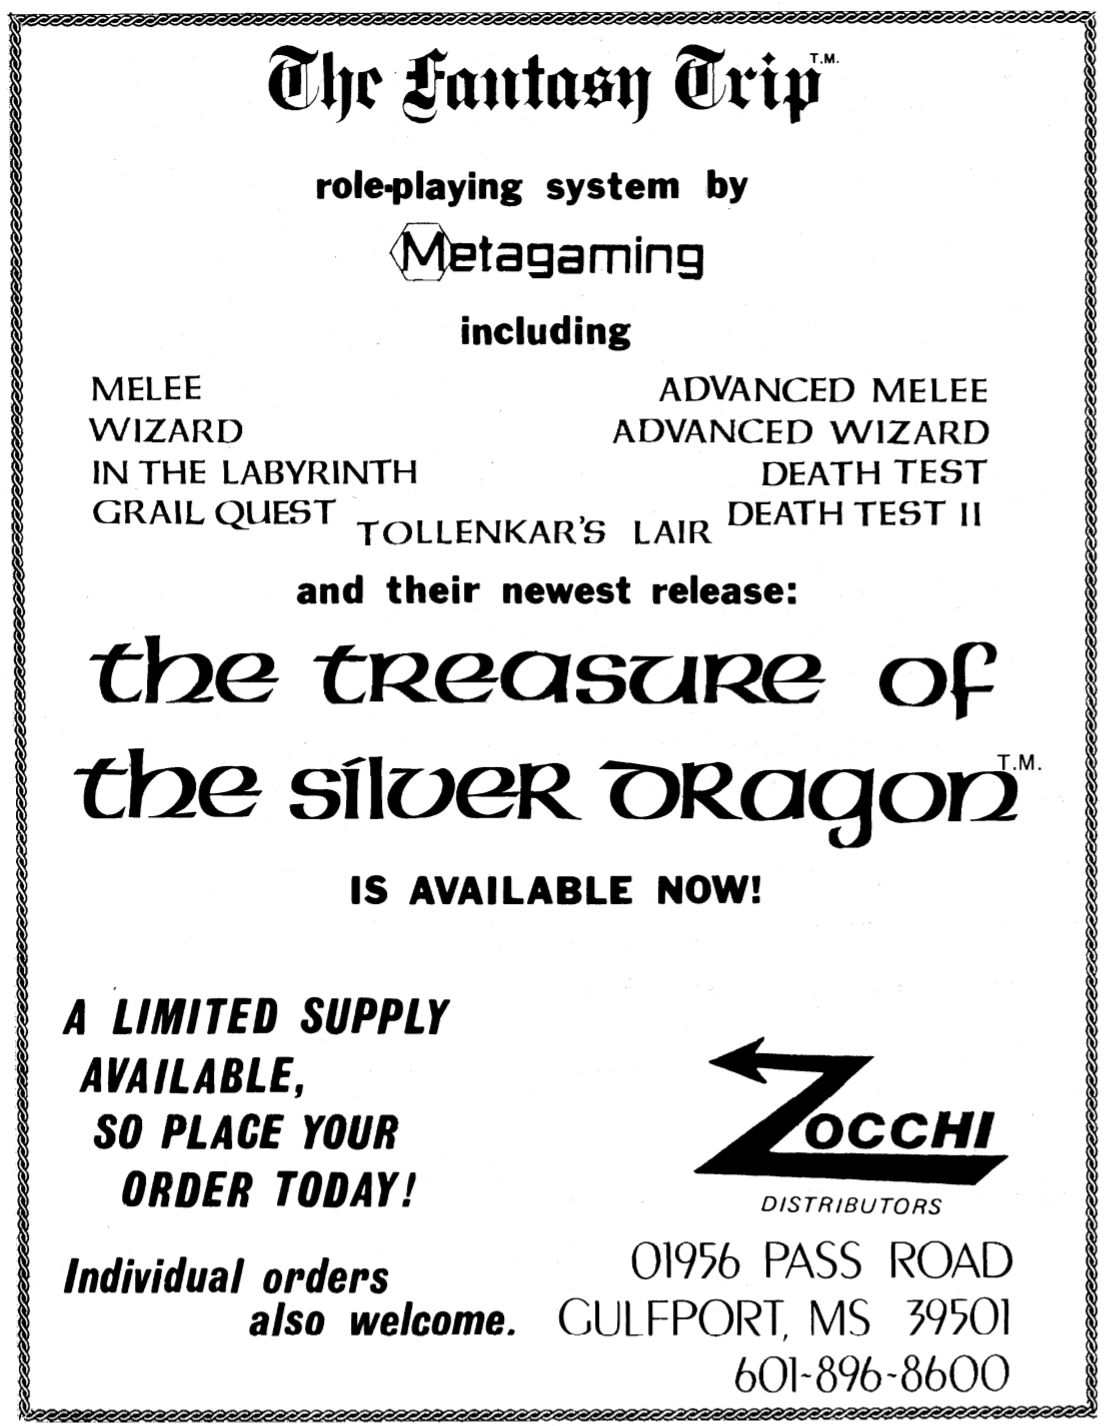
Fantasy Trip: Treasure of the Silver Dragon Ad #1
- from Dragon #40, page 37. Thanks to Pedro Panhoca for the scan.
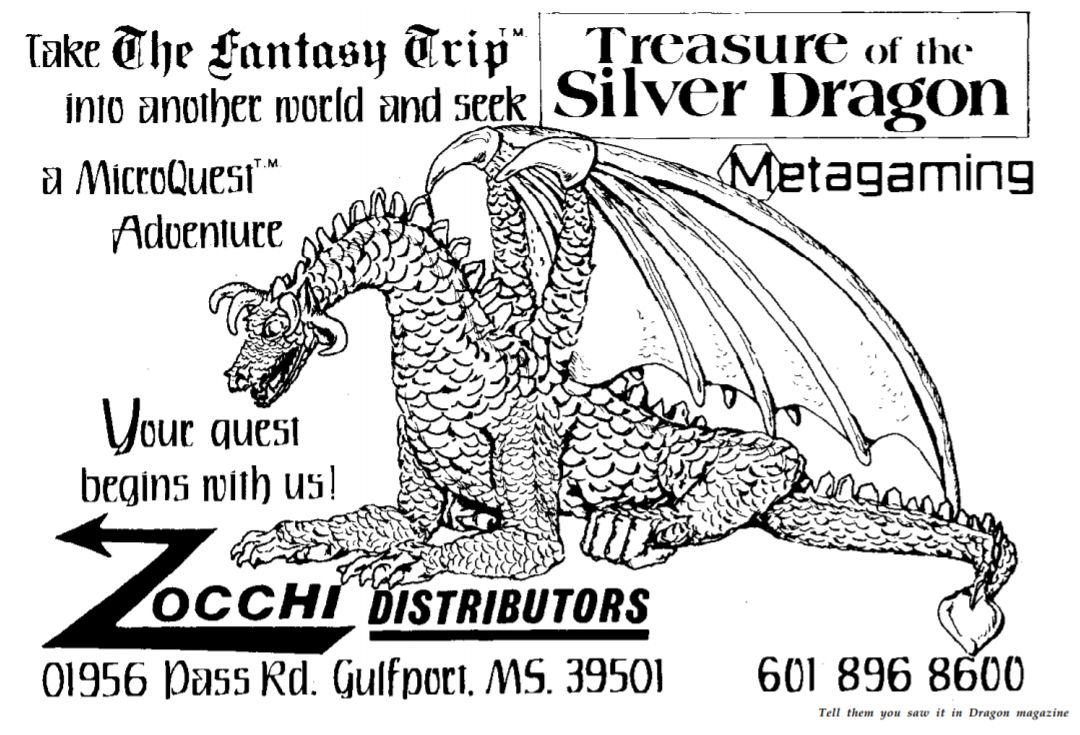
Fantasy Trip: Treasure of the Silver Dragon Ad #2
- from Dragon #42, page 17. Thanks to Pedro Panhoca for the scan.
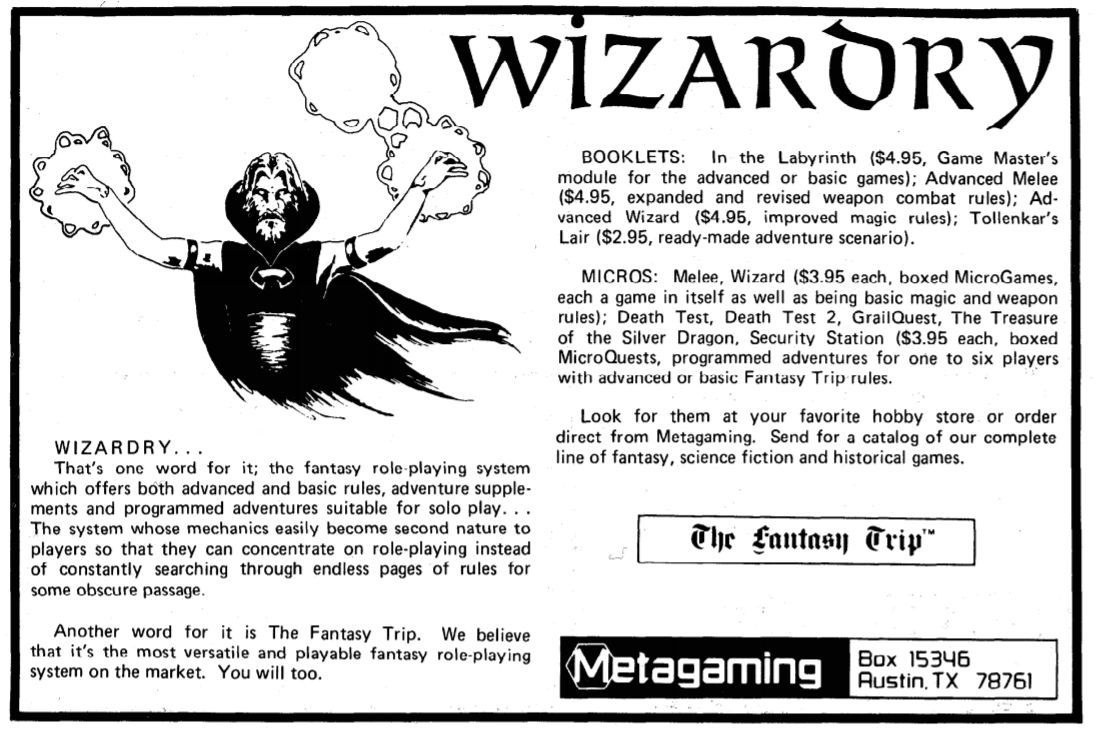
Fantasy Trip: Wizardry Ad
- from Dragon #47, page 55. Also reprinted in #49, page 23; #50, page 21; and #51, page 29. Thanks to Pedro Panhoca for the scan.
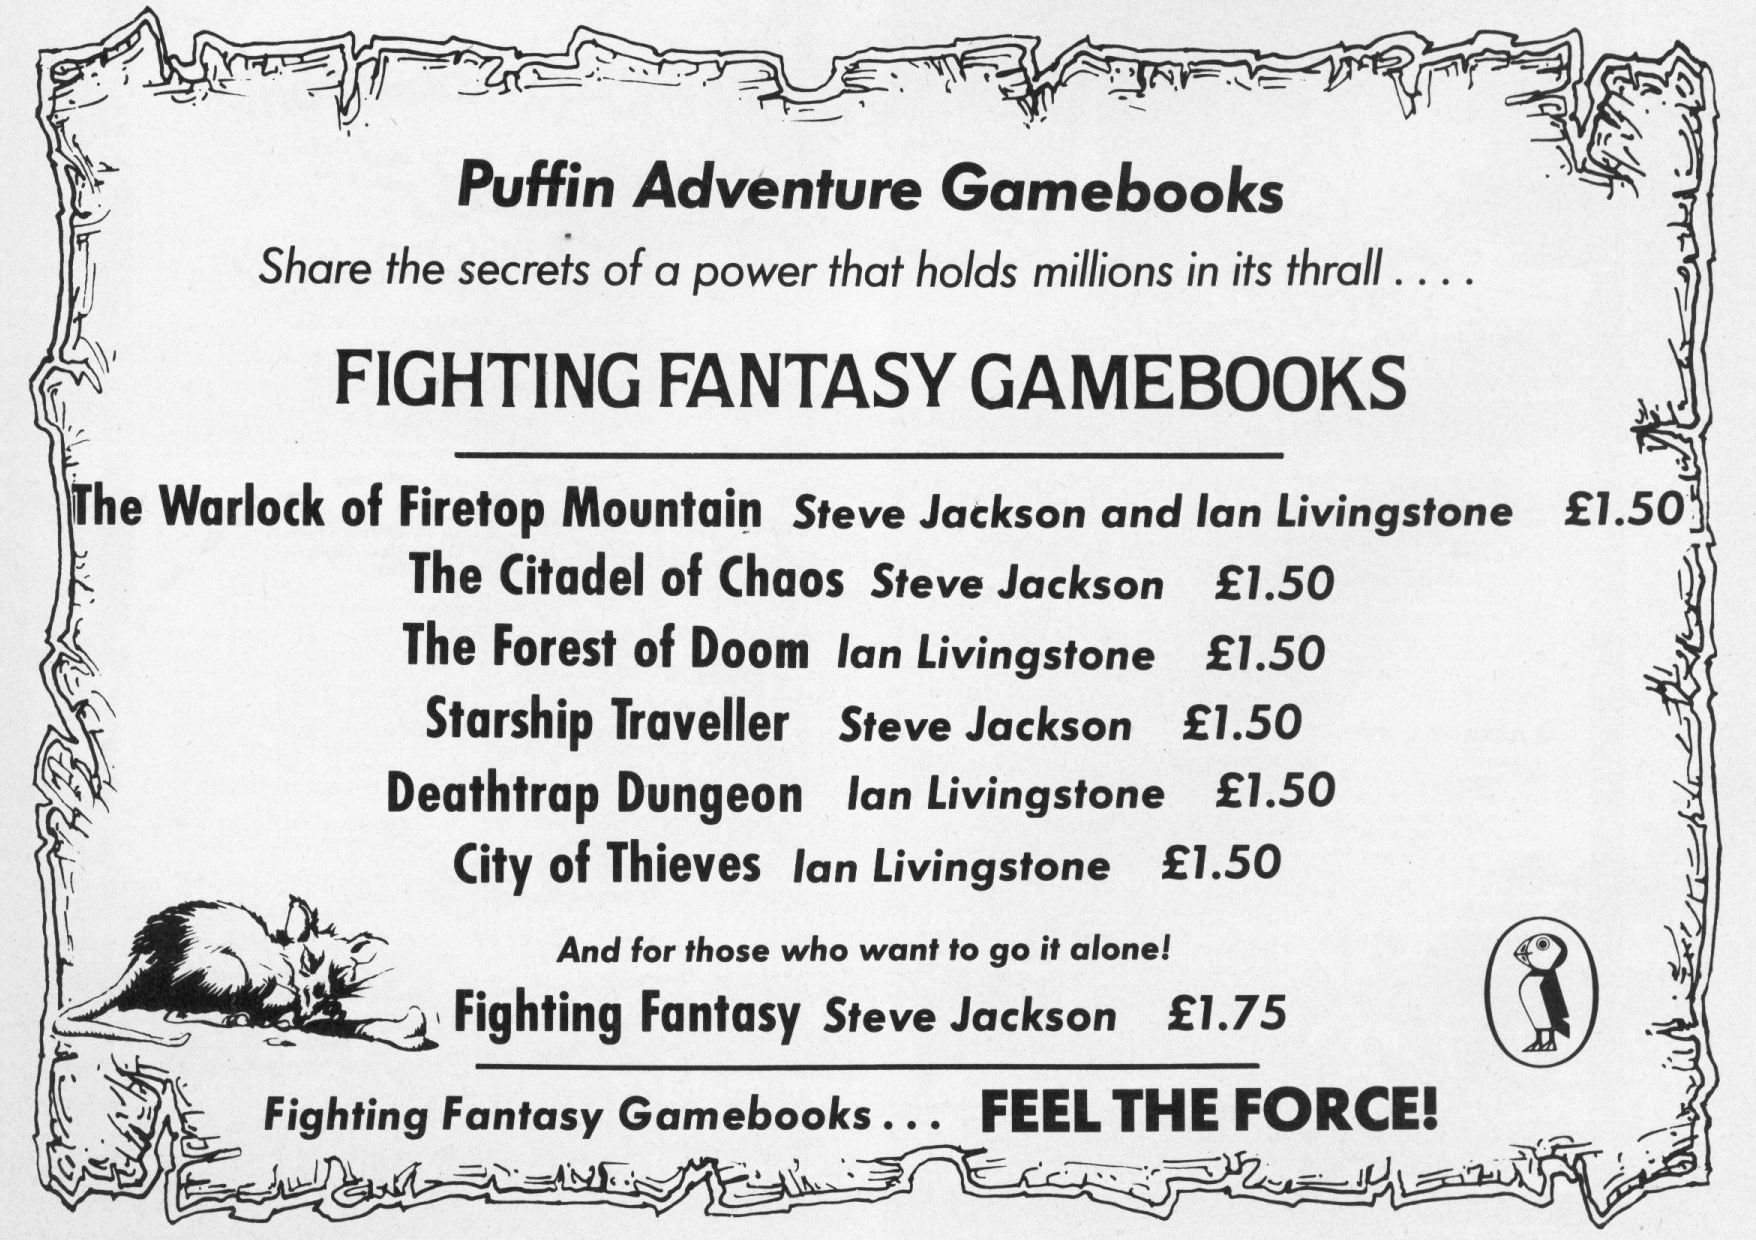
Fighting Fantasy: Feel the Force!
- This was printed on page 15 of the August, 1984 issue of Micro Adventurer. Thanks to Ryan Lynch for sharing the image. The exact same ad also appeared in Doctor Who Magazine #92 (September, 1984). Thanks to Pedro Panhoca for an earlier, lower-resolution image of that version.
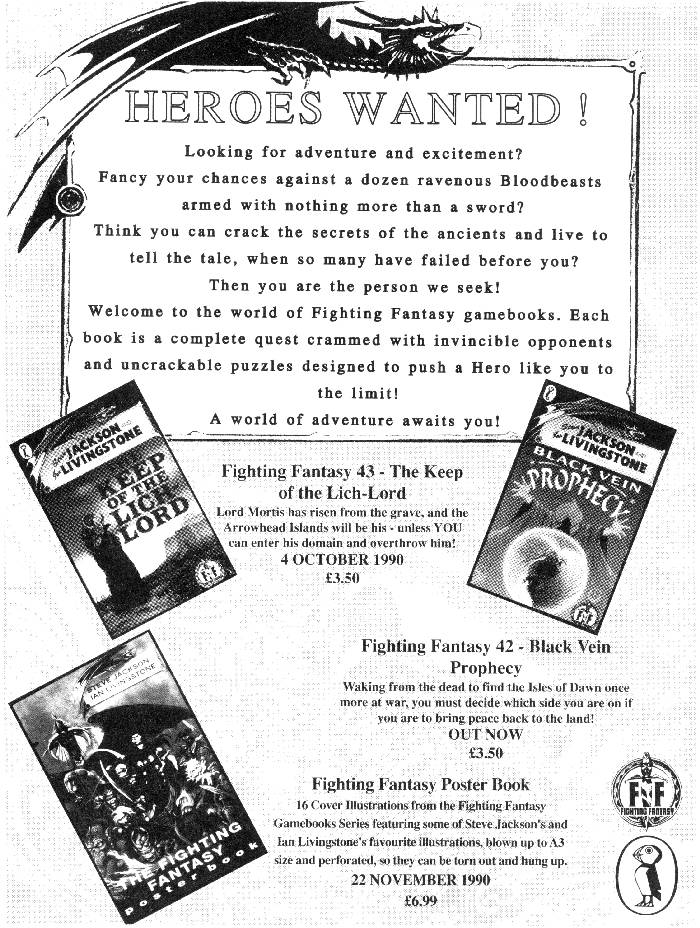
Fighting Fantasy: Heroes Wanted!
- from Dragon #163, page 29
Fighting Fantasy: The Quest of Quests Continues...
- from Warlock #2, back cover
Golden Dragon / Lone Wolf American Advertisement
- from Dragon #107, page 13
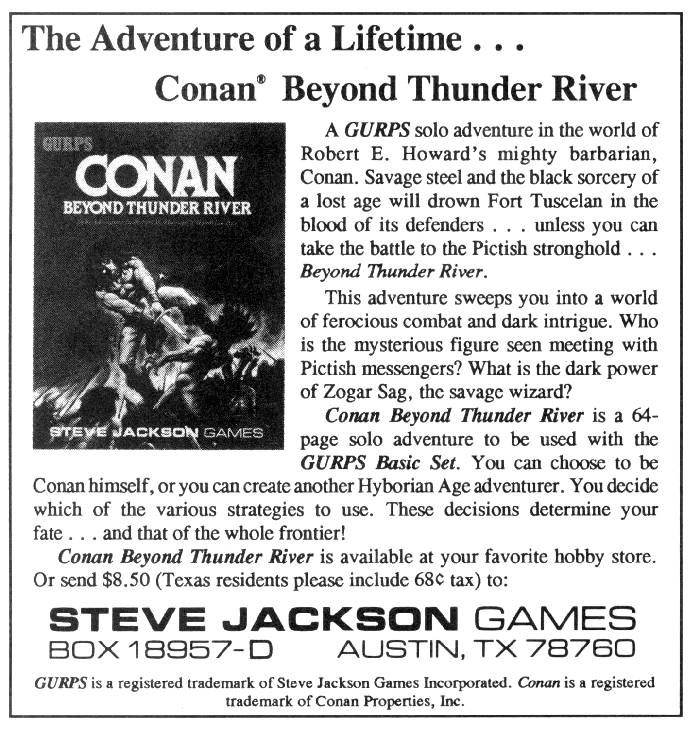
GURPS Solo: Conan Beyond Thunder River
- from Dragon #135, page 34
Joe Dever's Phone Quest: Five Fantastic Worlds
- from Dragon #162, page 33
Joe Dever's Phone Quest: Lone Wolf
- from Dragon #151, page 87
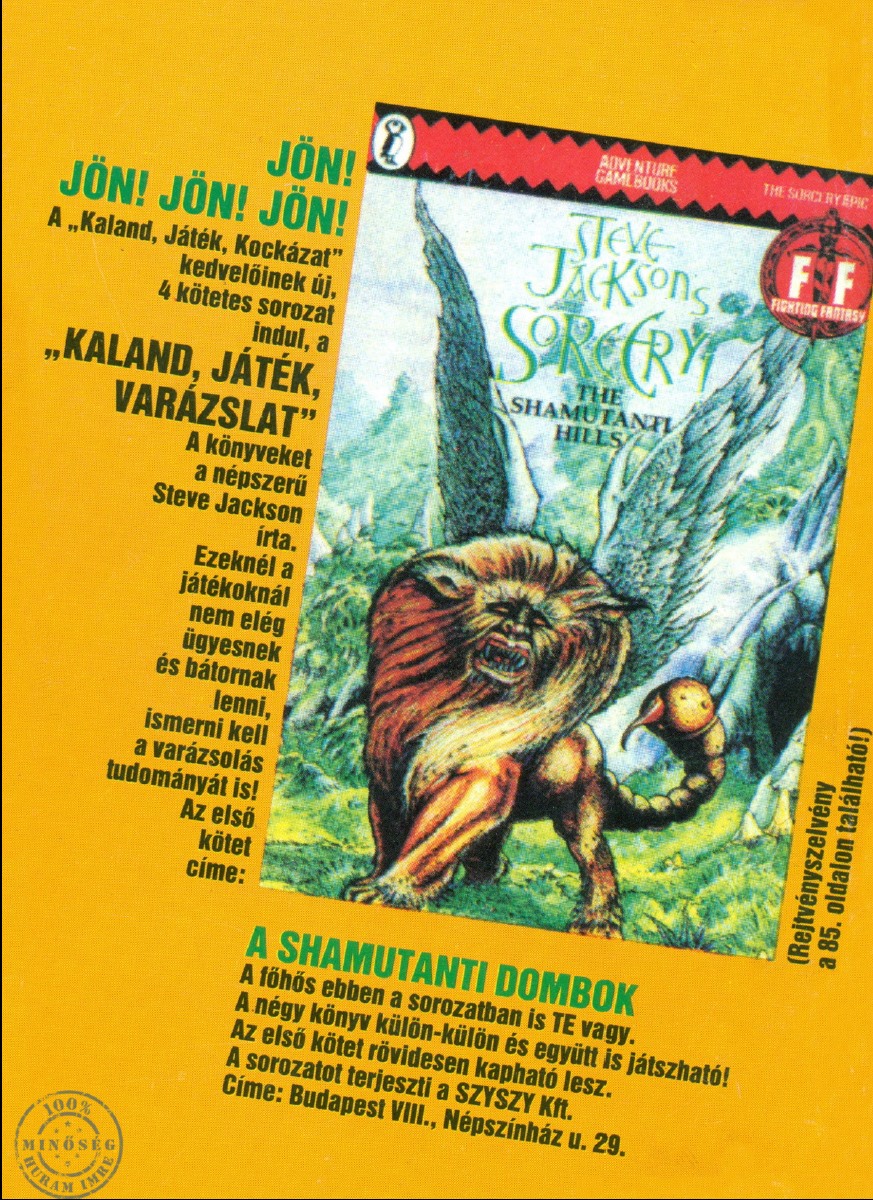
Kaland játék varázslat advertisement
- Thanks to Varga Zoltán and Pedro Panhoca for the image.
Legends of Lone Wolf Audio Book
- from Dragon #183, page 93
Legends of Lone Wolf: The Book of the Magnakai
- from Dragon #187, page 92
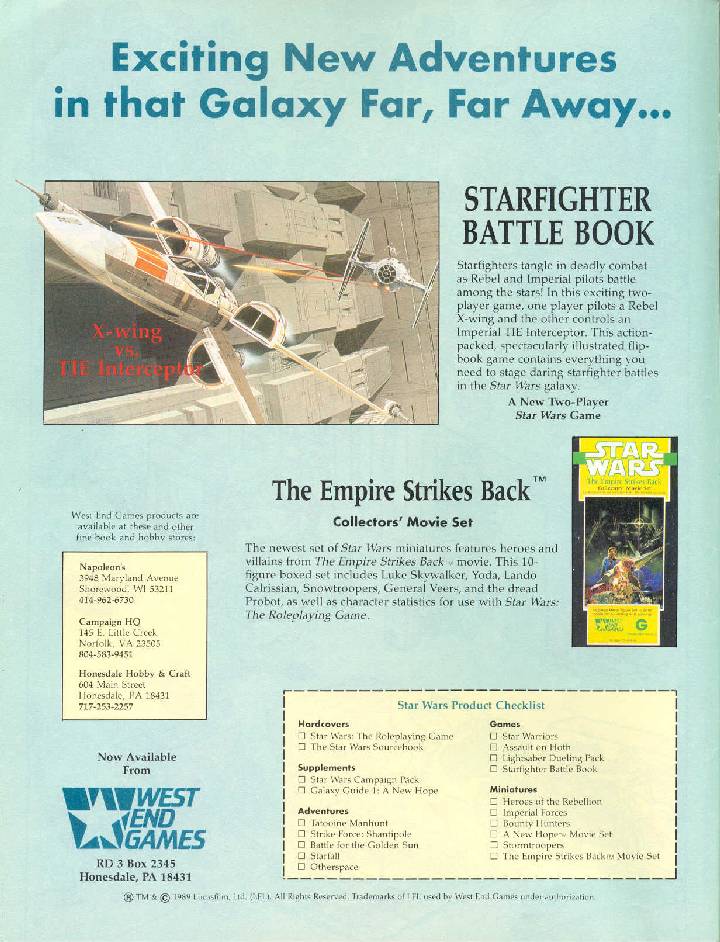
Lightsaber Dueling Pack
- from Dragon #139, page 82
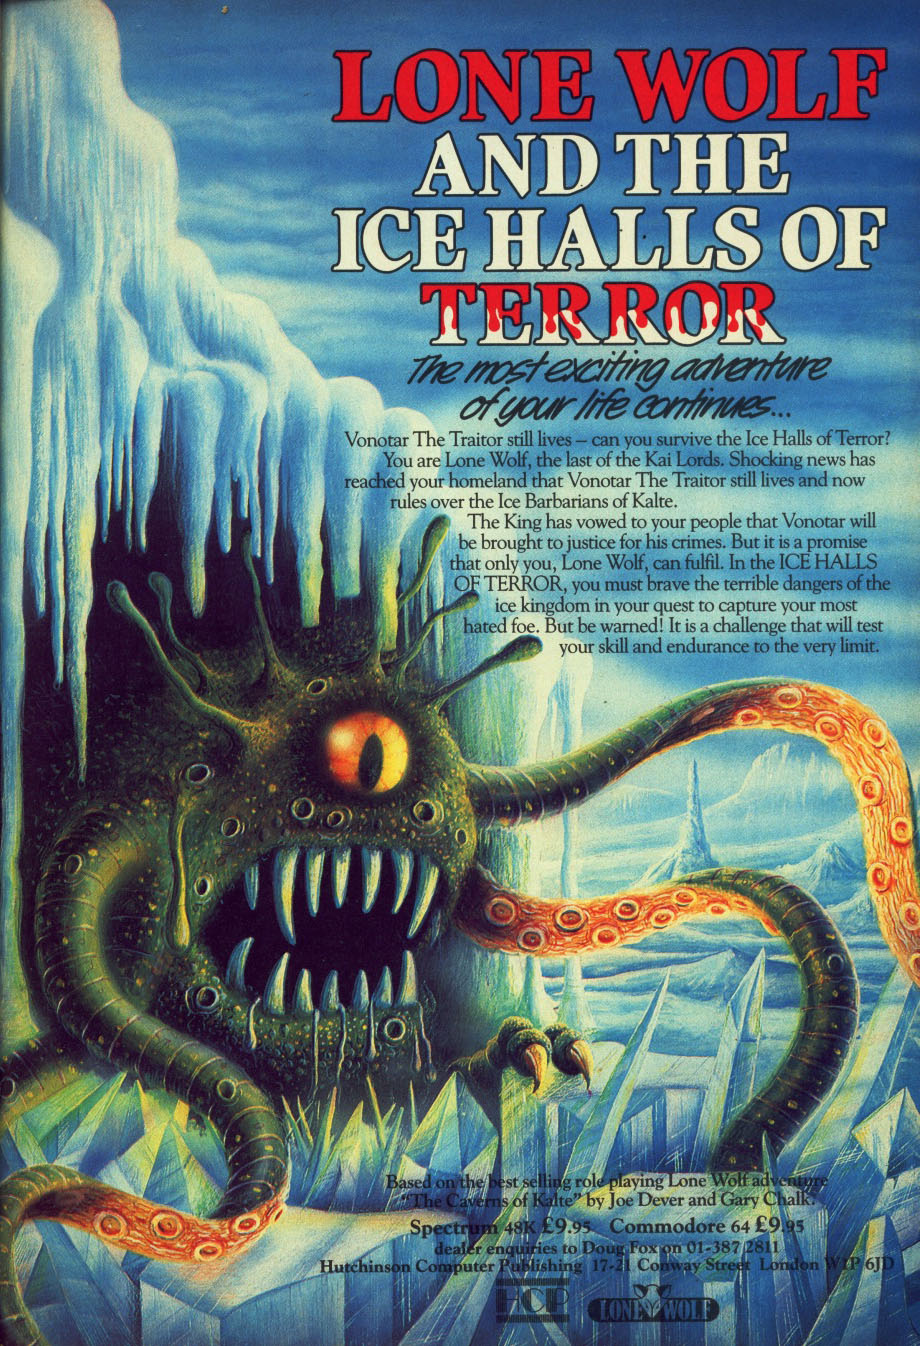
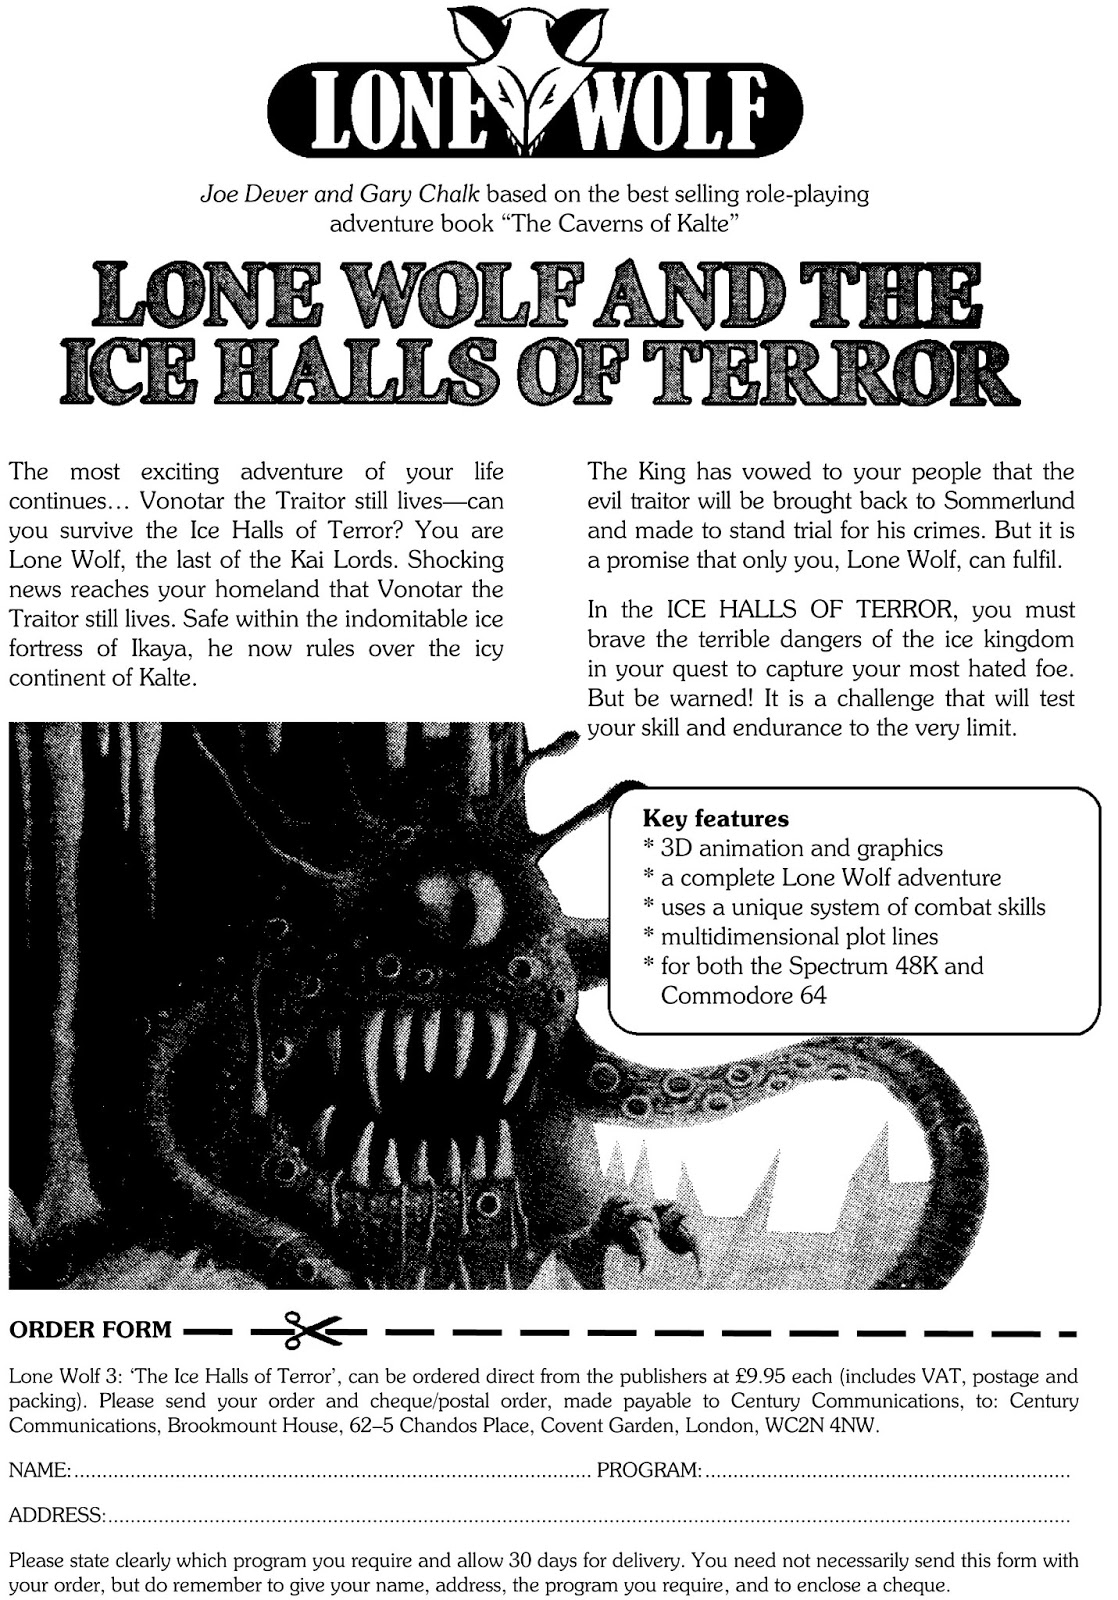
Lone Wolf and the Ice Halls of Terror (ad #1)
- Thanks to the Archaeogaming Blog for permission to reproduce this image, taken from Computer Gamer #3 (June, 1985), page 33.
Lone Wolf and the Ice Halls of Terror (ad #2)
- Thanks to the Archaeogaming Blog for permission to reproduce this image, taken from the 1985 Summer Special issue of the Lone Wolf Club Newsletter.
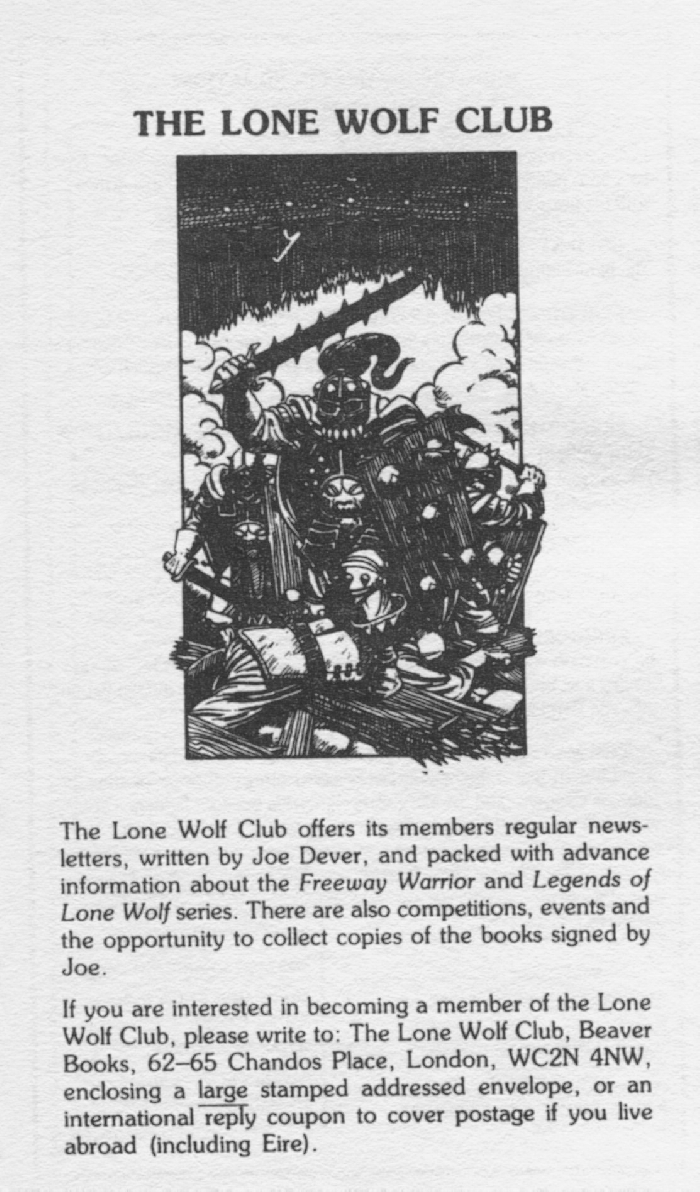
Lone Wolf Club
- Thanks to Andrew G. Black for the image!
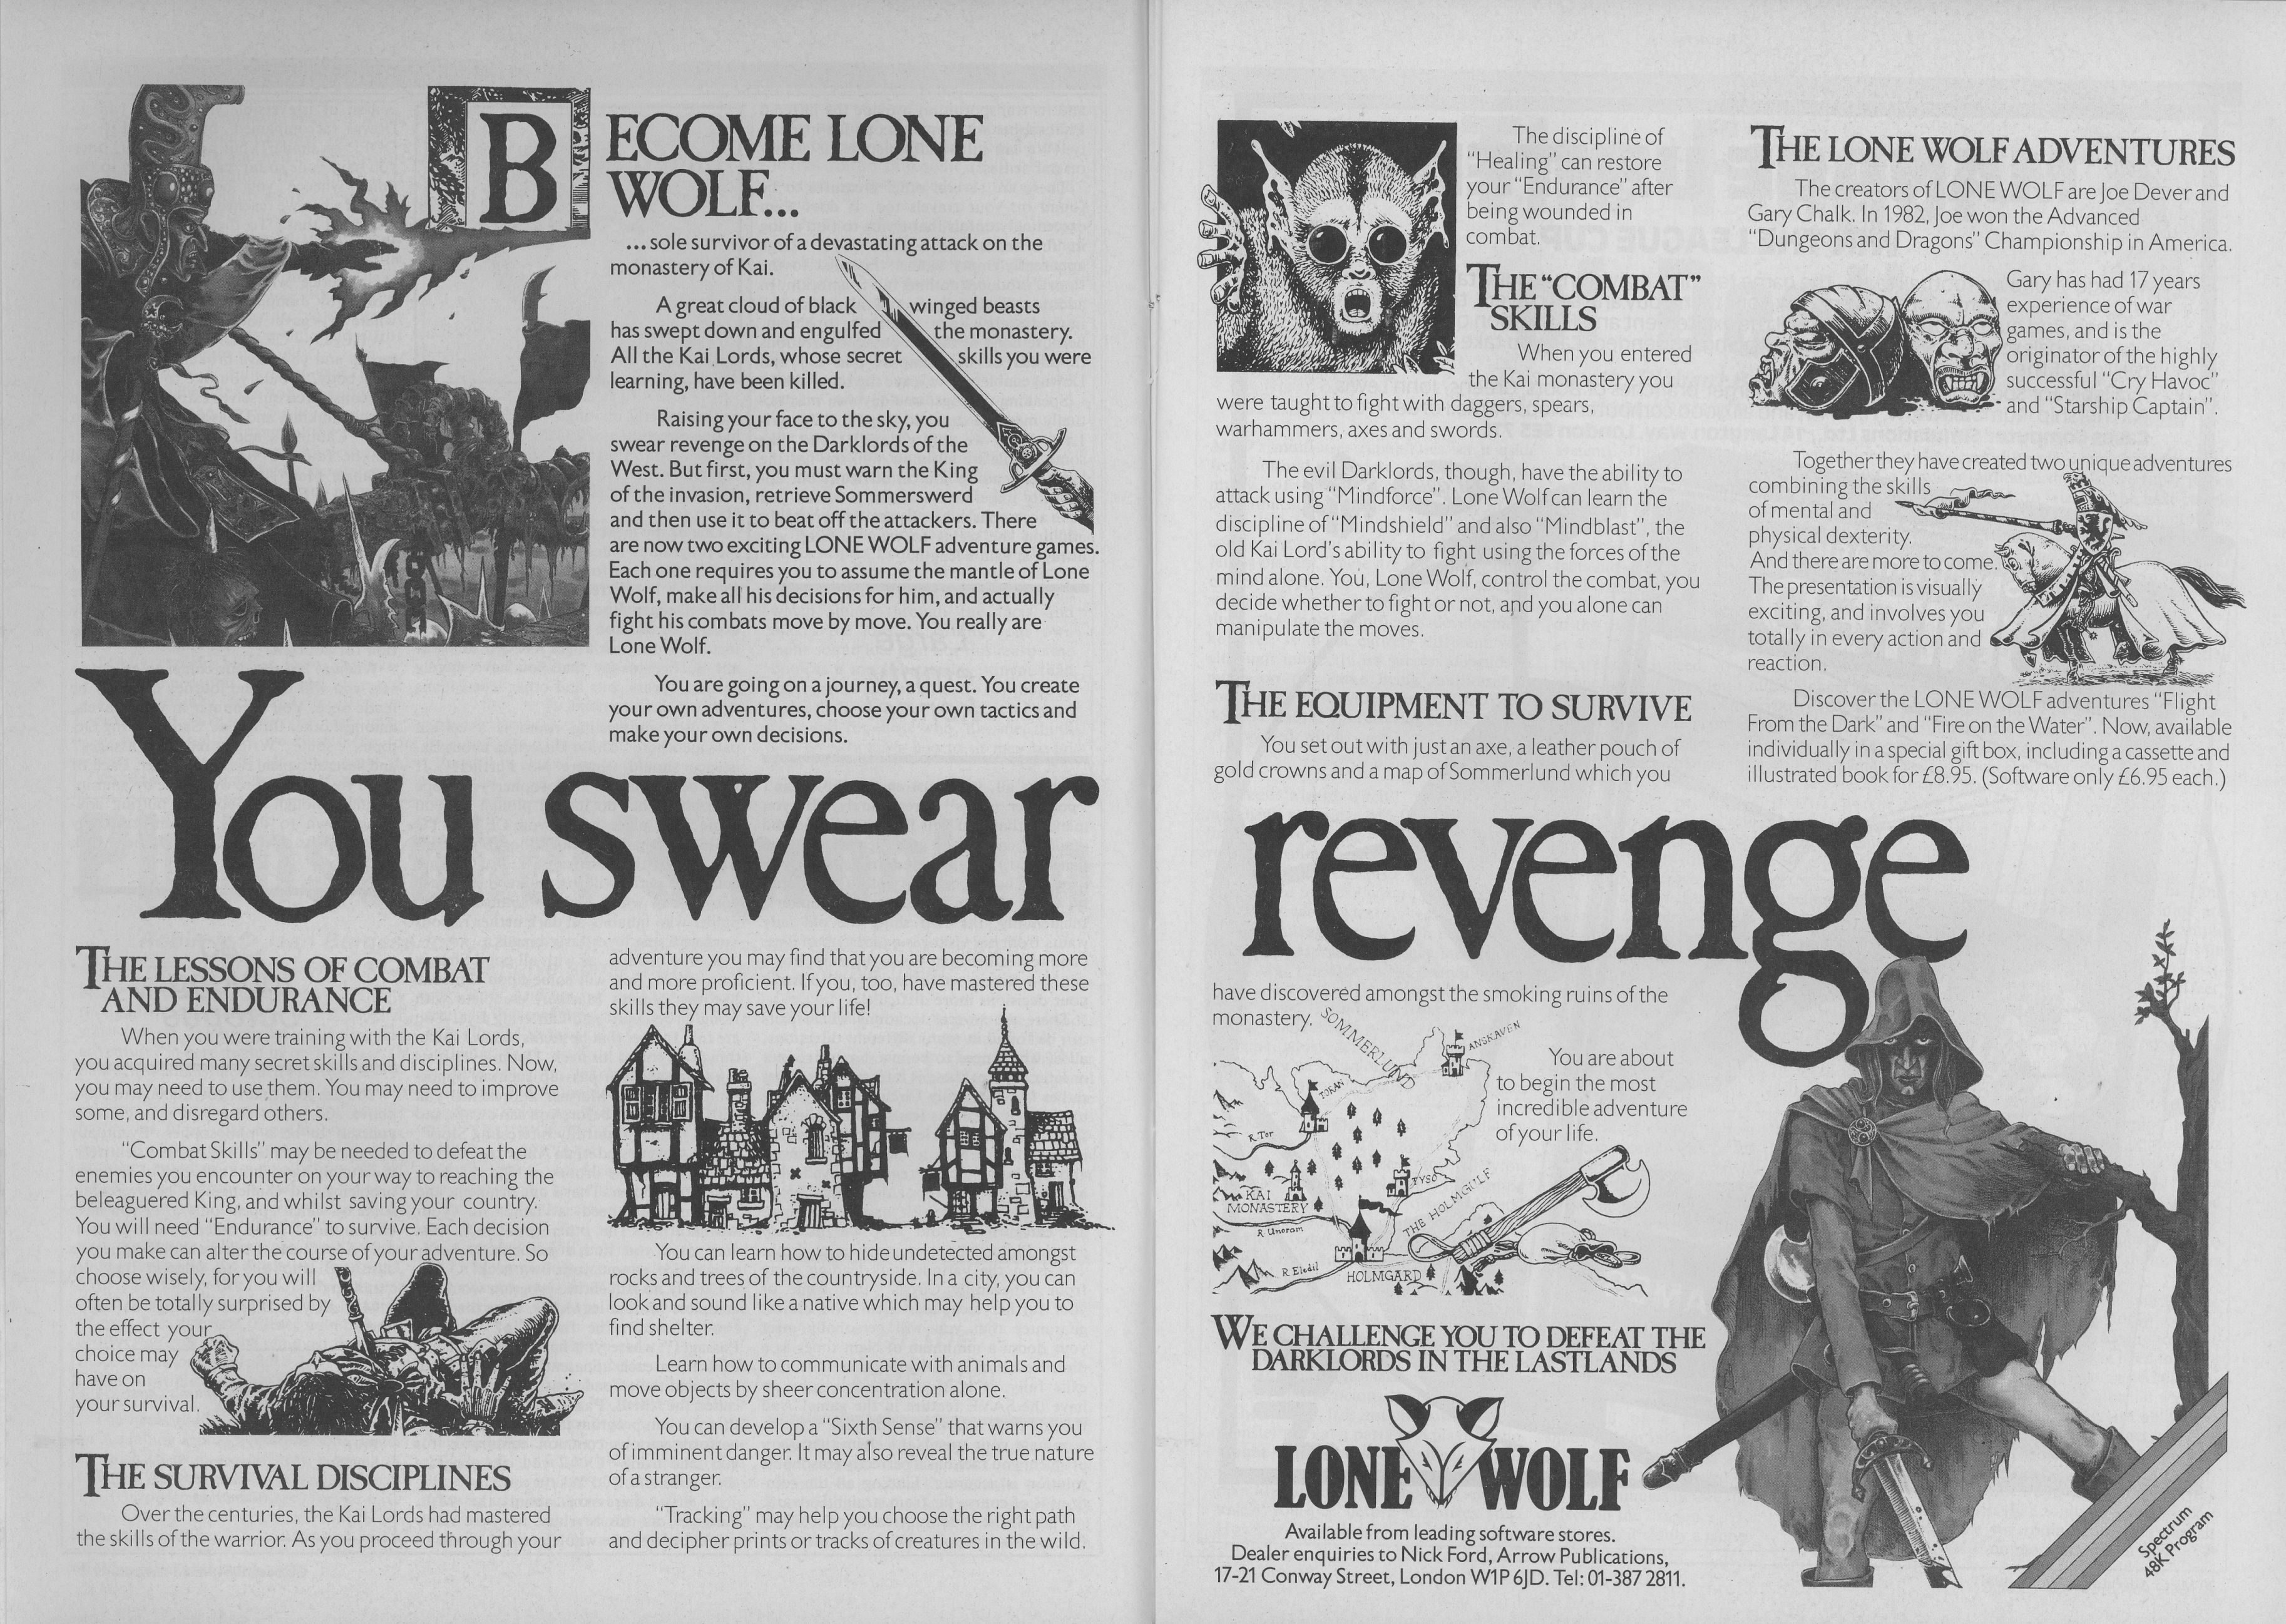
Lone Wolf Computer Game "You Swear Revenge" Ad
- This advertisement relates to the first two Lone Wolf computer games and was published on pages 18-19 of the October 1984 issue of Micro Adventurer. Thanks to Ryan Lynch for the image.
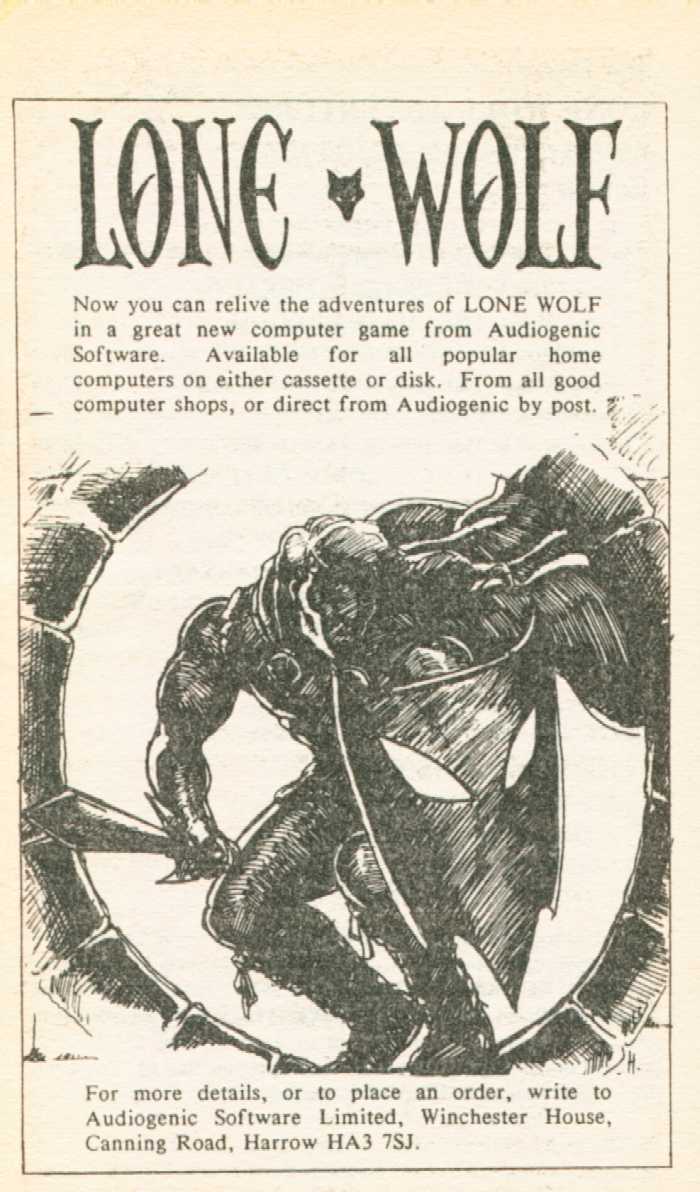
Lone Wolf Computer Game Ad
- Thanks to Andrew G. Black for the image!
Lone Wolf Fine Art Sculpture
- Thanks to Andrew G. Black for the image!
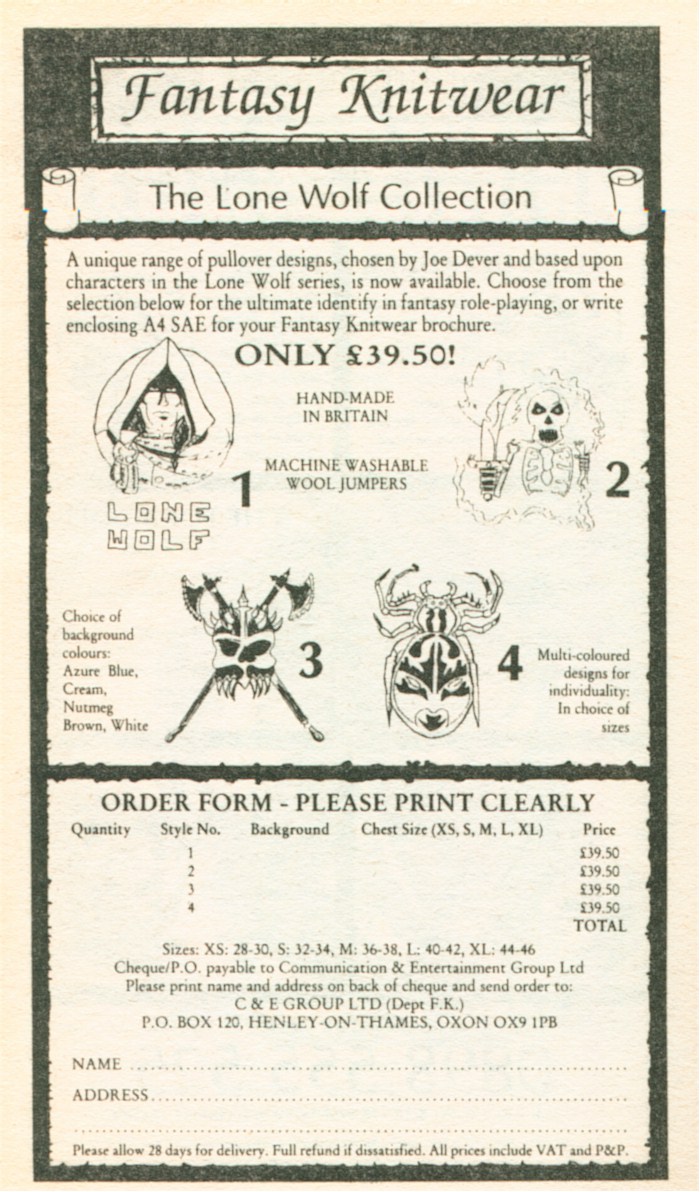
Lone Wolf Knitwear
- Thanks to Andrew G. Black for the image!
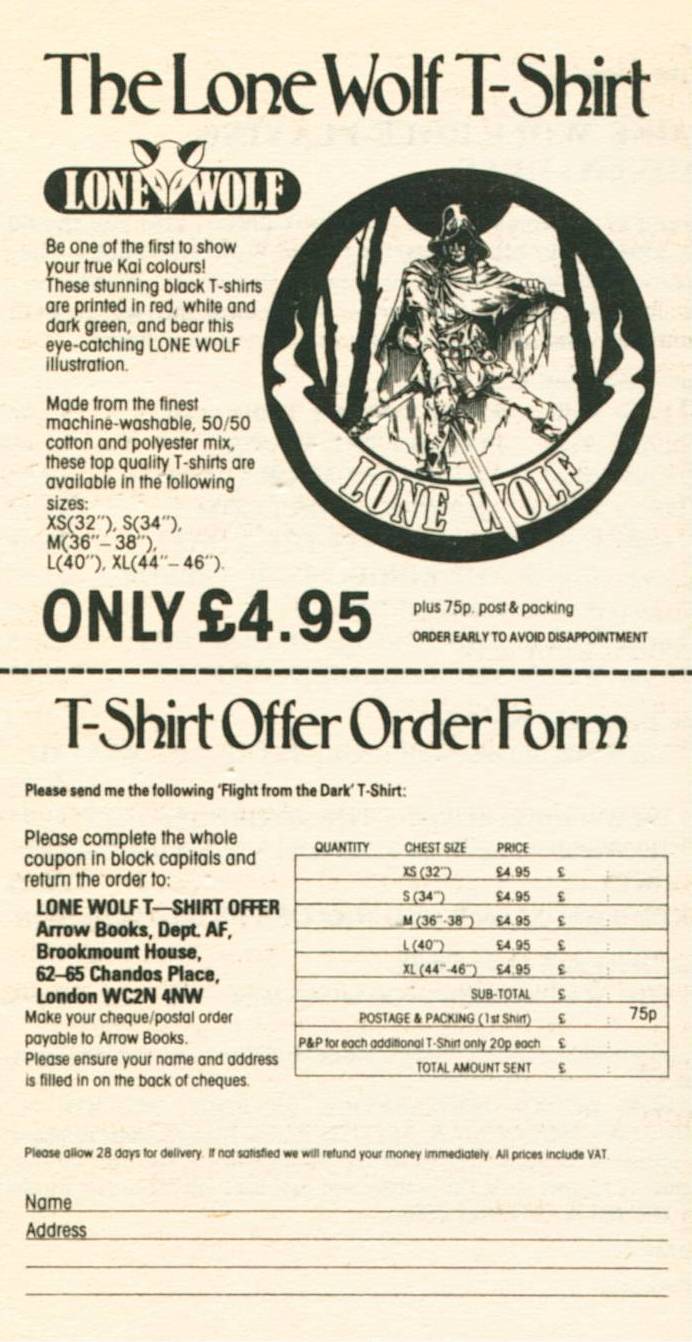
Lone Wolf T-Shirt
- Thanks to Andrew G. Black for the image!
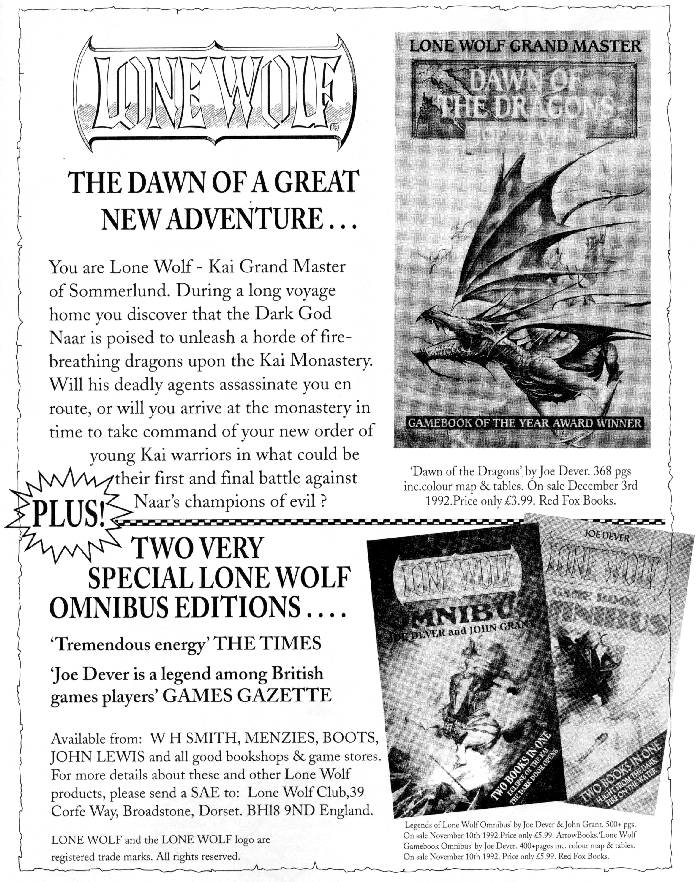
Lone Wolf: Dawn of the Dragons
- from Dragon #188, page 21
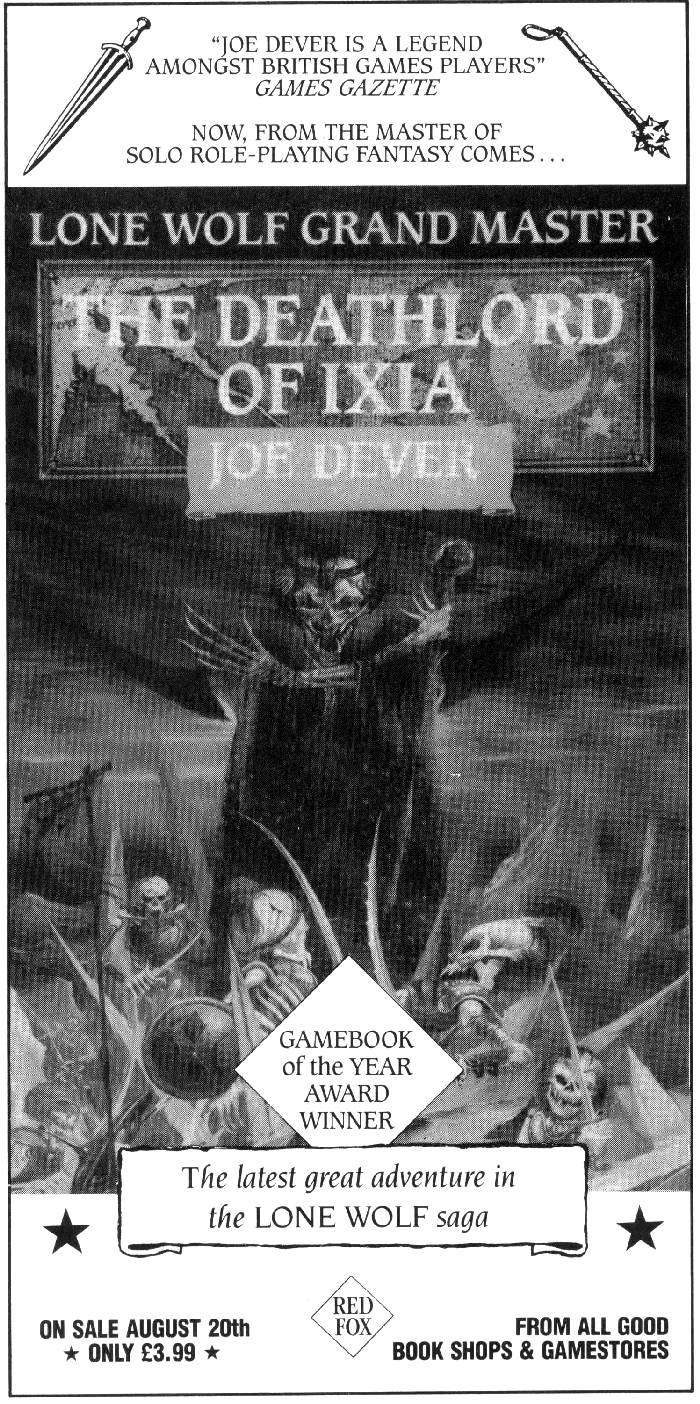
Lone Wolf: The Deathlord of Ixia
- from Dragon #184, page 23
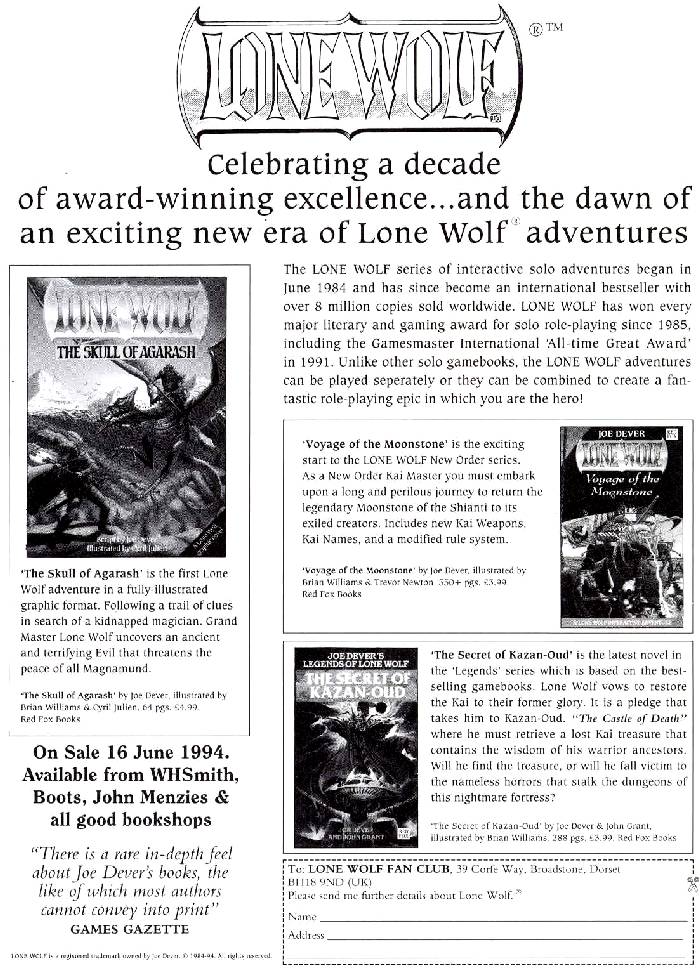
Lone Wolf: The Skull of Agarash
- from Dragon #206, page 13
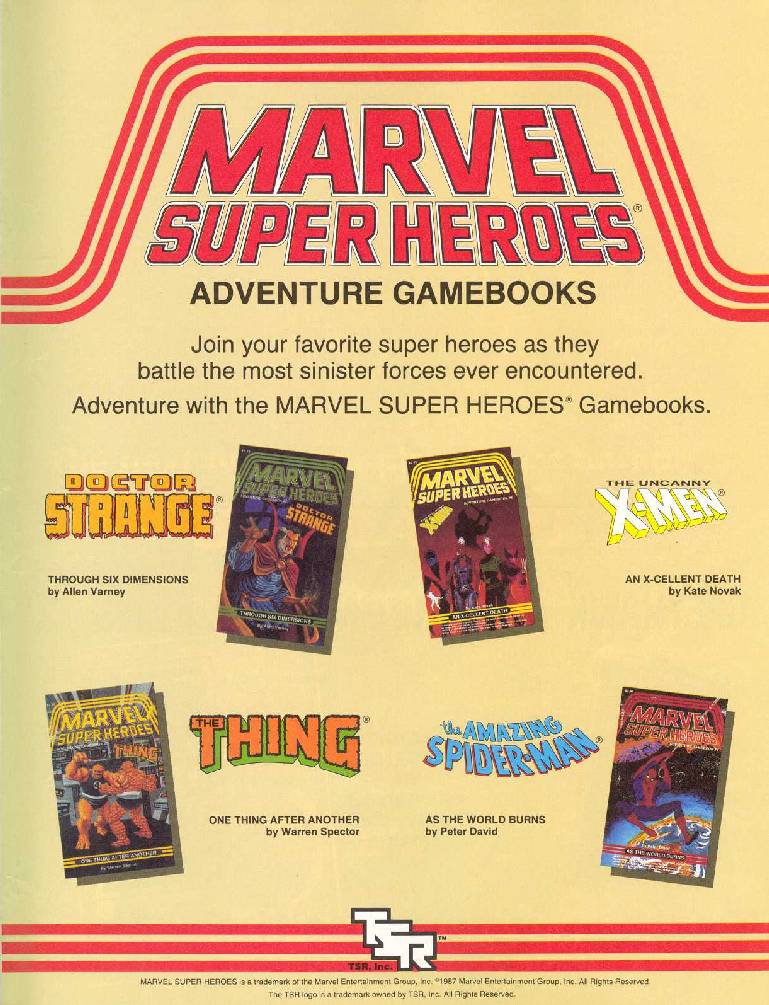
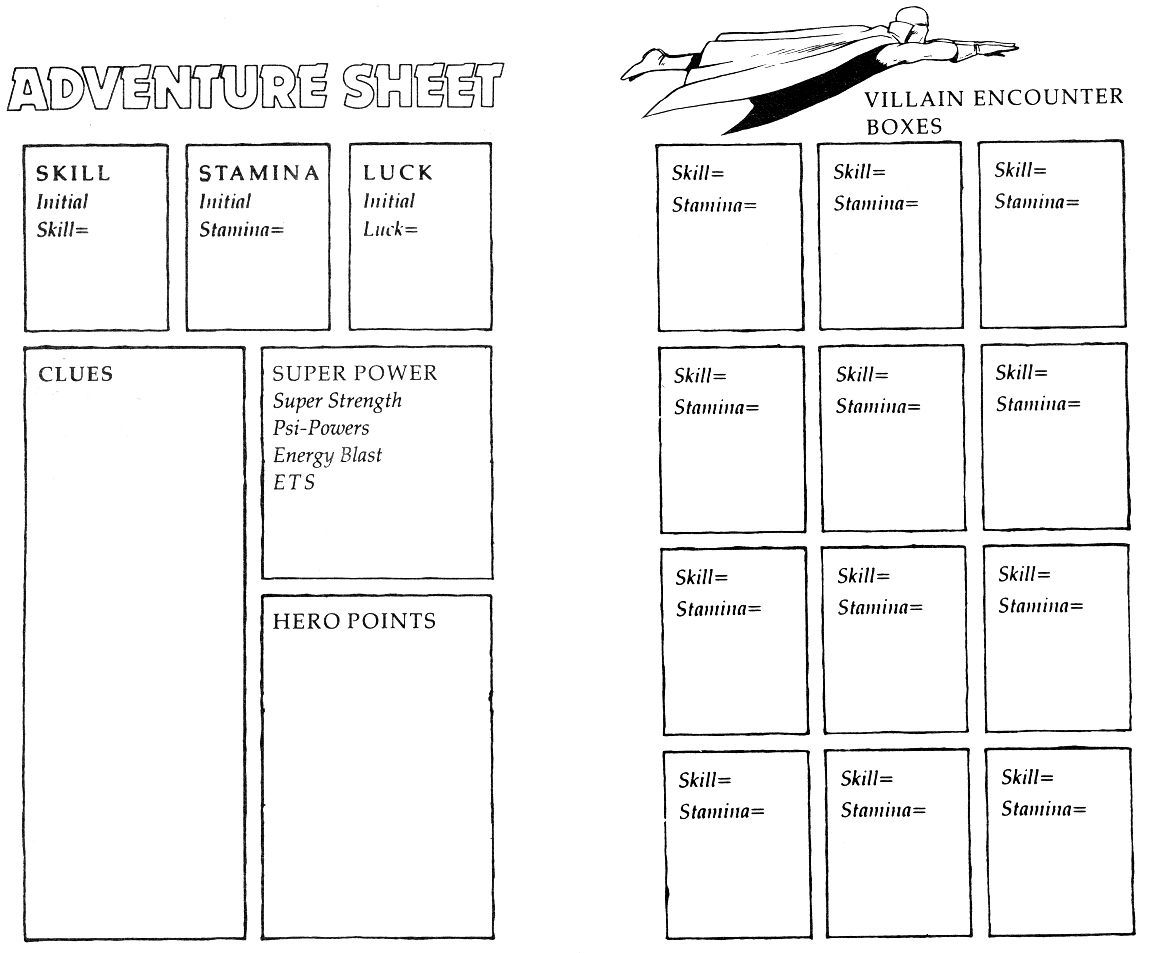
Marvel Super Heroes Adventure Gamebooks
- from Dragon #125, page 95
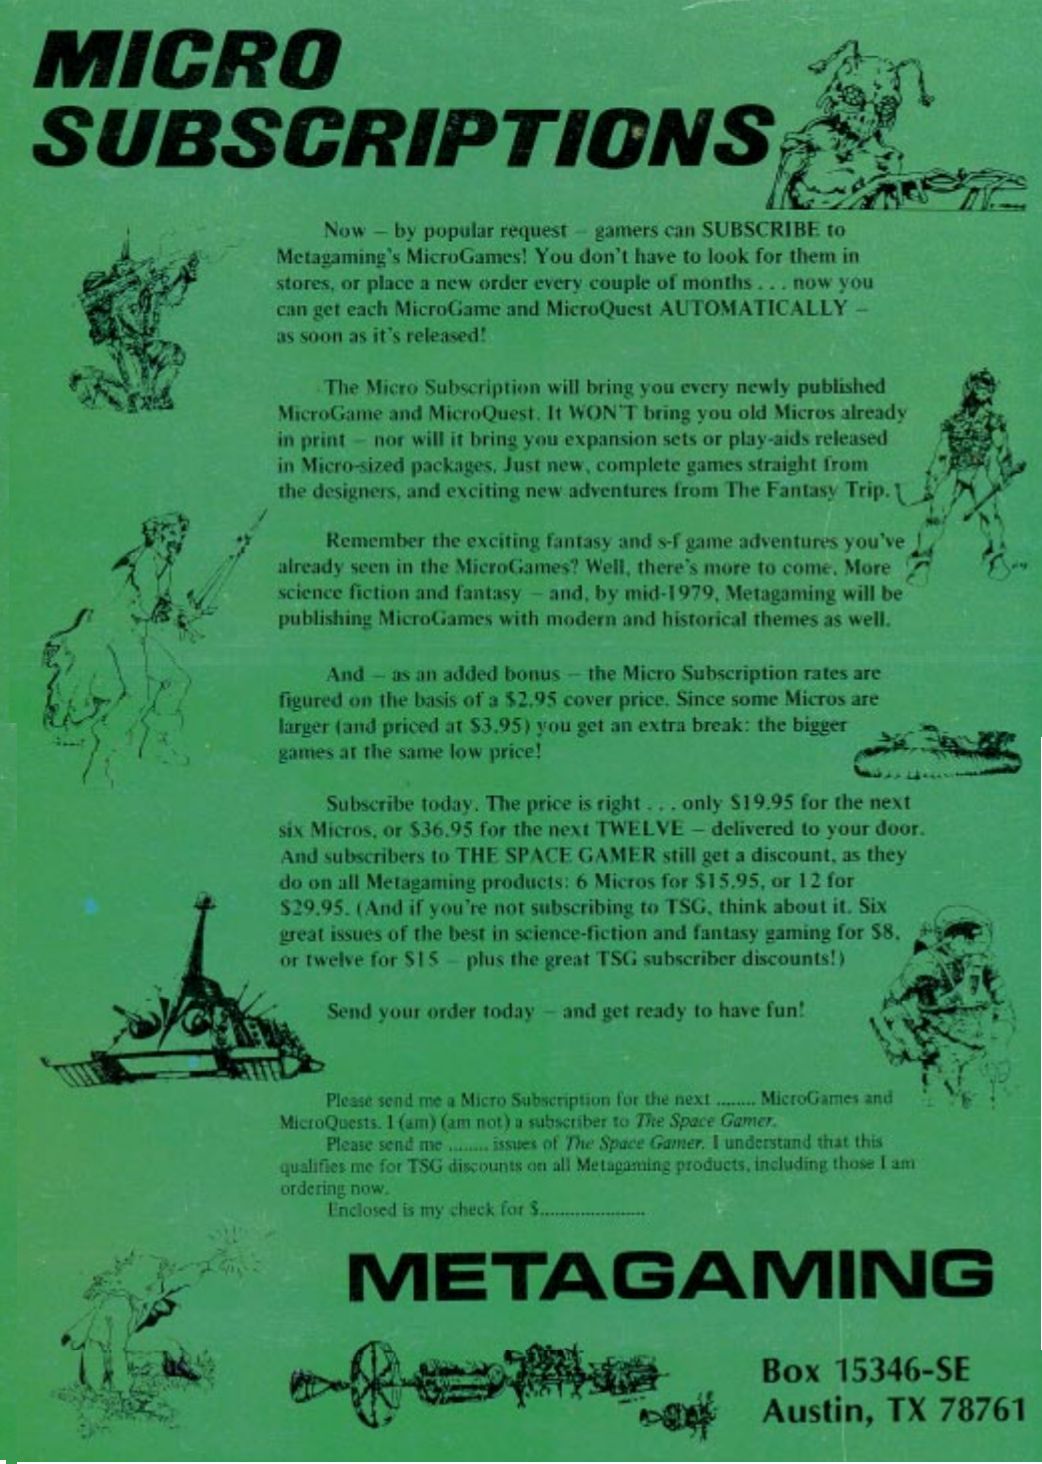
Metagaming: Micro Subscriptions Ad (green)
- from Dragon #24, page 48. Thanks to Pedro Panhoca for the scan.
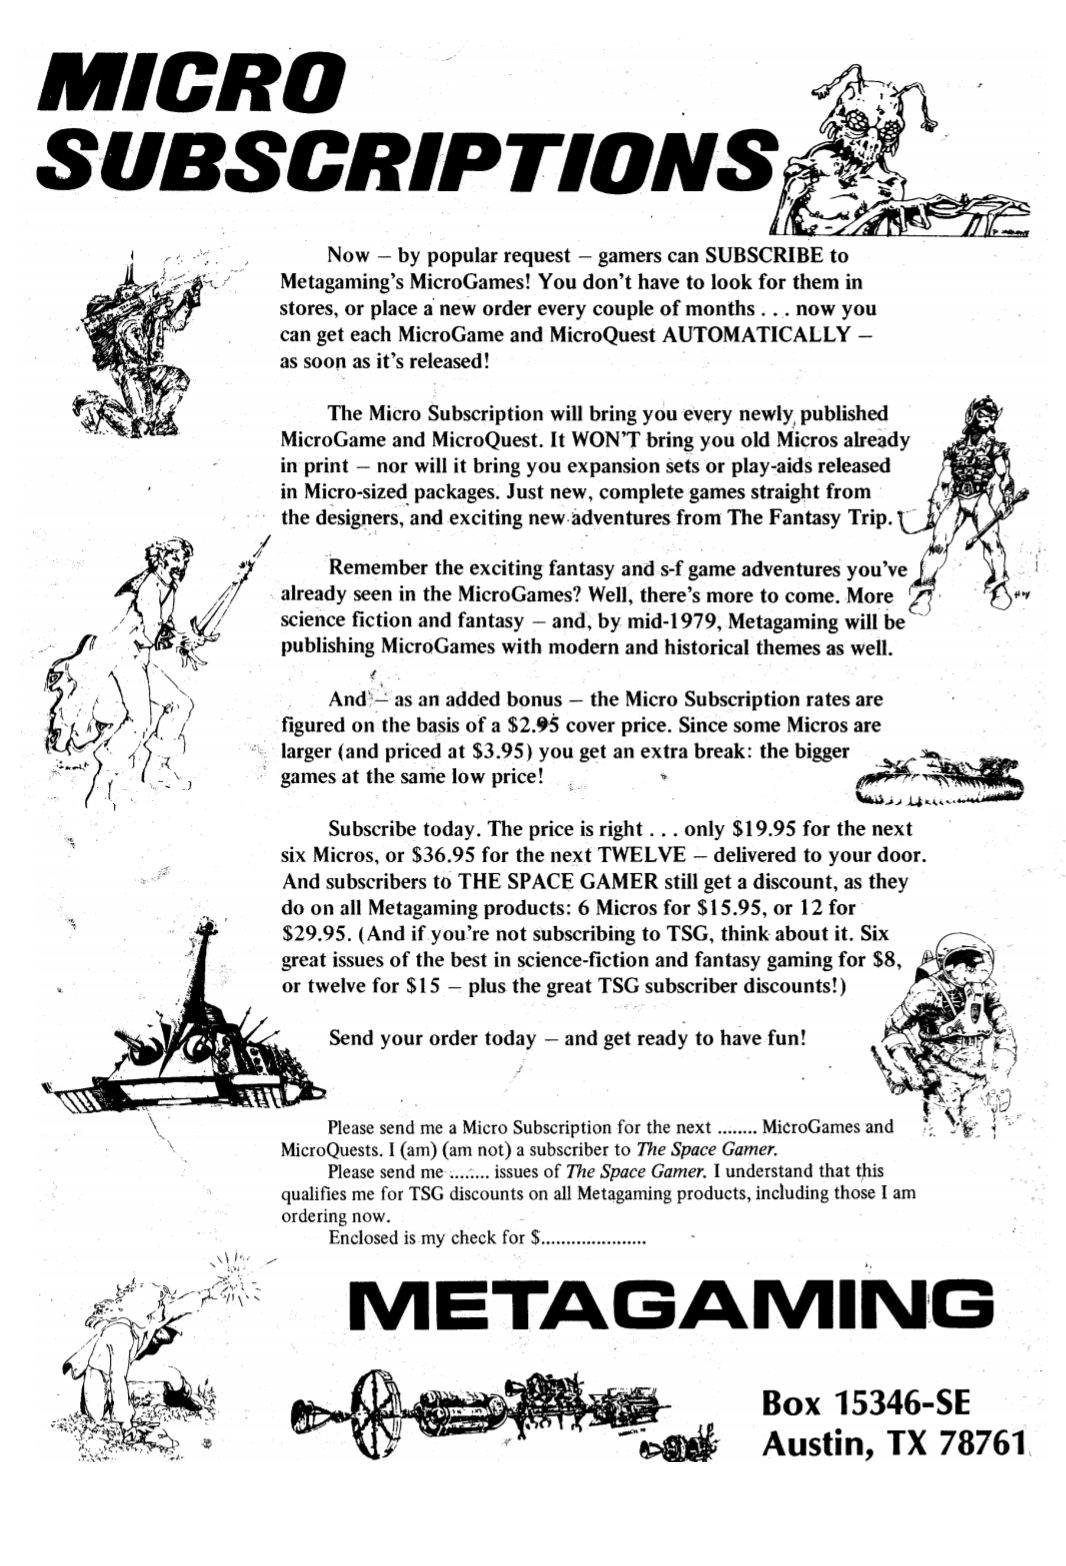
Metagaming: Micro Subscriptions Ad (white)
- from Dragon #22, page 56. Reprinted in Dragon #32, page 46. Thanks to Pedro Panhoca for the scan.
Metagaming: New Micros ad
- from Dragon #54, page 19. Also reprinted in #55, page 72 and #56, page 59. Thanks to Pedro Panhoca for the scan.
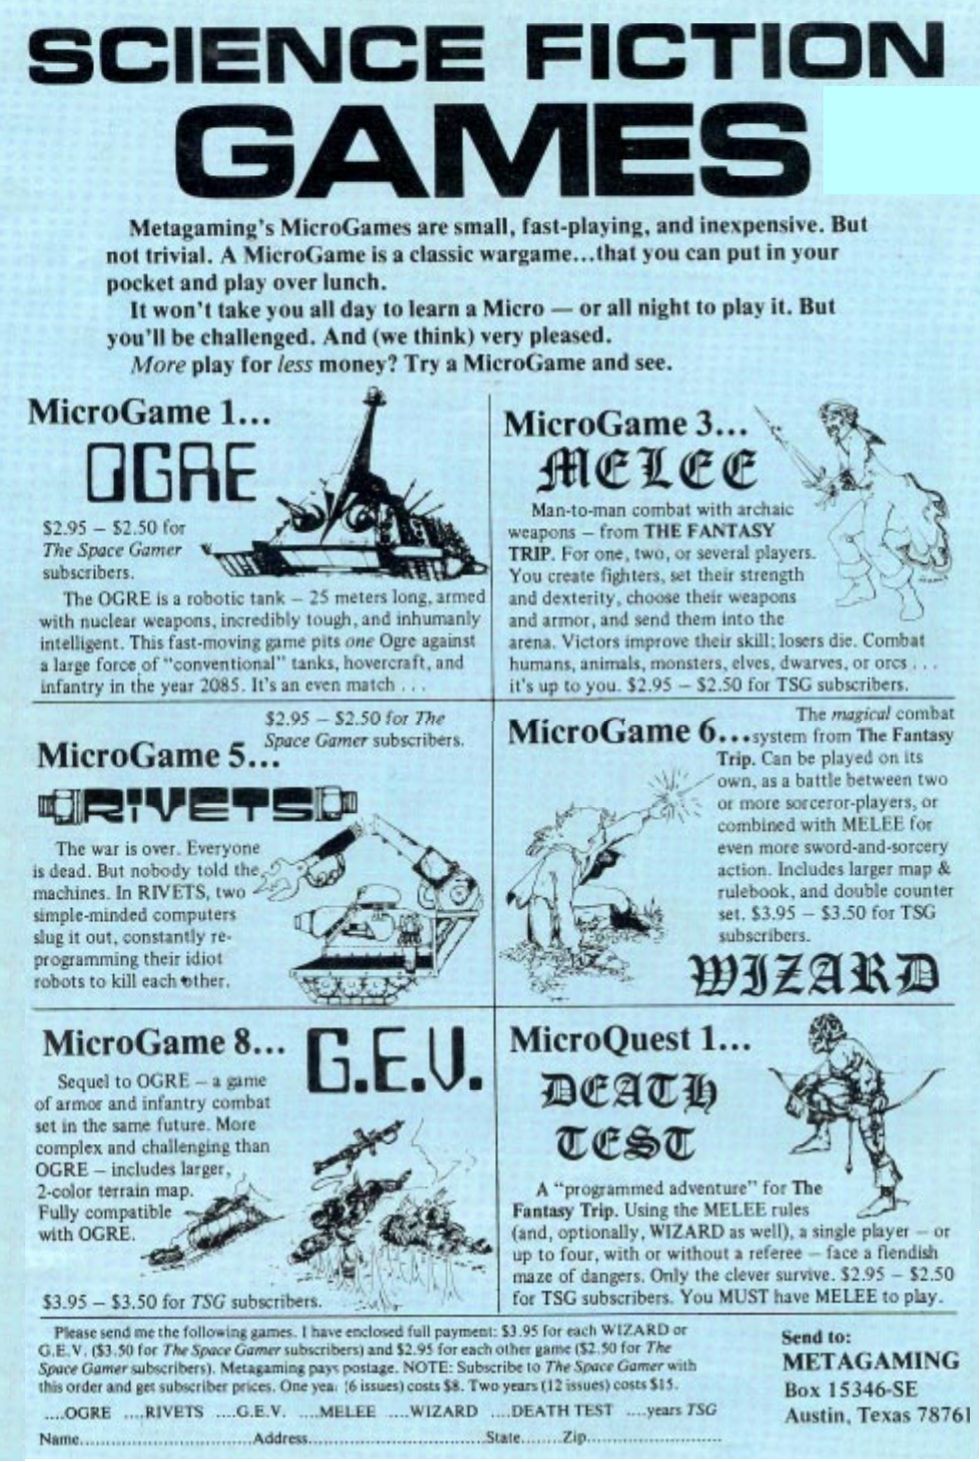
Metagaming: Science Fiction Games Ad
- from Dragon #18, page 34. Thanks to Pedro Panhoca for the scan.
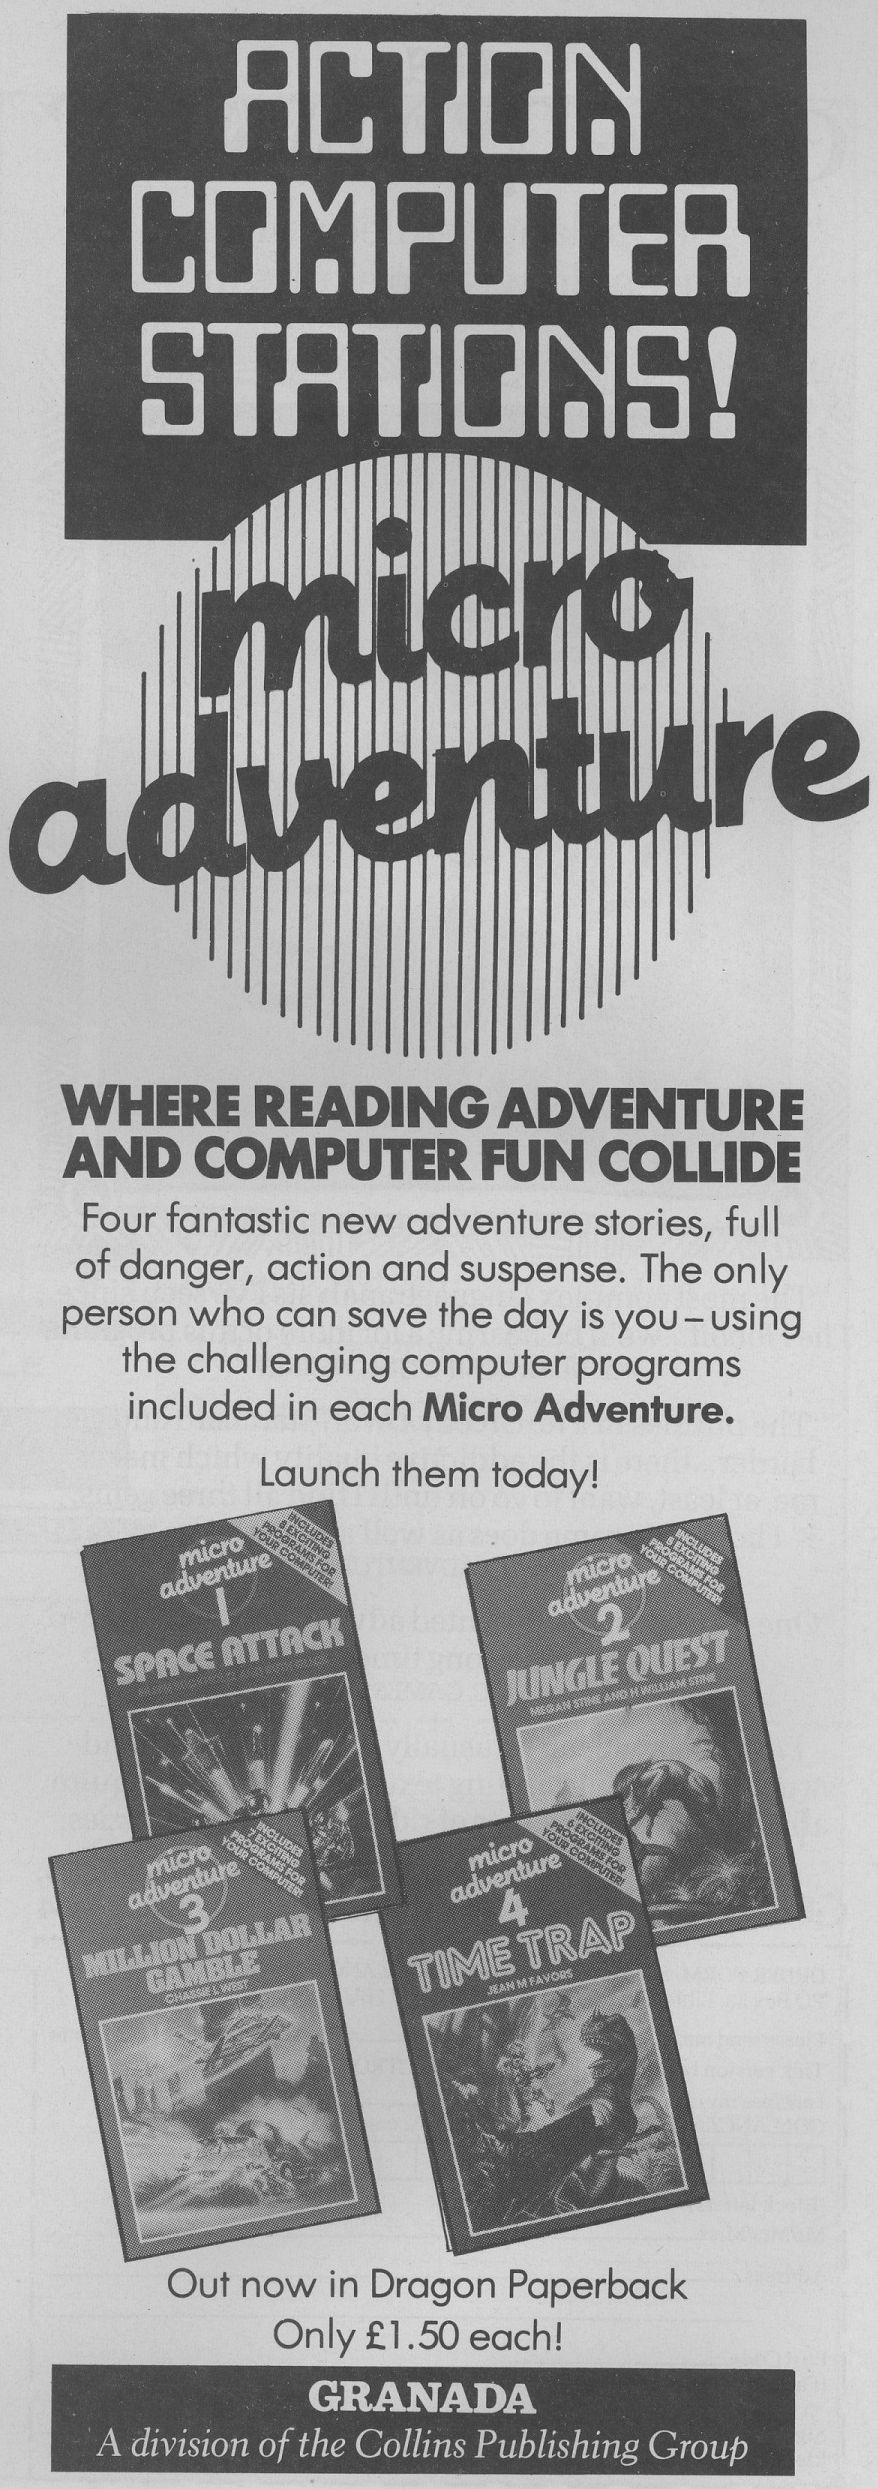
Micro Adventure Ad
- This ad for the Micro Adventure series comes from the December 1984 issue of Micro Adventurer. Thanks to Ryan Lynch for the image.
Narnia Solo Games Want Ad
- from Dragon #127, page 18
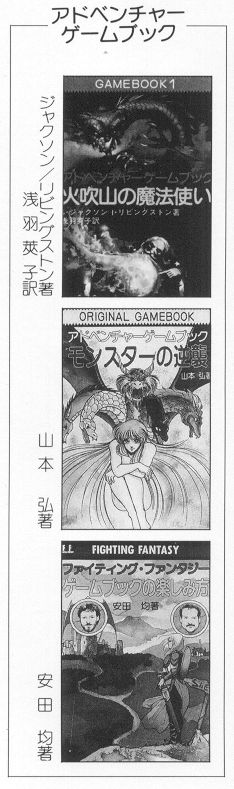
Original Gamebook #2 Dustjacket Ad
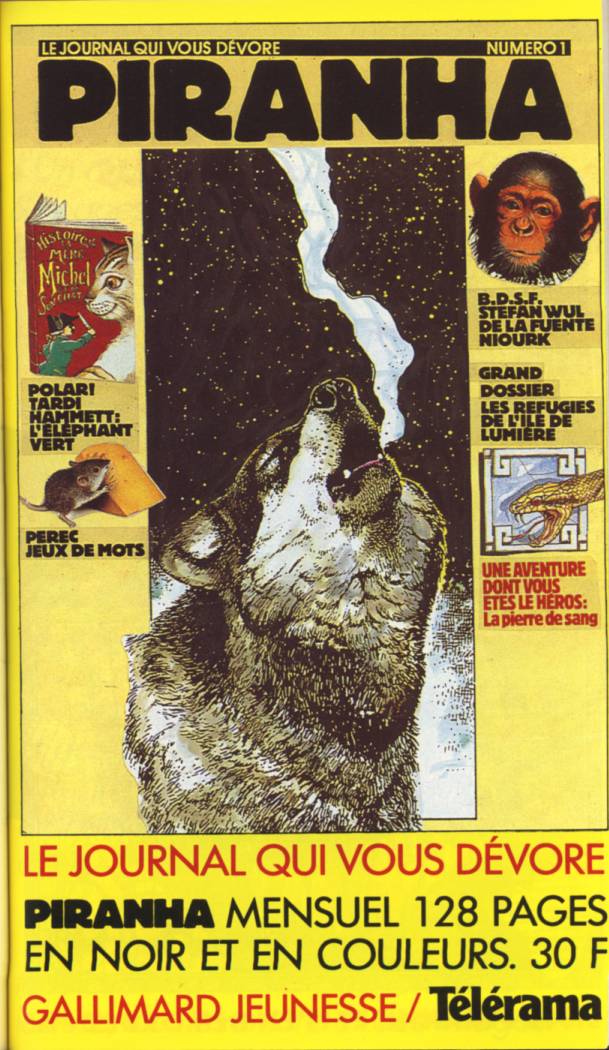
Piranha Advertisement
- from Le Seigneur de l'ombre color insert
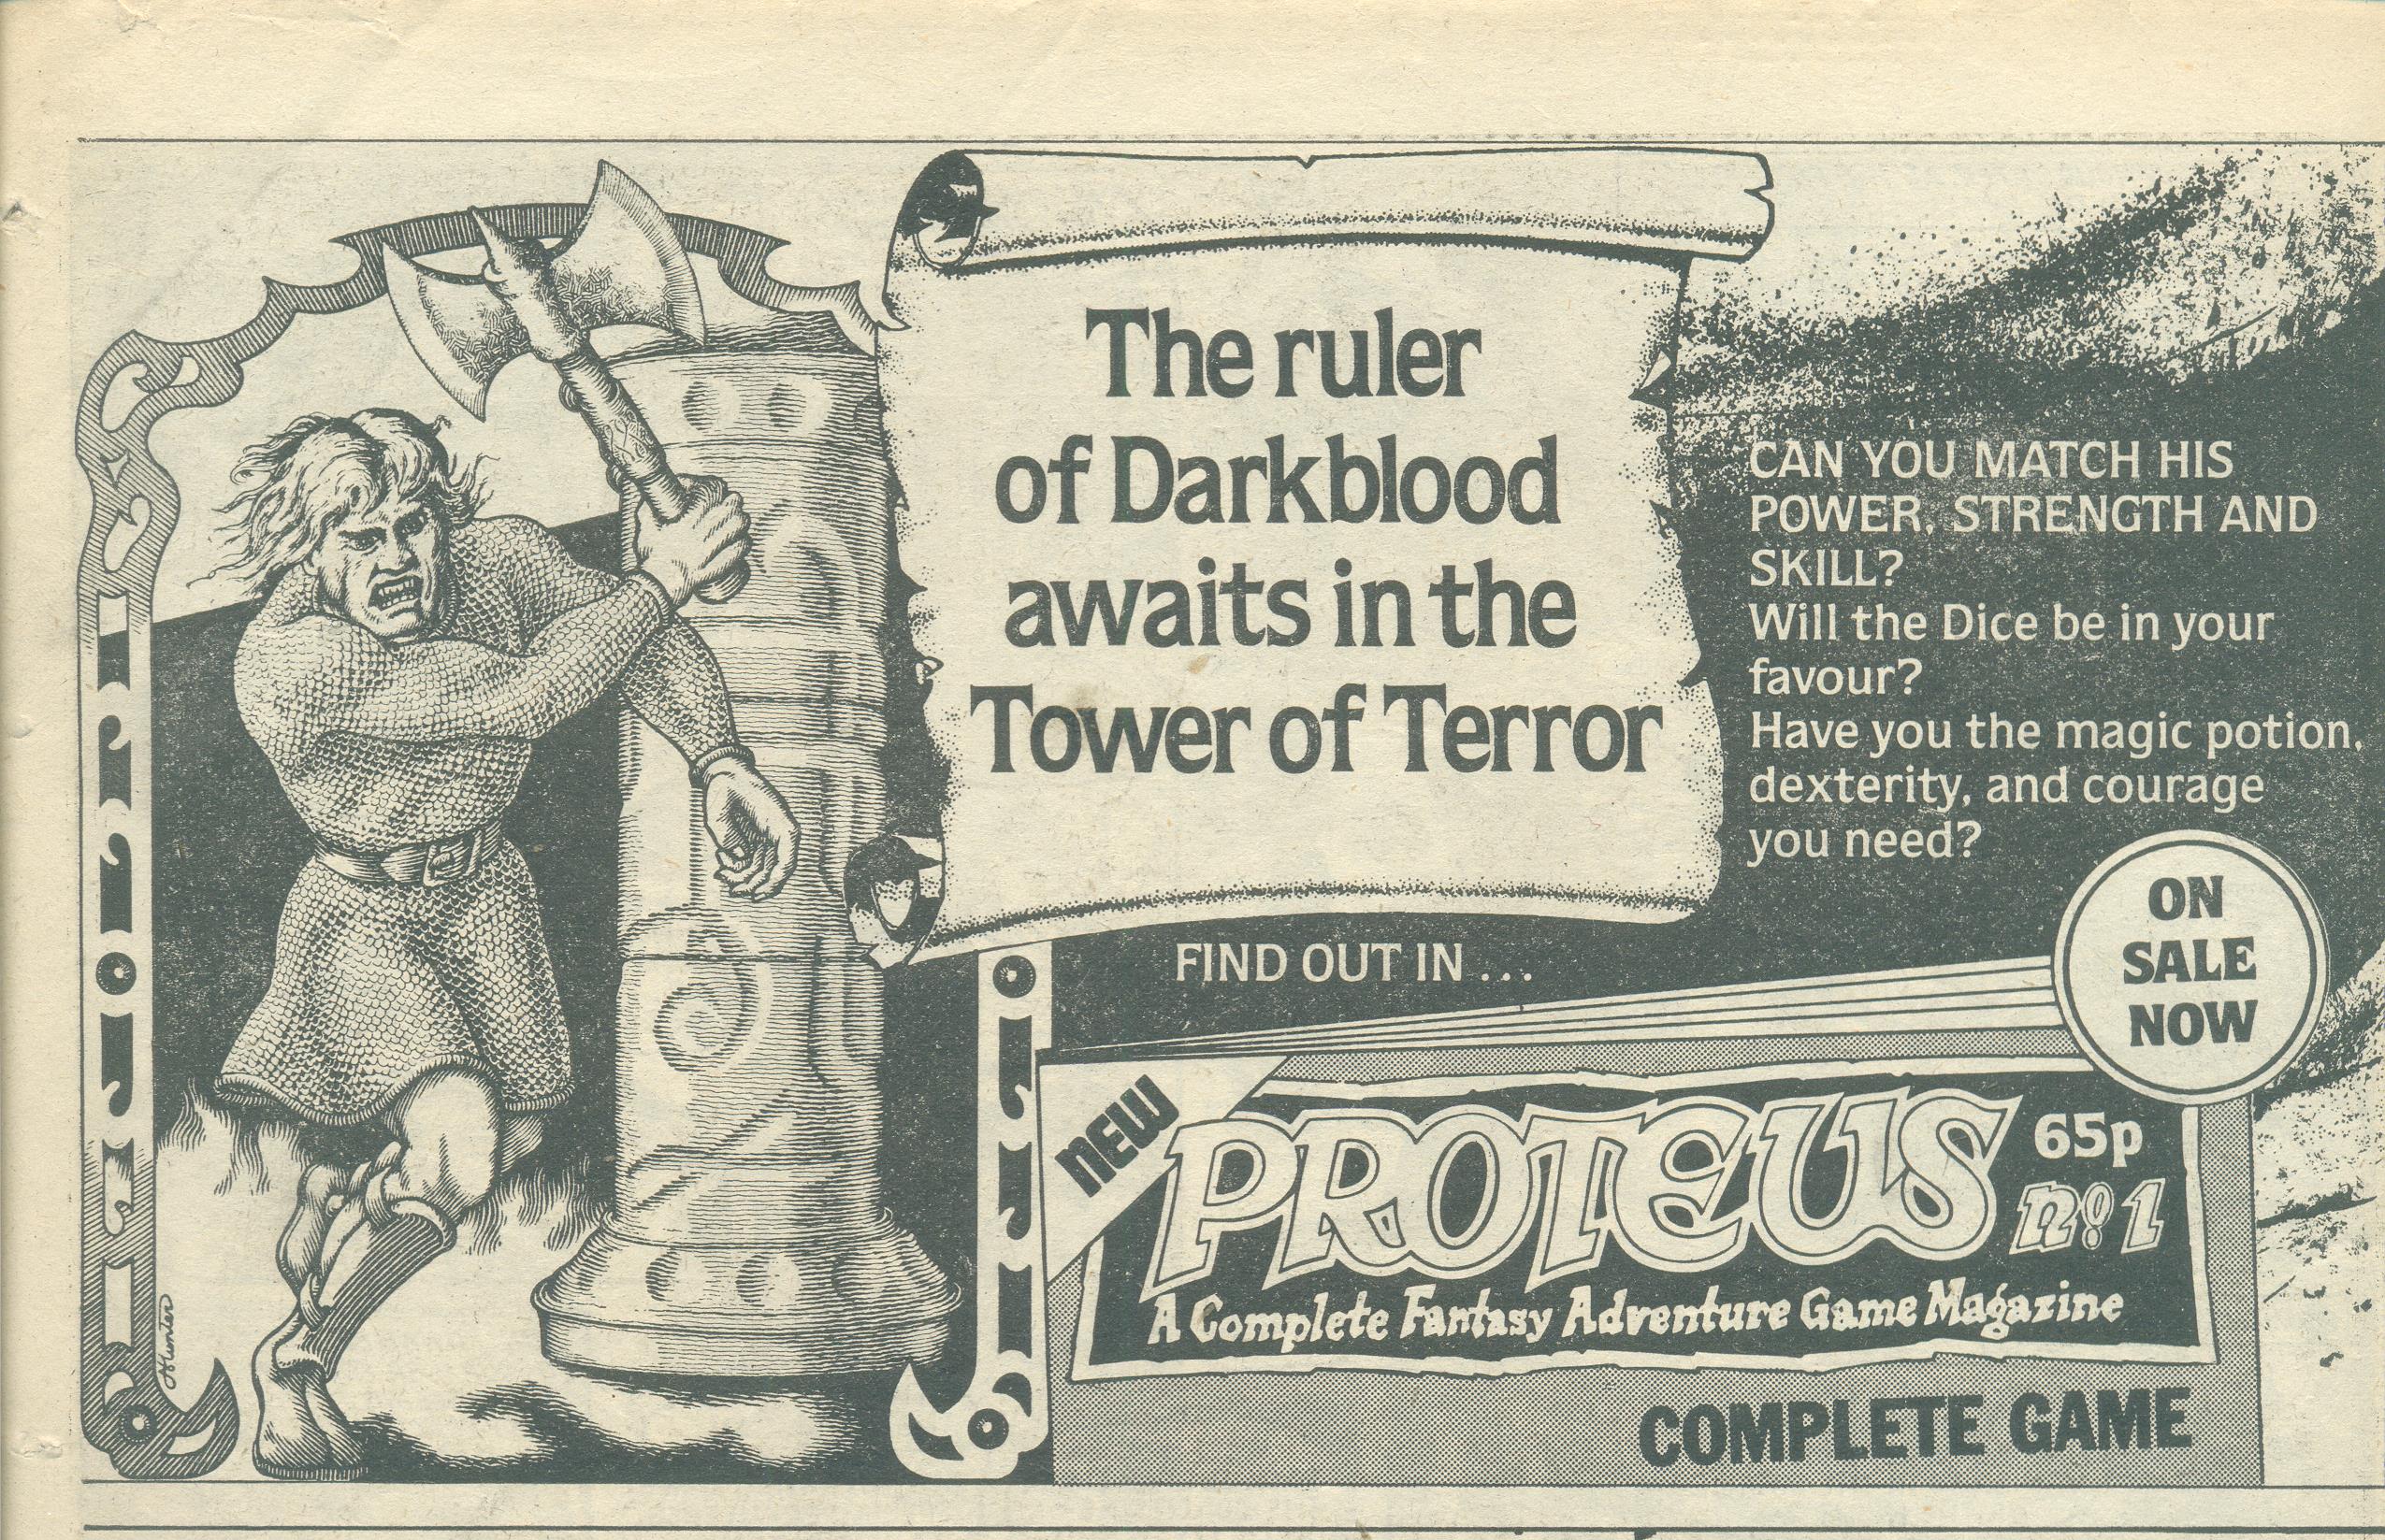
Proteus #1 Ad
- from Eagle comic, October 20, 1984. Thanks to Ed Jolley for the scan.
Proteus #2 Ad
- from Eagle comic, October 5, 1985. Thanks to Ed Jolley for the scan.
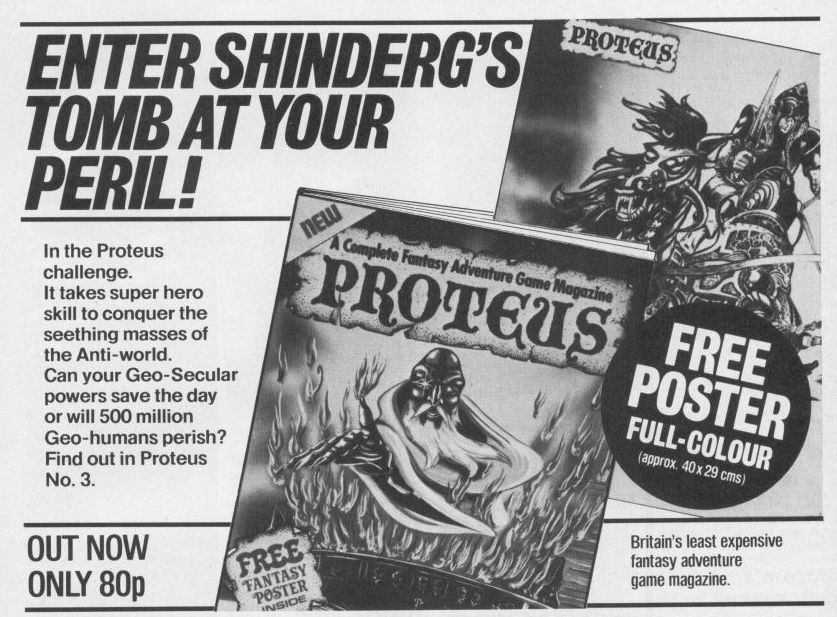
Proteus #3 Ad
- This advertisement for Shinderg's Tomb comes from Computer Gamer issue 9, page 44. Thanks to Ryan Lynch for sharing the image.
Rebel Planet Computer Game Ad
- This advertisement for the Rebel Planet computer game comes from Computer Gamer issue 13, page 47. Thanks to Ryan Lynch for sharing the image.
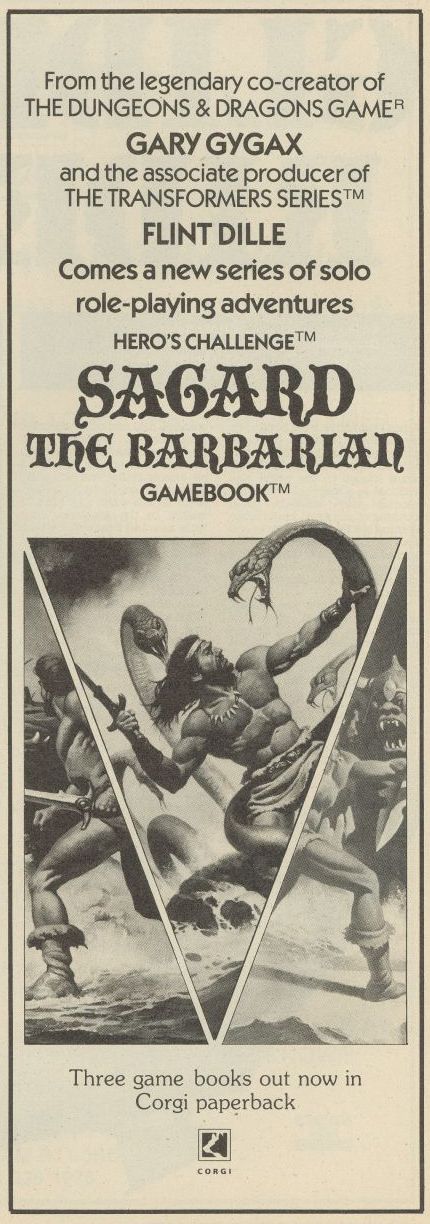
Sagard the Barbarian ad (version 1)
- This advertisement for Sagard the Barbarian comes from Computer Gamer issue 11, page 51. Thanks to Ryan Lynch for sharing the image.
Sagard the Barbarian ad (version 2)
- This advertisement for Sagard the Barbarian comes from Computer Gamer issue 20, page 16. Thanks to Ryan Lynch for sharing the image.
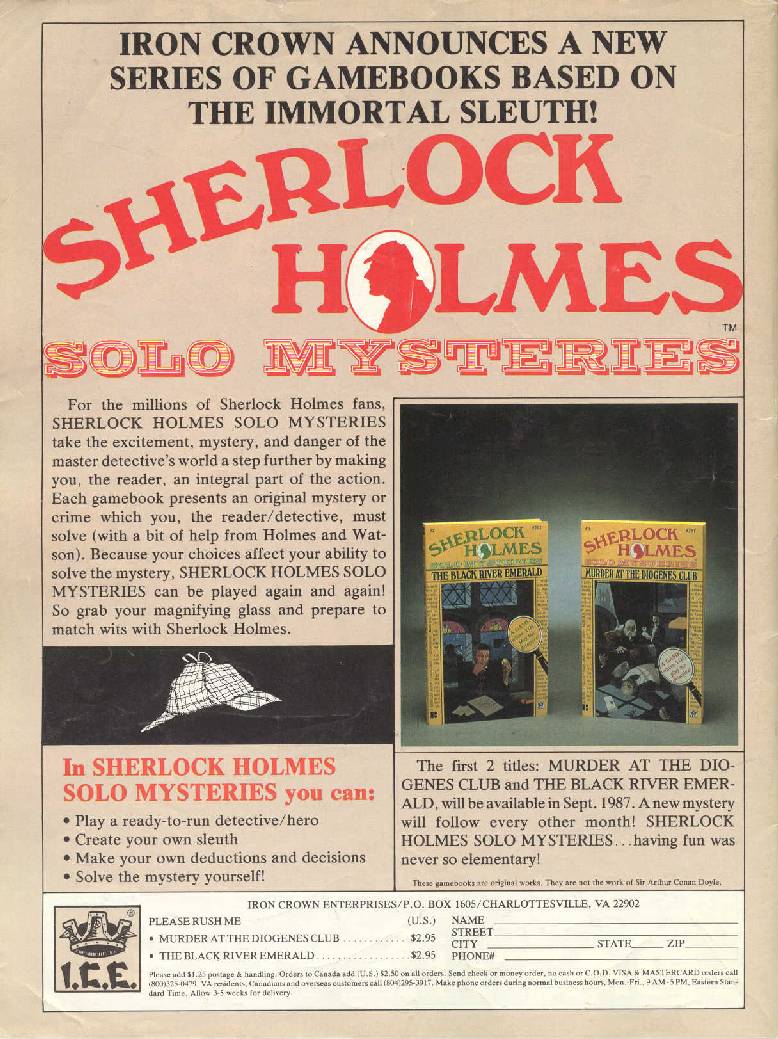
Sherlock Holmes Solo Mysteries
- from Dragon #124, back cover
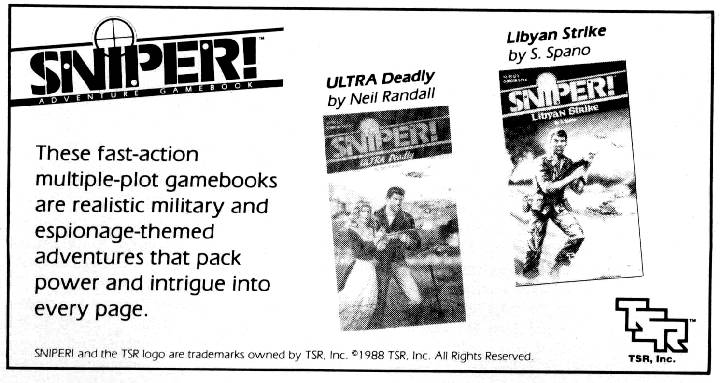
Sniper! Adventure Gamebooks
- from Dragon #136, page 85
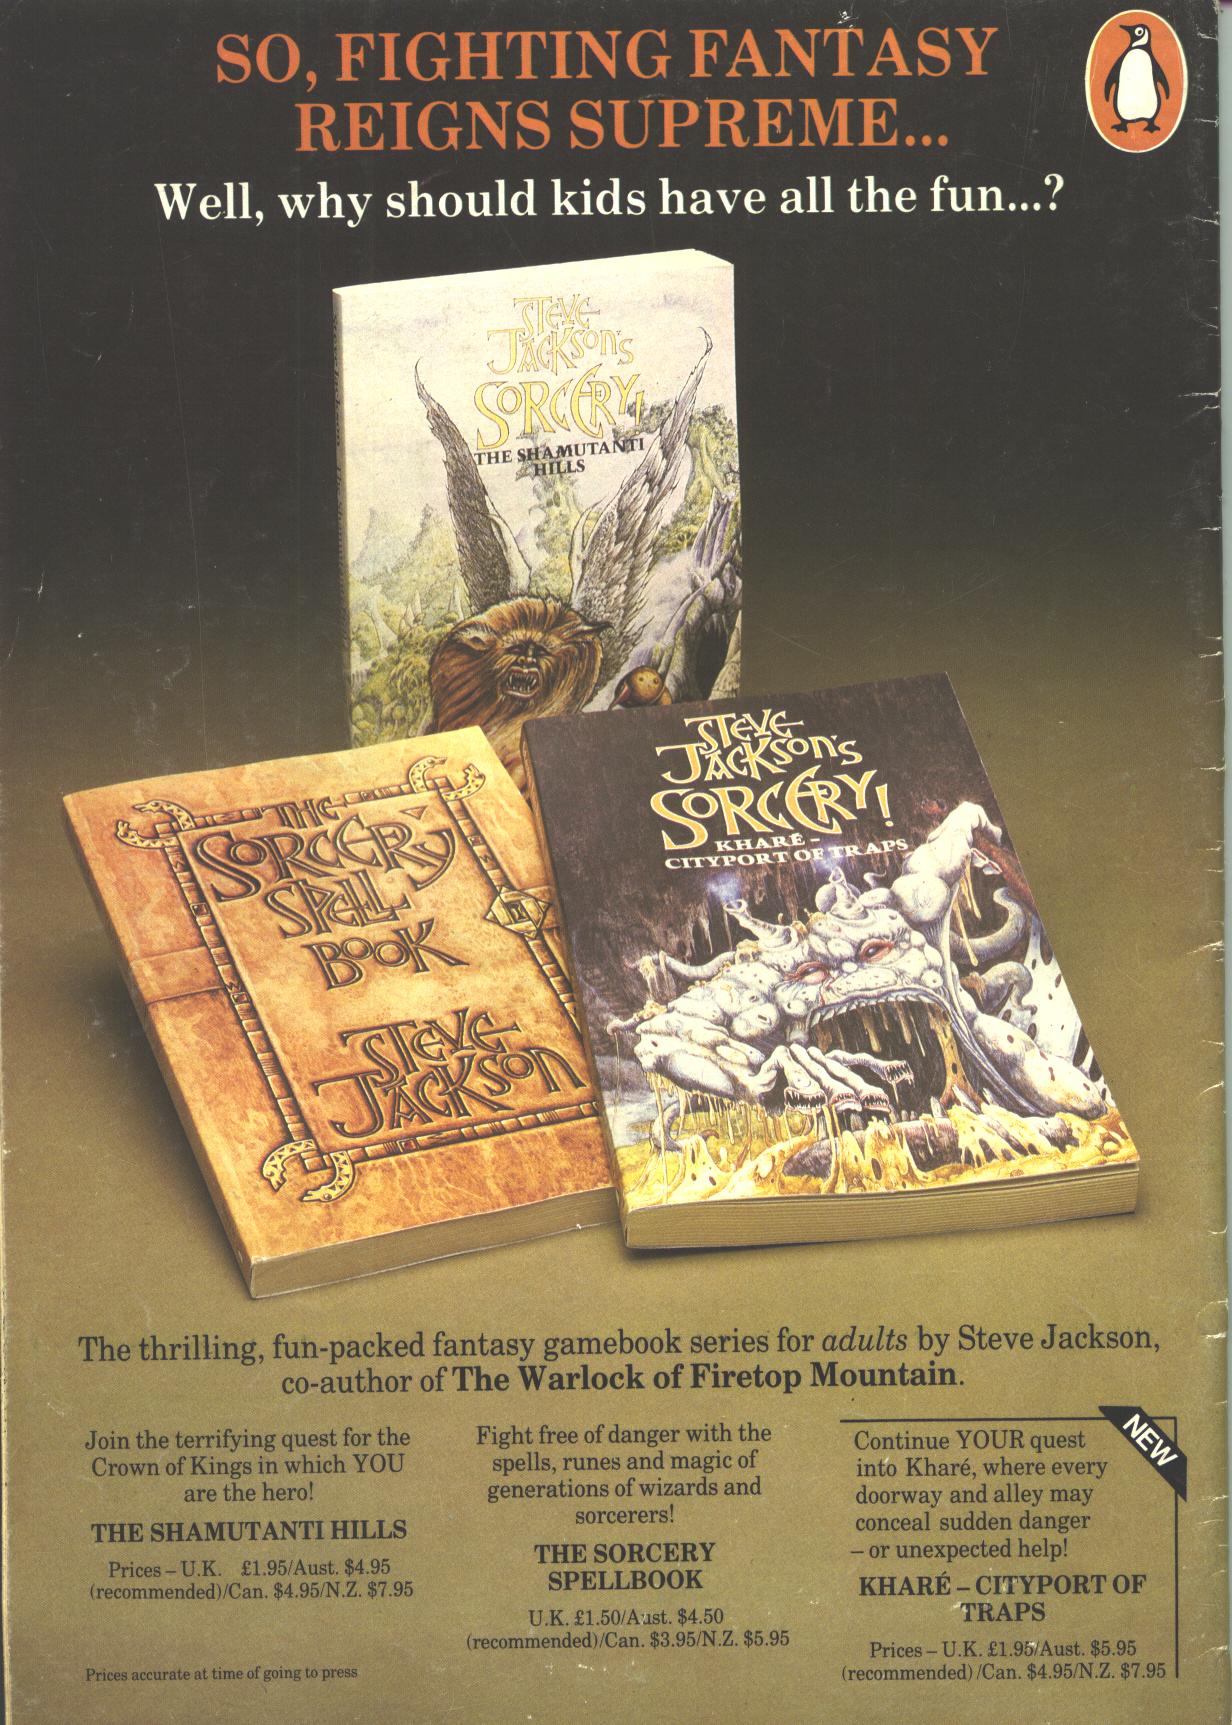
Sorcery! "For Adults" Advertisement
- from Warlock #1, back cover
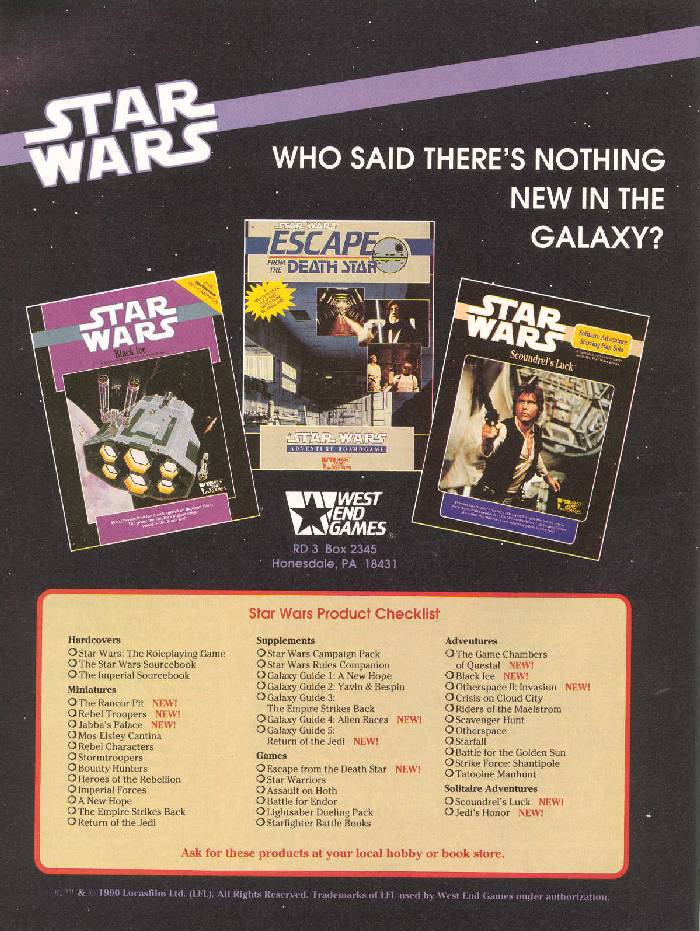
Star Wars Solitaire Adventures
- from Dragon #157, page 26
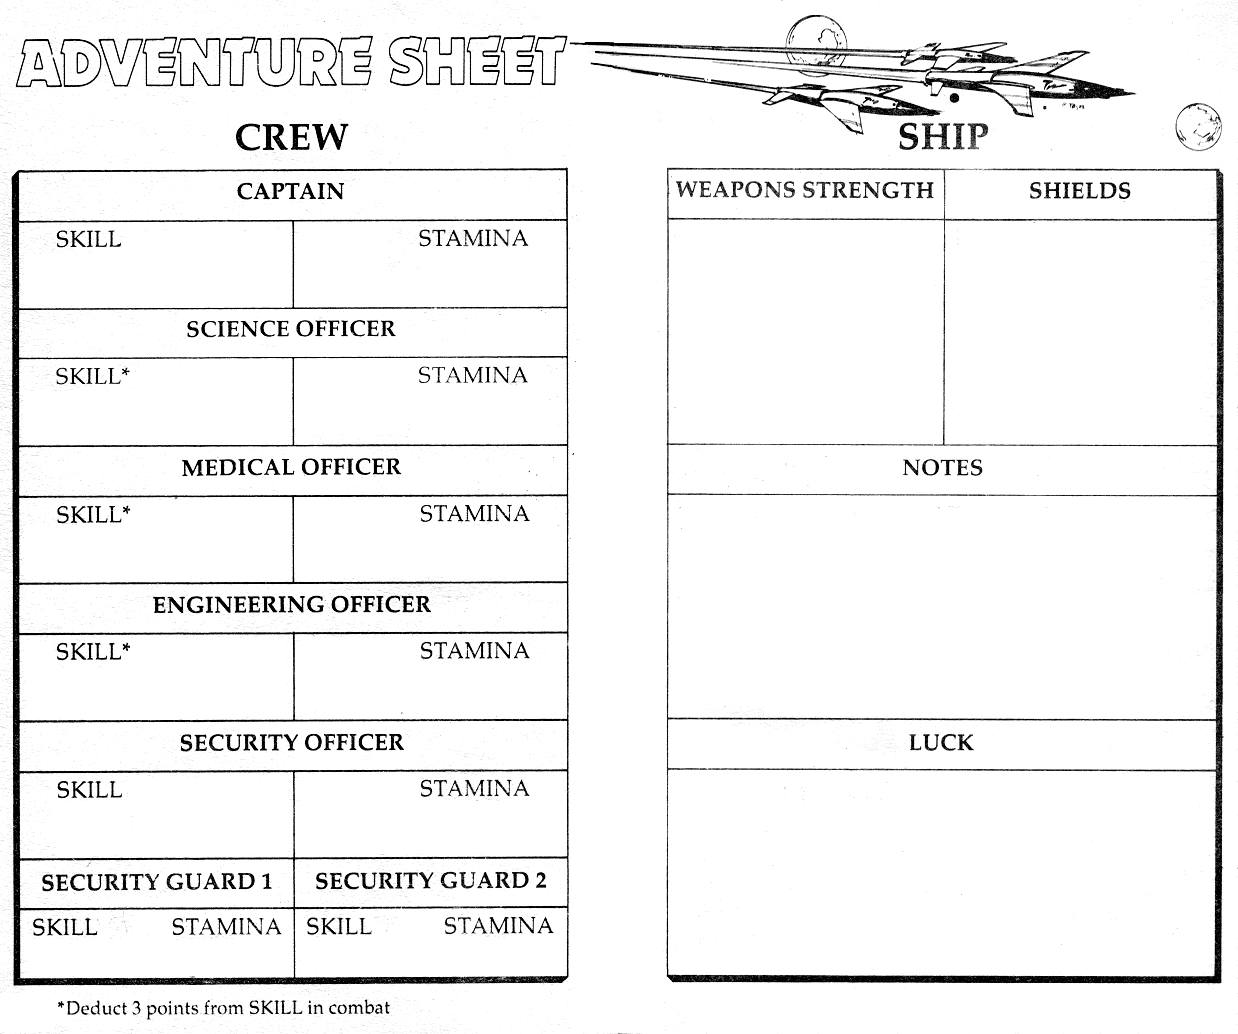
Starfighter Battle Books
- from Dragon #144, page 14
Steeleye and the Lost Magic Ad
- from Eagle comic, July 4, 1987. Thanks to Ed Jolley for the scan.
Steve Jackson's F.I.S.T.
- from Dragon #140, inside back cover
Steve Jackson's Swordmaster Advertisement #1
- This advertisement for Steve Jackson's Swordmaster ran along the bottoms of pages 35, 36, 40 and 41 in Micro Adventurer issue 15 (January 1985). Thanks to Ryan Lynch for sharing the image.
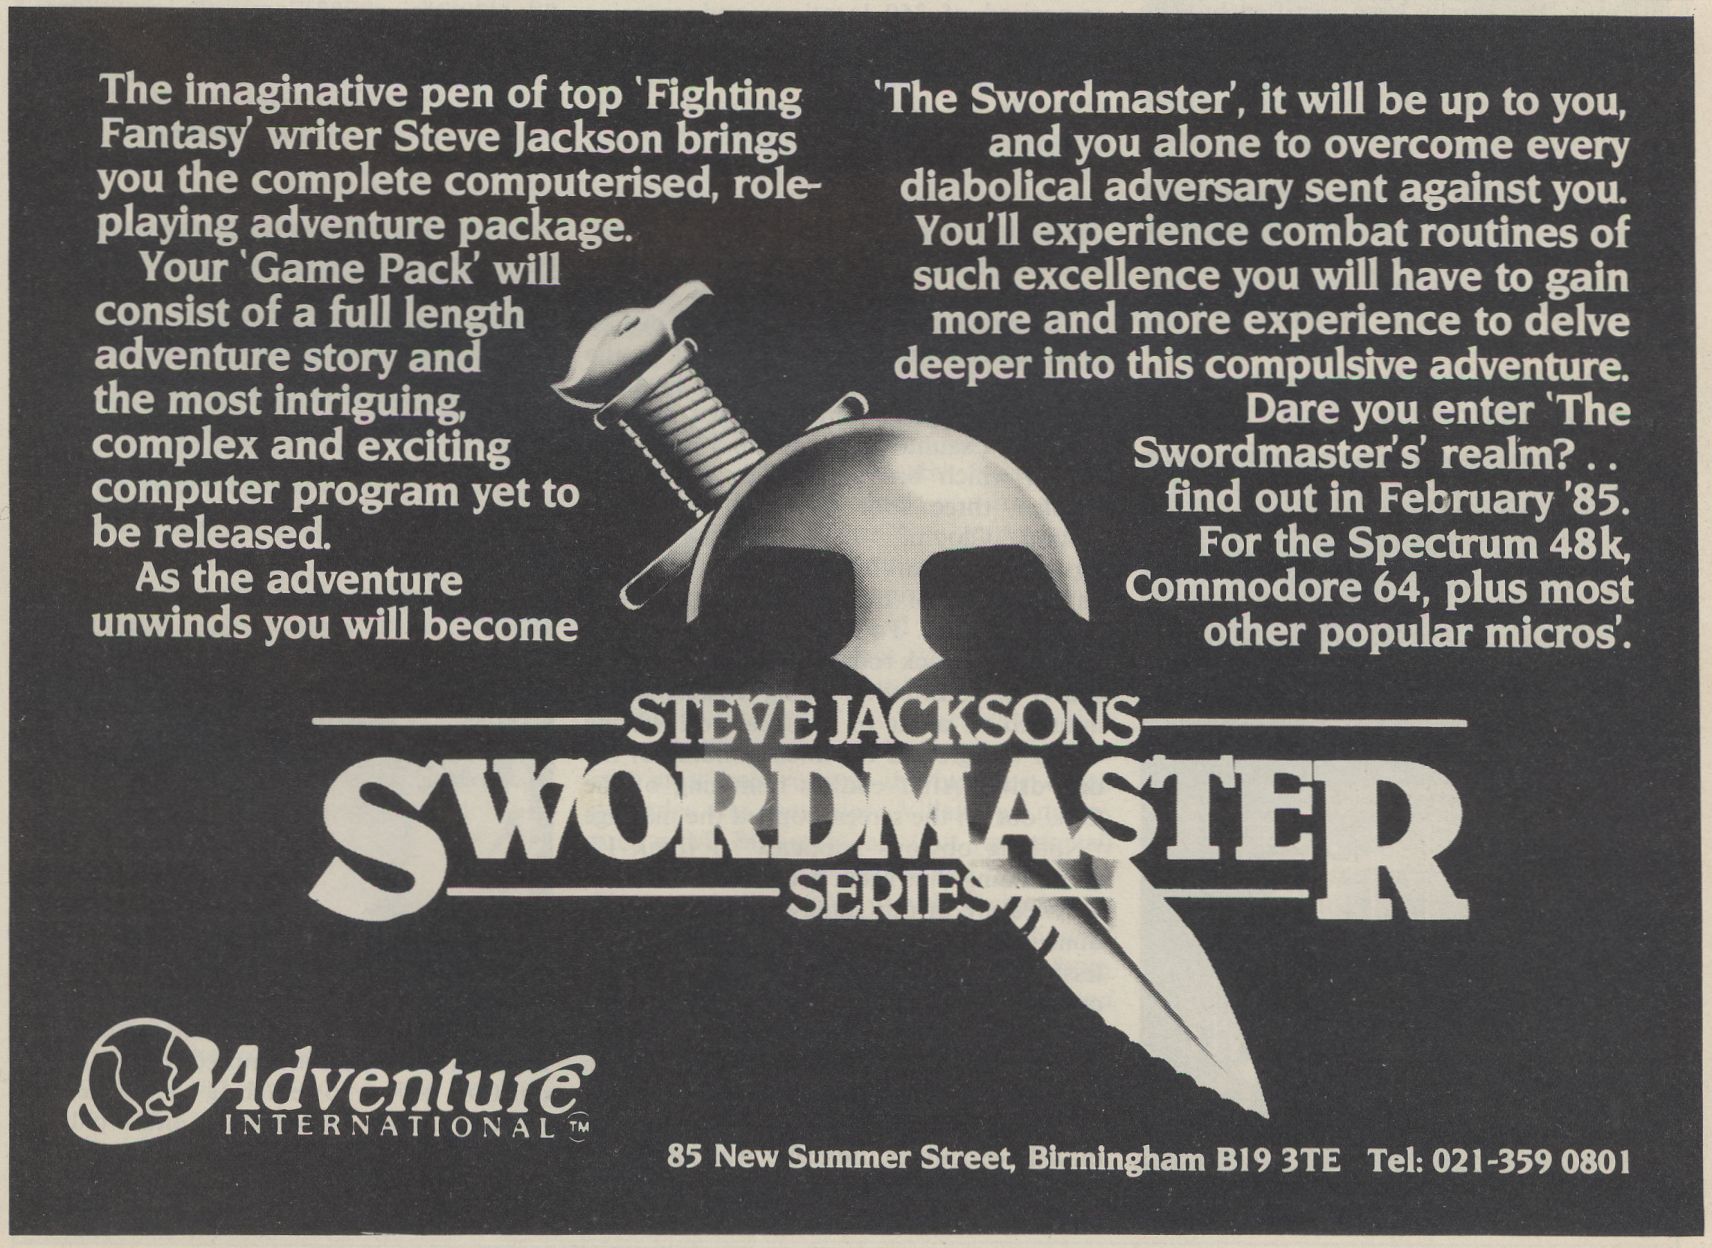
Steve Jackson's Swordmaster Advertisement #2
- This advertisement for Steve Jackson's Swordmaster ran on page 31 in Micro Adventurer issue 16 (February 1985). Thanks to Ryan Lynch for sharing the image.
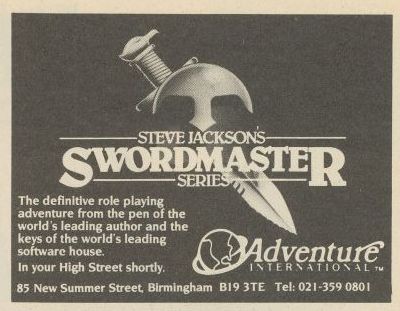
Steve Jackson's Swordmaster Advertisement #3
- This advertisement for Steve Jackson's Swordmaster comes from Computer Gamer issue 1, page 37. The same ad (differing only in size) also ran on page 24 of Micro Adventurer issue 17 (March 1985). Thanks to Ryan Lynch for sharing the image.
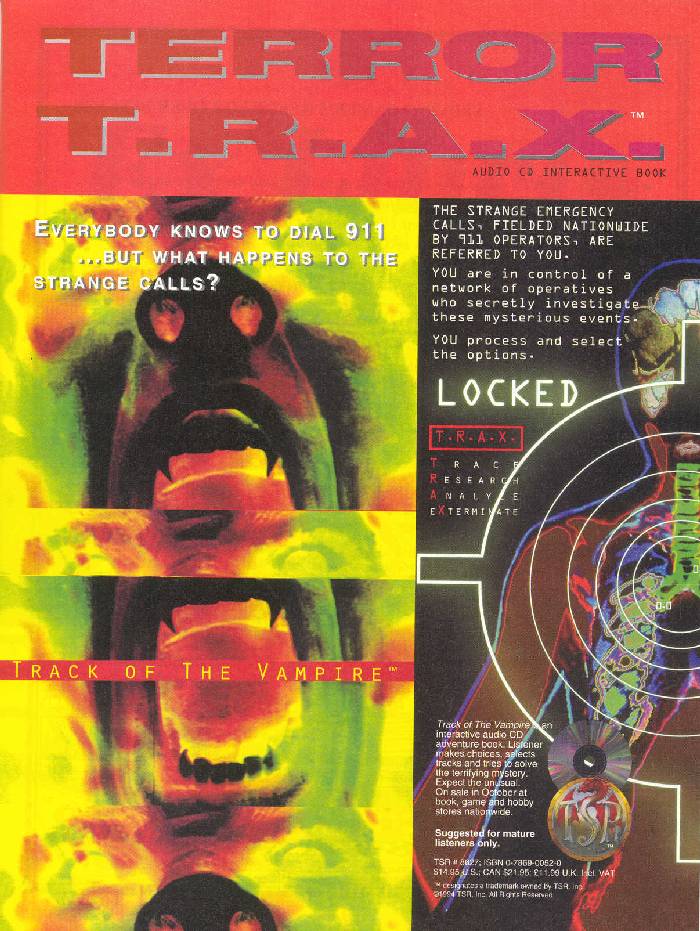
Terror T.R.A.X.
- from Dragon #209, page 47
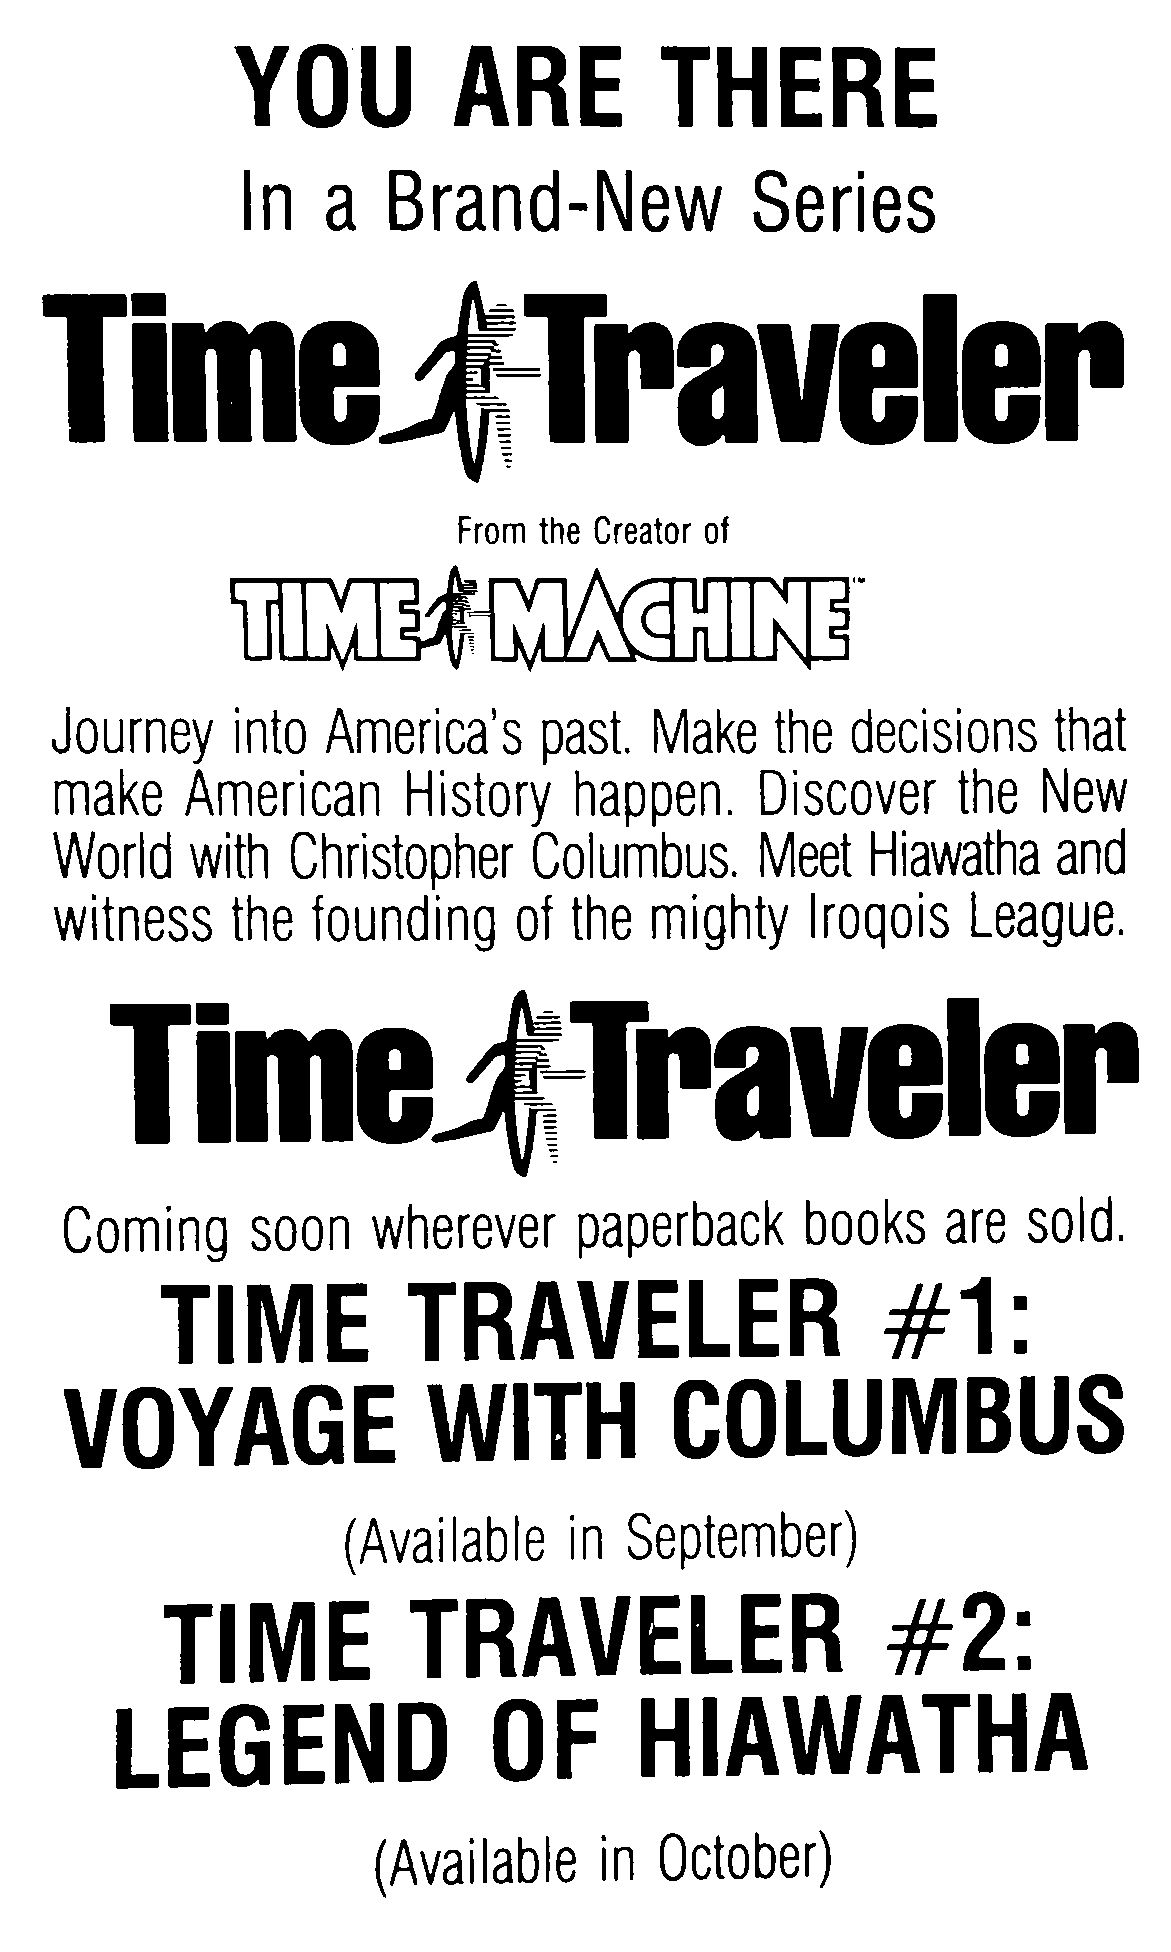
Time Traveler ad
- This advertisement was printed in the back of the first printing of the Bantam Skylark edition of The Castle in the Attic by Elizabeth Winthrop, published September, 1986.
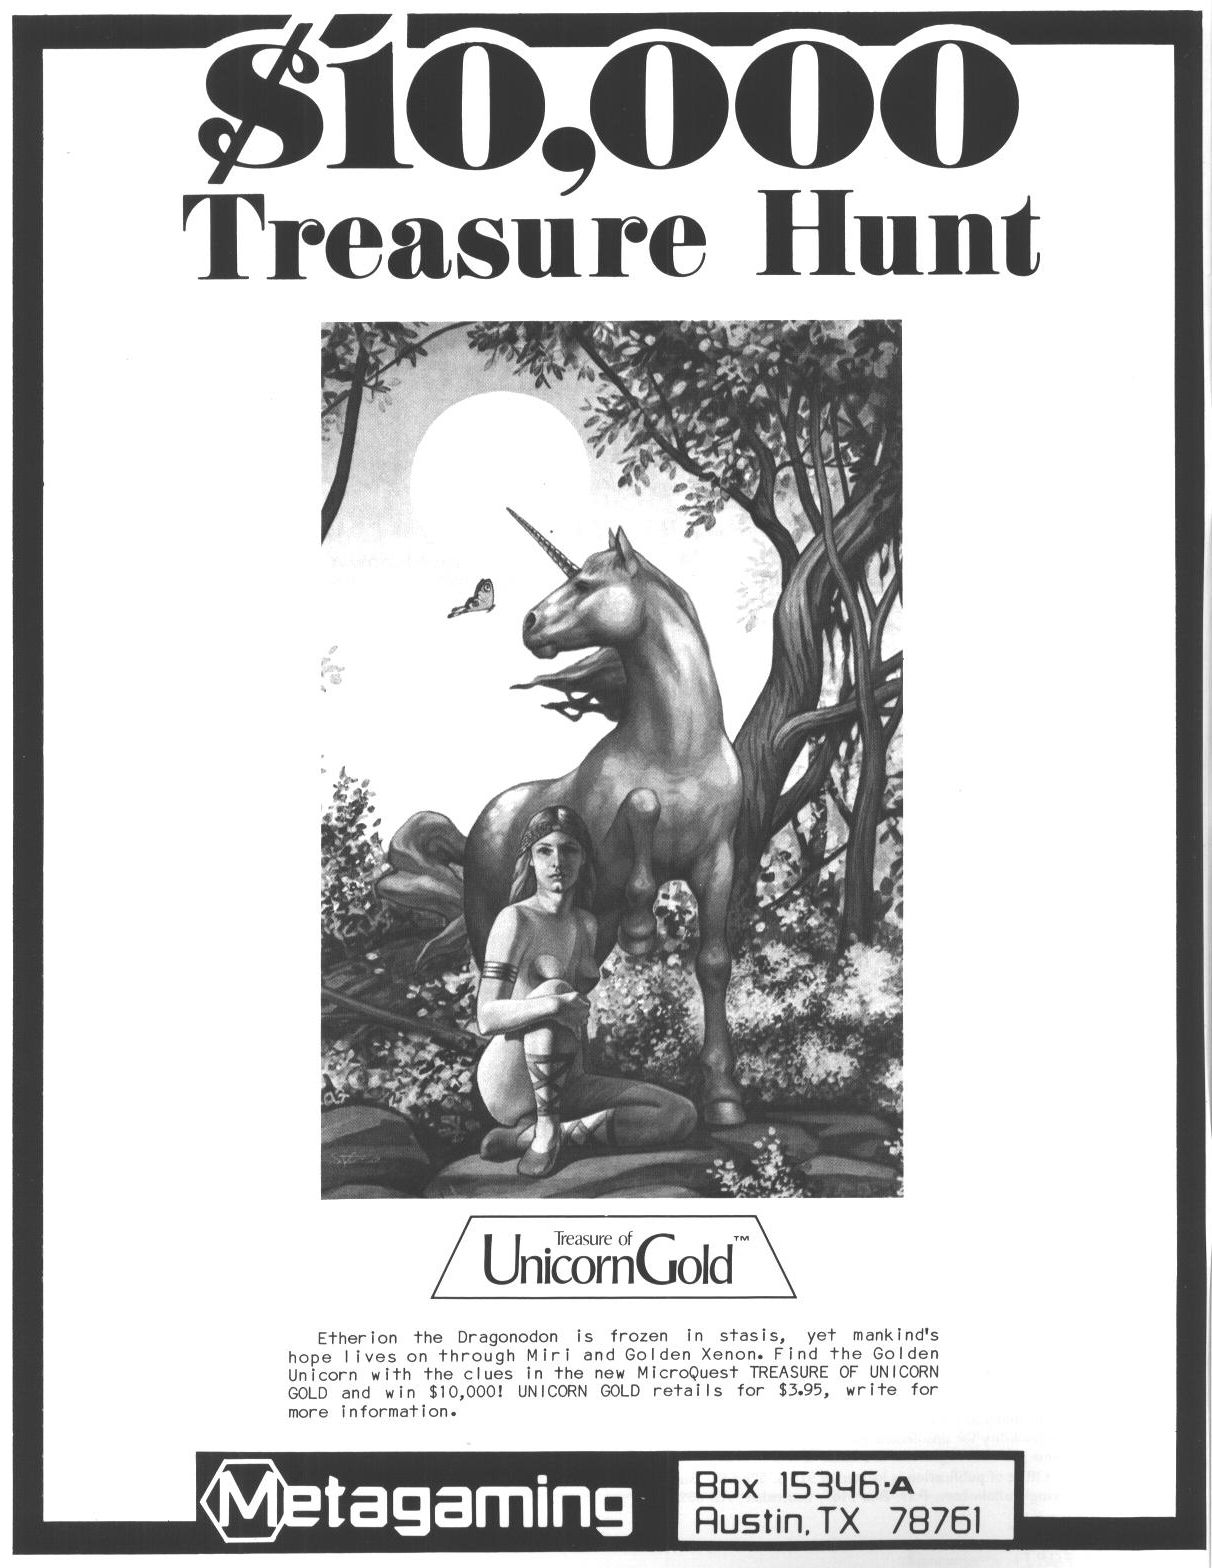
Treasure of Unicorn Gold Ad
- from Sorcerer's Apprentice #12, page 4
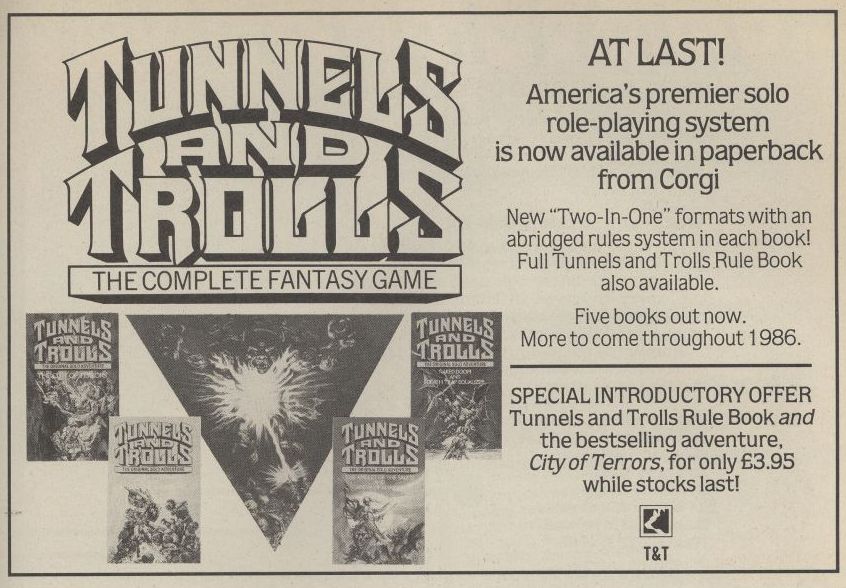
Tunnels and Trolls "At Last!" Advertisement
- This advertisement for the Corgi edition of Tunnels and Trolls comes from Computer Gamer issue 13, page 51. Thanks to Ryan Lynch for sharing the image.
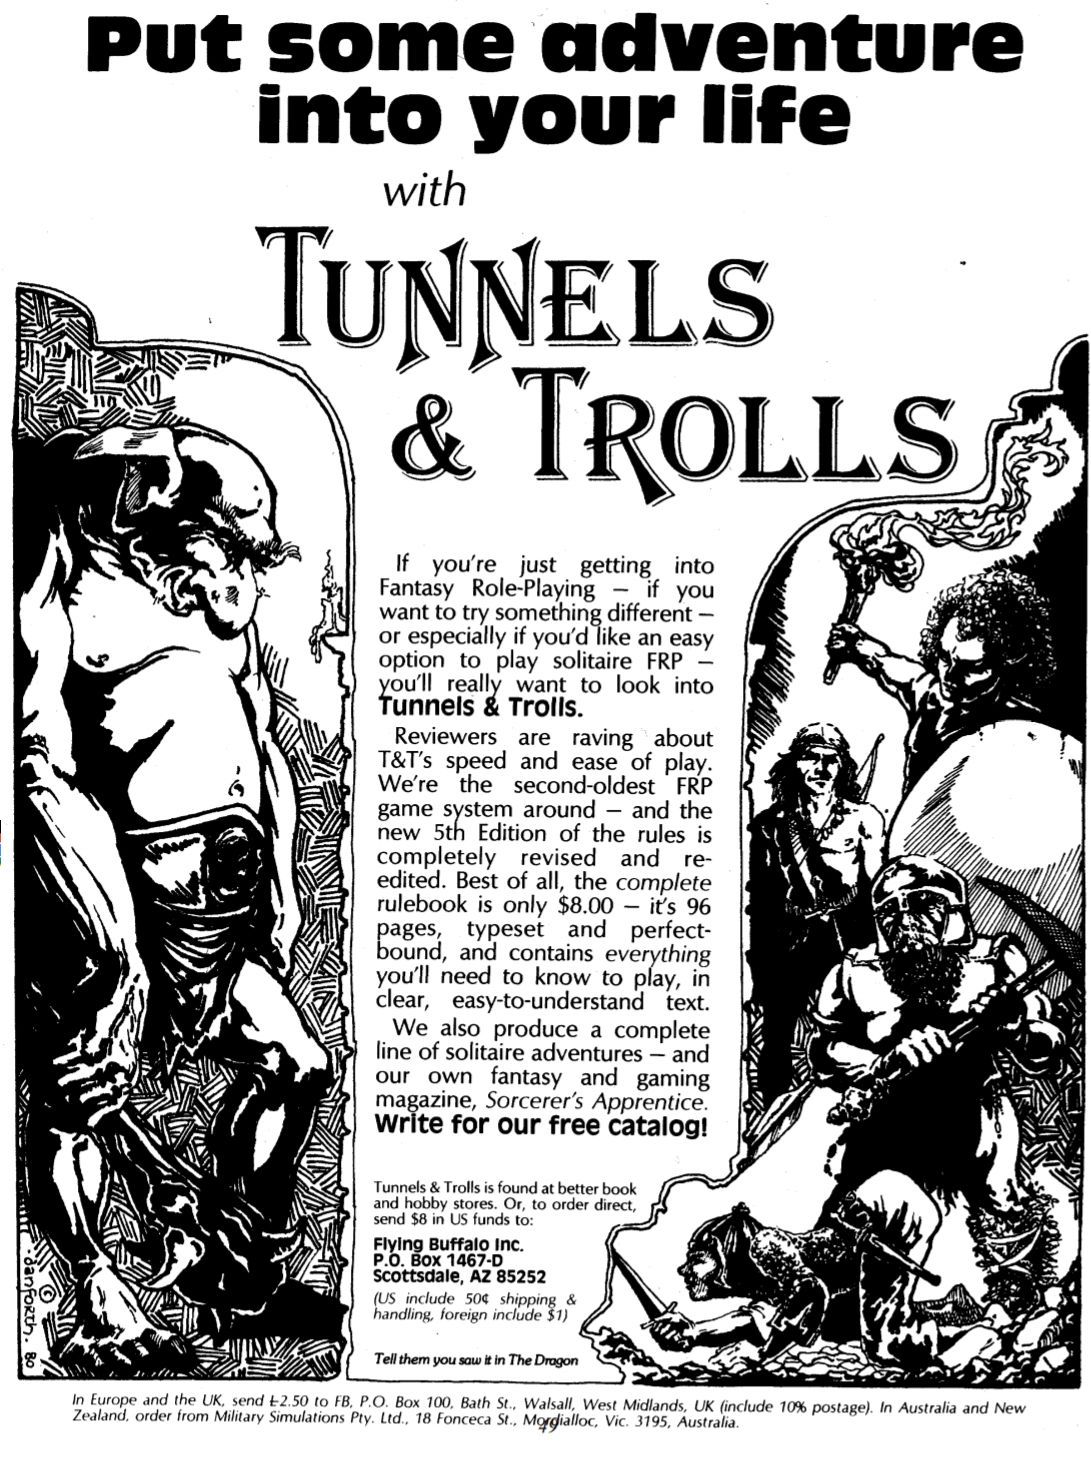
Tunnels and Trolls: Put Some Adventure Into Your Life Ad
- from Dragon #38, page 49. Thanks to Pedro Panhoca for the scan.
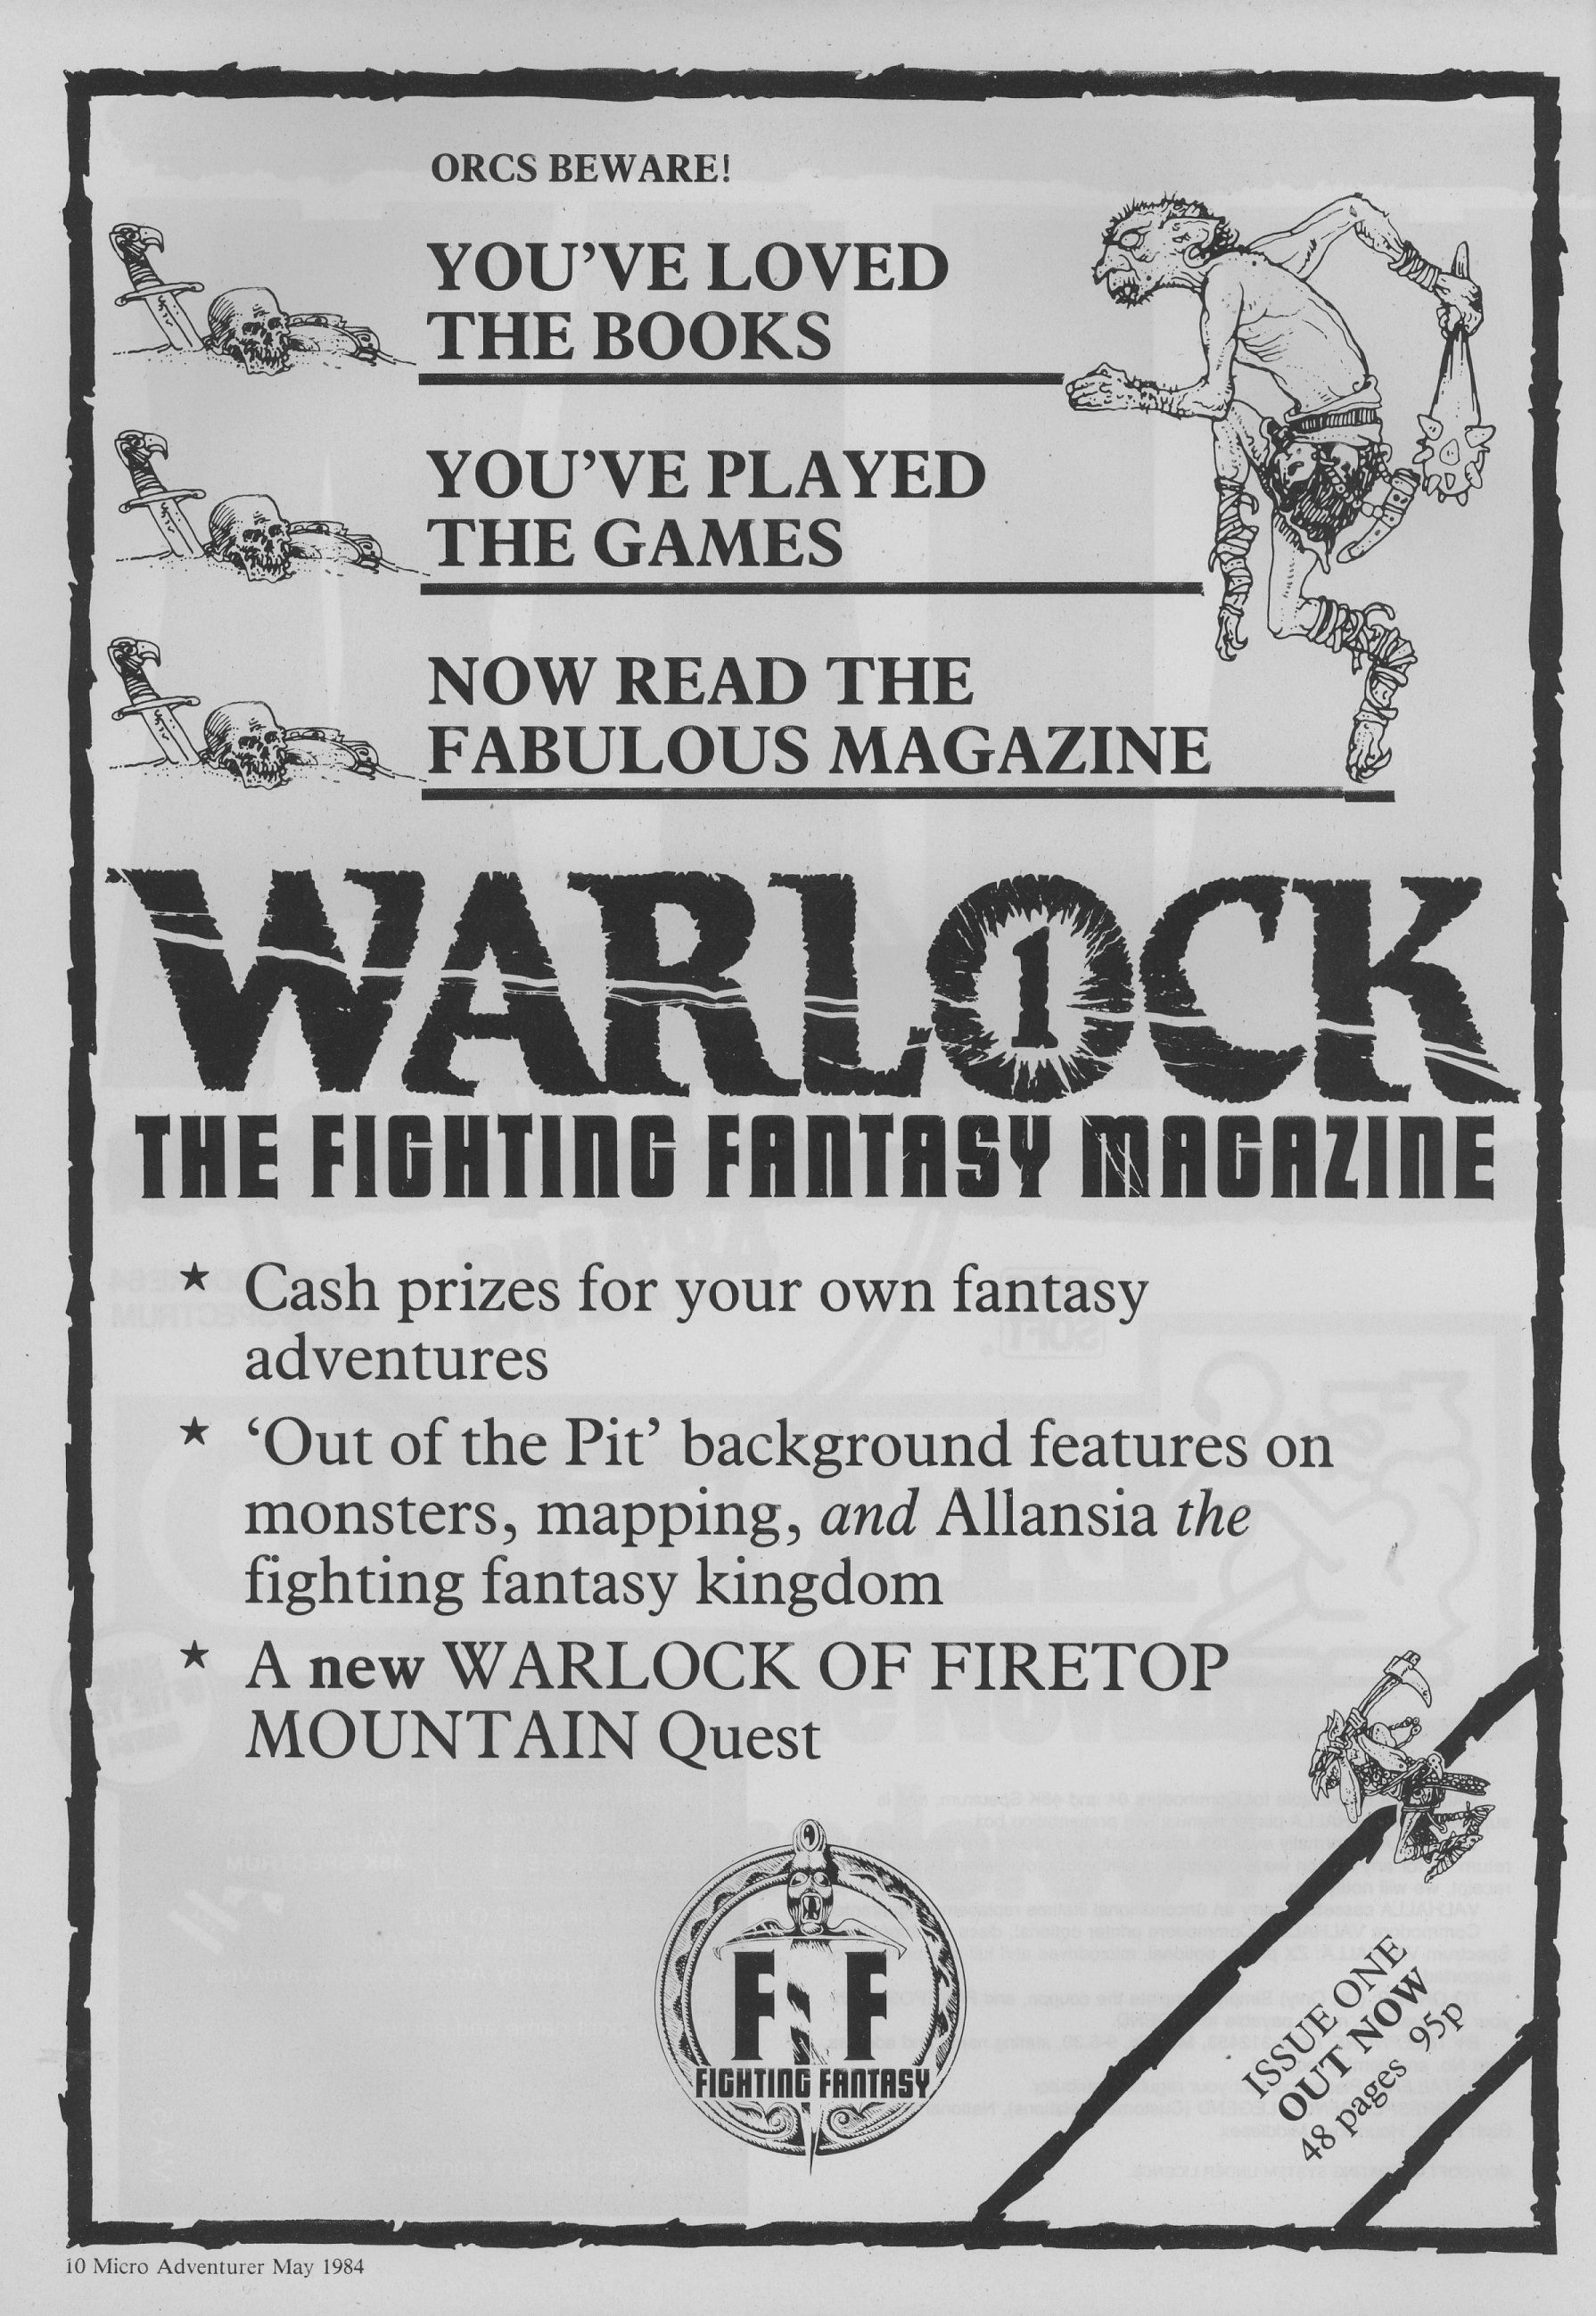
Warlock Advertisement
- This advertisement from the May 1984 issue of Micro Adventurer announces the first issue of Warlock magazine. Thanks to Ryan Lynch for sharing the image.
The Way of the Tiger Computer Game Ad #1
- This advertisement for the Way of the Tiger computer game comes from Computer Gamer issue 11, page 62. Thanks to Ryan Lynch for sharing the image.
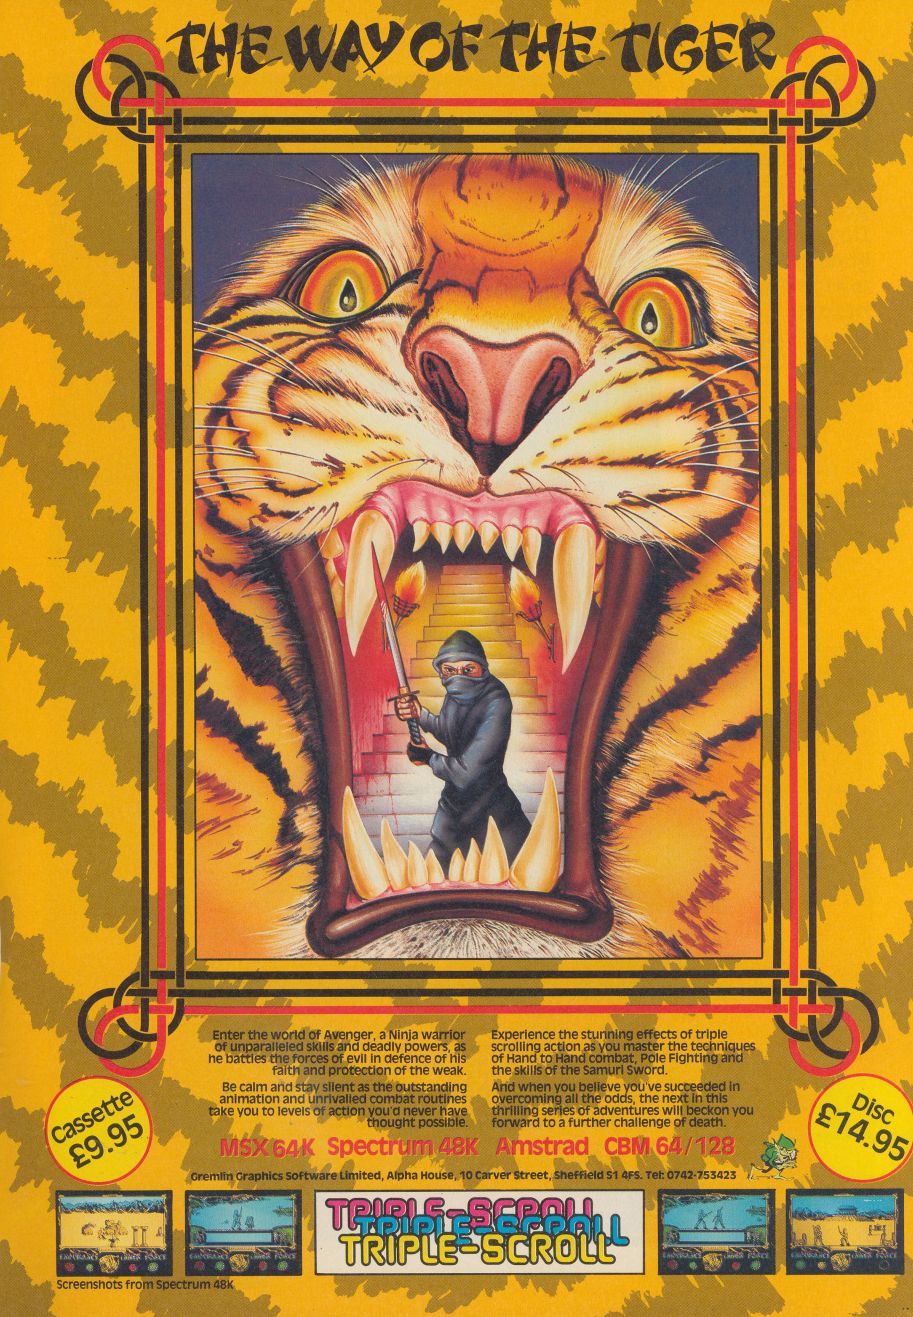
The Way of the Tiger Computer Game Ad #2
- This advertisement for the Way of the Tiger computer game comes from Computer Gamer issue 14, page 49. Identical ads also appeared in issue 13, page 7 and issue 15, page 49. Thanks to Ryan Lynch for sharing the image.
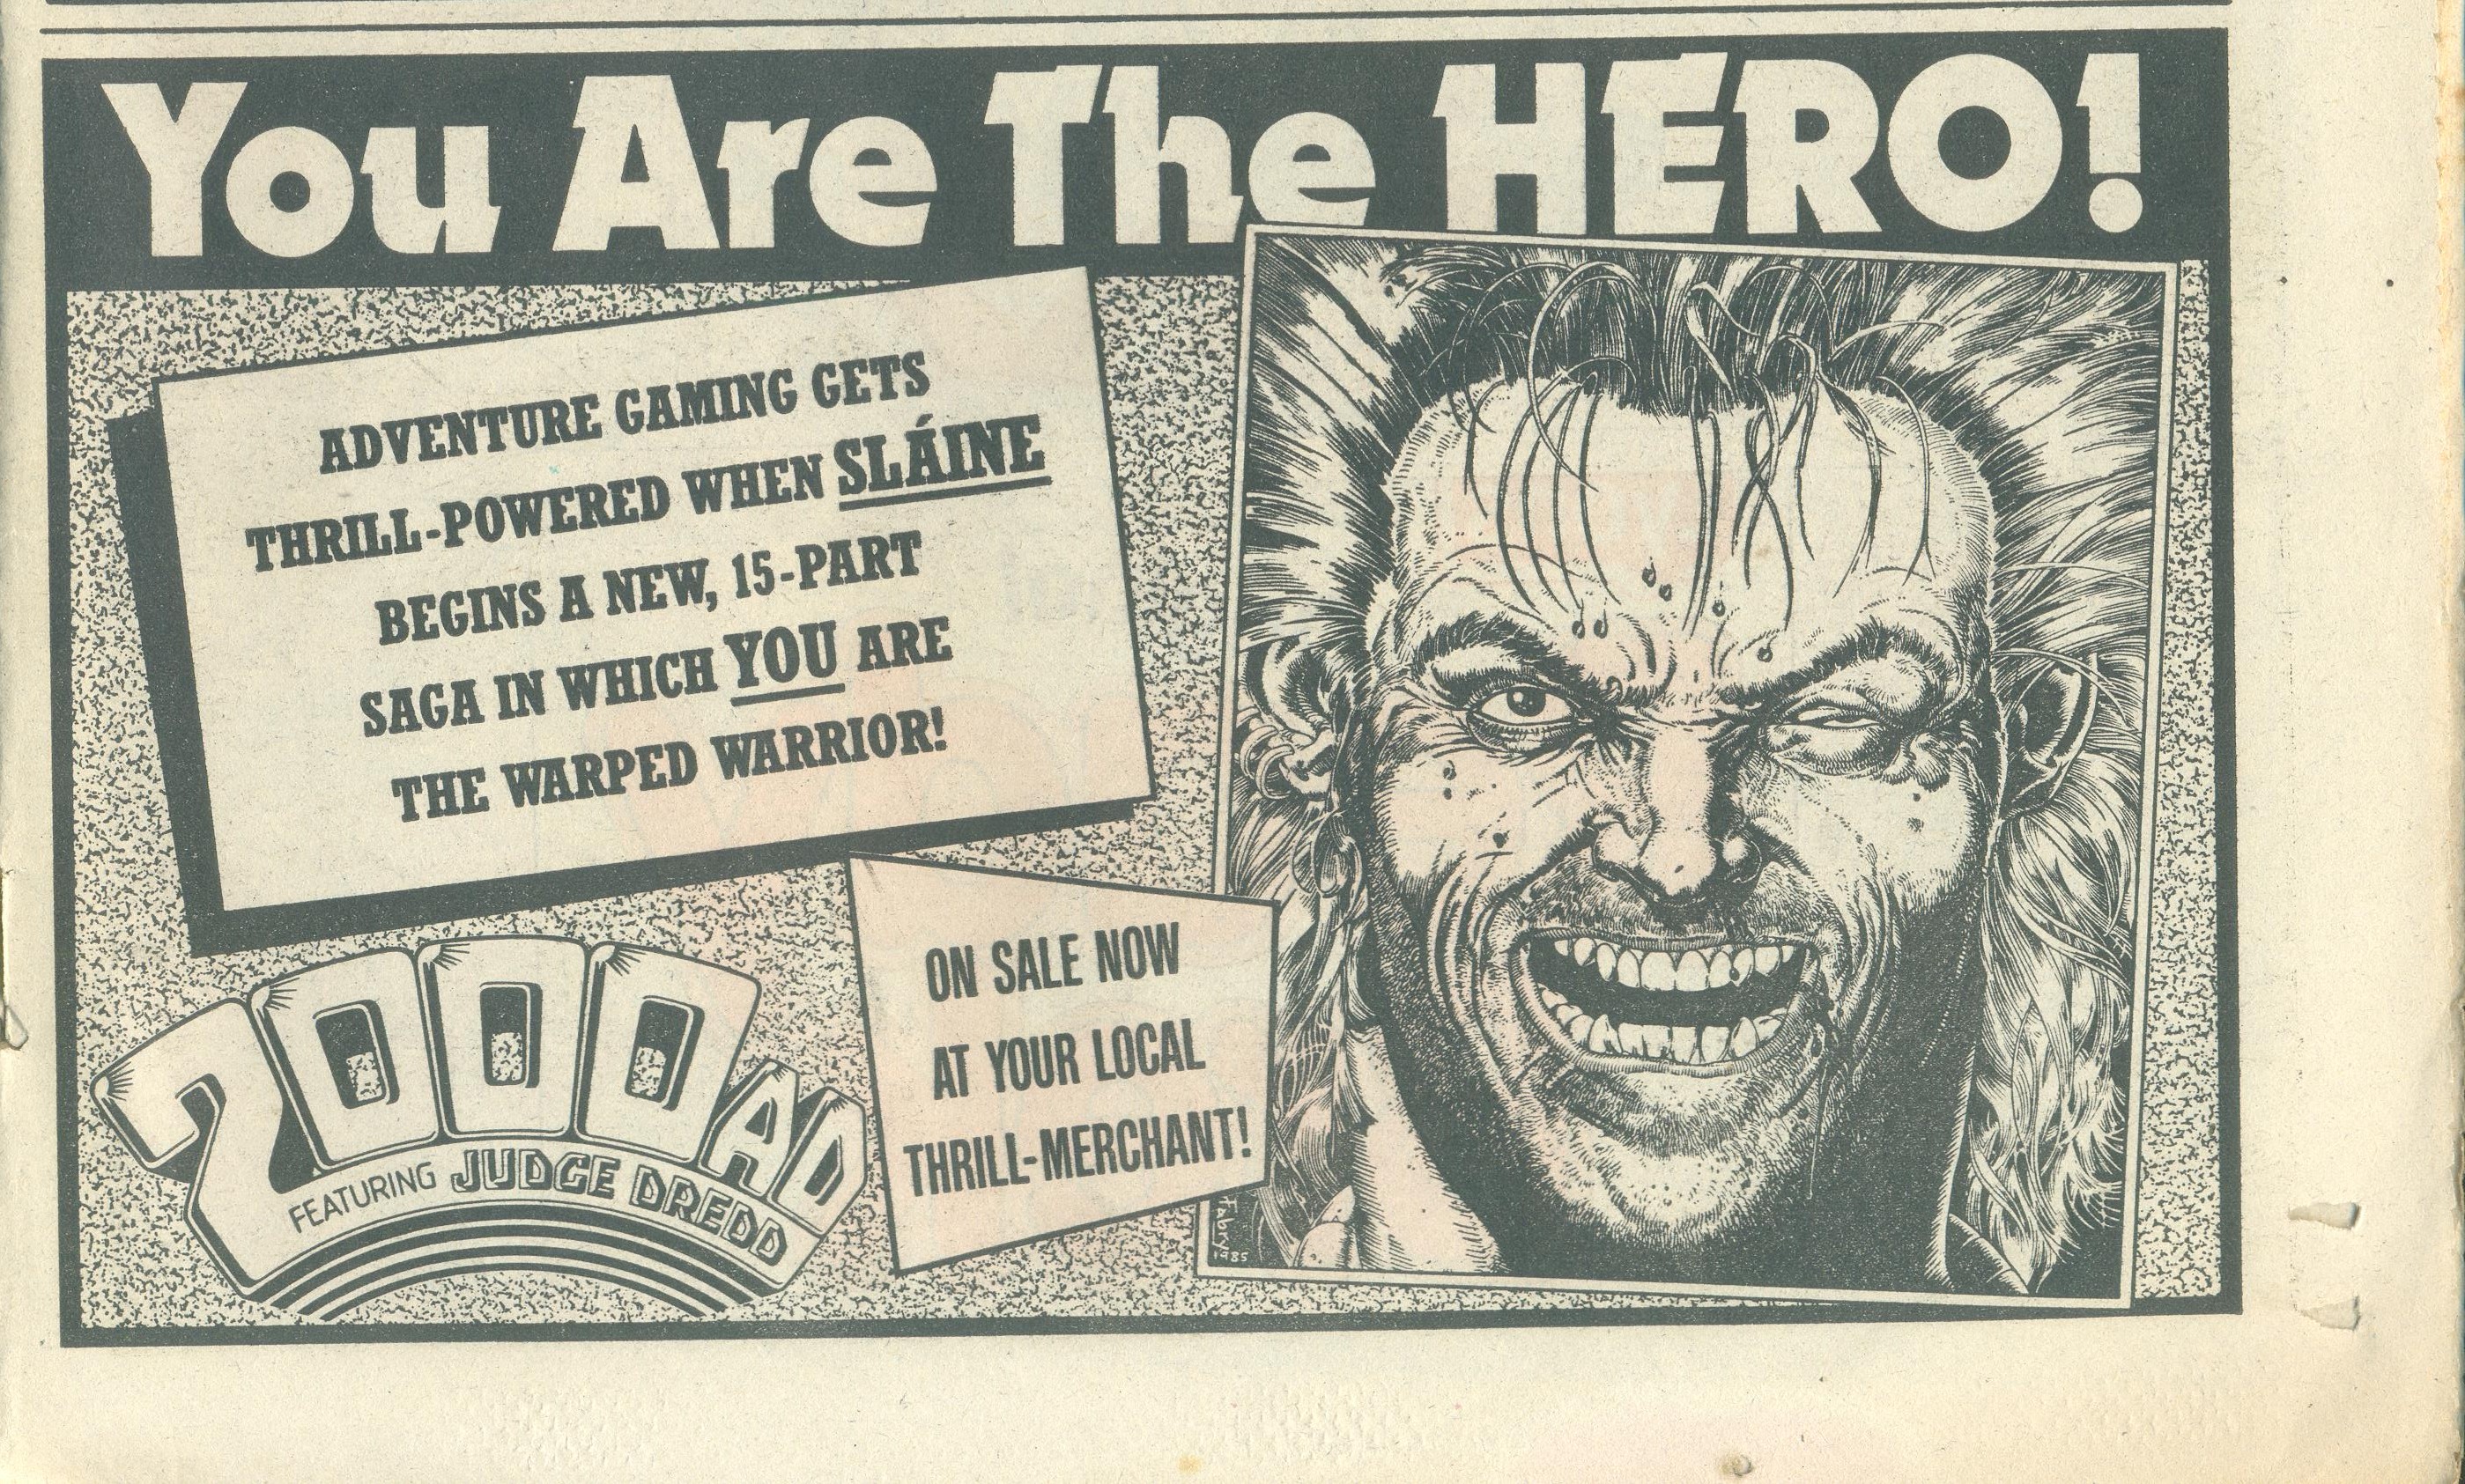
You Are Slaine Ad
- from Eagle comic, December 7, 1985. Thanks to Ed Jolley for the scan.
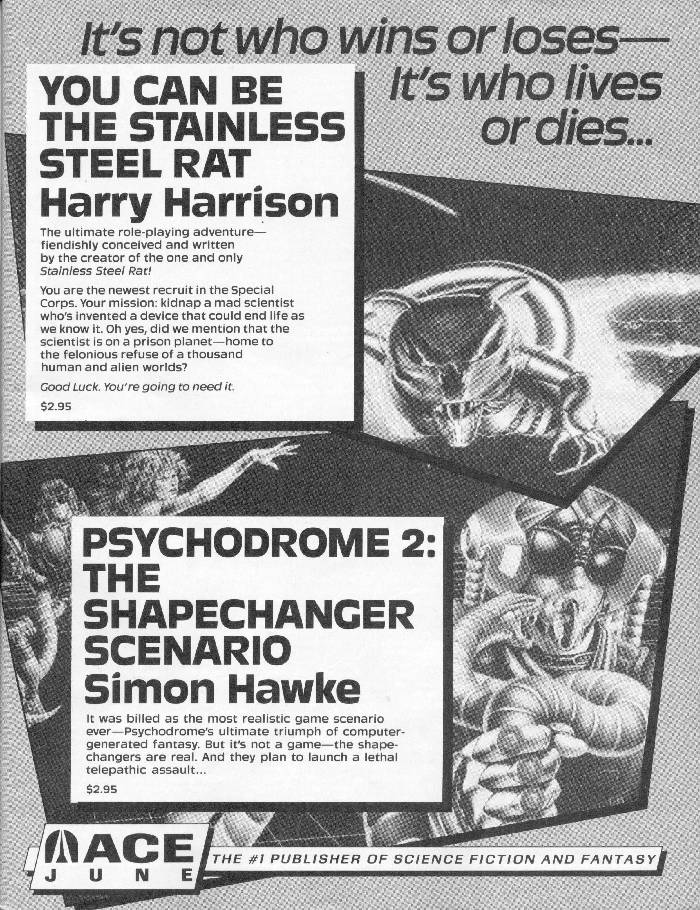
You Can Be the Stainless Steel Rat
- from Dragon #134, page 5
Article
1 Contre 1 Gamebook Advertisement (English translation)
- This is an unofficial translation (by Demian Katz) of the French interactive ad from the back of several Donjons & dragons, niveau avance books.
1 Contre 1 Gamebook Advertisement (original French text)
- This interactive ad was found in the back of several Donjons & dragons, niveau avance books.
Bureau 13 #1 Sample Chapters
Bureau 13 #2 Sample Chapters
Bureau 13 #3 Sample Chapters
Bureau 13 #4 Sample Chapters
Choose Your Own Adventure - The Abominable Snowman: Differences
- This article compares the original and revised editions of The Abominable Snowman
Evolution of Sugarcane Island
- This article compares the original and revised editions of Sugarcane Island.
Fighting Fantasy: Curse of the Mummy Changes
- This article from Nicholas Campbell compares the original and reissued editions of Curse of the Mummy.
Fighting Fantasy: Spellbreaker Changes
- This article from Nicholas Campbell compares the original and reissued editions of Spellbreaker.
Marcos Benevides Interview (1/1/13)
Matt Youngmark Interview (12/28/09)
S. A. Interview (8/21/08)
Tracey West Interview (4/8/04)
Autograph
ACE Gamebooks #1 Autograph
ACE Gamebooks #5 Autograph
Adventure Gamebooks #1 Autographed Title Page
- Thanks to sireeyore for sharing this.
Crossroads # 1 Autographed Title Page
- Thanks to Ryan Lynch for sharing this.
Fighting Fantasy # 1 (Scholastic) Autographed Title Page
- Thanks to Ryan Lynch for sharing this.
Fighting Fantasy # 1 Autographed Title Page
- Thanks to Ken G. for sharing this.
Fighting Fantasy # 15 (Scholastic) Autographed Title Page
- Thanks to Ryan Lynch for sharing this.
Fighting Fantasy # 2 (Scholastic) Autographed Title Page
- Thanks to Ryan Lynch for sharing this.
Fighting Fantasy # 3 (Scholastic) Autographed Title Page
- Thanks to Ryan Lynch for sharing this.
Fighting Fantasy # 4 (Scholastic) Autographed Title Page
- Thanks to Ryan Lynch for sharing this.
Fighting Fantasy # 5 (Scholastic) Autographed Title Page
- Thanks to Ryan Lynch for sharing this.
Fighting Fantasy # 6 (Scholastic) Autographed Title Page
- Thanks to Ryan Lynch for sharing this.
Fighting Fantasy # 6 (Scholastic)(Hardback) Autographed Title Page
- Thanks to Luke Sheridan for sharing this.
Metal Heroes and the Fate of Rock Autograph
Pick-a-Path Apocalypse #1 Autographed Title Page
Pick-a-Path Apocalypse #2 Autographed Title Page
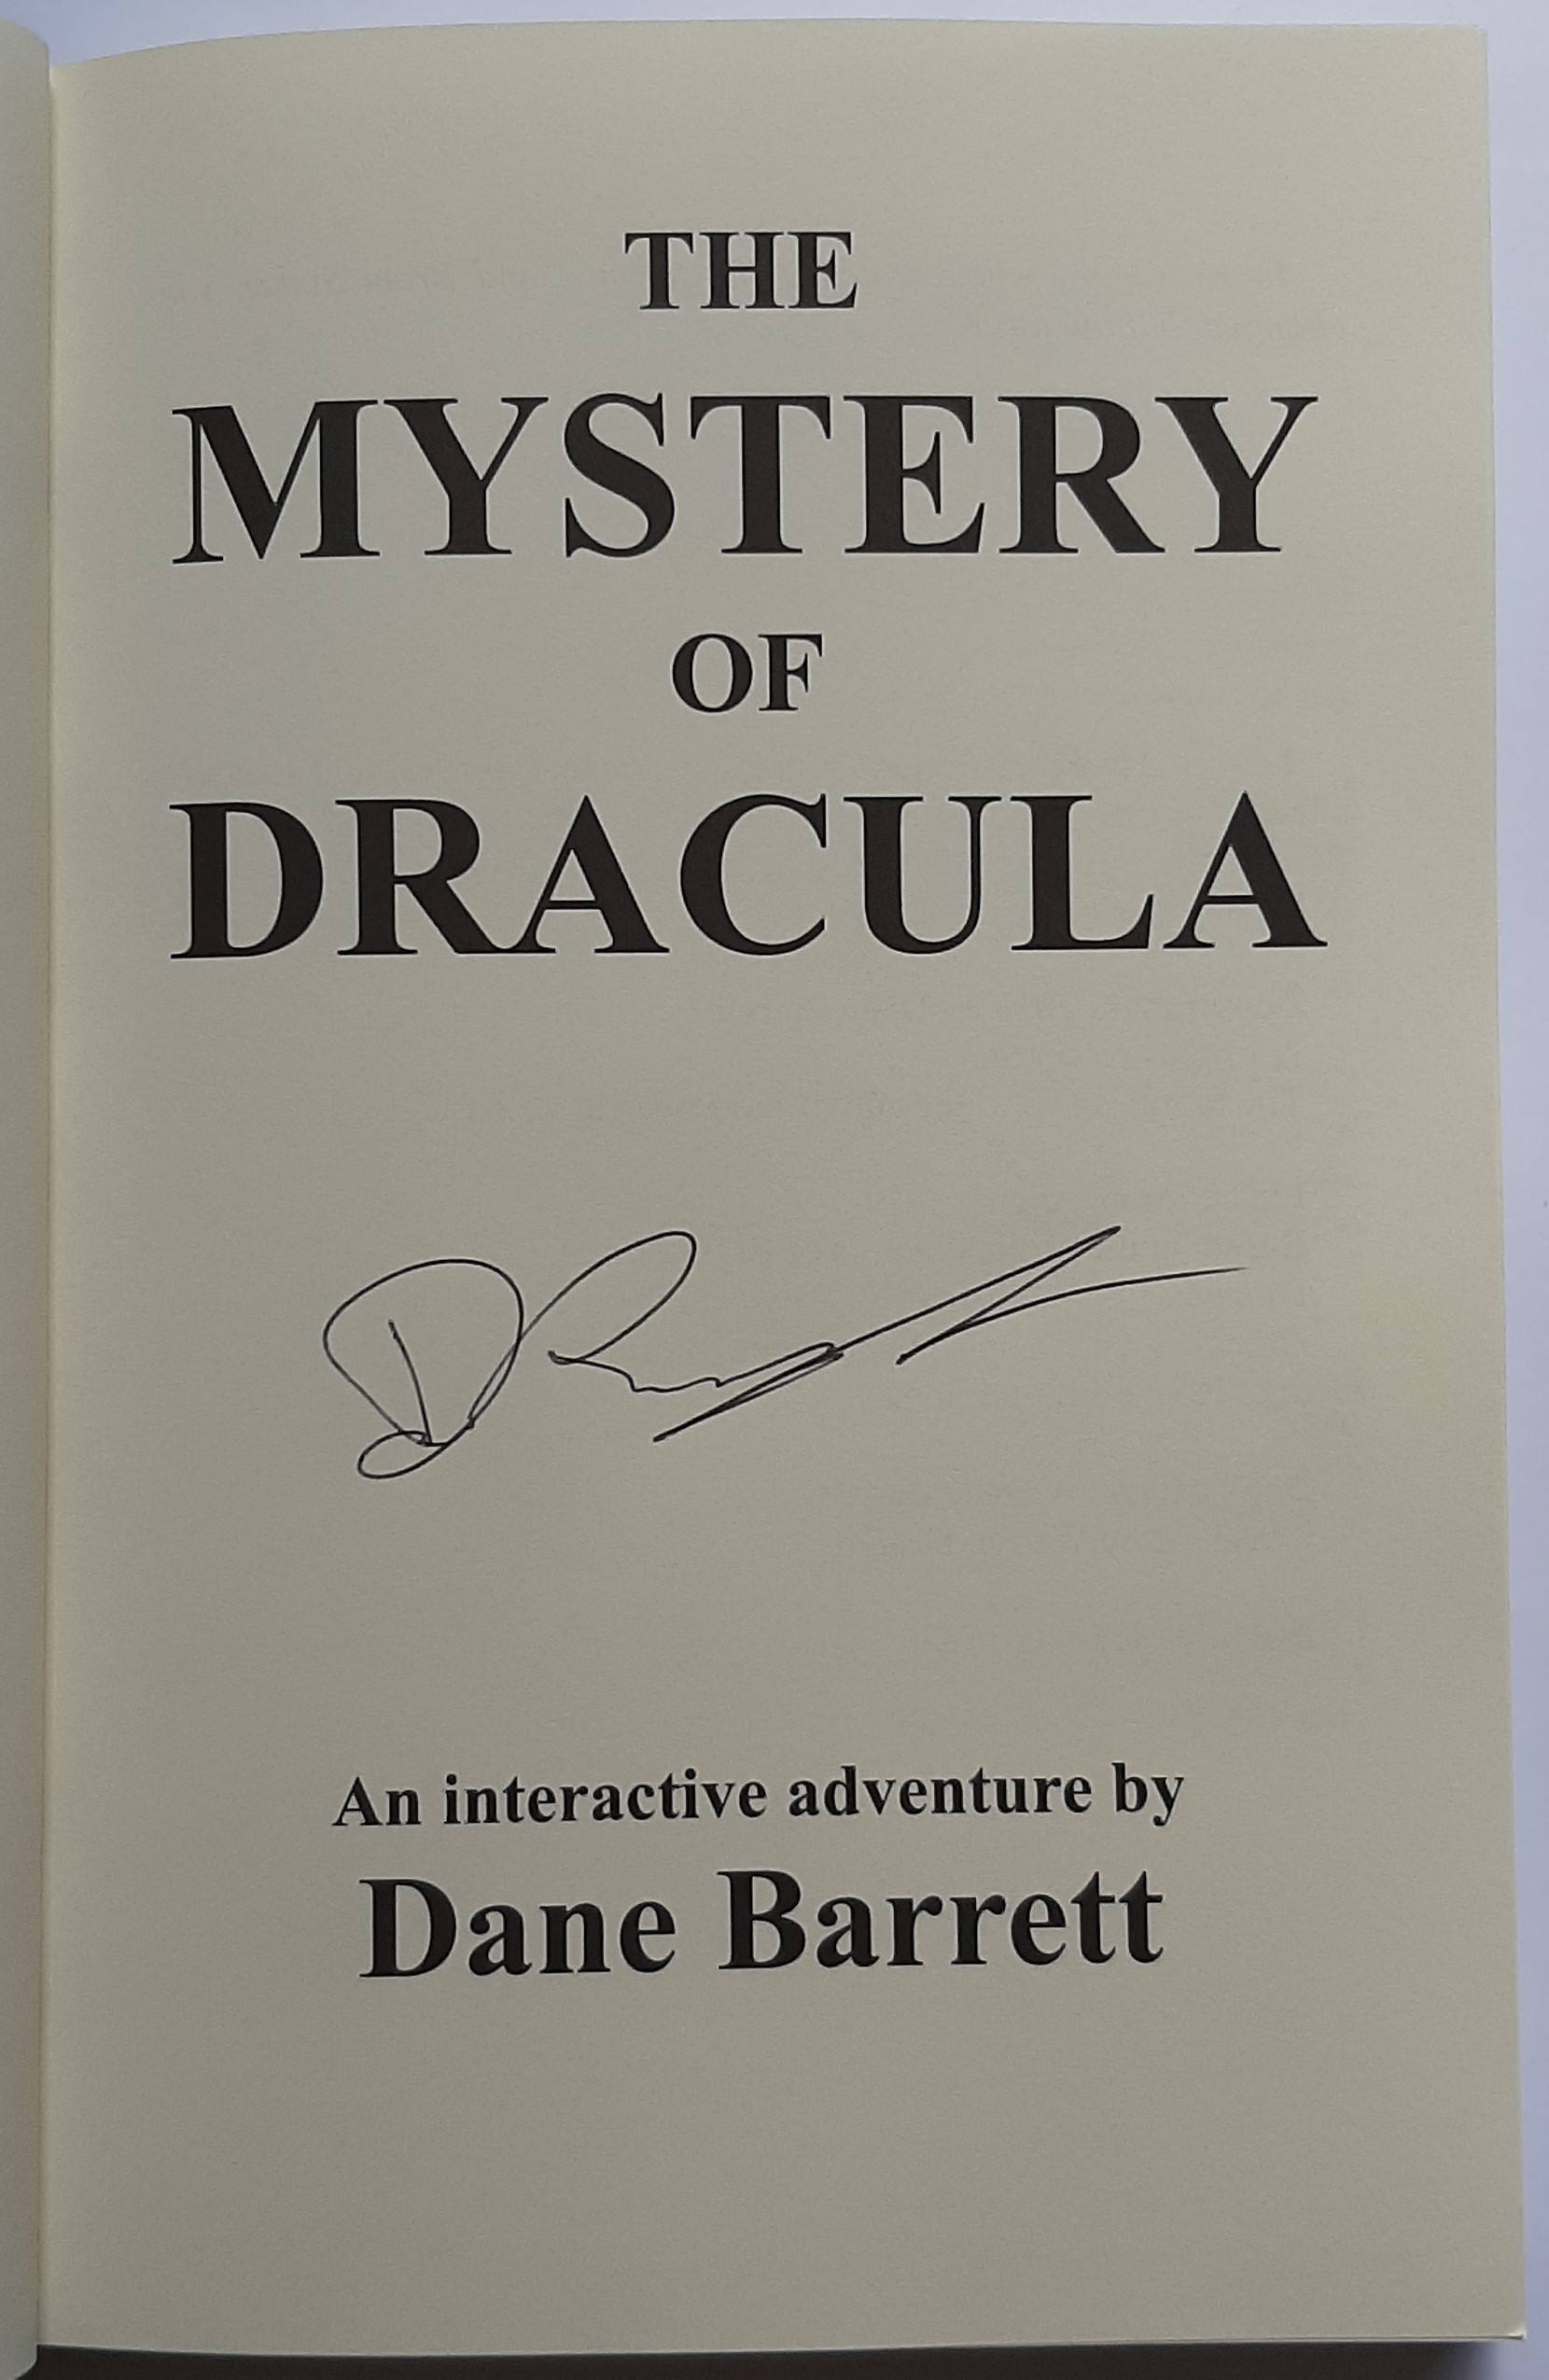
The Mystery of Dracula Autographed Title Page
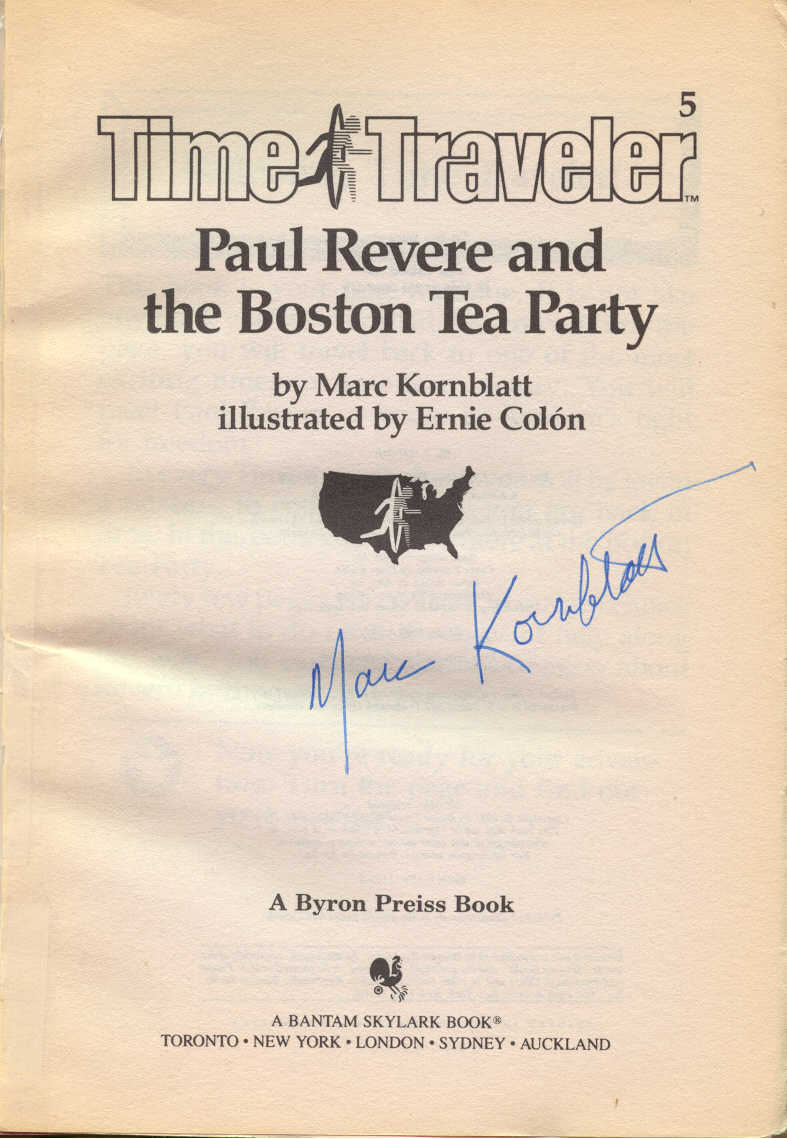
Time Traveler #5 Autographed Title Page
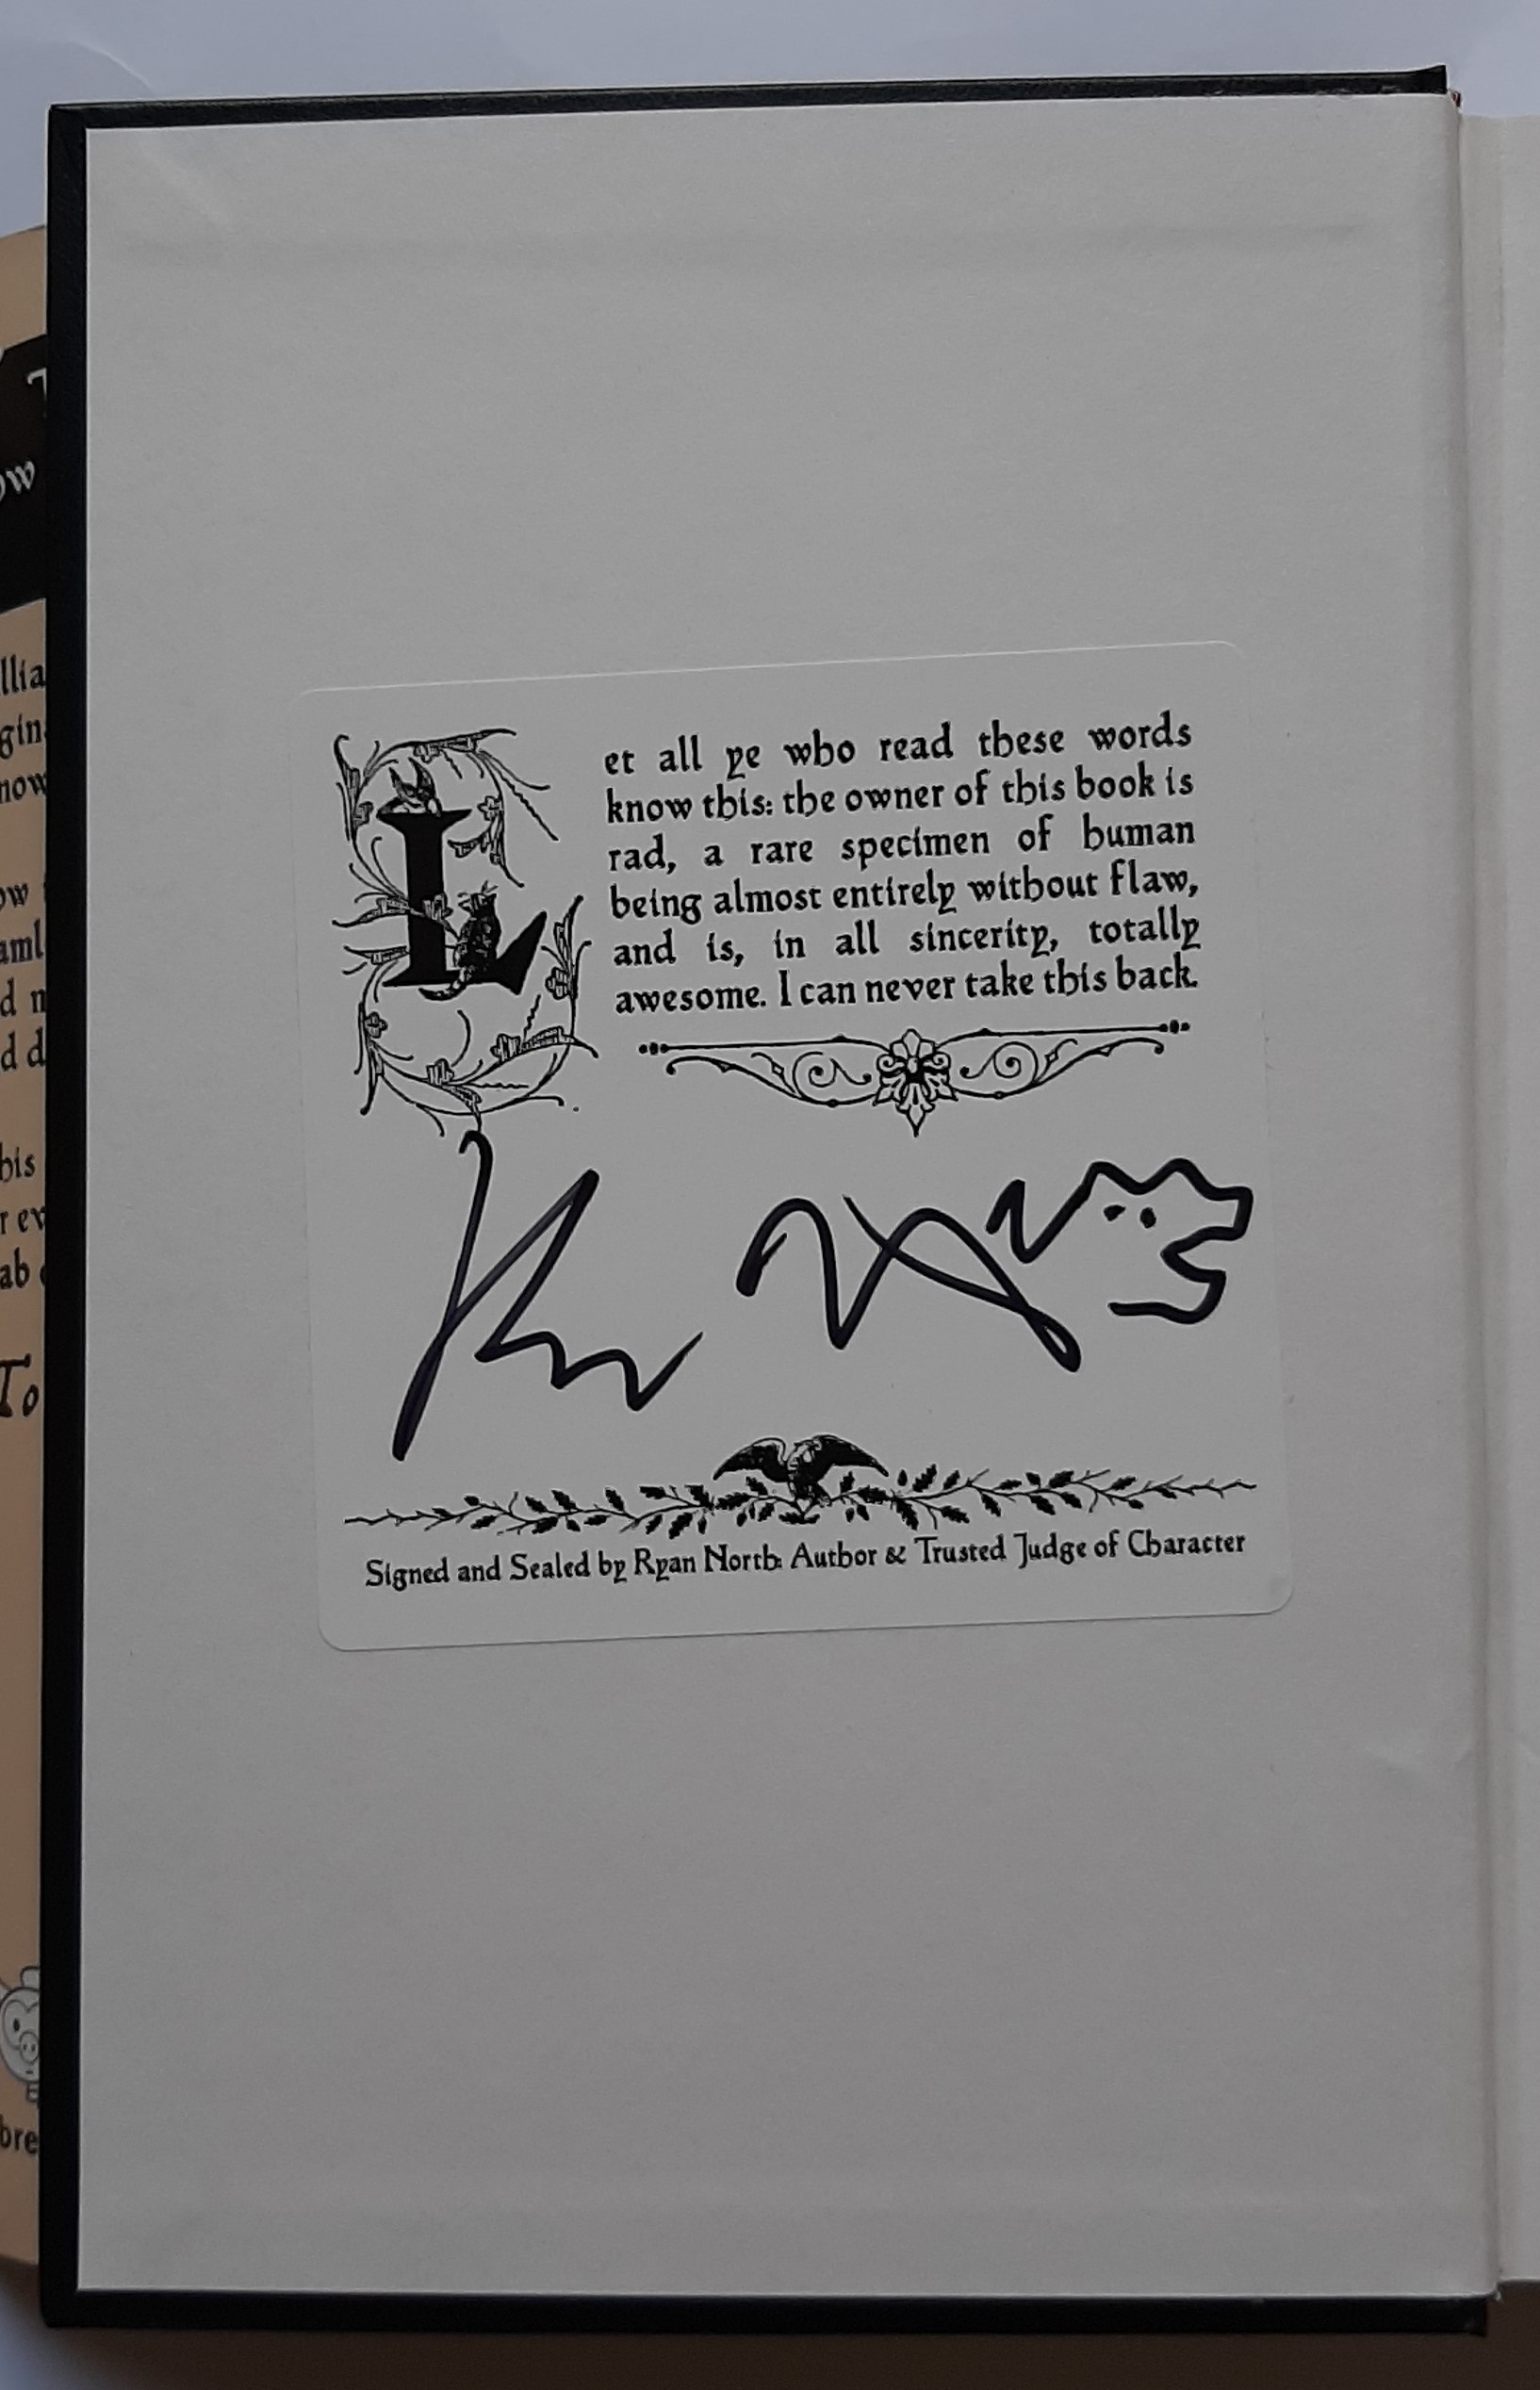
To Be or Not to Be (Kickstarter Hardback) Autographed Seal
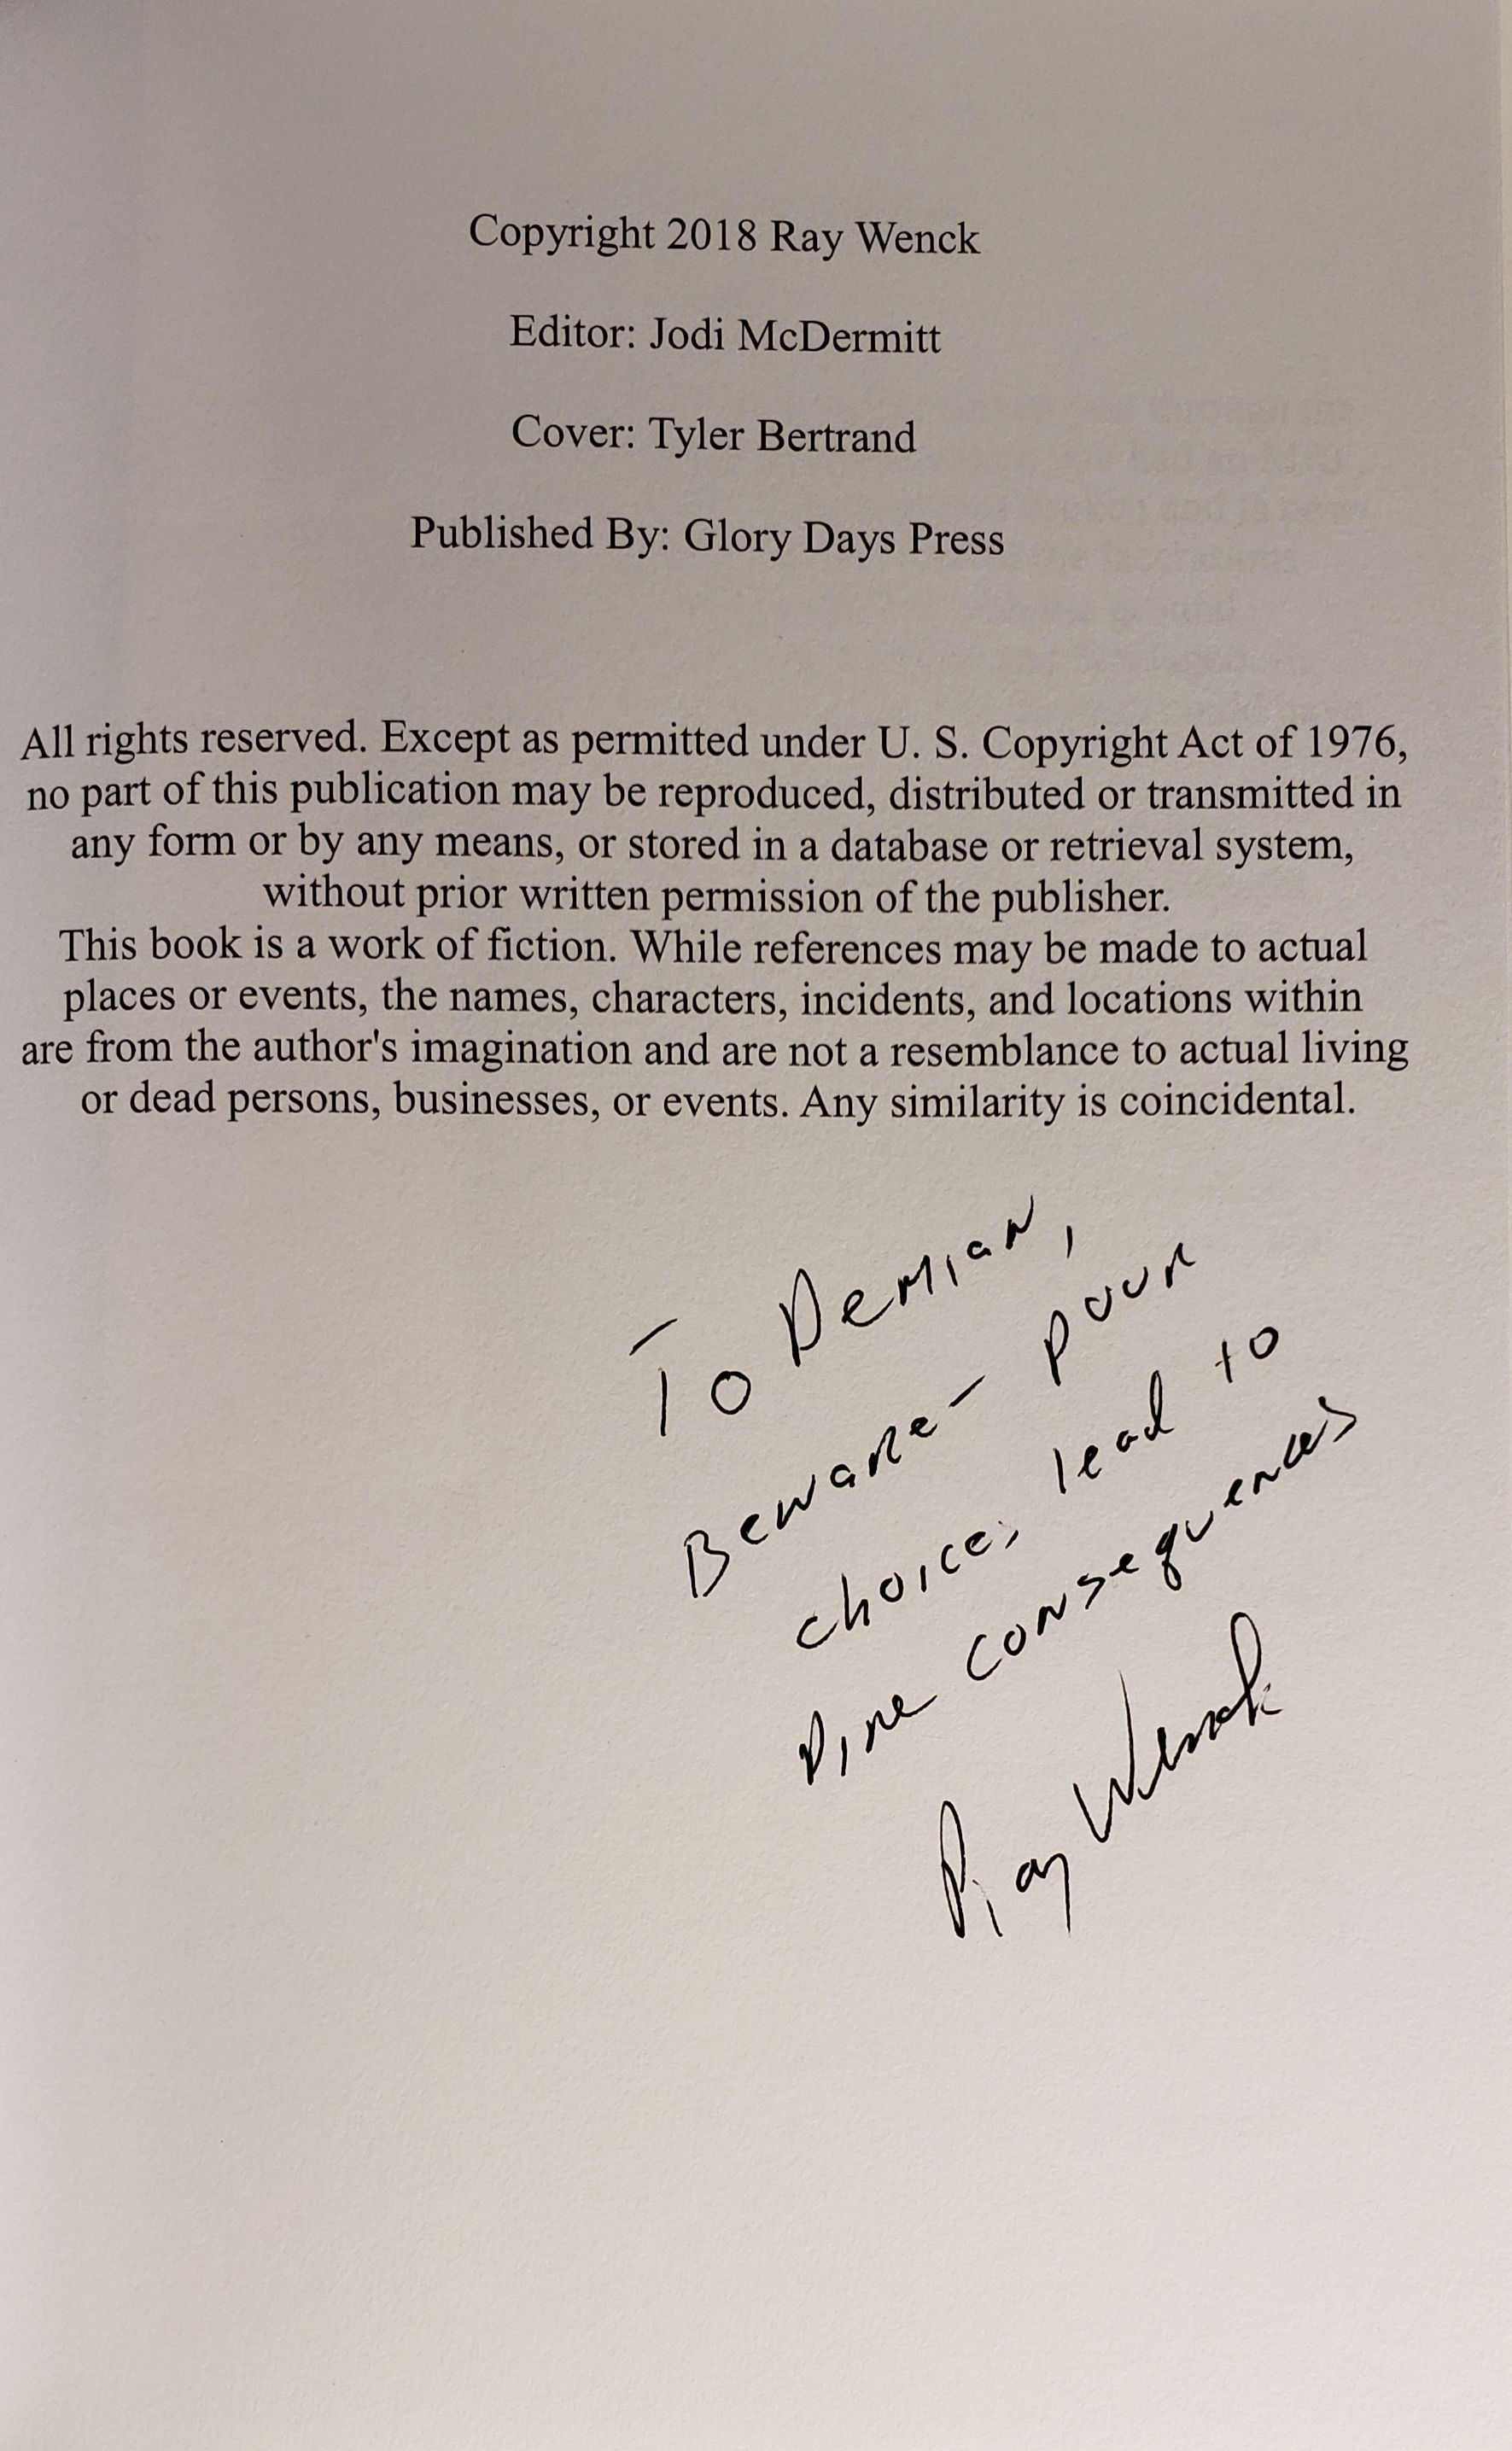
To Be or Not to Be (Kickstarter Paperback) Autographed Dedication Page
Trio #4 Autographed Title Page
Trio #6 Autographed Title Page
Which Way #11 Autographed Title Page
Which Way #20 Autographed Title Page
Complete Gamebook
PageQuest #1 (back)
PageQuest #1 (front)
The Way of the Quail Promo Adventure [leaflet version]
- Thanks to David Staege for permission to reproduce this here.
The Way of the Quail Promo Adventure [normal version]
- Thanks to David Staege for permission to reproduce this here.
Der Weg Der Wachtel Promo-Abenteuer [leaflet version]
- Thanks to David Staege for permission to reproduce this here.
Der Weg der Wachtel Promo-Abenteuer [normal version]
- Thanks to David Staege for permission to reproduce this here.
Game Log
1 on 1 Adventure Gamebooks #1 - Game Log: Andy Sekela vs. Demian Katz
1 on 1 Adventure Gamebooks #2 - Game Log: Andy Sekela vs. Demian Katz
1 on 1 Adventure Gamebooks #3 - Game Log: Andy Sekela vs. Demian Katz
1 on 1 Adventure Gamebooks #4 - Game Log: Andy Sekela vs. Demian Katz
1 on 1 Adventure Gamebooks #5 - Game Log: Andy Sekela vs. Demian Katz
1 on 1 Adventure Gamebooks #6 - Game Log: Andy Sekela vs. Demian Katz
1 on 1 Adventure Gamebooks #8 - Game Log: Christopher Bynum vs. Demian Katz
1 on 1 Adventure Gamebooks #9 - Game Log: Christopher Bynum vs. Demian Katz
Play Aid
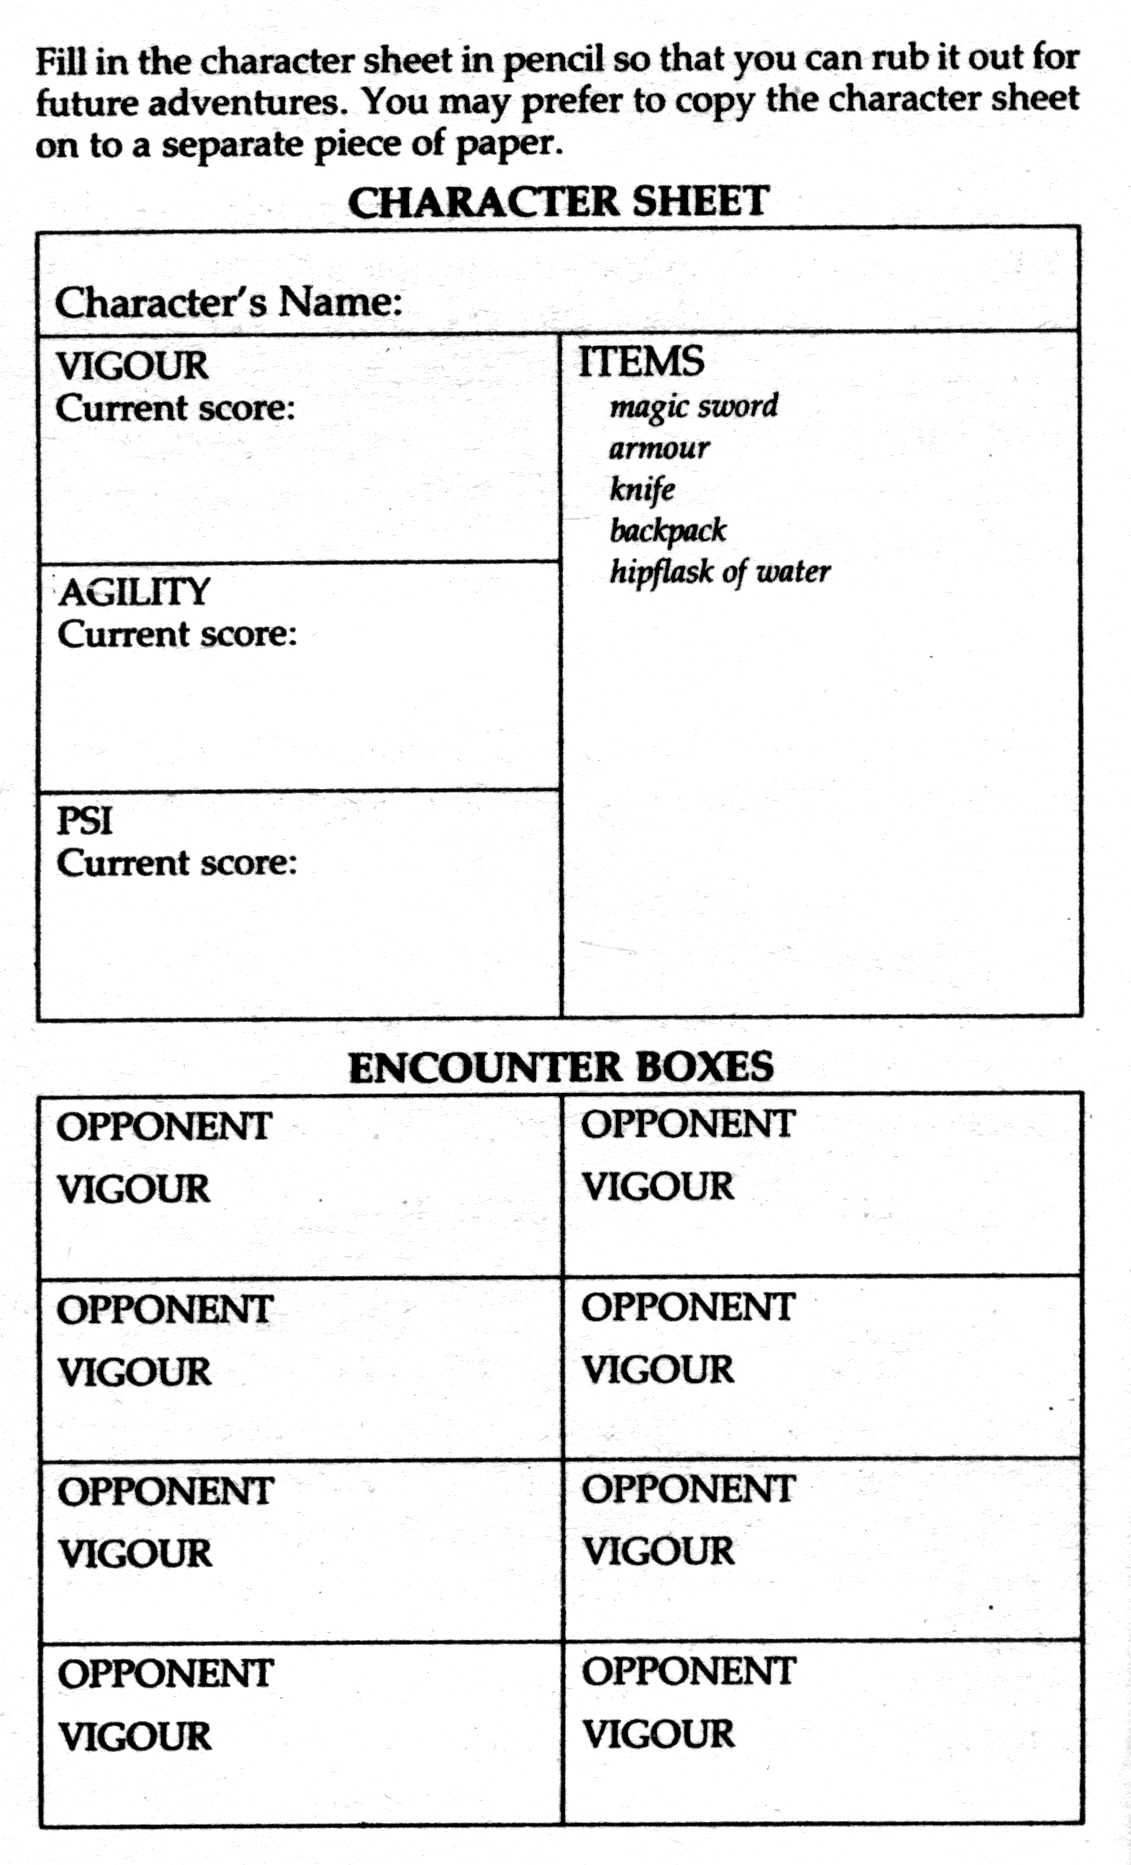
1 on 1 Adventure Gamebooks #1 Blank Character Sheet
1 on 1 Adventure Gamebooks #1 Druga Character Sheet (back)
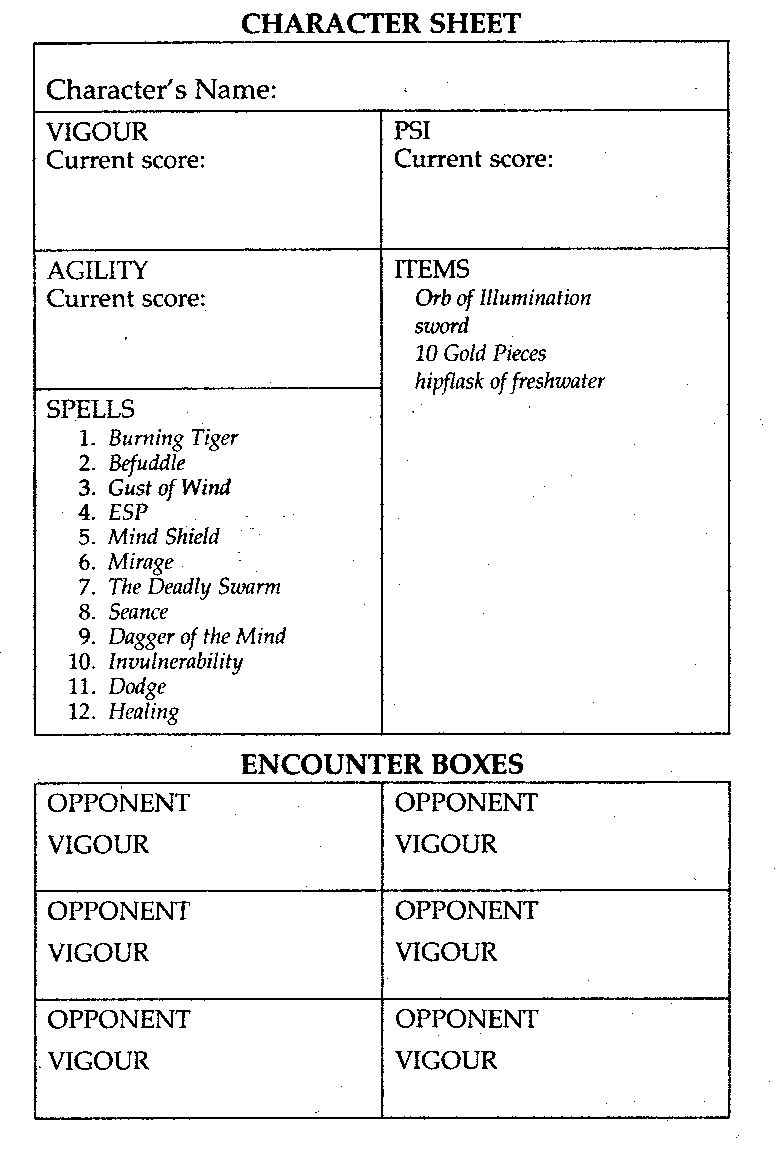
1 on 1 Adventure Gamebooks #1 Druga Character Sheet (front)
1 on 1 Adventure Gamebooks #1 Eric Sunsword Character Sheet
1 on 1 Adventure Gamebooks #1 Jorgo Character Sheet (back)
1 on 1 Adventure Gamebooks #1 Jorgo Character Sheet (front)
1 on 1 Adventure Gamebooks #1 Kobold Chieftain Character Sheet
1 on 1 Adventure Gamebooks #1 Marissa the Amazon Character Sheet
1 on 1 Adventure Gamebooks #1 Neves Character Sheet
1 on 1 Adventure Gamebooks #1 Sir Renn Character Sheet
1 on 1 Adventure Gamebooks #1 Stasheen Character Sheet (back)
1 on 1 Adventure Gamebooks #1 Stasheen Character Sheet (front)
1 on 1 Adventure Gamebooks #2 Ancient Robot Character Sheet
1 on 1 Adventure Gamebooks #2 Bookmark
1 on 1 Adventure Gamebooks #2 Cordon the Formulator Character Sheet
1 on 1 Adventure Gamebooks #2 E-Ben Character Sheet
1 on 1 Adventure Gamebooks #2 Kan-Tal Character Sheet
1 on 1 Adventure Gamebooks #2 Mikael Renshaw Character Sheet
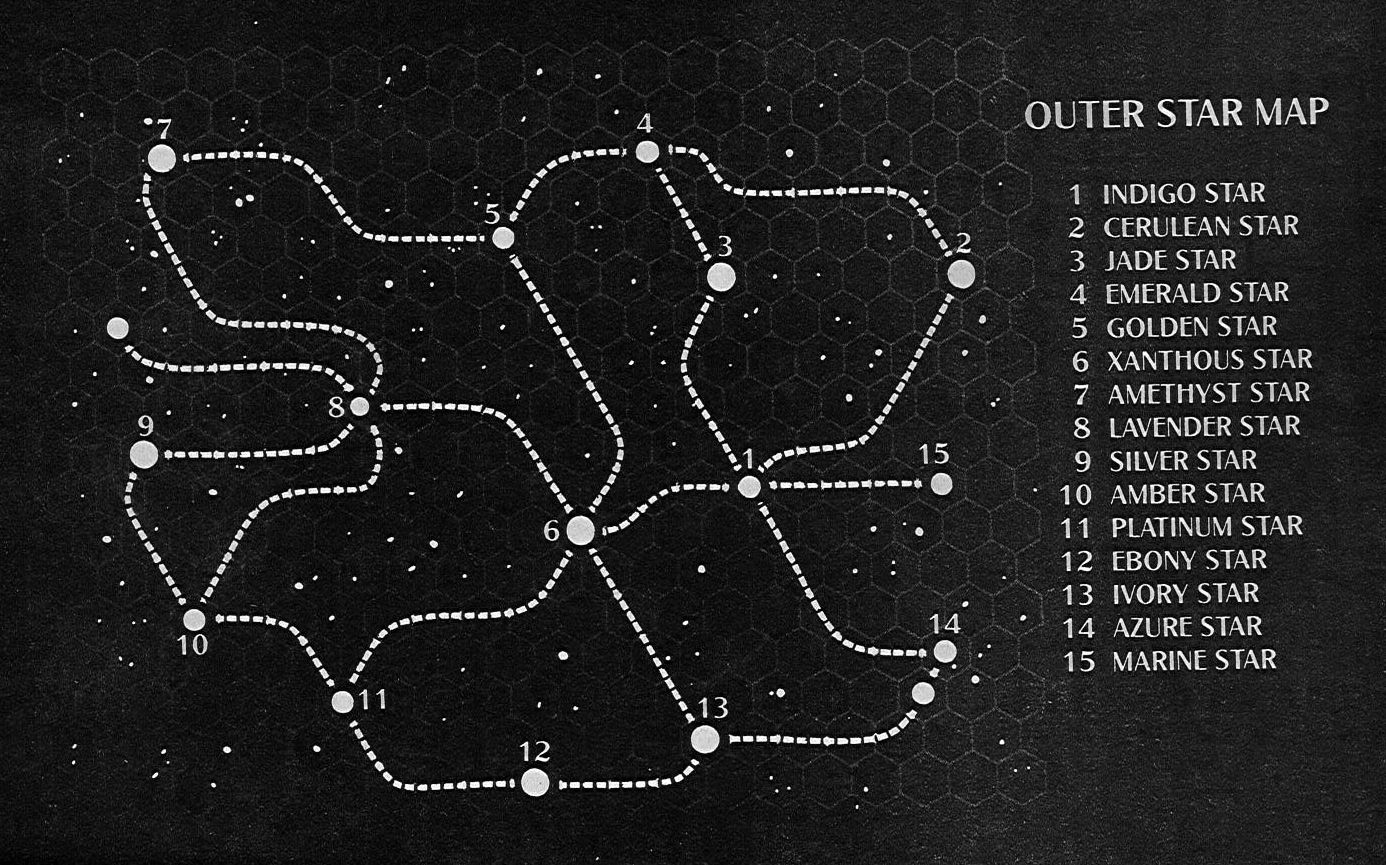
1 on 1 Adventure Gamebooks #2 Outer Star Map
1 on 1 Adventure Gamebooks #2 Parts Checklist
1 on 1 Adventure Gamebooks #2 Siss Starburner Character Sheet
1 on 1 Adventure Gamebooks #2 Steeldon Massdon Character Sheet
1 on 1 Adventure Gamebooks #2 Zanleer Character Sheet
1 on 1 Adventure Gamebooks #3 Bookmark
1 on 1 Adventure Gamebooks #3 Euras Character Sheet
1 on 1 Adventure Gamebooks #3 Flametongue Character Sheet (back)
1 on 1 Adventure Gamebooks #3 Flametongue Character Sheet (front)
1 on 1 Adventure Gamebooks #3 Gridelin Character Sheet
1 on 1 Adventure Gamebooks #3 Phantast Character Sheet
1 on 1 Adventure Gamebooks #3 Raven Quickblade Character Sheet (back)
1 on 1 Adventure Gamebooks #3 Raven Quickblade Character Sheet (front)
1 on 1 Adventure Gamebooks #3 Scorch Character Sheet
1 on 1 Adventure Gamebooks #3 Sistoo Character Sheet
1 on 1 Adventure Gamebooks #4 Ar-Kane Character Sheet
1 on 1 Adventure Gamebooks #4 Ar-Kane's Companions Character Sheet
1 on 1 Adventure Gamebooks #4 Bookmark
1 on 1 Adventure Gamebooks #5 Assassin Allies Character Sheet
1 on 1 Adventure Gamebooks #5 Bookmark
1 on 1 Adventure Gamebooks #5 Kissla Character Sheet
1 on 1 Adventure Gamebooks #5 Quarsh Character Sheet
1 on 1 Adventure Gamebooks #5 Renango and the Guardian Character Sheet
1 on 1 Adventure Gamebooks #5 Yala and Alay Character Sheet
1 on 1 Adventure Gamebooks #5 Zandor and the Zombie Character Sheet
1 on 1 Adventure Gamebooks #6 Finnbar and Ariel Character Sheet
1 on 1 Adventure Gamebooks #6 Uthrac Character Sheet
1 on 1 Adventure Gamebooks #7 Lord Kenshin Campaign Record Sheet
AD&D Adventure Gamebook # 1 Bookmark
AD&D Adventure Gamebook # 2 Bookmark
AD&D Adventure Gamebook # 3 Bookmark
AD&D Adventure Gamebook # 4 Bookmark
AD&D Adventure Gamebook # 5 Bookmark
AD&D Adventure Gamebook # 6 Bookmark
AD&D Adventure Gamebook # 6 Character Sheet
AD&D Adventure Gamebook # 7 Bookmark
AD&D Adventure Gamebook # 8 Bookmark
AD&D Adventure Gamebook # 9 Bookmark
AD&D Adventure Gamebook #10 Bookmark
AD&D Adventure Gamebook #11 Bookmark
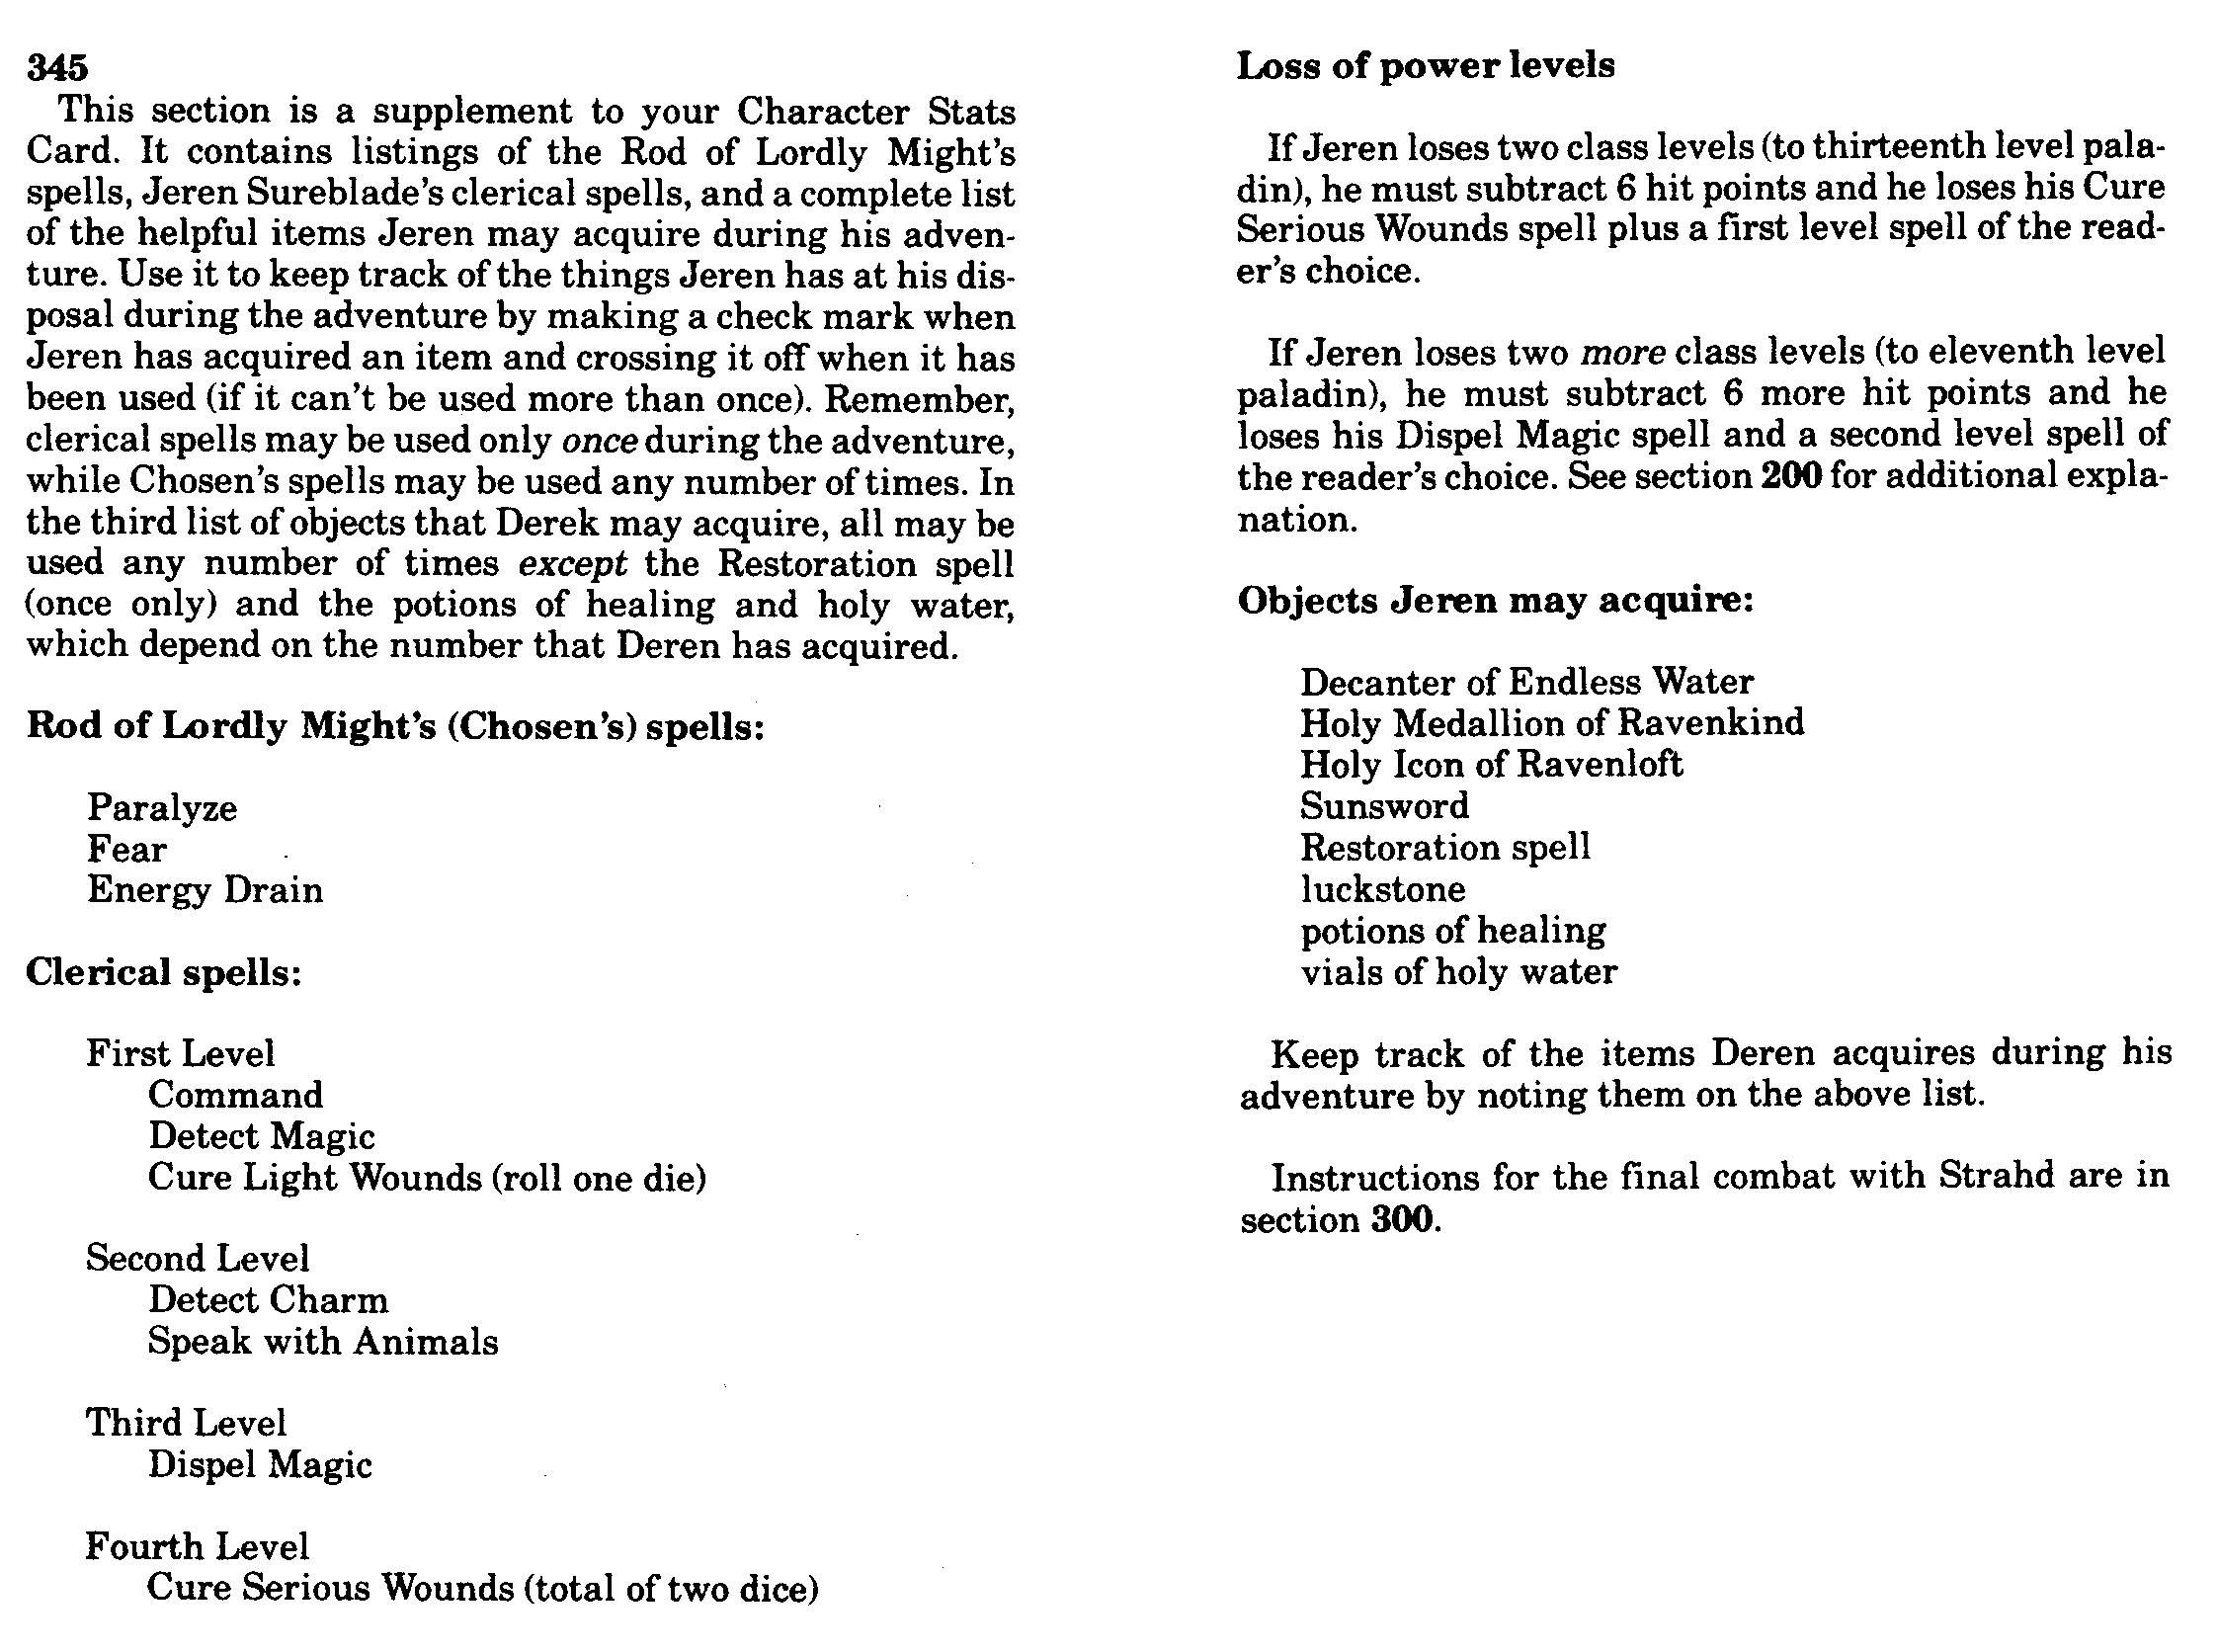
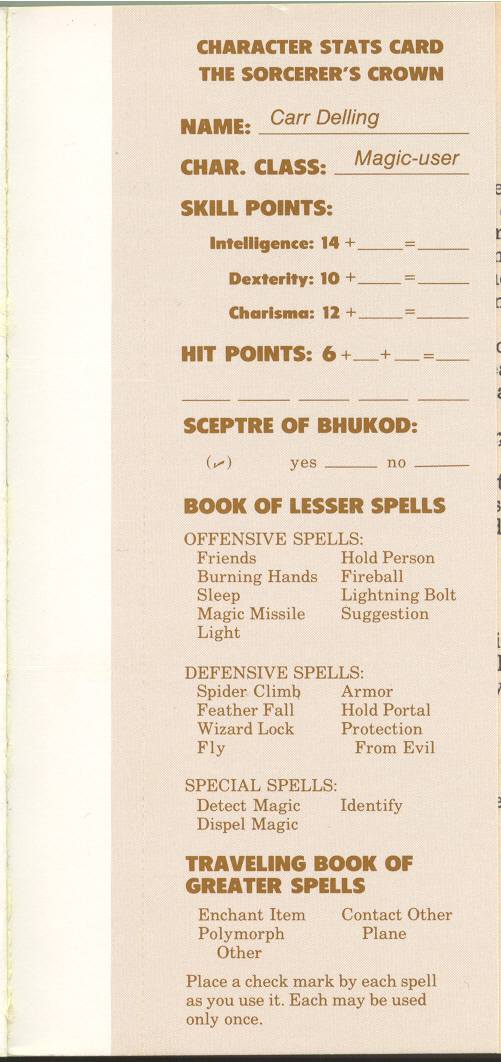
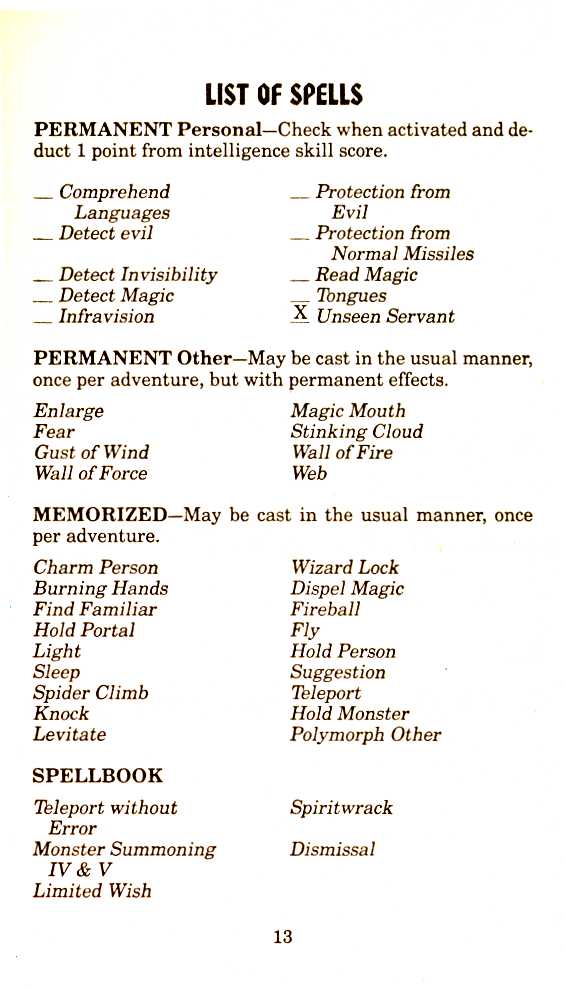
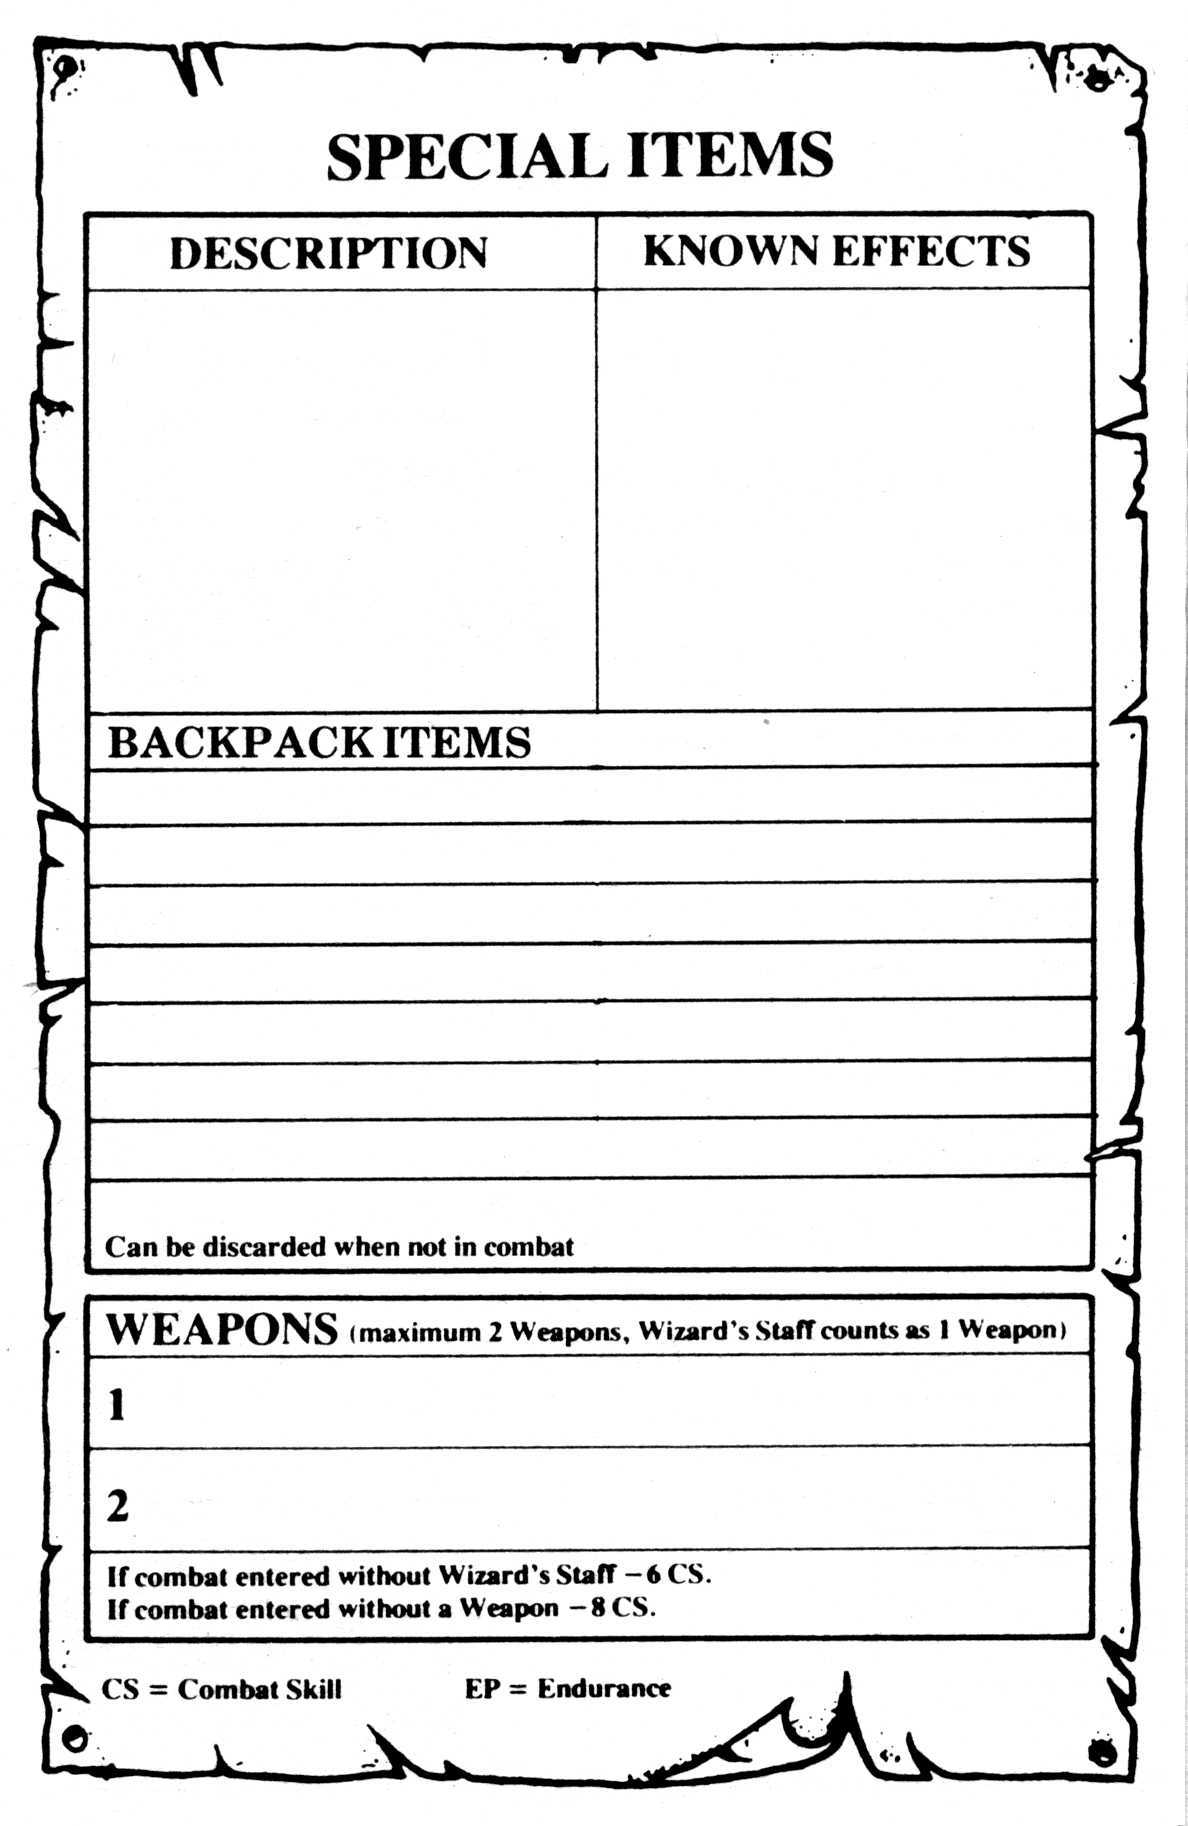
AD&D Adventure Gamebook #11 List of Spells
AD&D Adventure Gamebook #12 Bookmark
AD&D Adventure Gamebook #13 Bookmark
AD&D Adventure Gamebook #14 Bookmark
AD&D Adventure Gamebook #15 Bookmark
AD&D Adventure Gamebook #16 Bookmark
AD&D Adventure Gamebook #17 Bookmark
AD&D Adventure Gamebook #18 Bookmark
Advanced Dungeons & Dragons - Midnight on Dagger Alley - Character Sheets
Advanced Dungeons & Dragons - Midnight on Dagger Alley - Reference Sheet
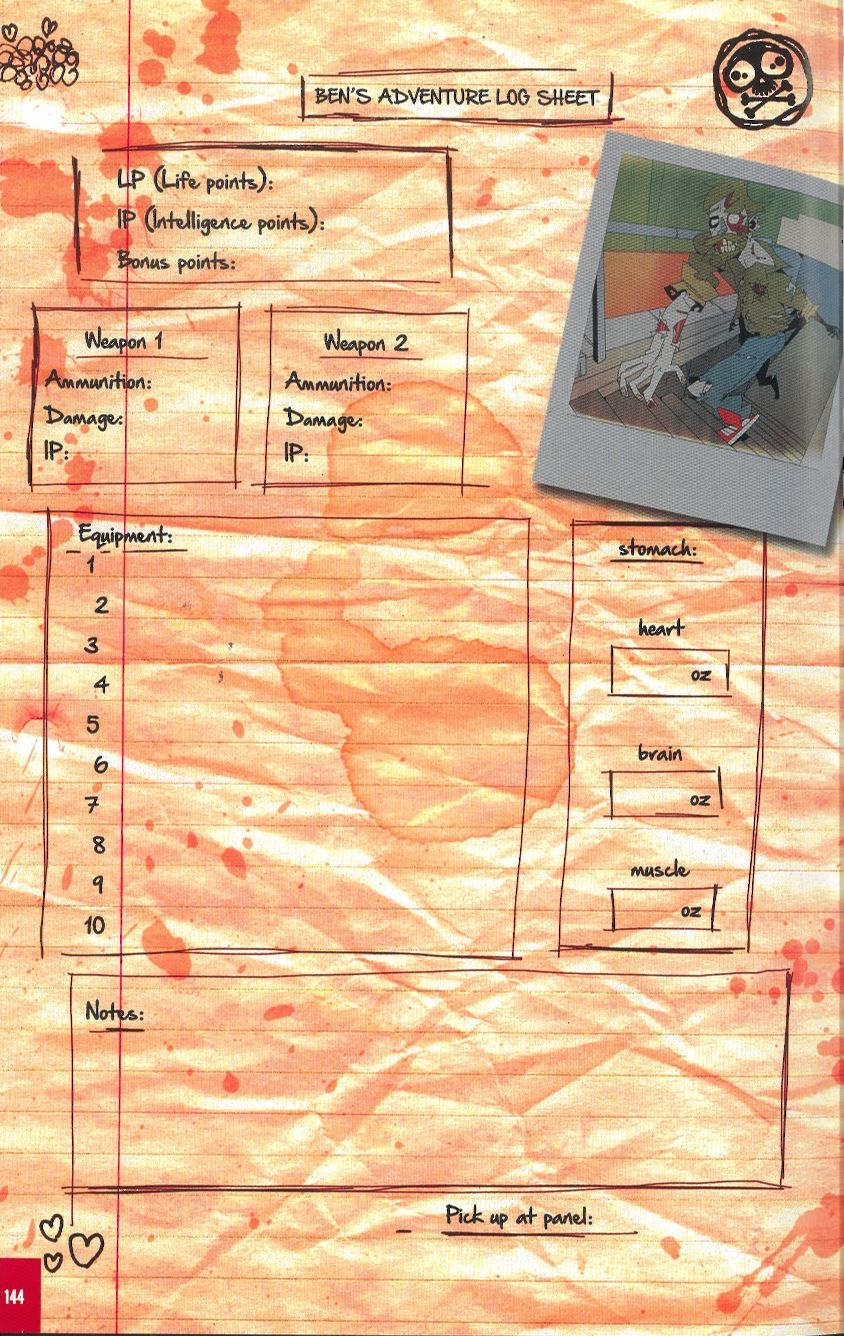
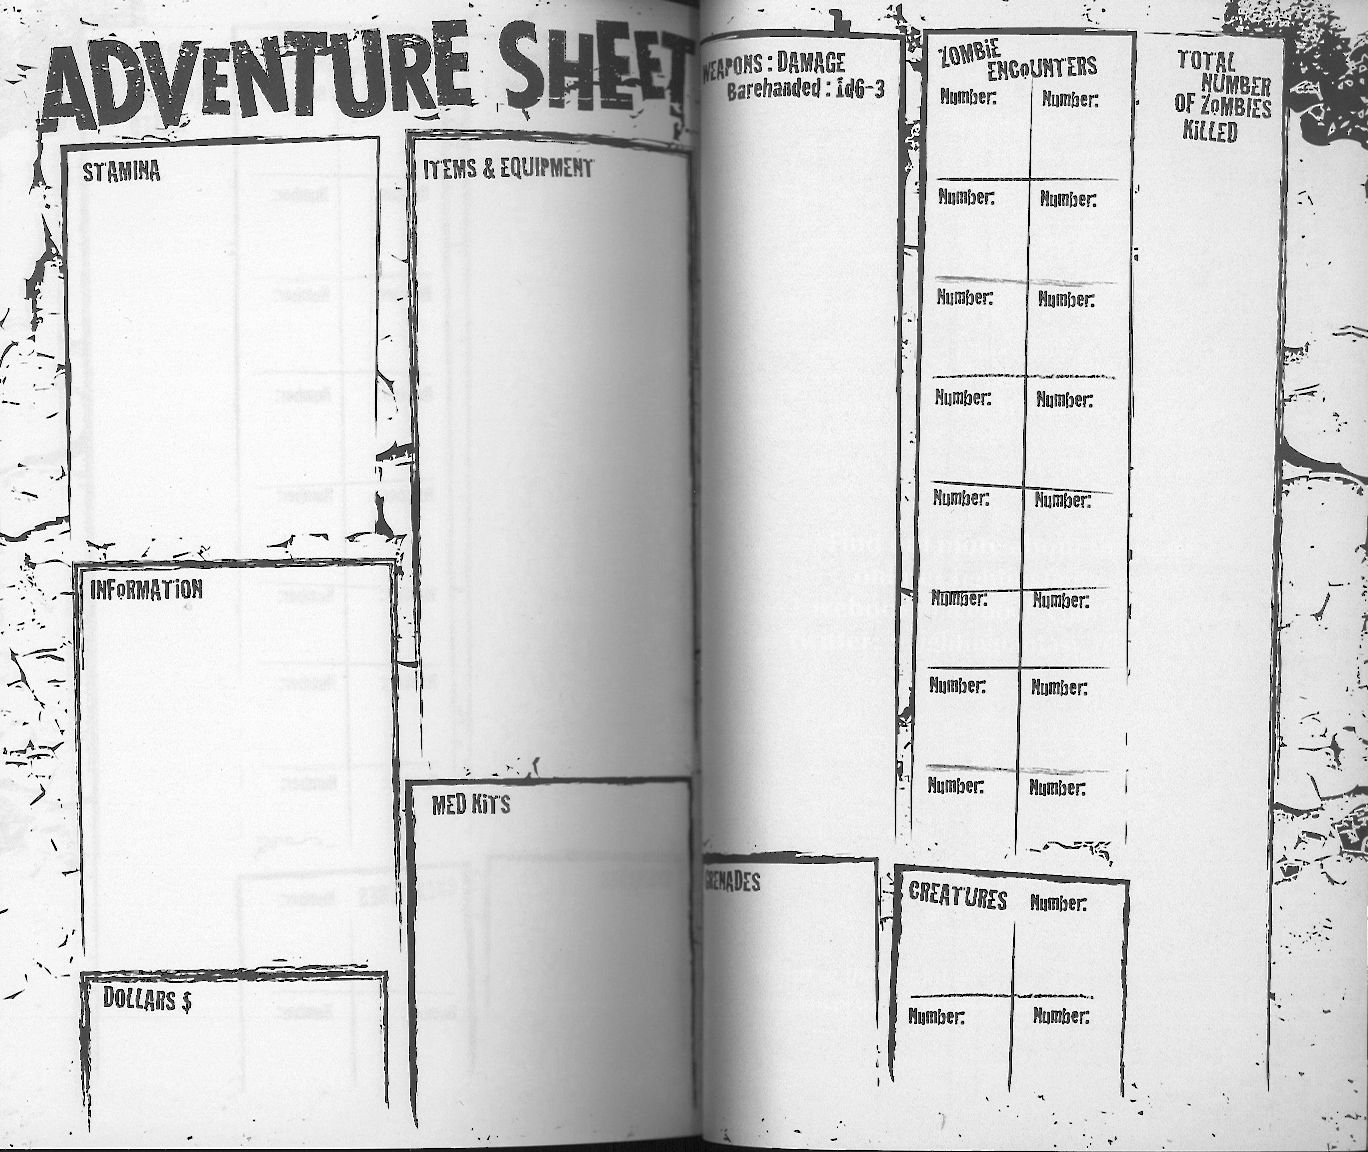
Adventure is Yours! - Zombie! - Ben's Adventure Log Sheet
- Thanks to sireeyore for the scan.
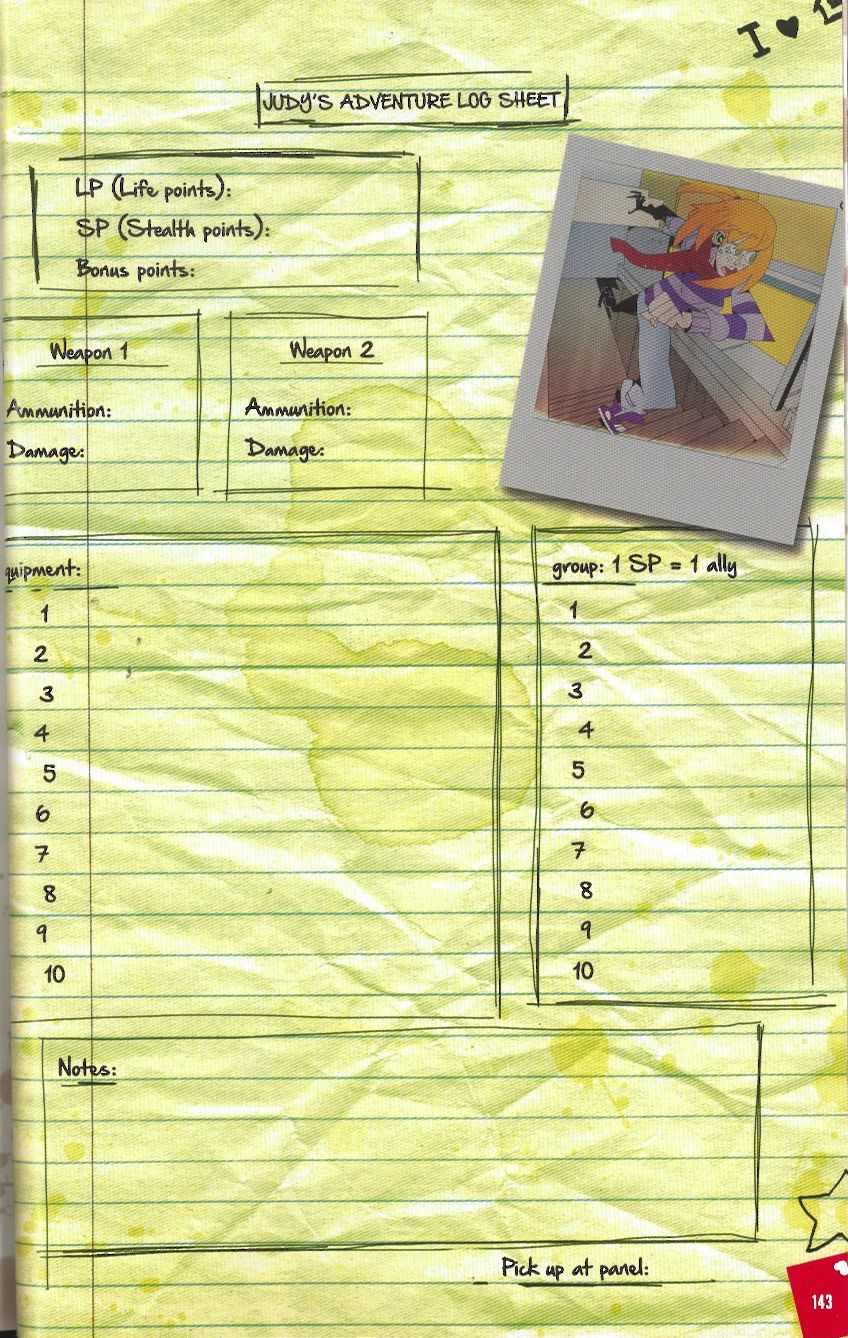
Adventure is Yours! - Zombie! - Judy's Adventure Log Sheet
- Thanks to sireeyore for the scan.
Altered Fate #1 Character Sheet (Blank)
- Thanks to Dean Moodie for permission to reproduce this here.
Altered Fate #1 Character Sheet (Gryal Flynn)
- Thanks to Dean Moodie for permission to reproduce this here.
Altered Fate #1 Encounter Sheet
- Thanks to Dean Moodie for permission to reproduce this here.
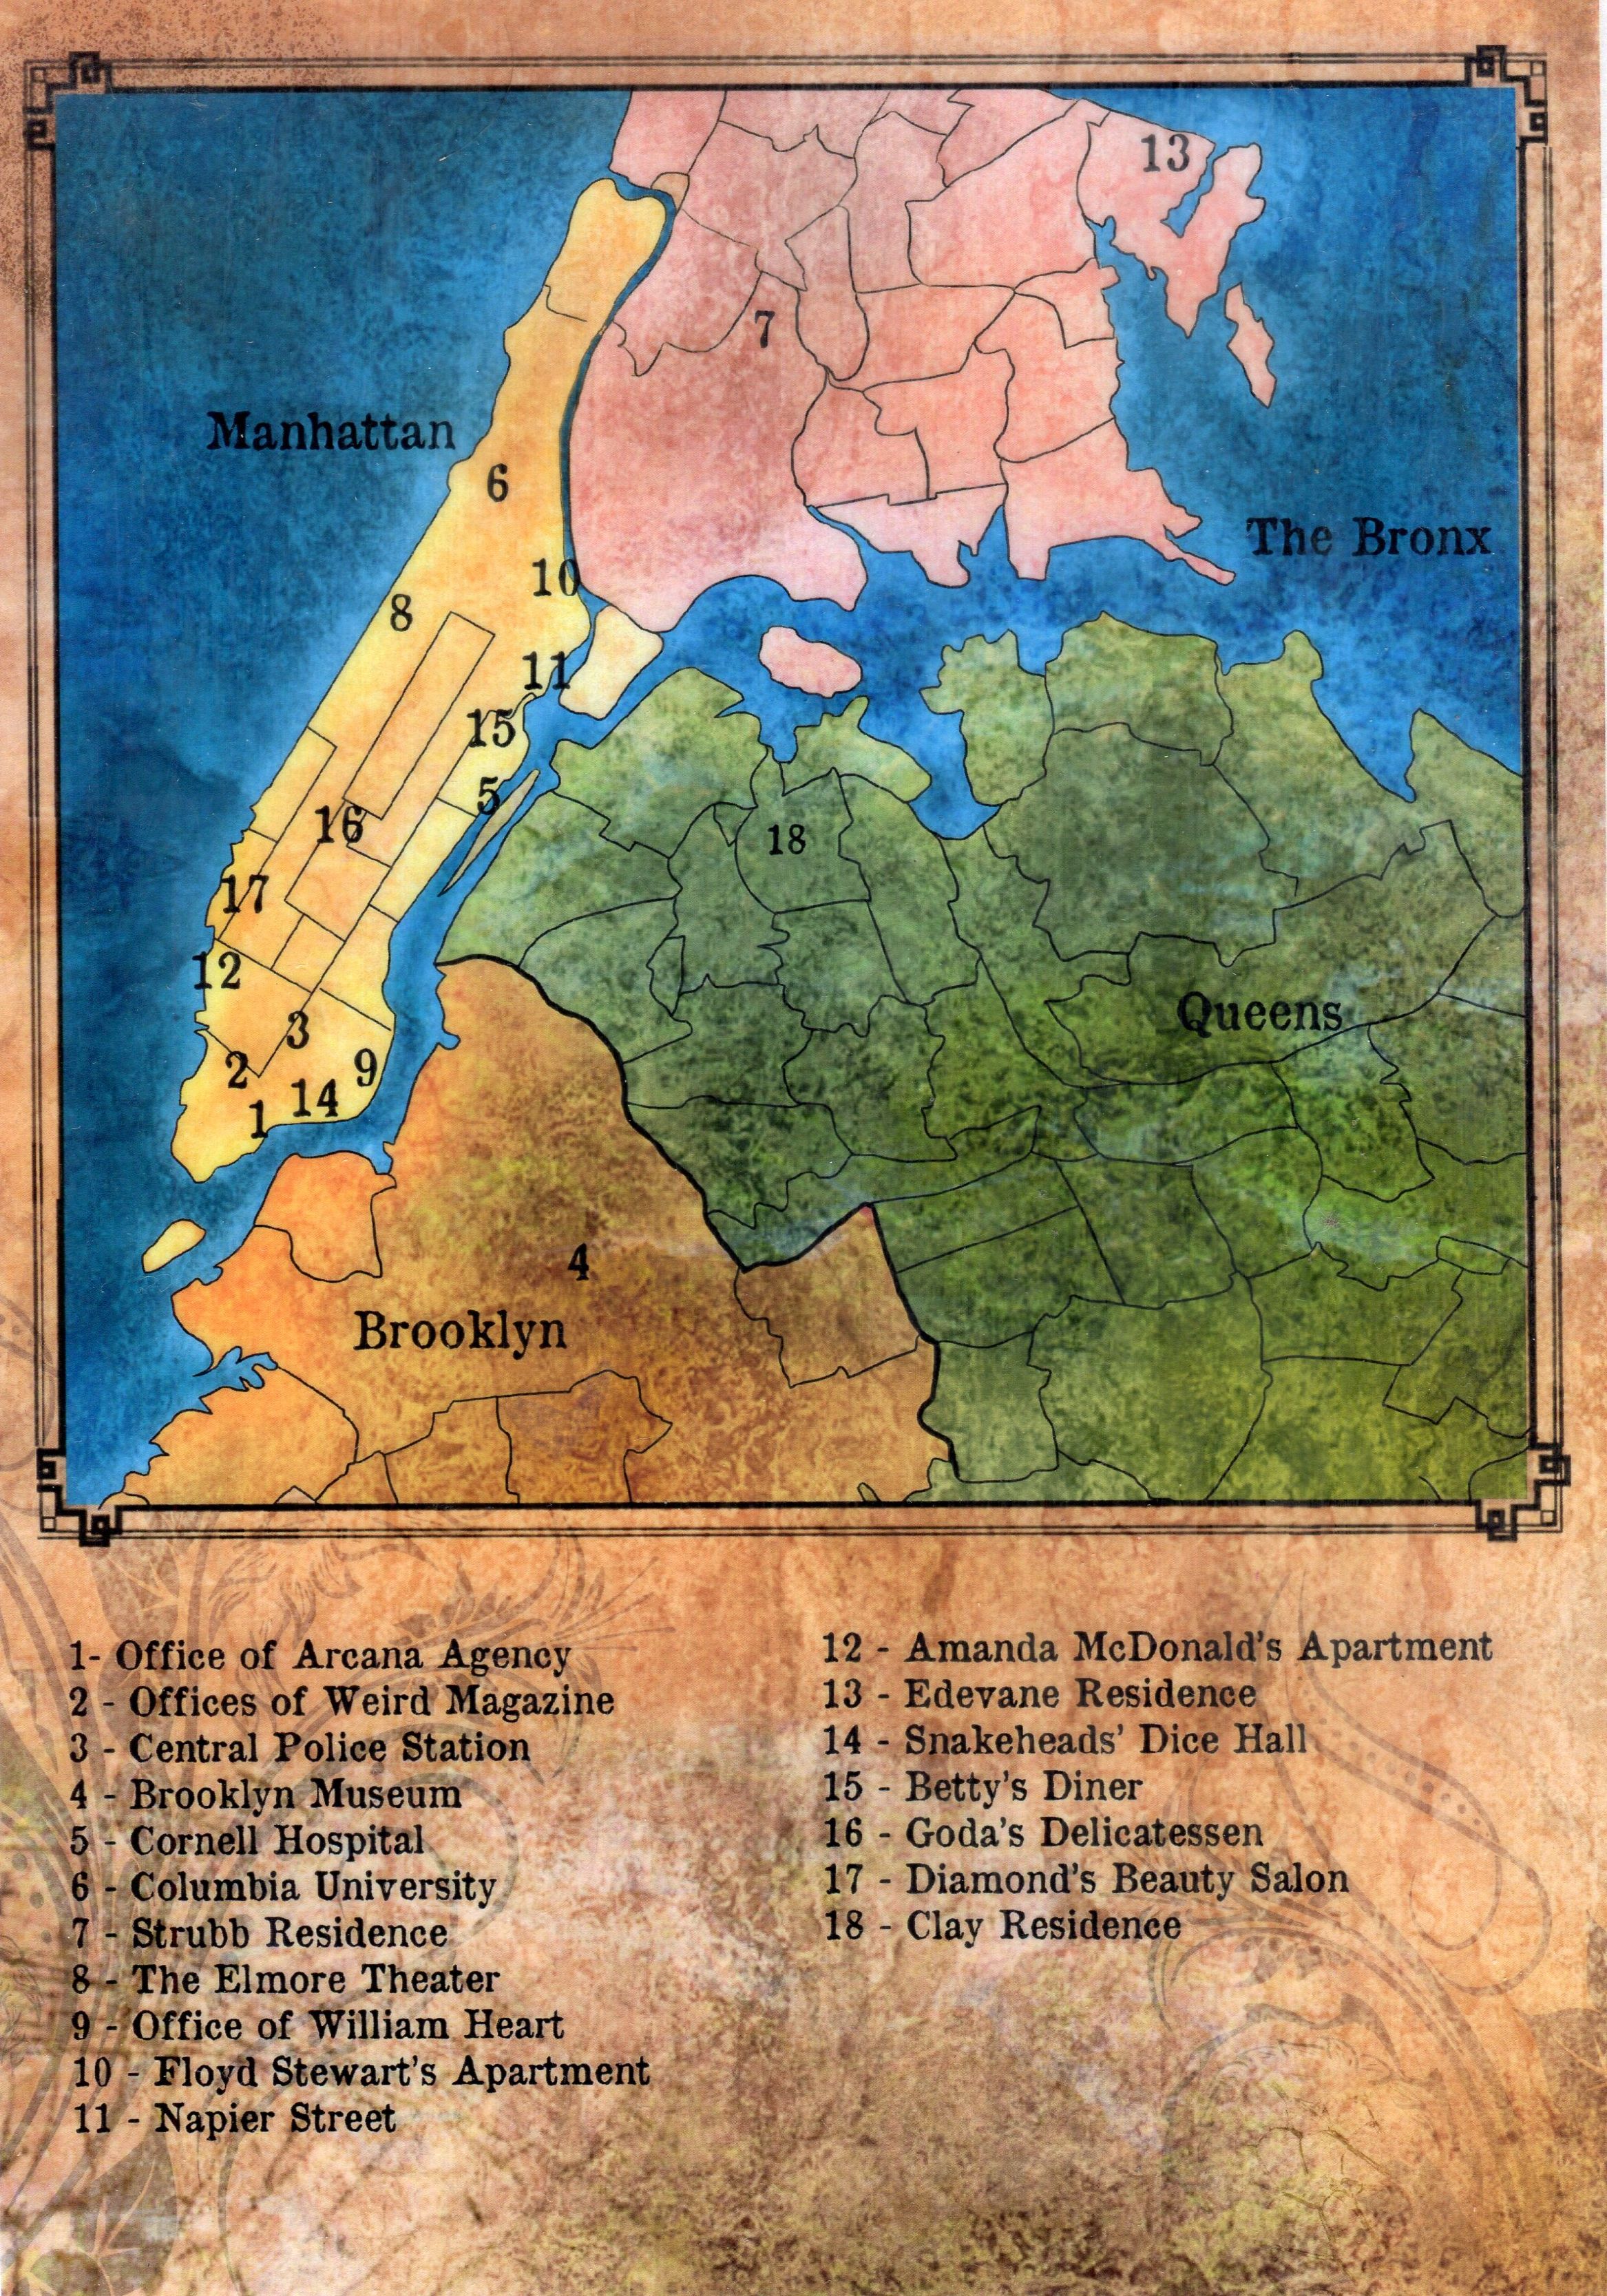
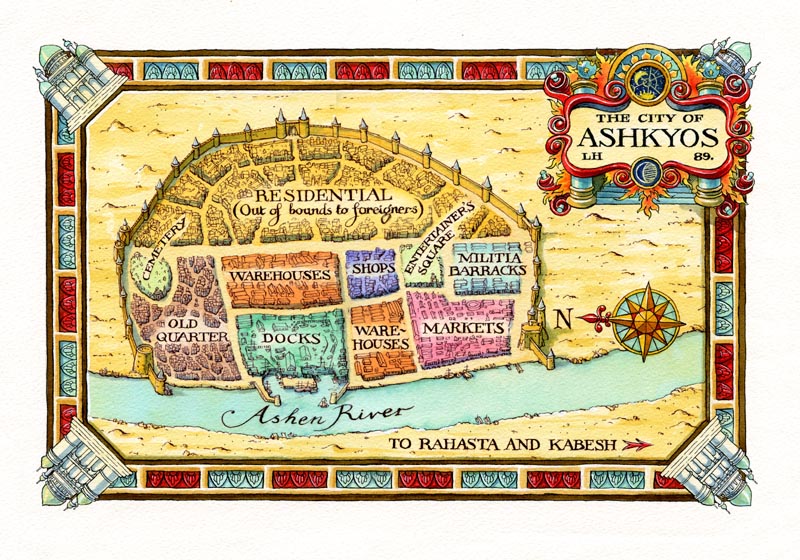
Arcana Agency #1 Map
- Thanks to Ian Berger for the map.
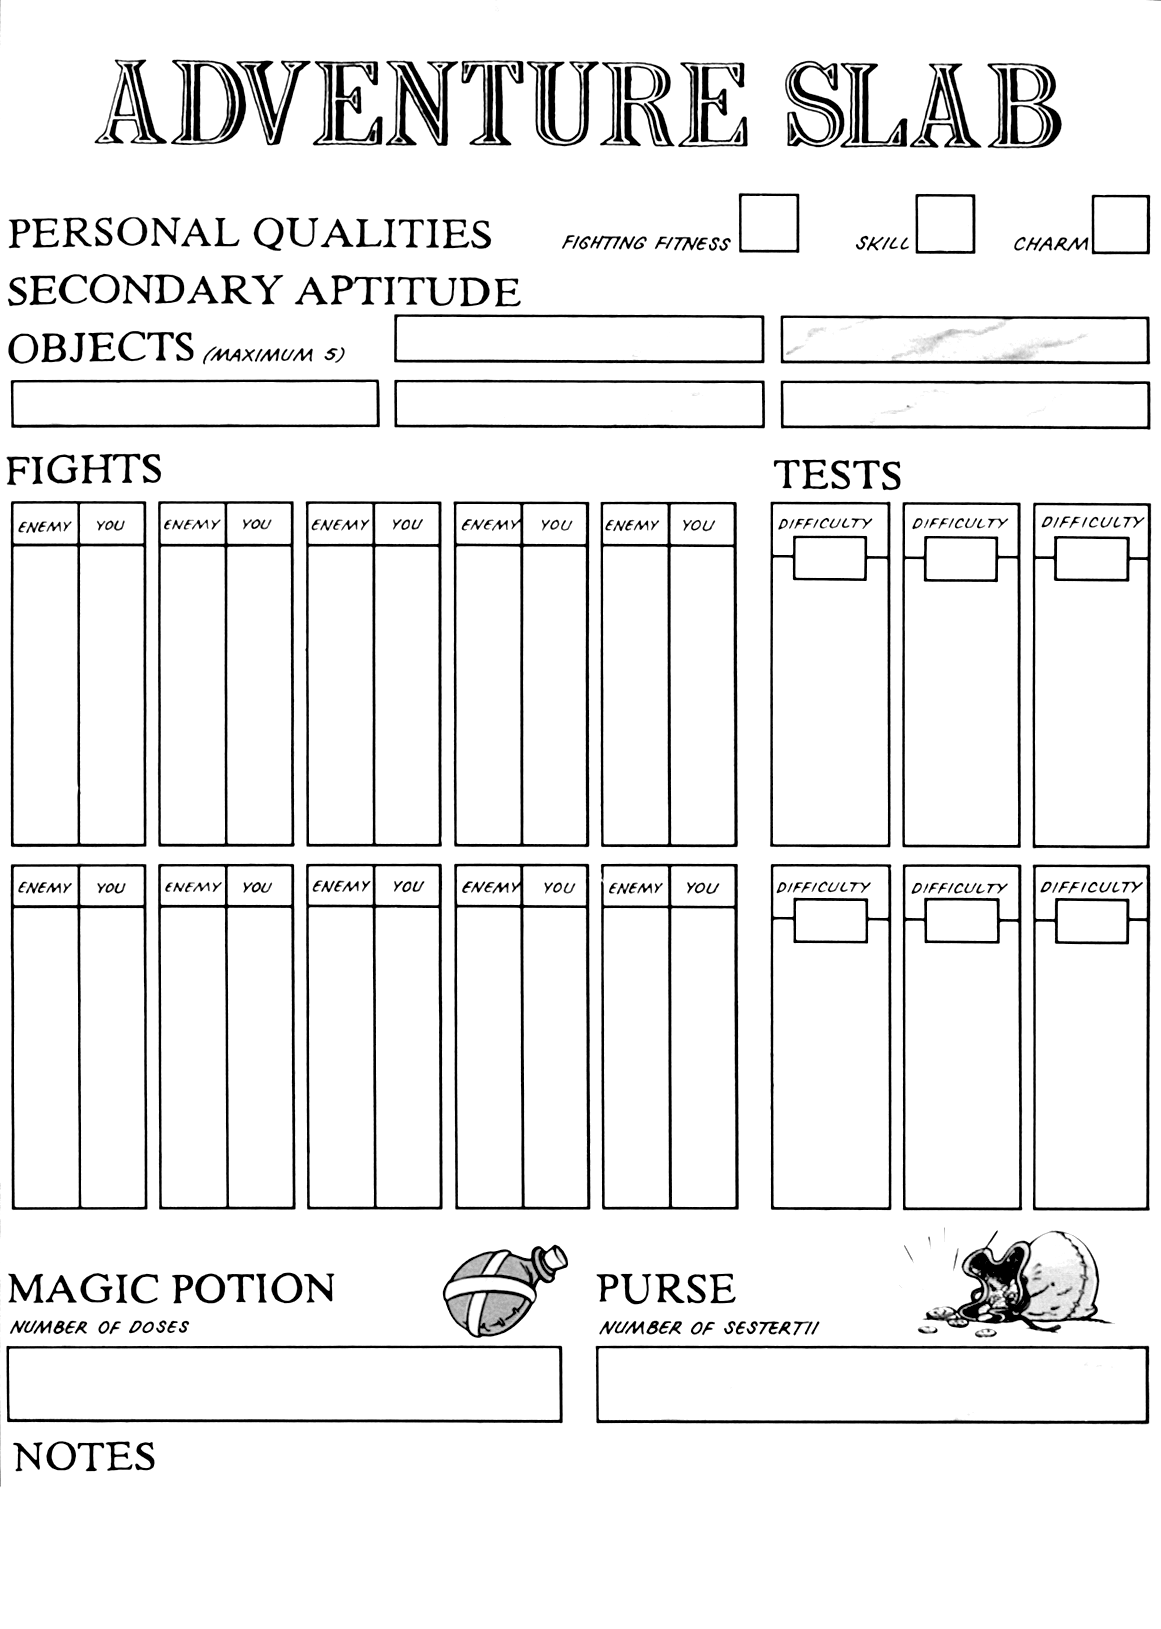
Asterix - Alea Jacta Est! #3 Character Sheet
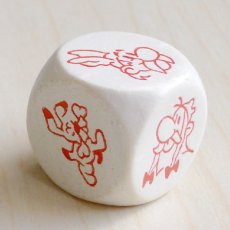
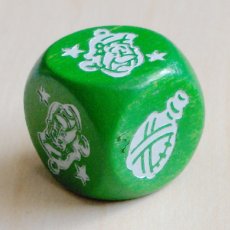
Asterix Adventure Games #1 / #2 Die
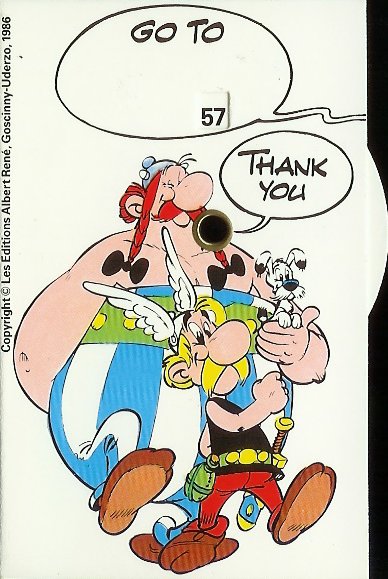
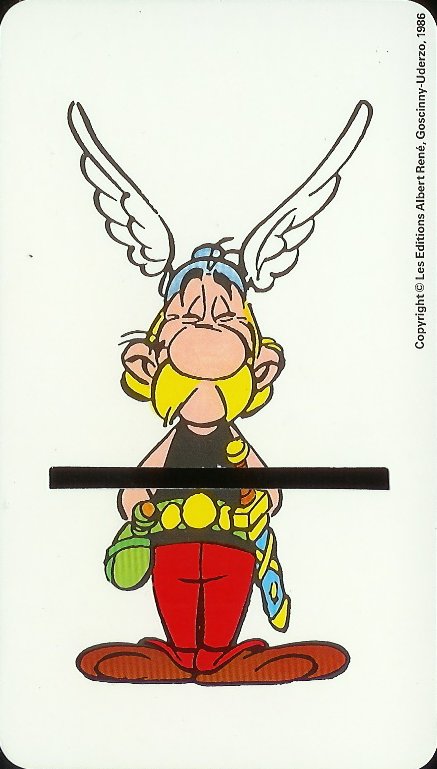
Asterix Adventure Games #1 Asterix Card
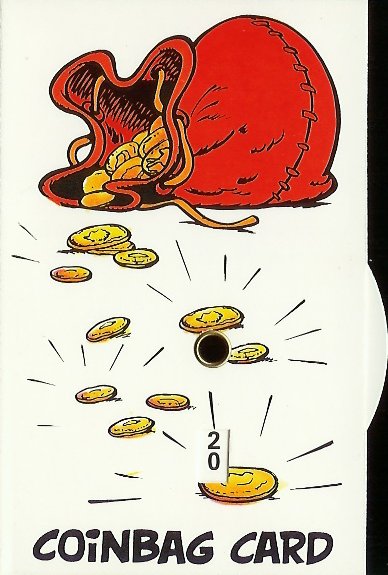
Asterix Adventure Games #1 Coinbag Card (back)
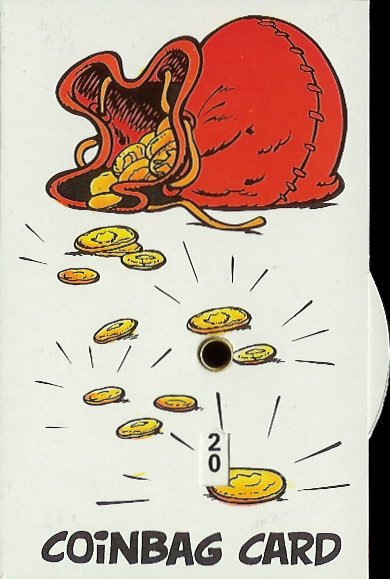
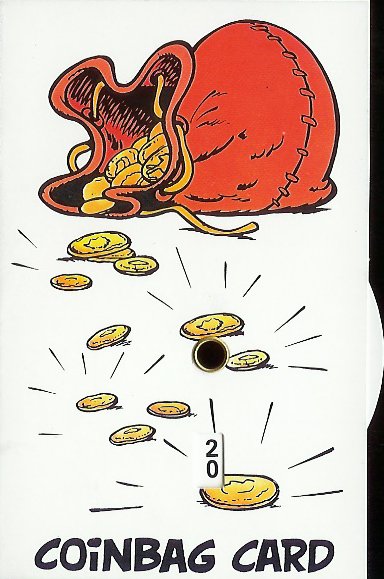
Asterix Adventure Games #1 Coinbag Card (front)
Asterix Adventure Games #1 Magic Potion Card
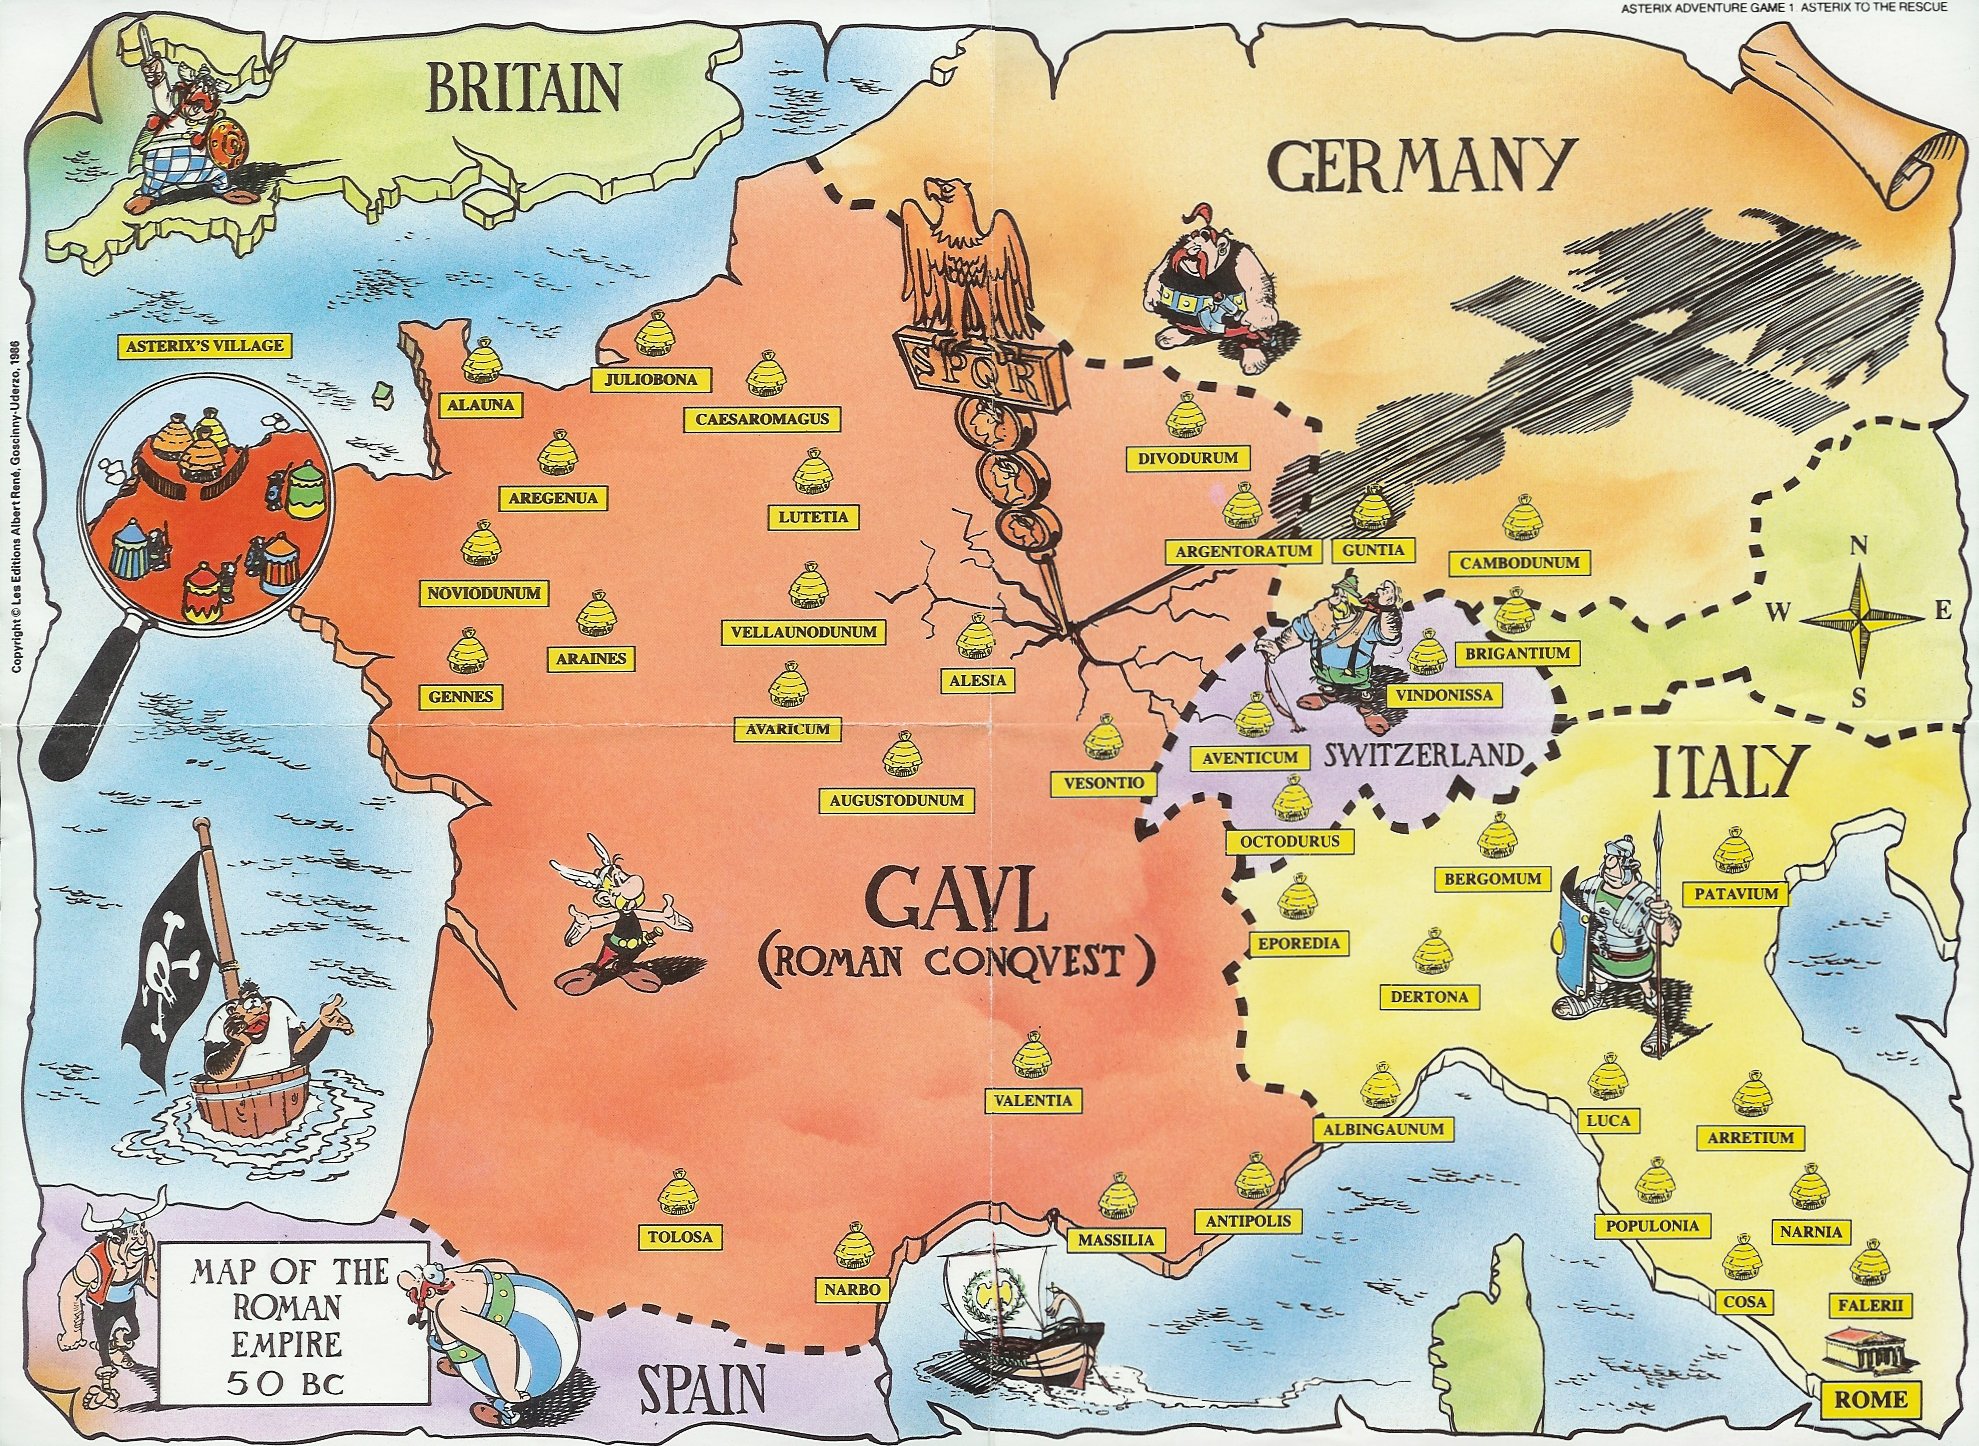
Asterix Adventure Games #1 Map
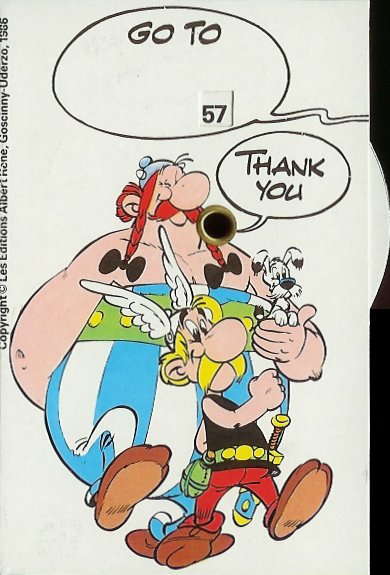
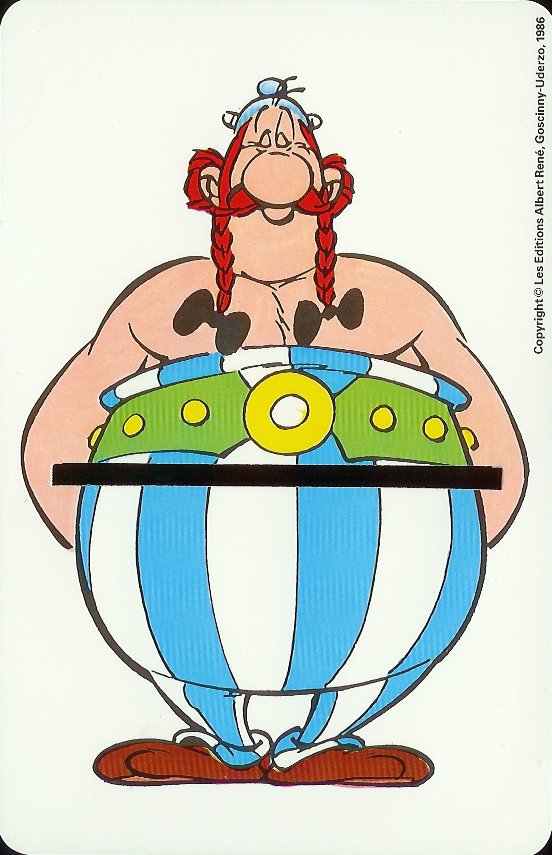
Asterix Adventure Games #1 Obelix Card
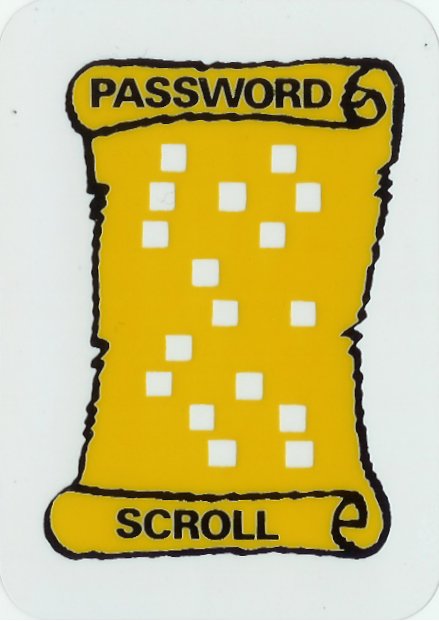
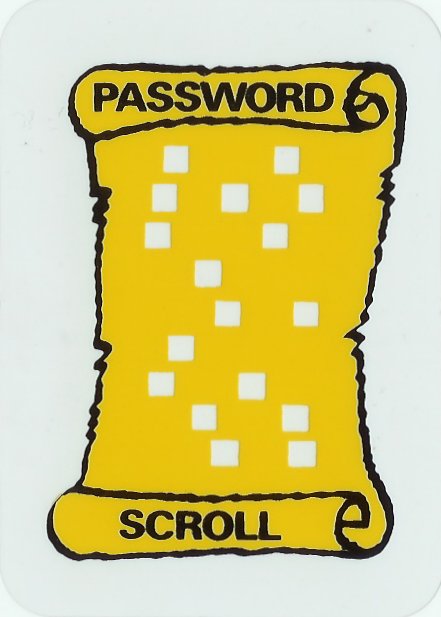
Asterix Adventure Games #1 Password Scroll
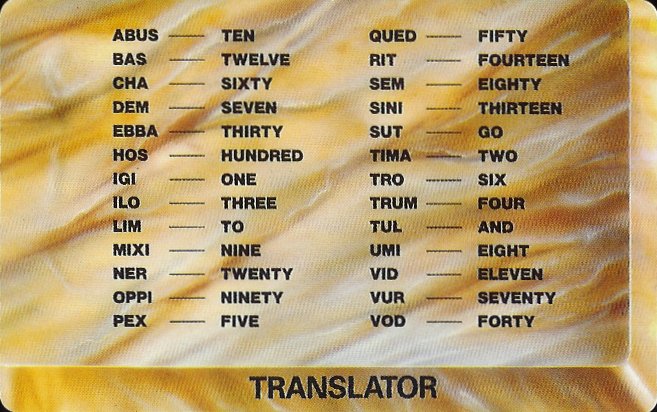
Asterix Adventure Games #1 Translator
Asterix Adventure Games #2 Asterix Card
Asterix Adventure Games #2 Coinbag Card (back)
Asterix Adventure Games #2 Coinbag Card (front)
Asterix Adventure Games #2 Magic Potion Card
Asterix Adventure Games #2 Map
Asterix Adventure Games #2 Obelix Card
Asterix Adventure Games #2 Password Scroll
Asterix Adventure Games #2 Translator
Asterix Adventure Games #3 Coinbag Card (back)
Asterix Adventure Games #3 Coinbag Card (front)
Asterix Adventure Games #3 Die
Asterix Adventure Games #3 Magic Potion Counter
Asterix Adventure Games #3 Password Scroll
Asterix Adventure Games #3 Sketchpad
Autumn Snow #2 Map
- Thanks to Ian Berger for the map.
Aventura juego de Dungeons & Dragons #1 bookmark
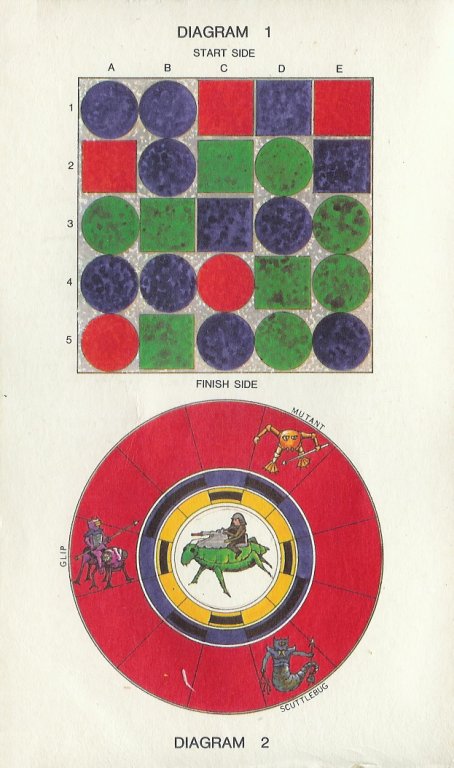
Battle Quest #2 Gamekit
Be an Interplanetary Spy #1 - Mendelum Maze
Be an Interplanetary Spy #1 - Sandragon Maze
Be an Interplanetary Spy #1 - Spaceport Maze
Be an Interplanetary Spy #6 - Mobius Express (back)
Be an Interplanetary Spy #6 - Mobius Express (front)
Biggles Adventure Games #2 - Kit Reproduction
- Thank you to Dane Barrett for the file.
Bionic Agent #1 Character Sheet
- Thanks to sireeyore for the scan.
Blackstaff #1 Character Sheet (part 1 of 2)
- Thanks to sireeyore for the scan.
Blackstaff #1 Character Sheet (part 2 of 2)
- Thanks to sireeyore for the scan.
Blood Sword #2 - Enchanter Character Sheet
Blood Sword #2 - Sage Character Sheet
Blood Sword #2 - Trickster Character Sheet
Blood Sword #2 - Warrior Character Sheet
Blood Sword #3 - Enchanter Character Sheet
Blood Sword #3 - Sage Character Sheet
Blood Sword #3 - Trickster Character Sheet
Blood Sword #3 - Warrior Character Sheet
Call of Cthulhu - Grimrock Isle - Timetable
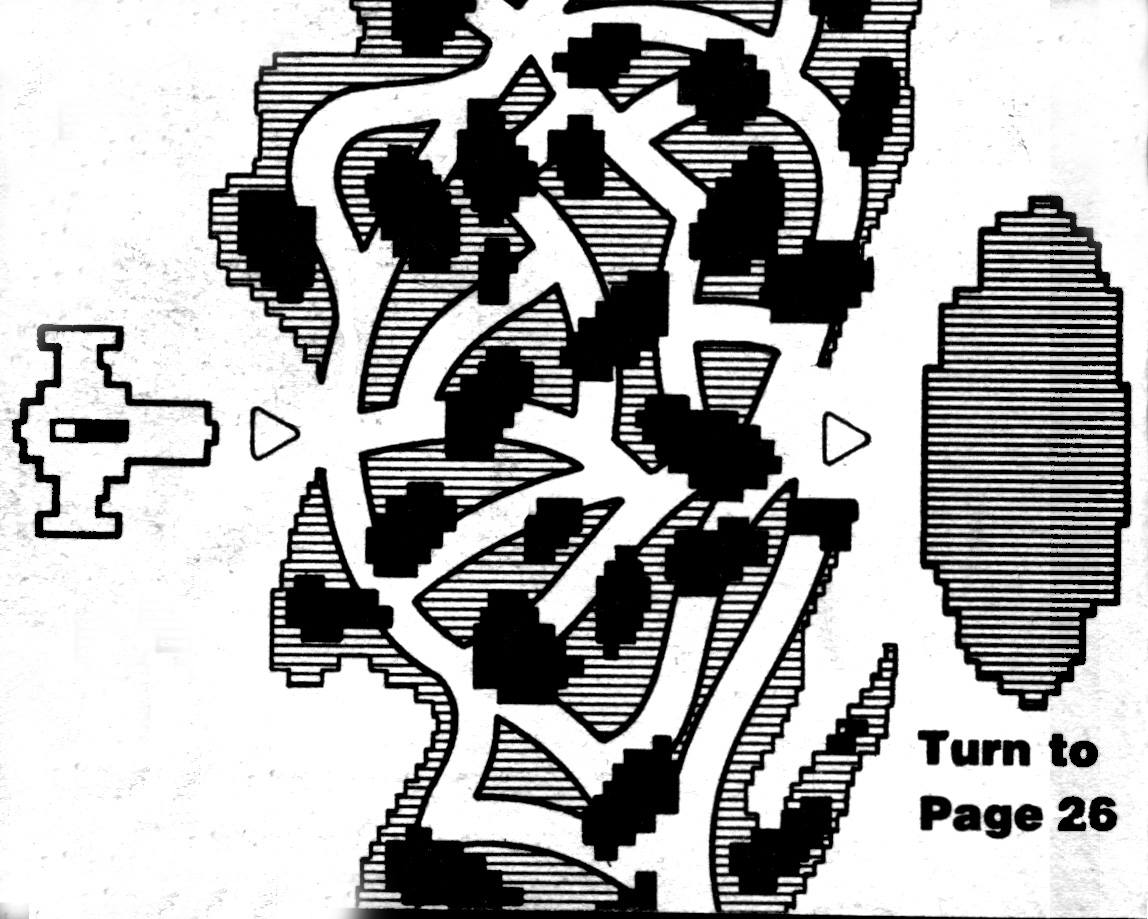
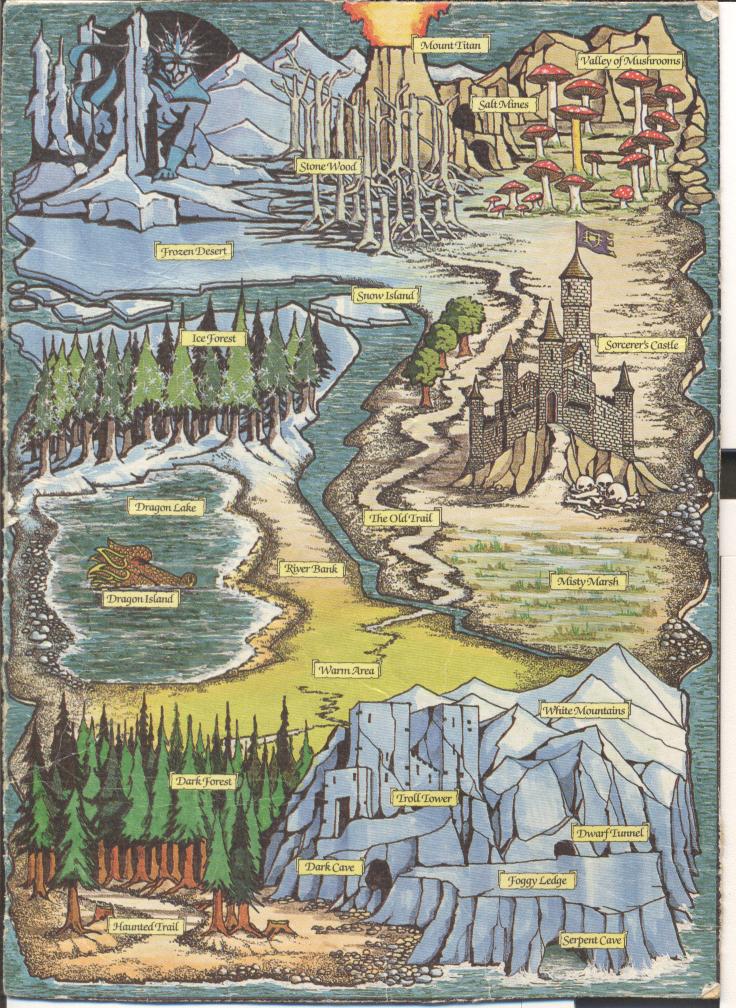
Can You Defeat the Ice Demon? Map
- This map was printed on the backs of cereal packets containing adventures in the Ready Brek Game series. (Thanks to Ed Jolley for the scan).
Car Wars #1 - Bookmark
Car Wars #1 - Character Sheet
Car Wars #2 - Bookmark
Car Wars #2 - Character Sheet
Car Wars #3 - Bookmark
Car Wars #3 - Character Sheet
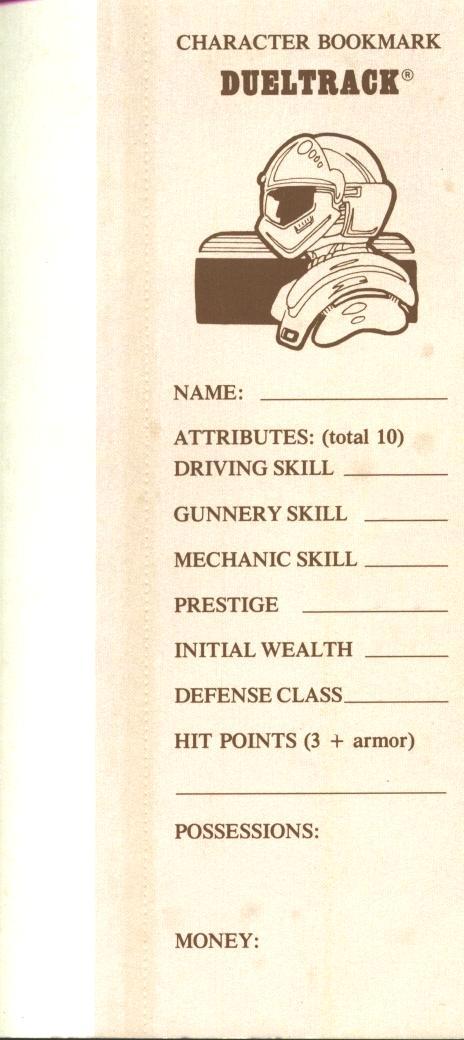
Car Wars #4 - Bookmark
Car Wars #4 - Character Sheet
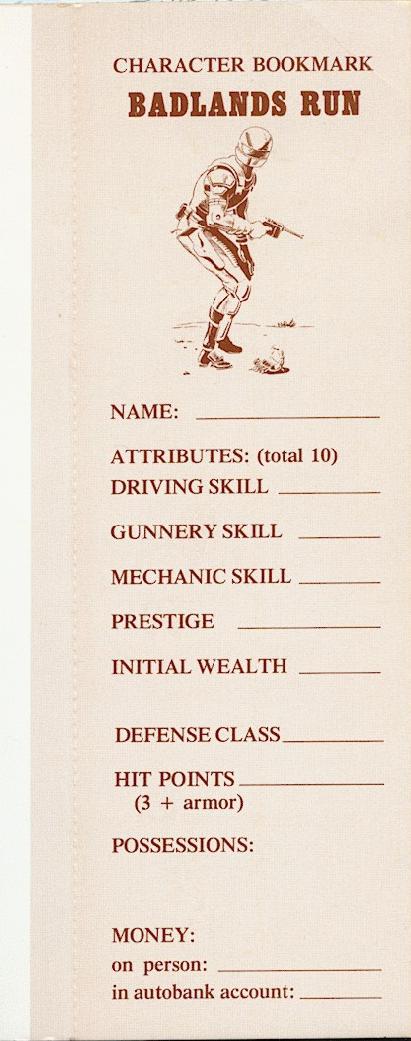
Car Wars #5 - Bookmark
Car Wars #5 - Character Sheet
Car Wars #6 - Bookmark
Car Wars #6 - Character Sheet
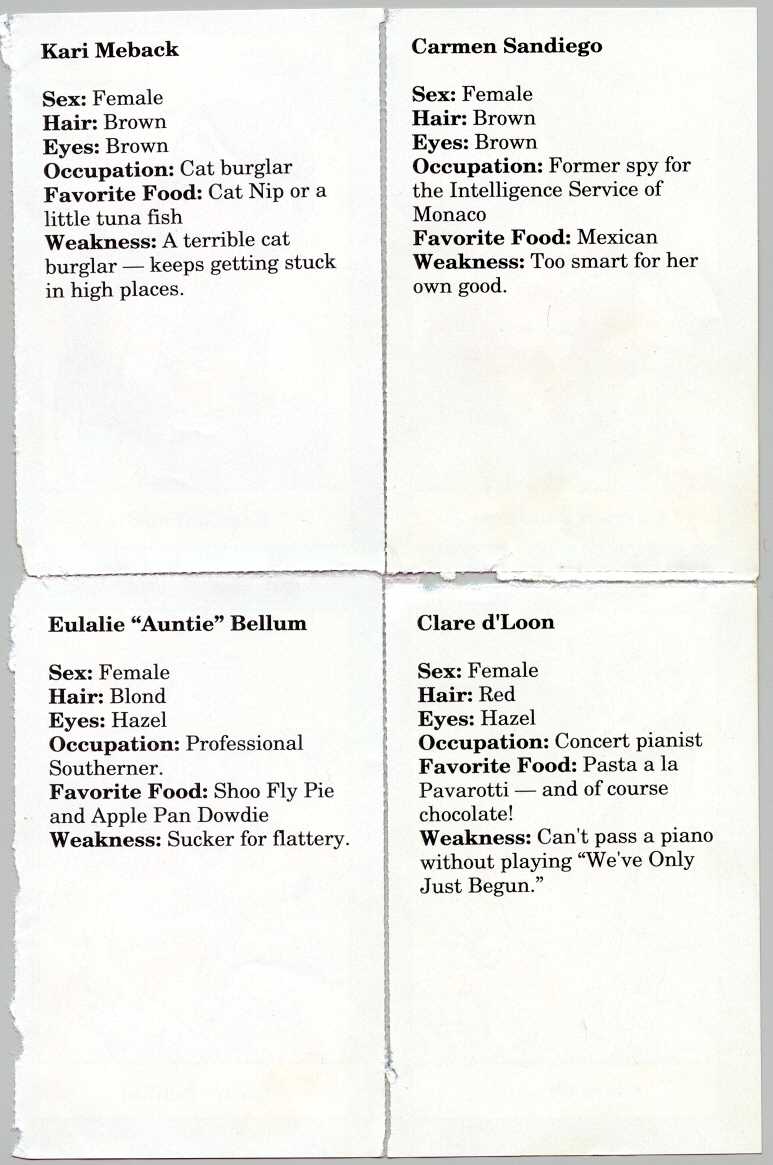
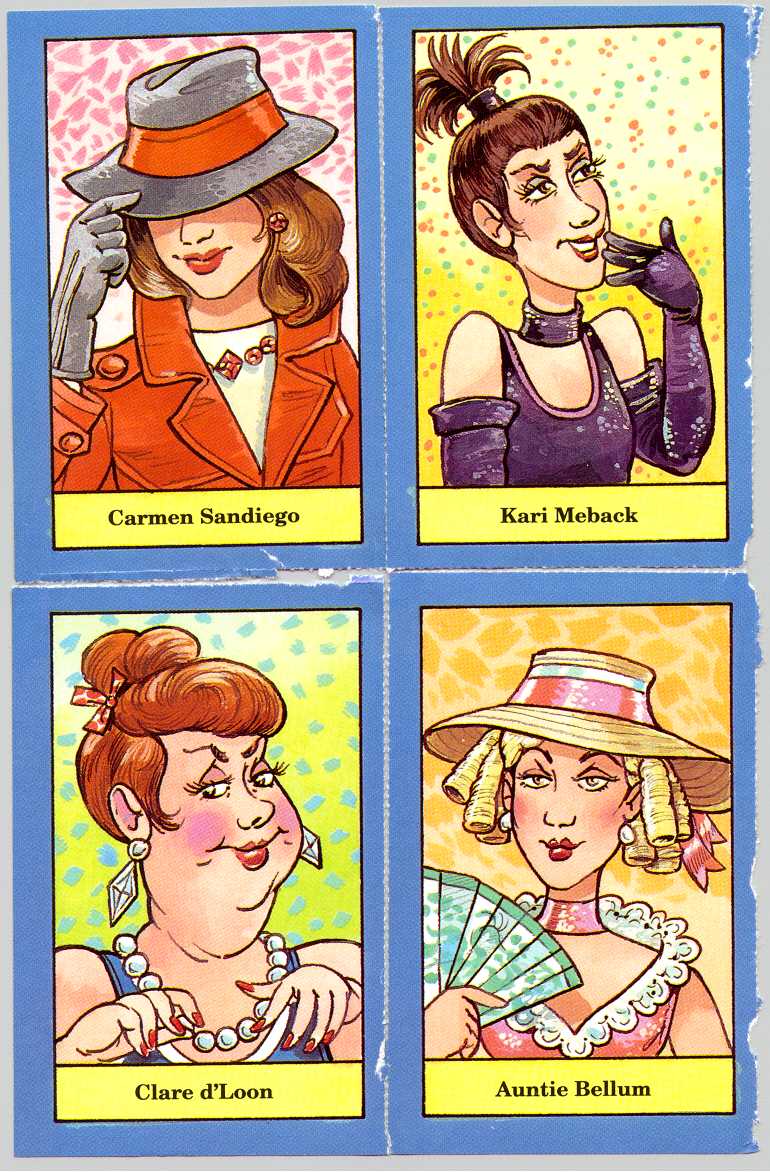
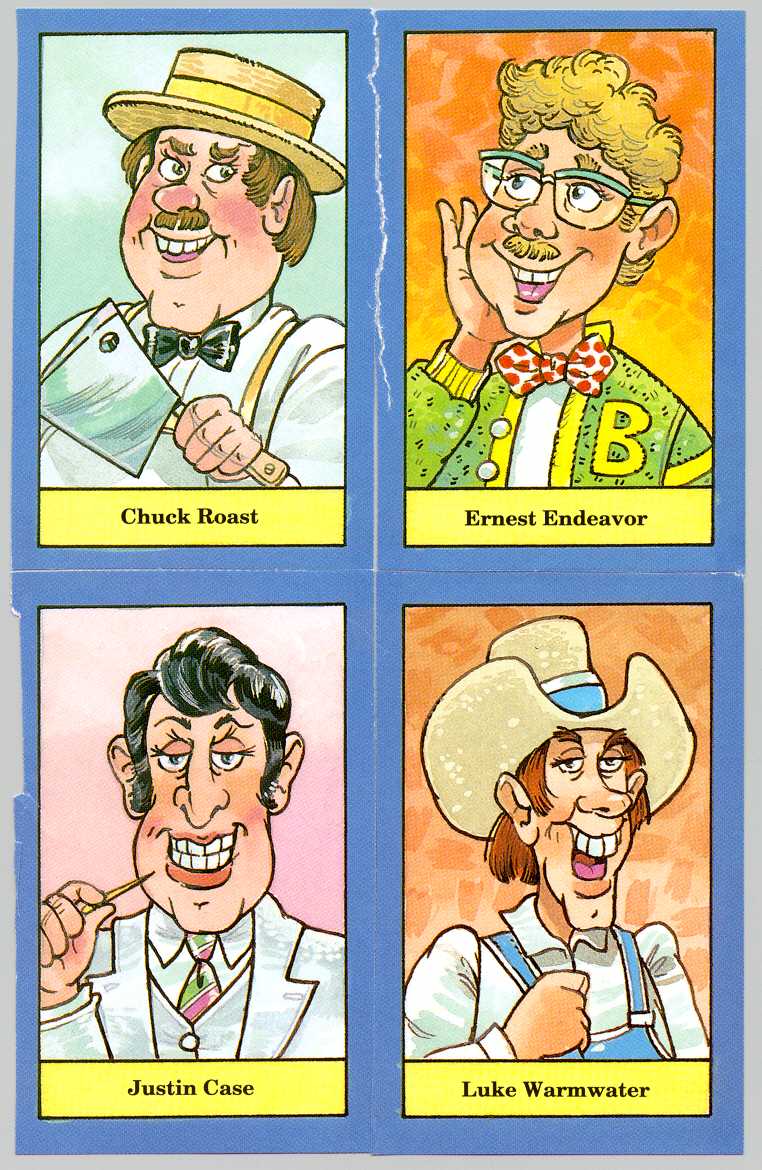
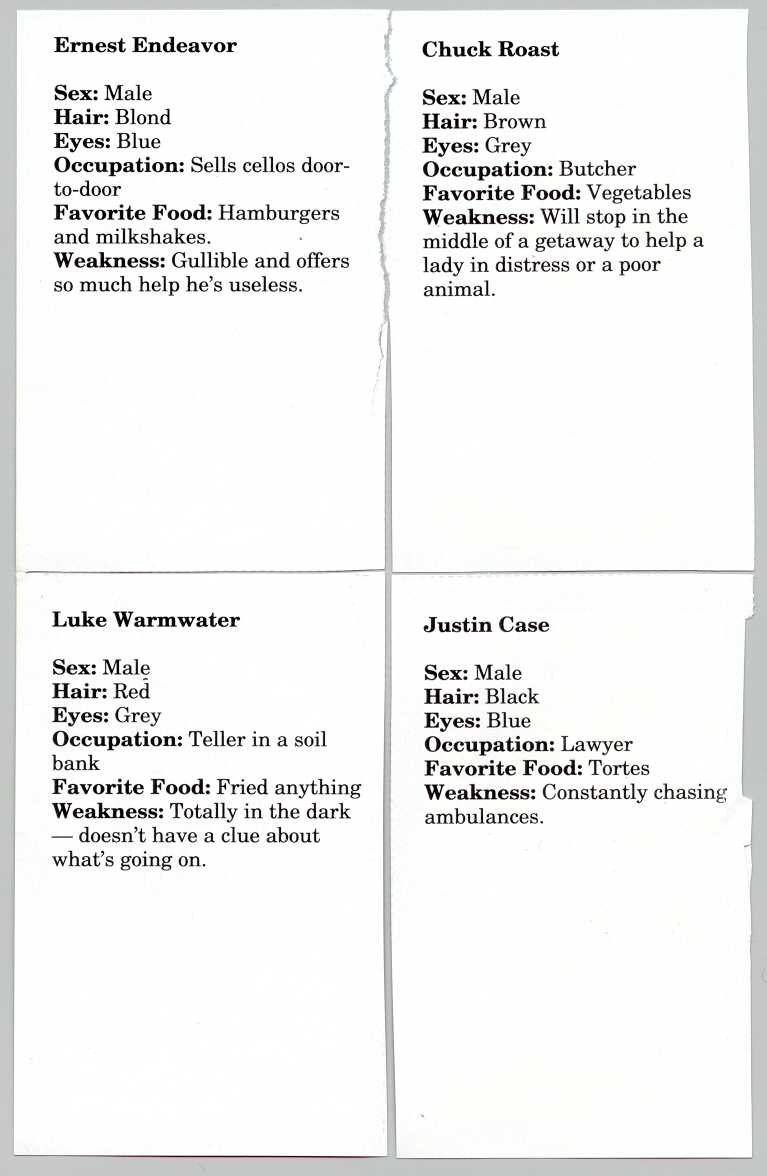
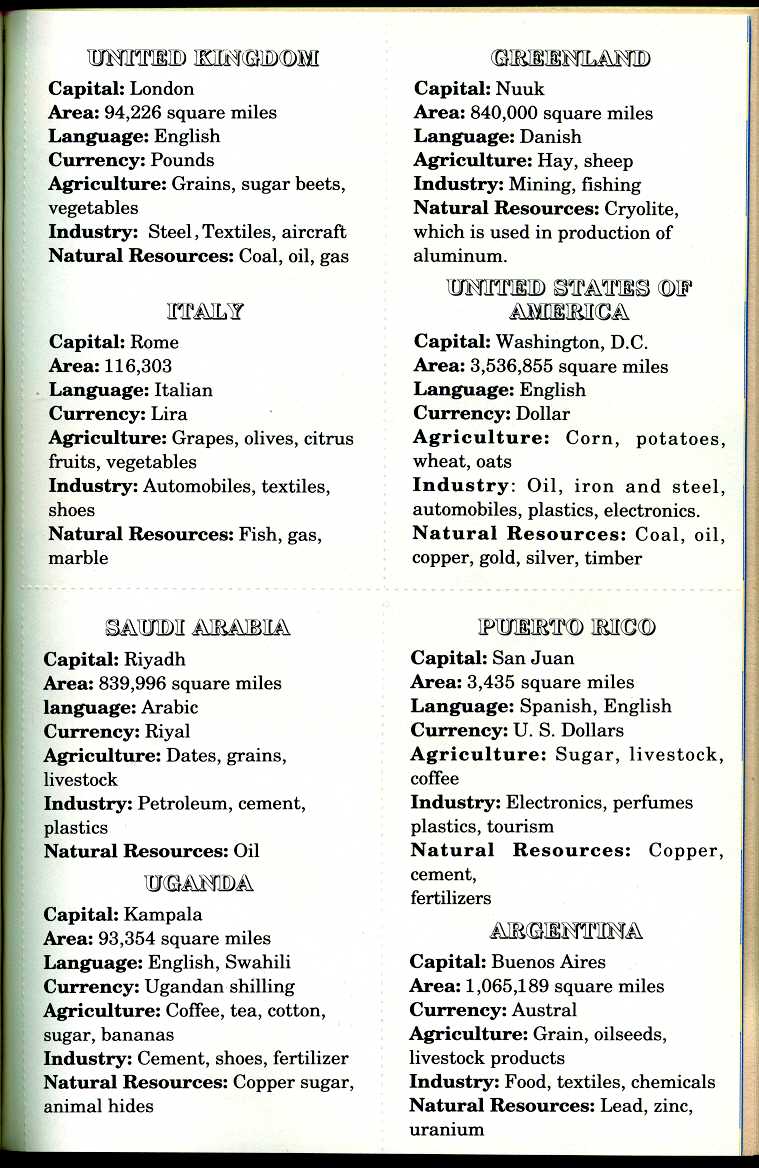
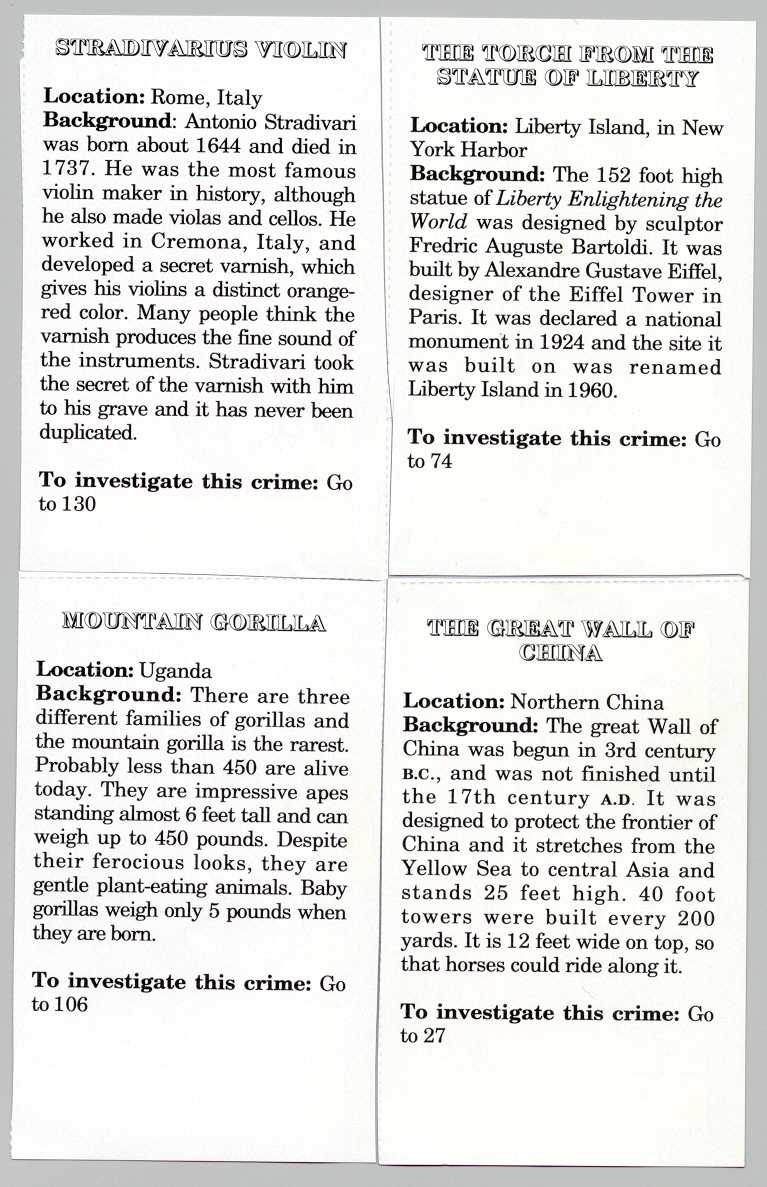
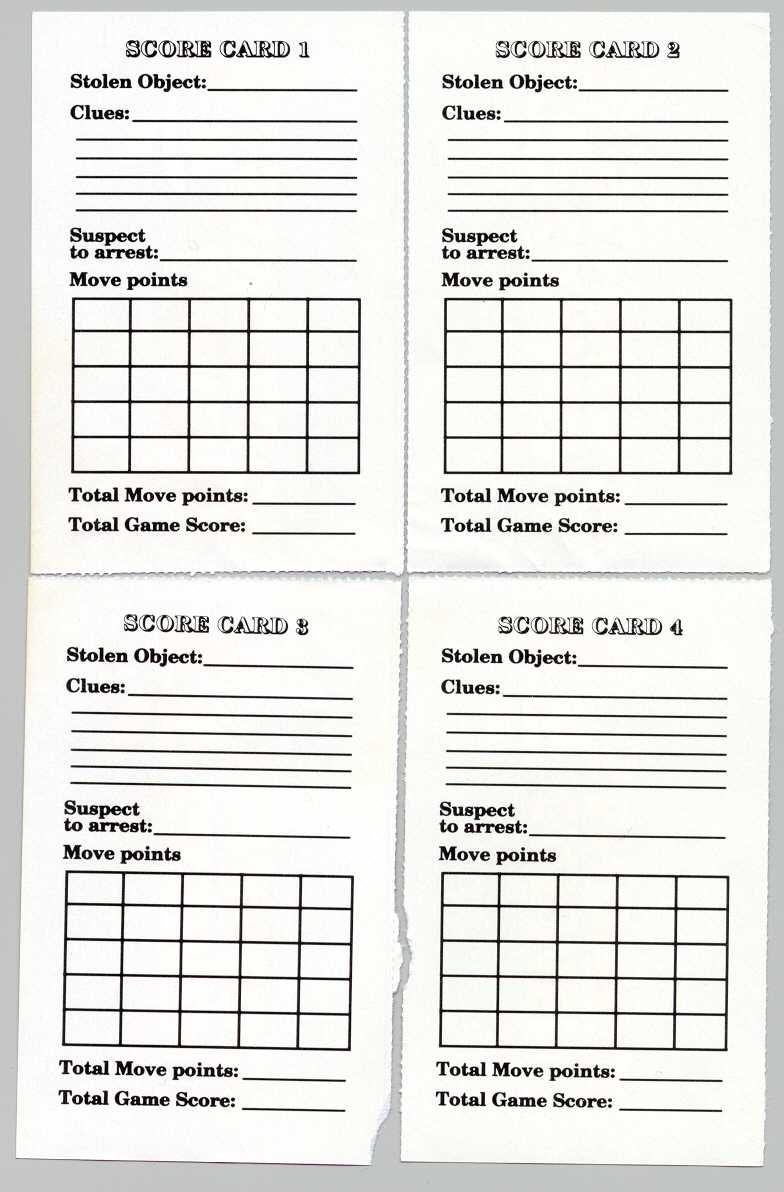
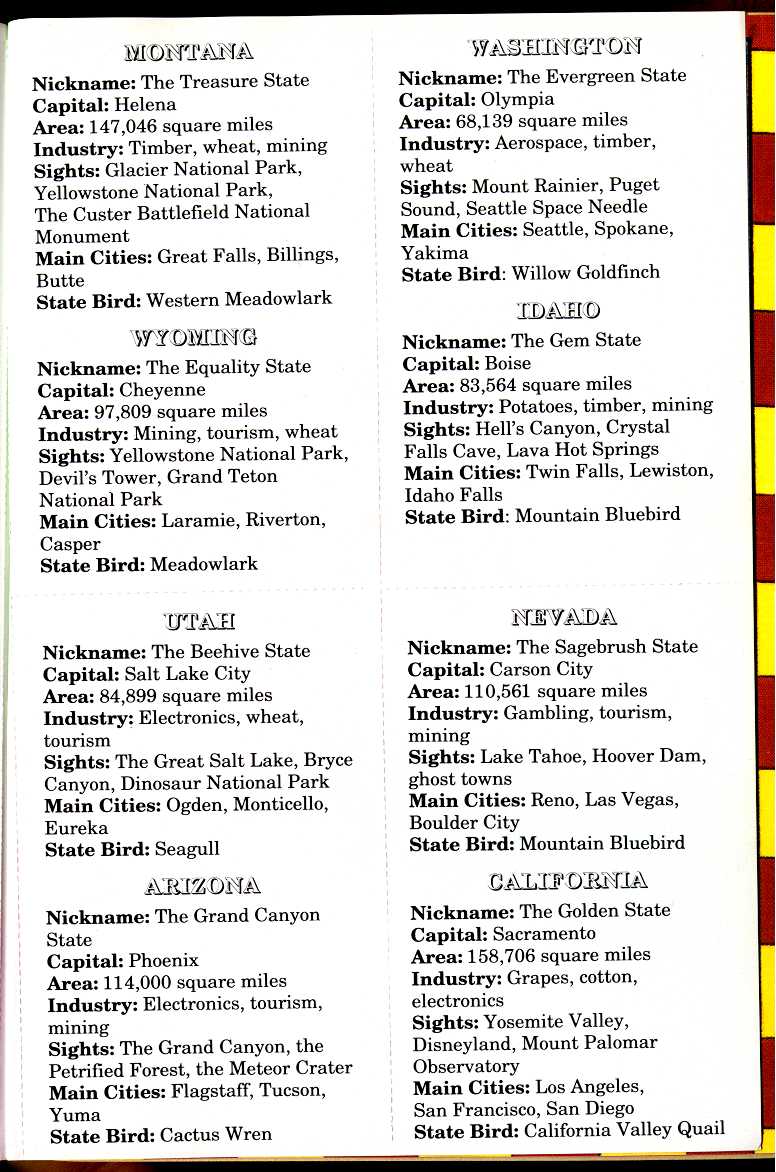
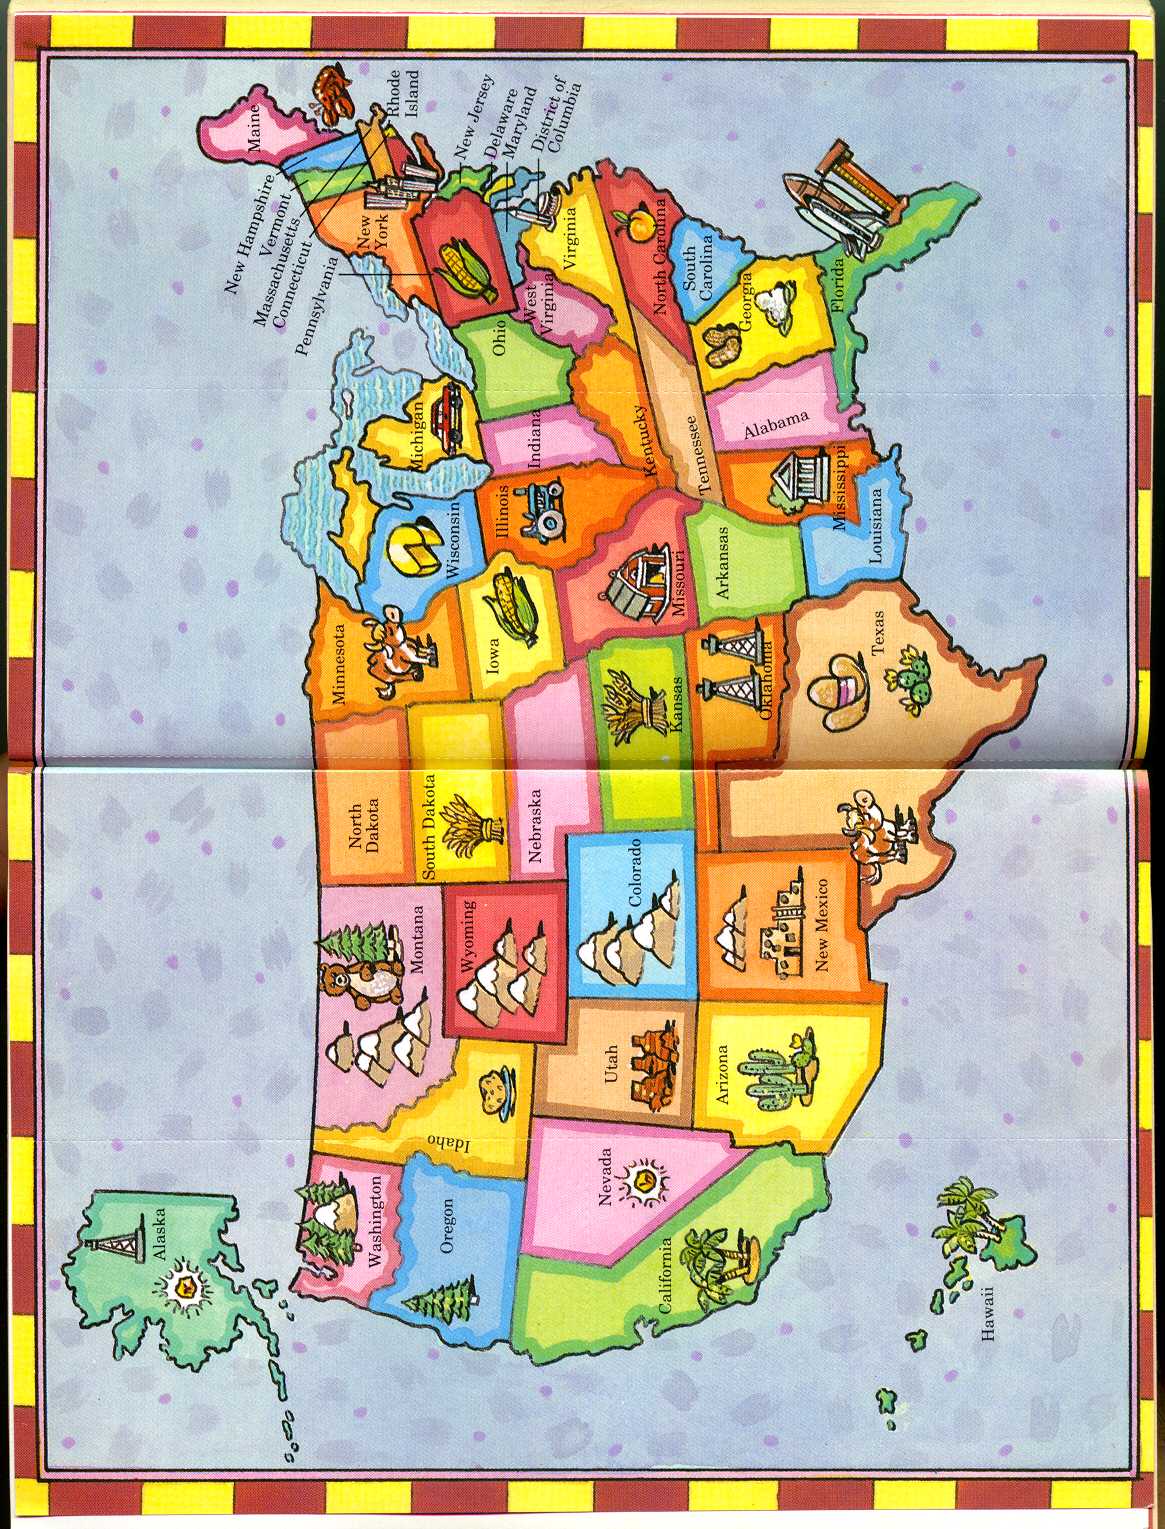
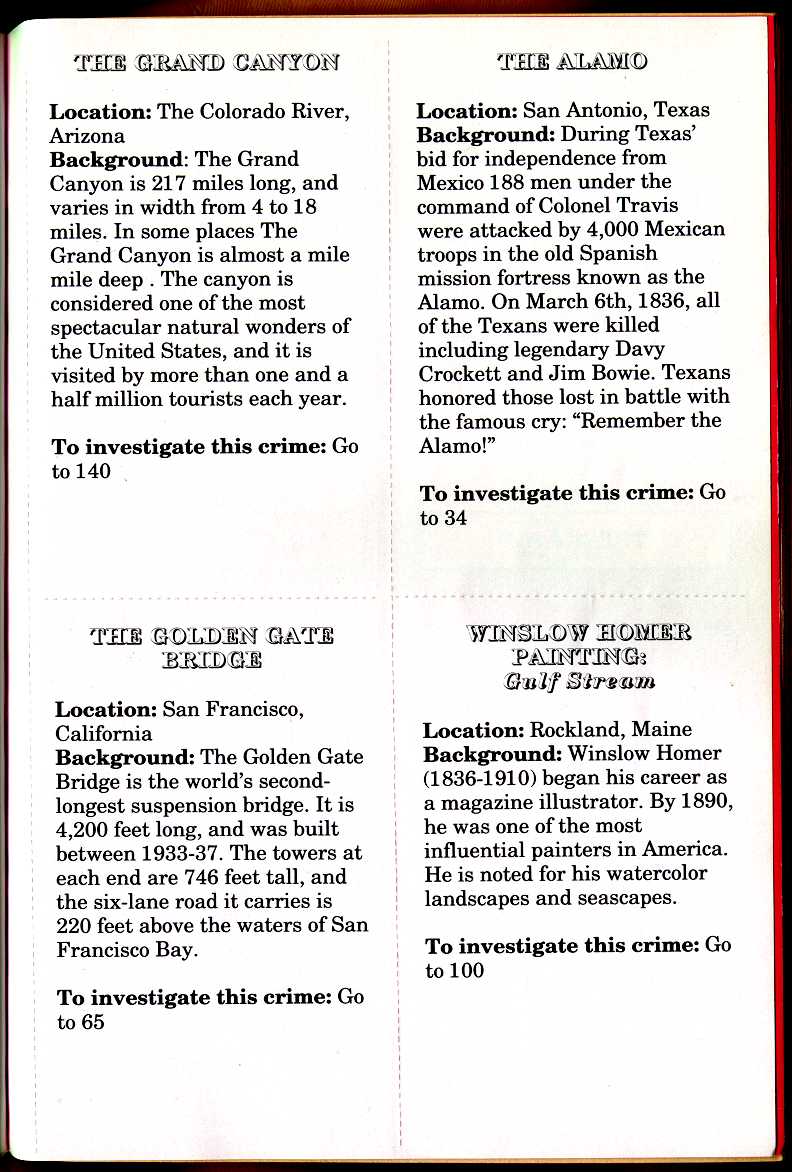
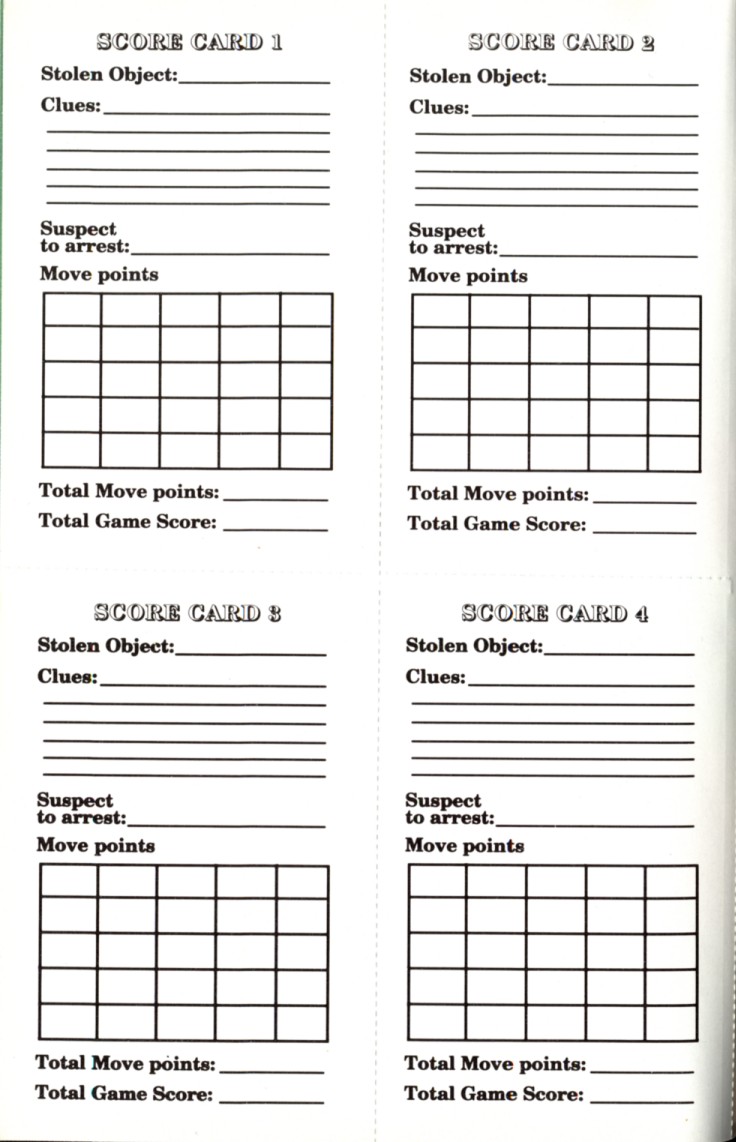
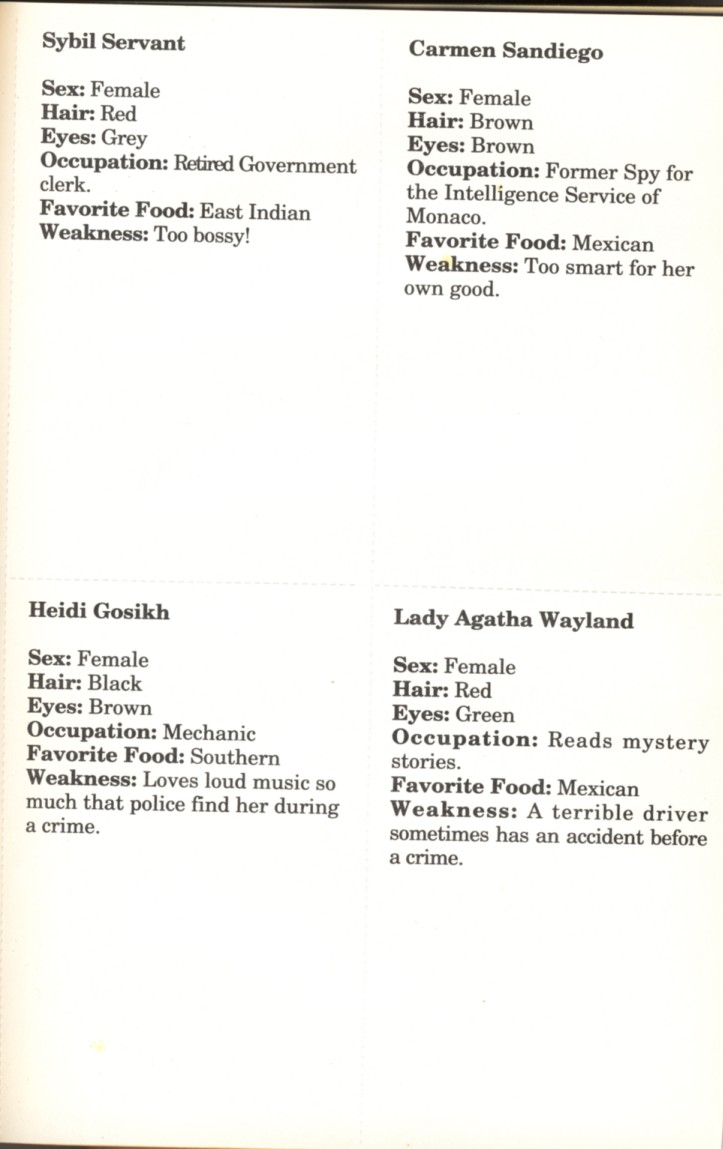
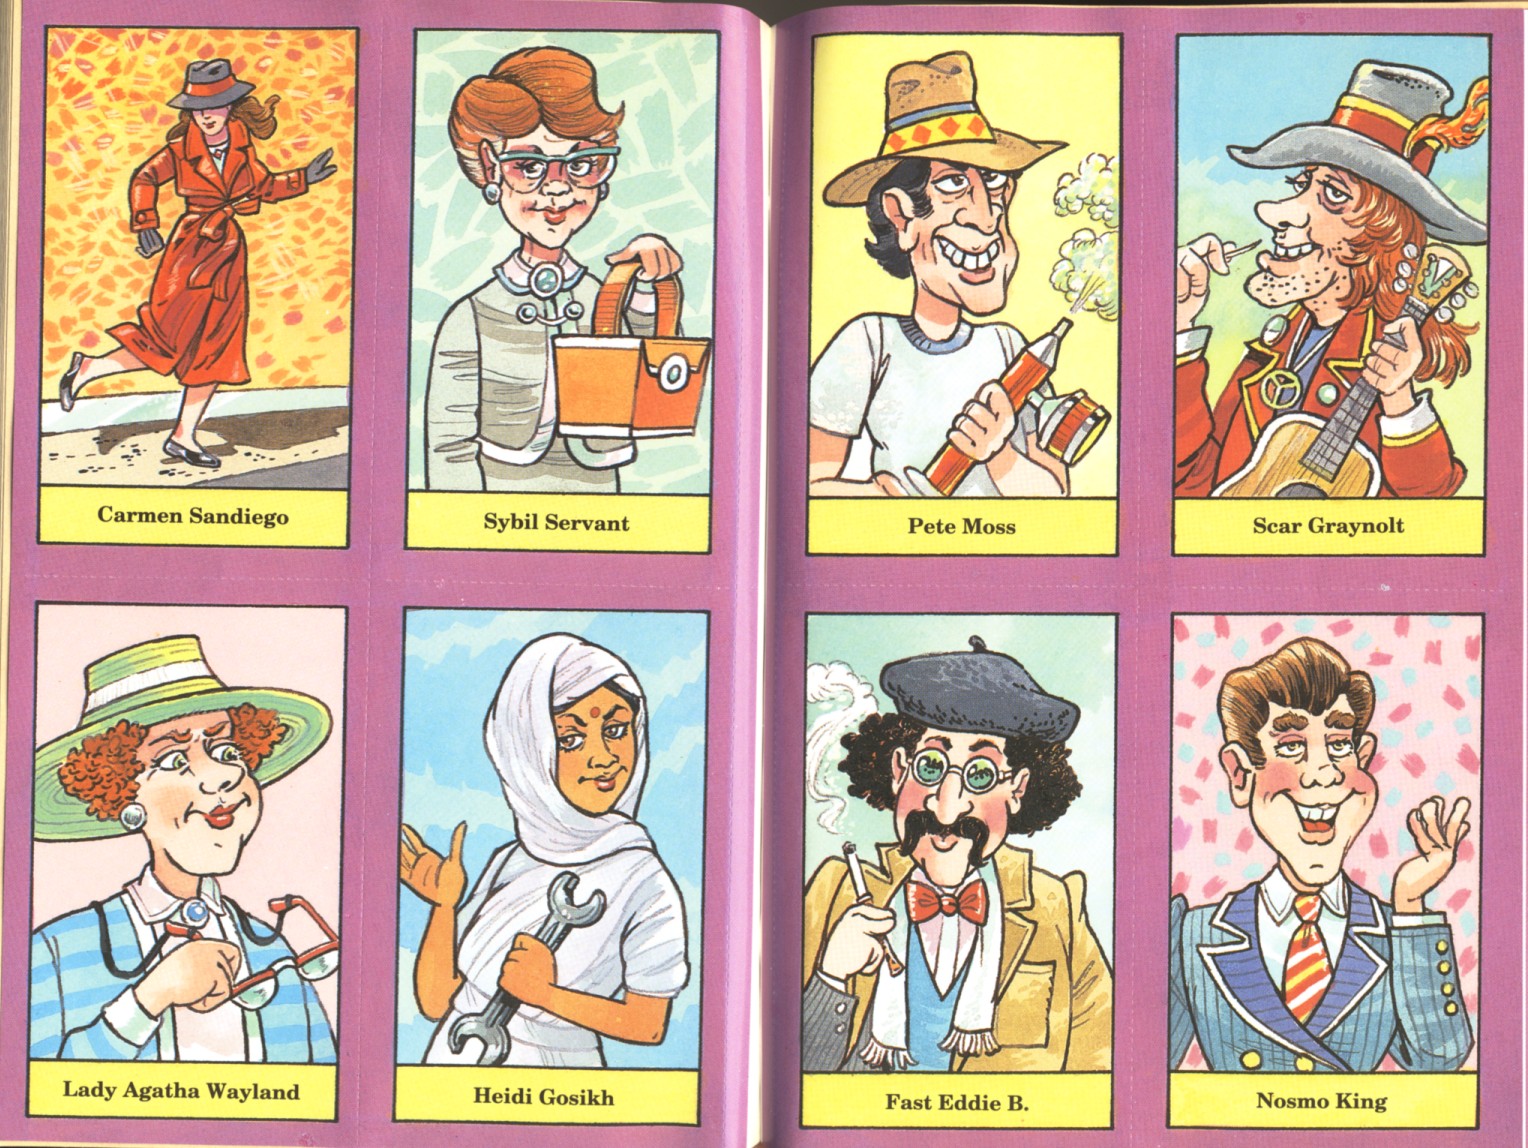
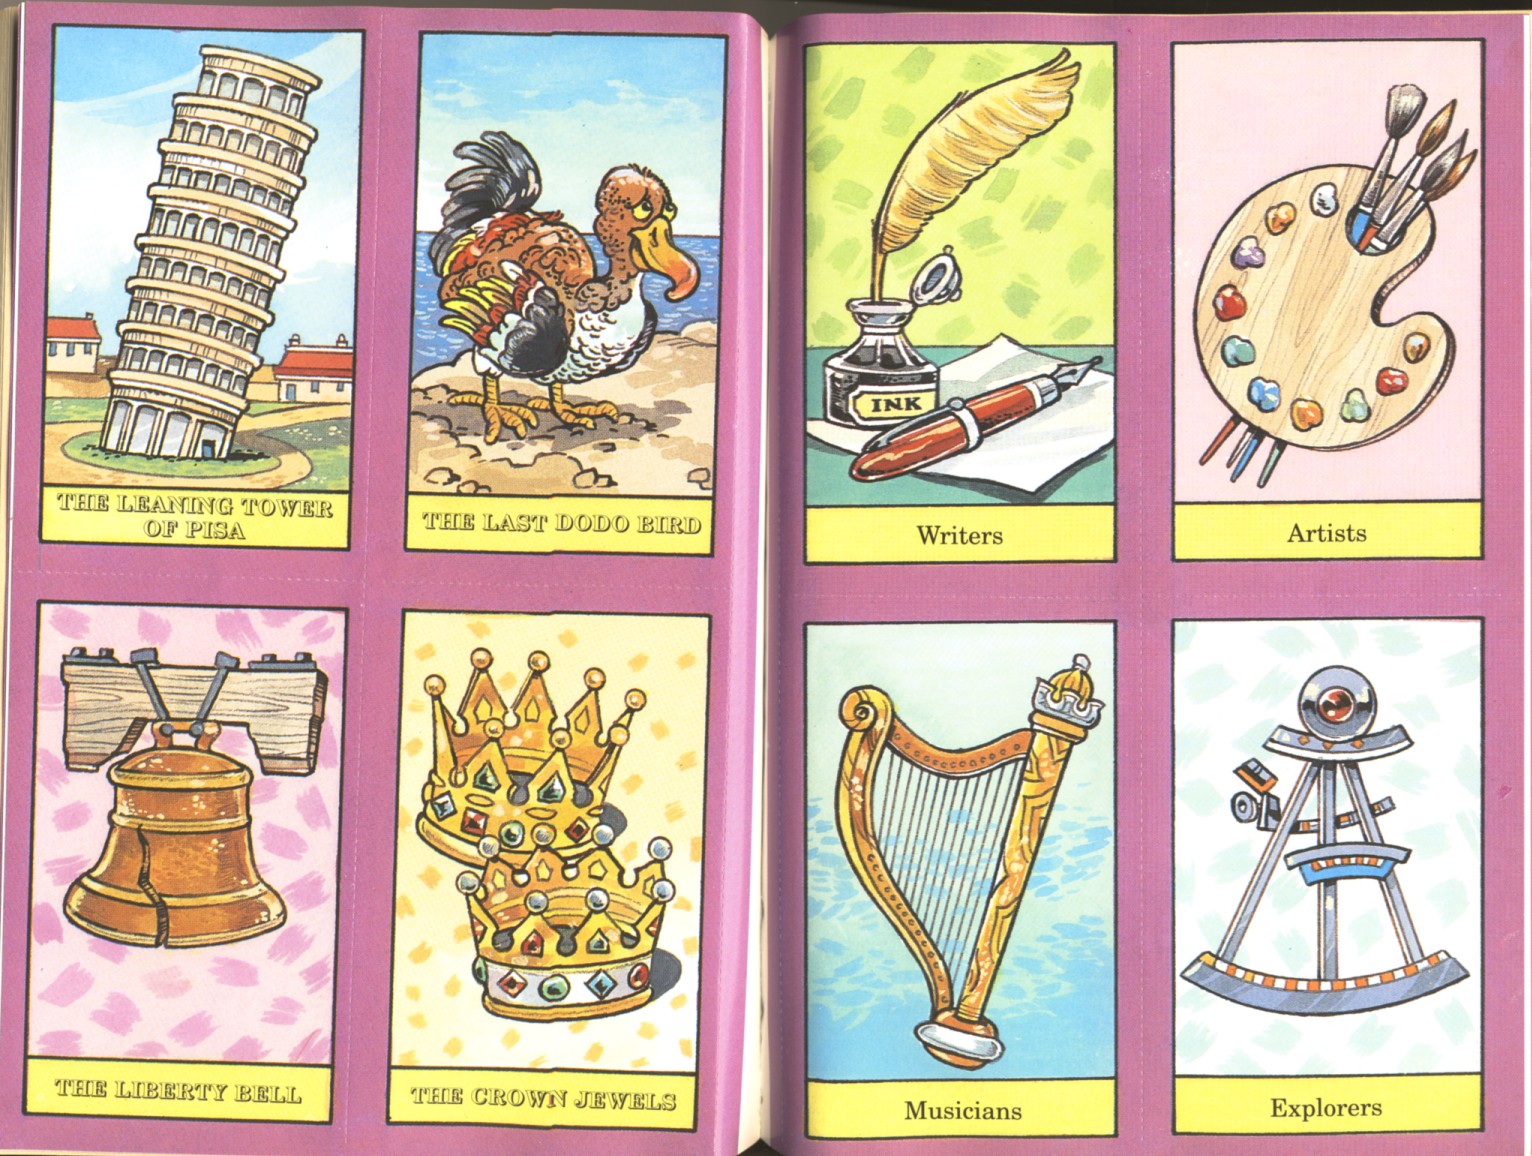
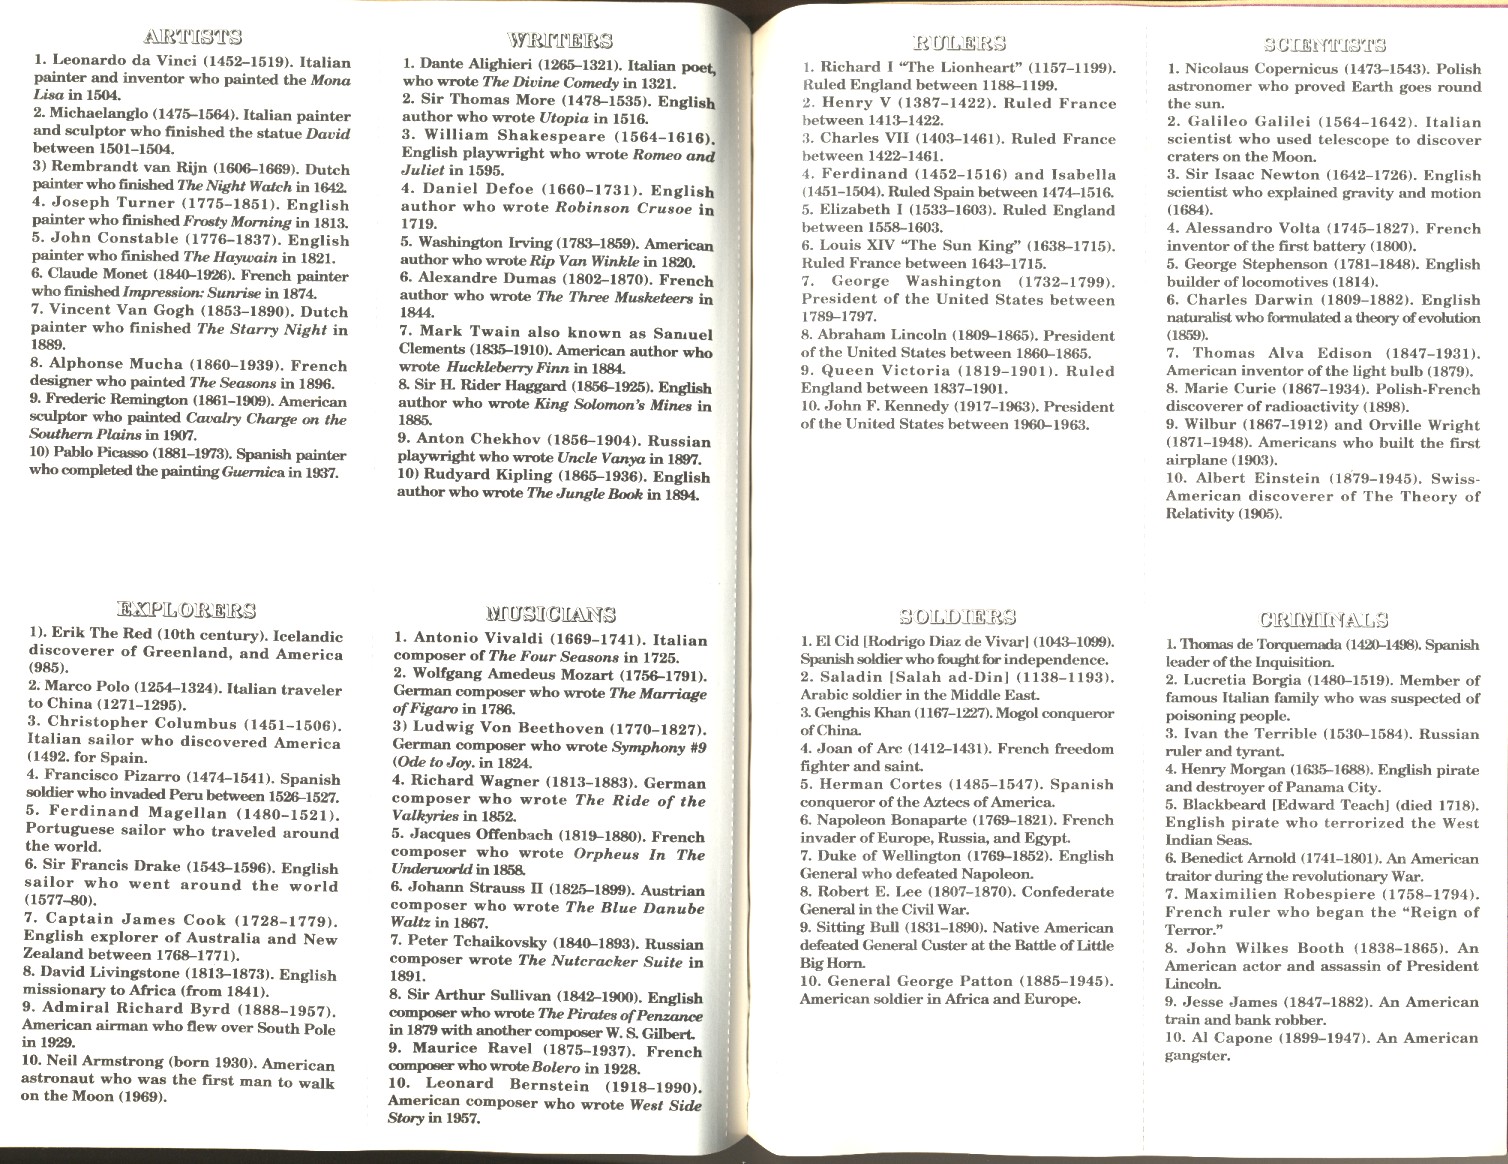
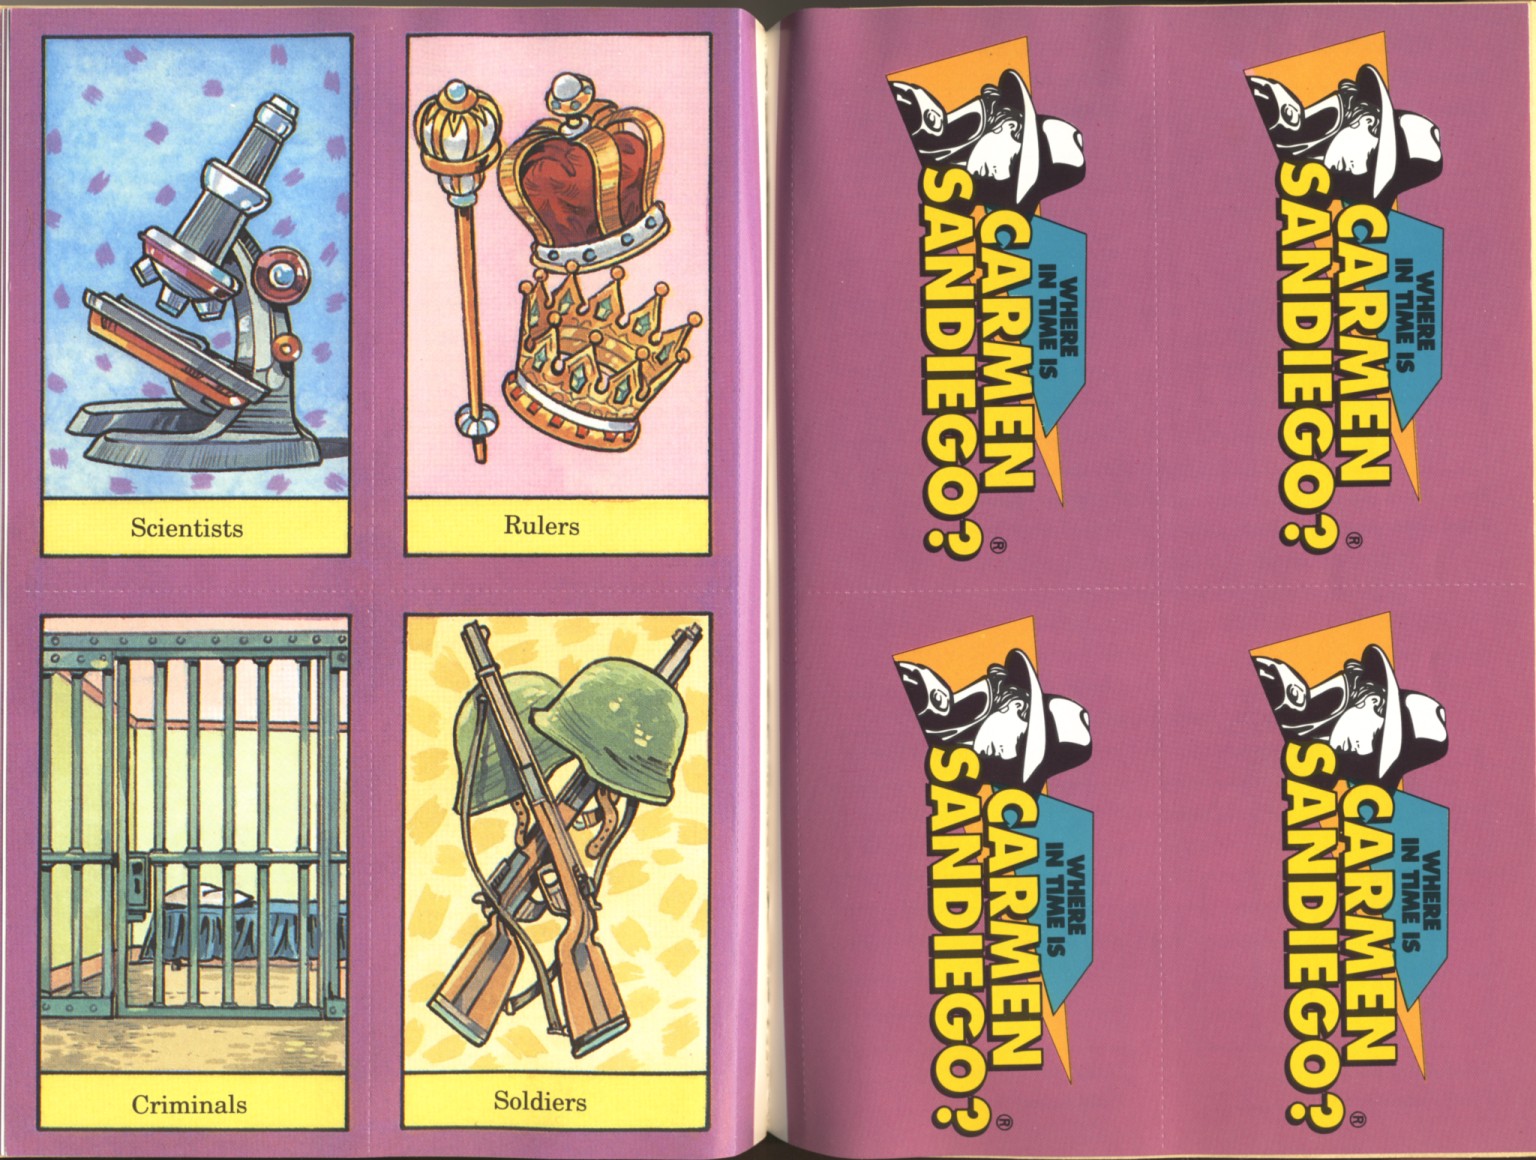
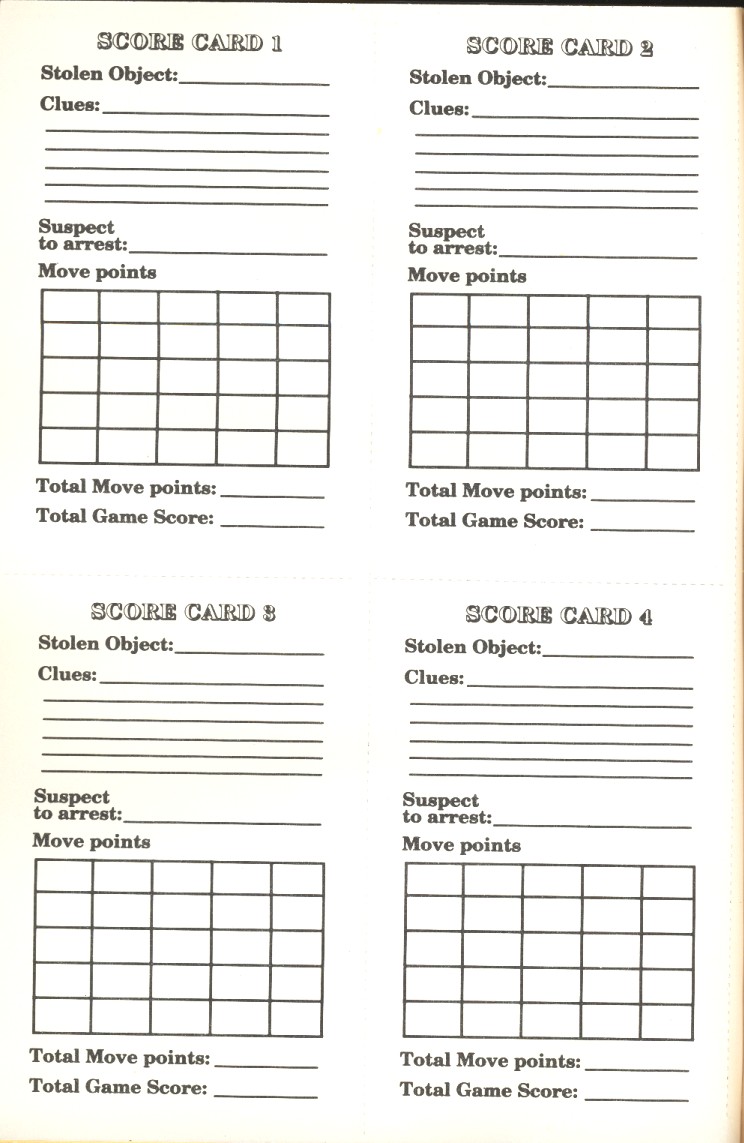
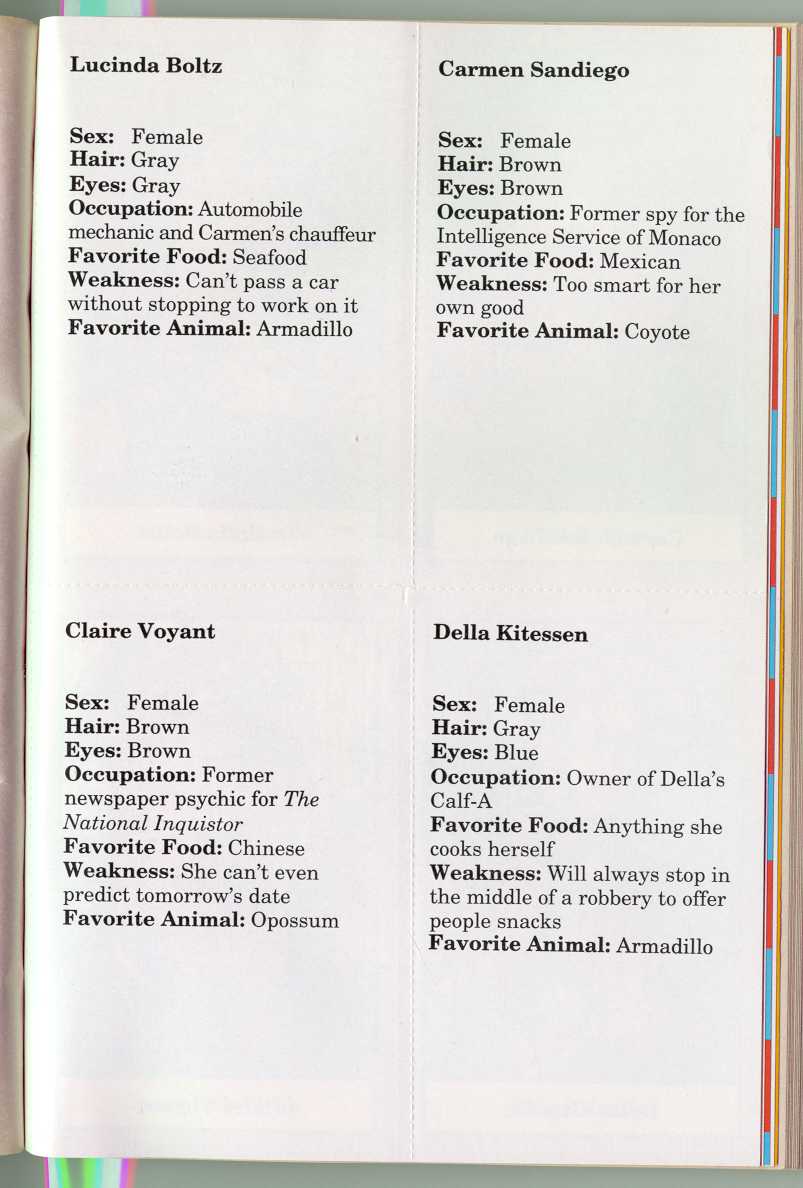
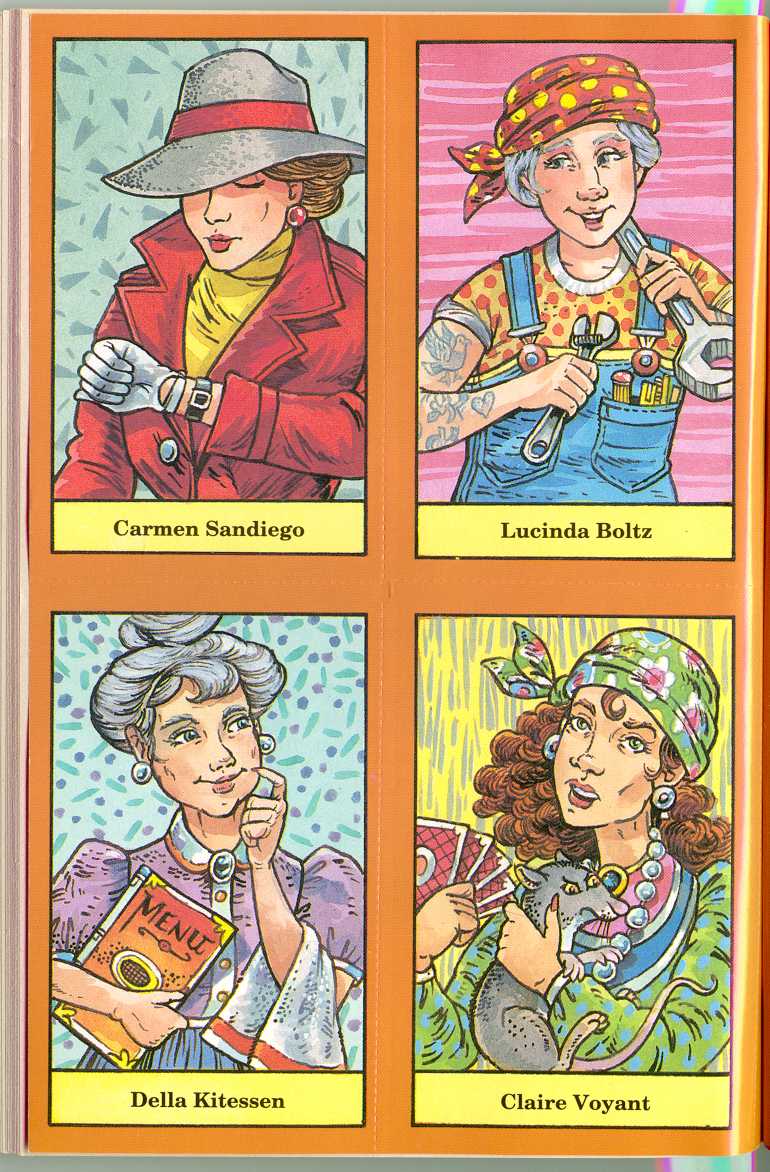
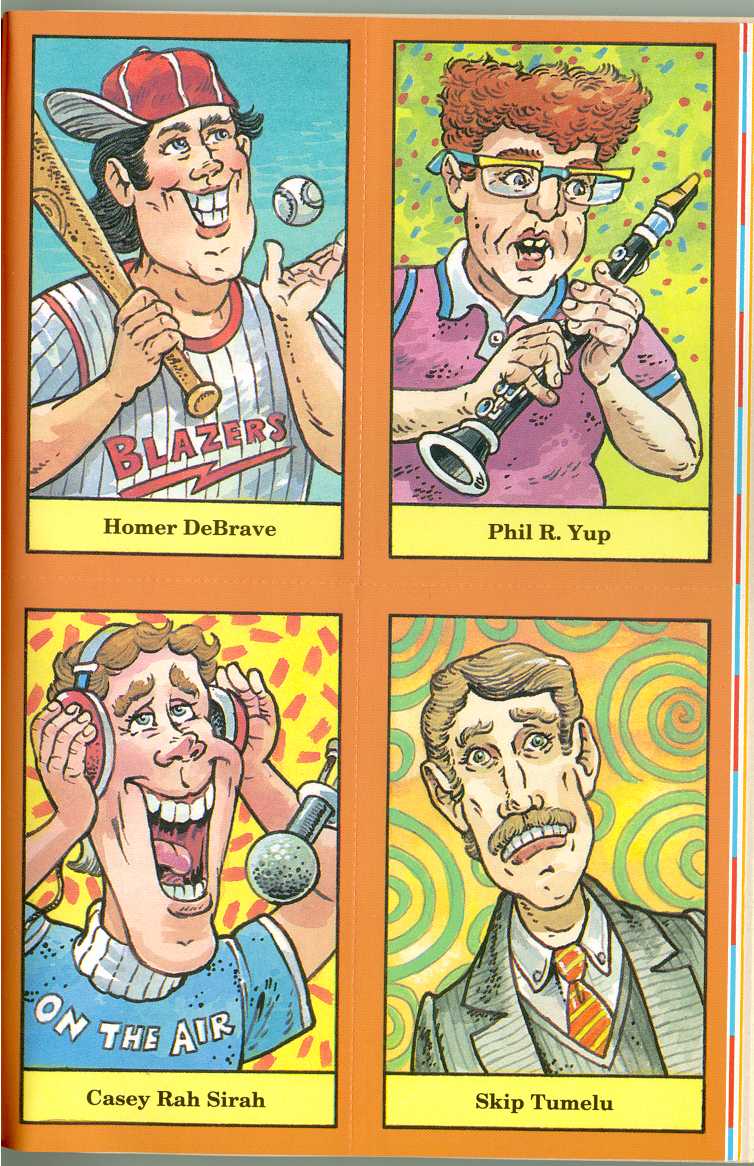
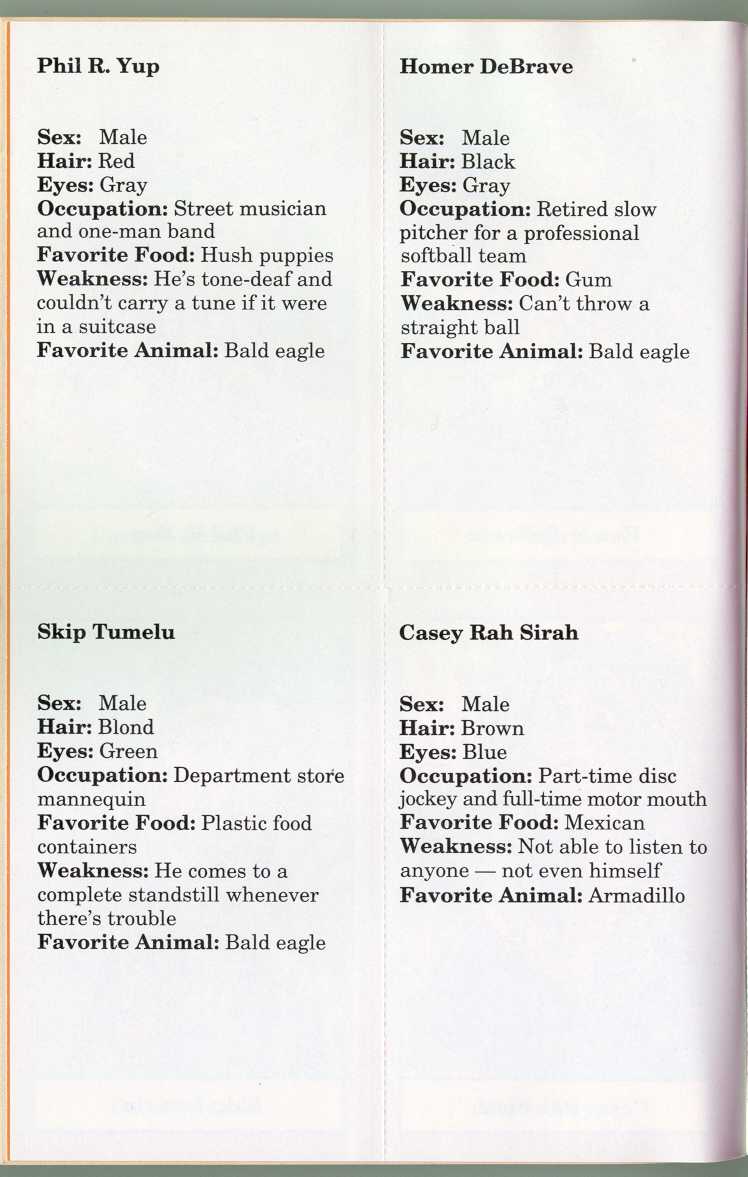
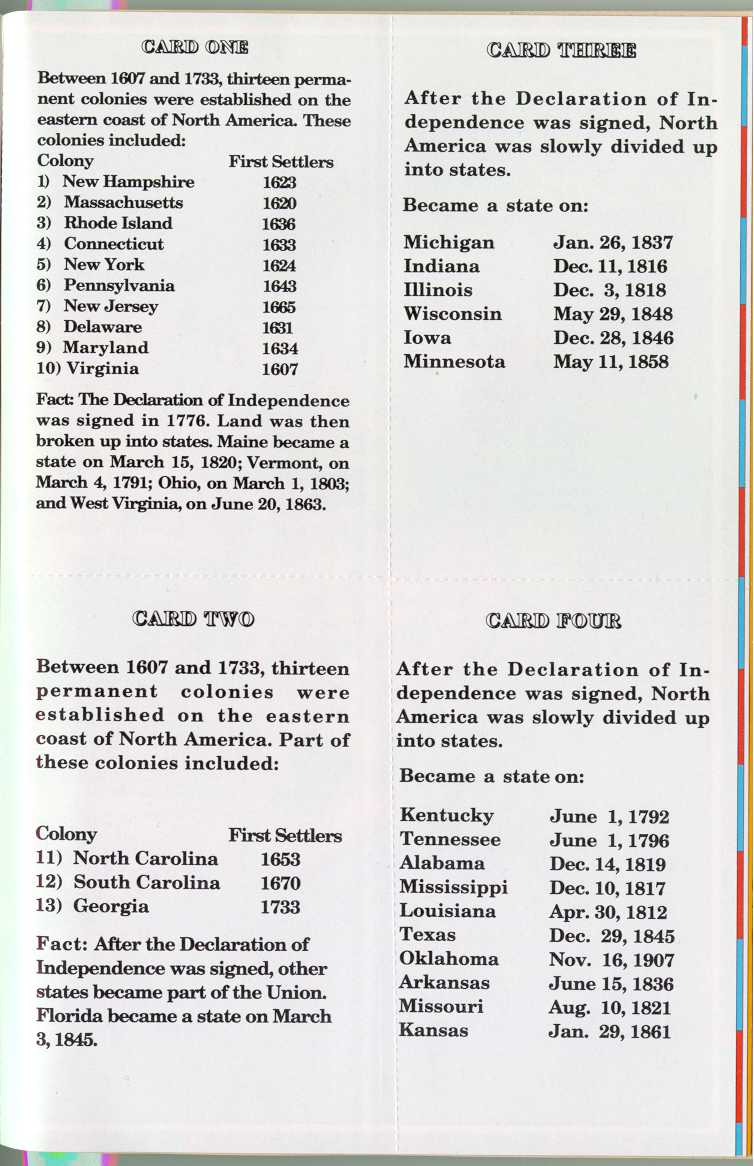
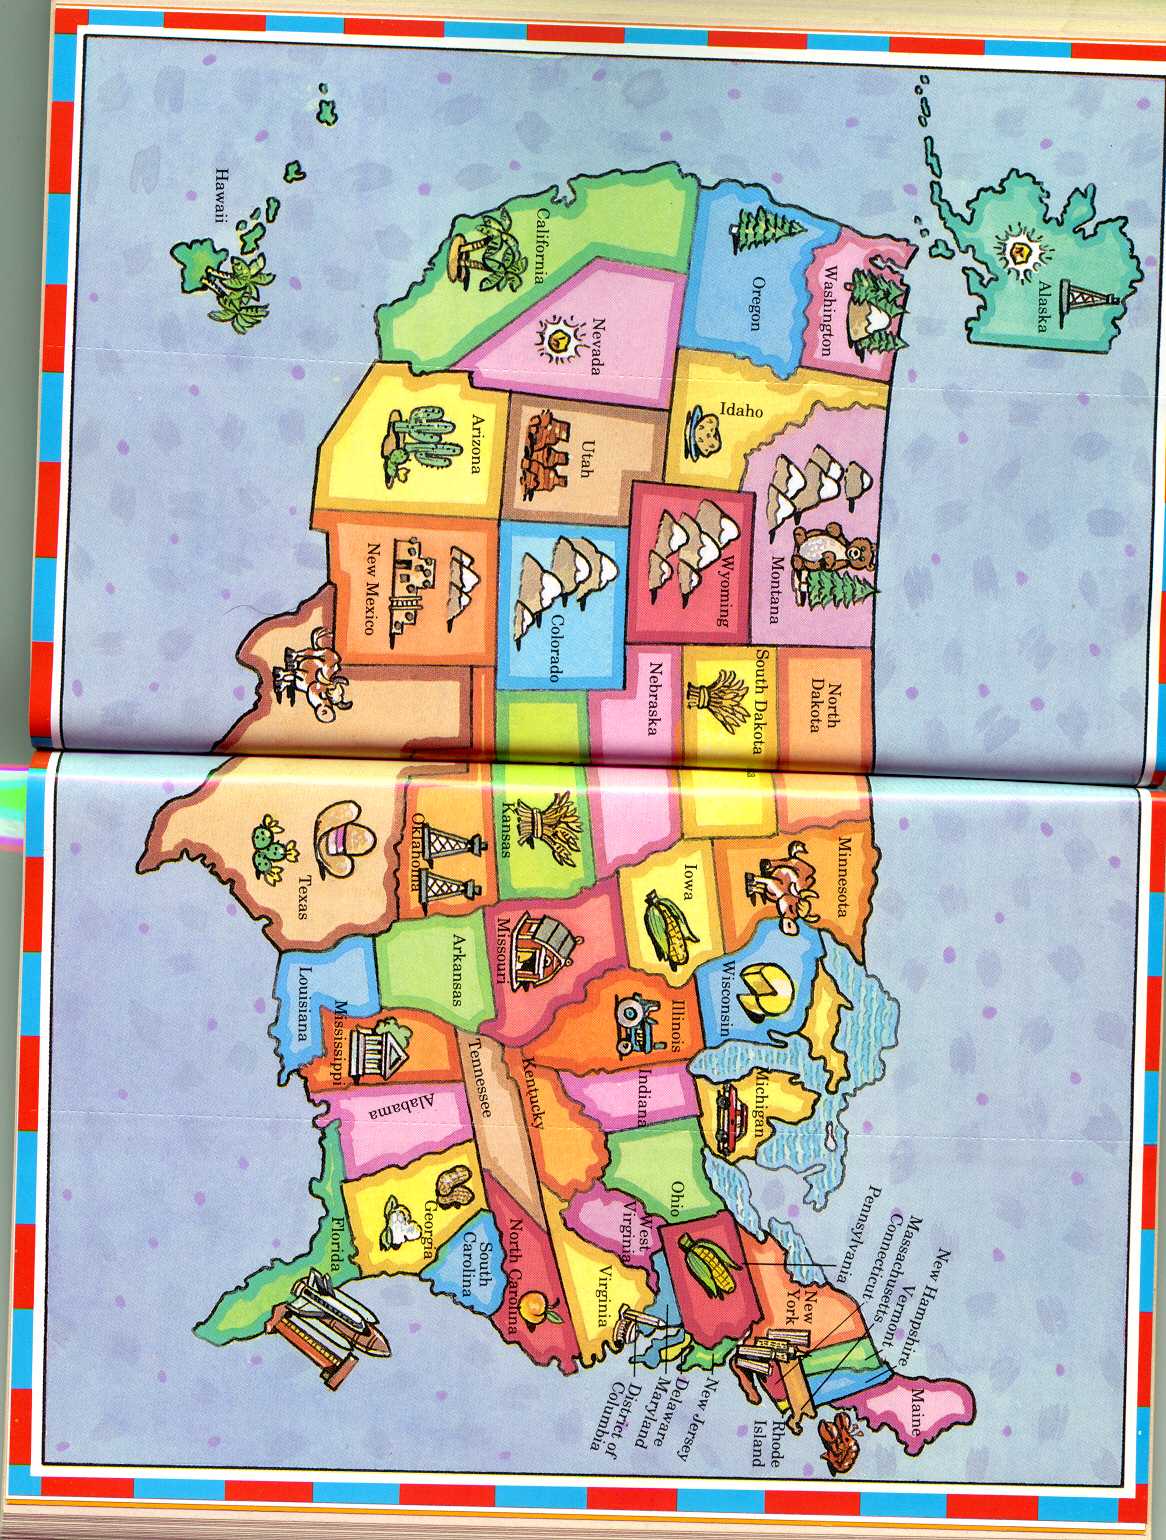
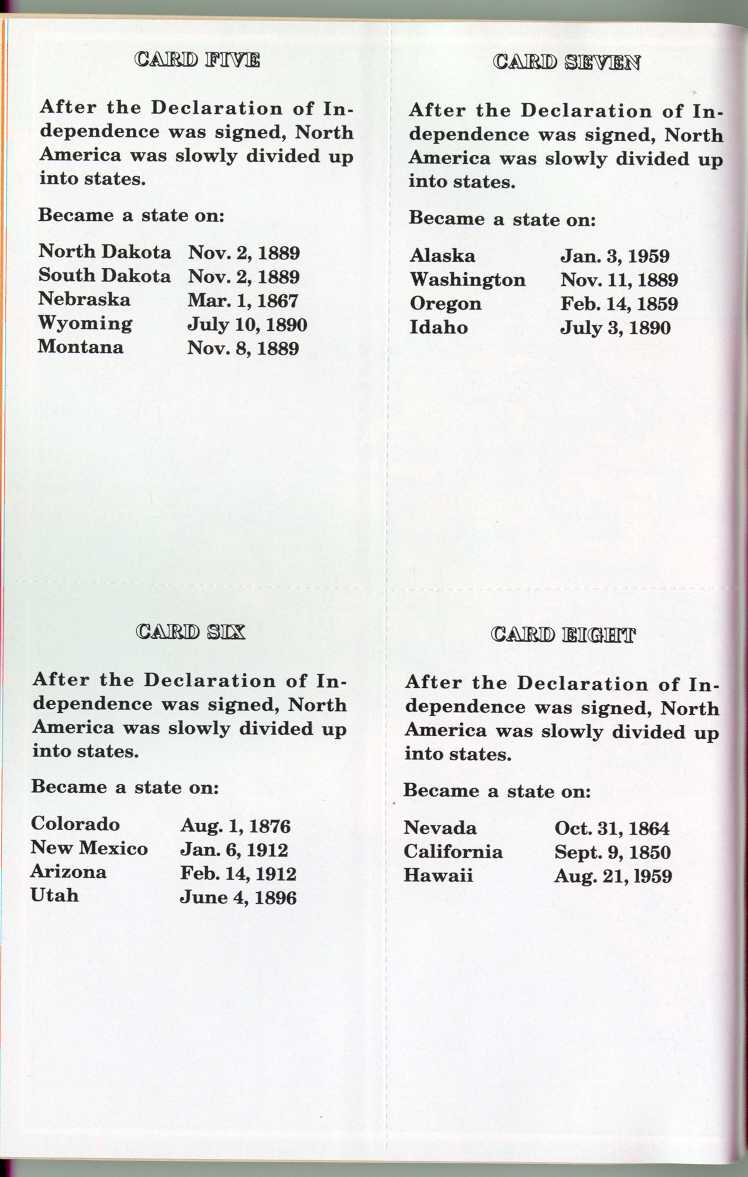
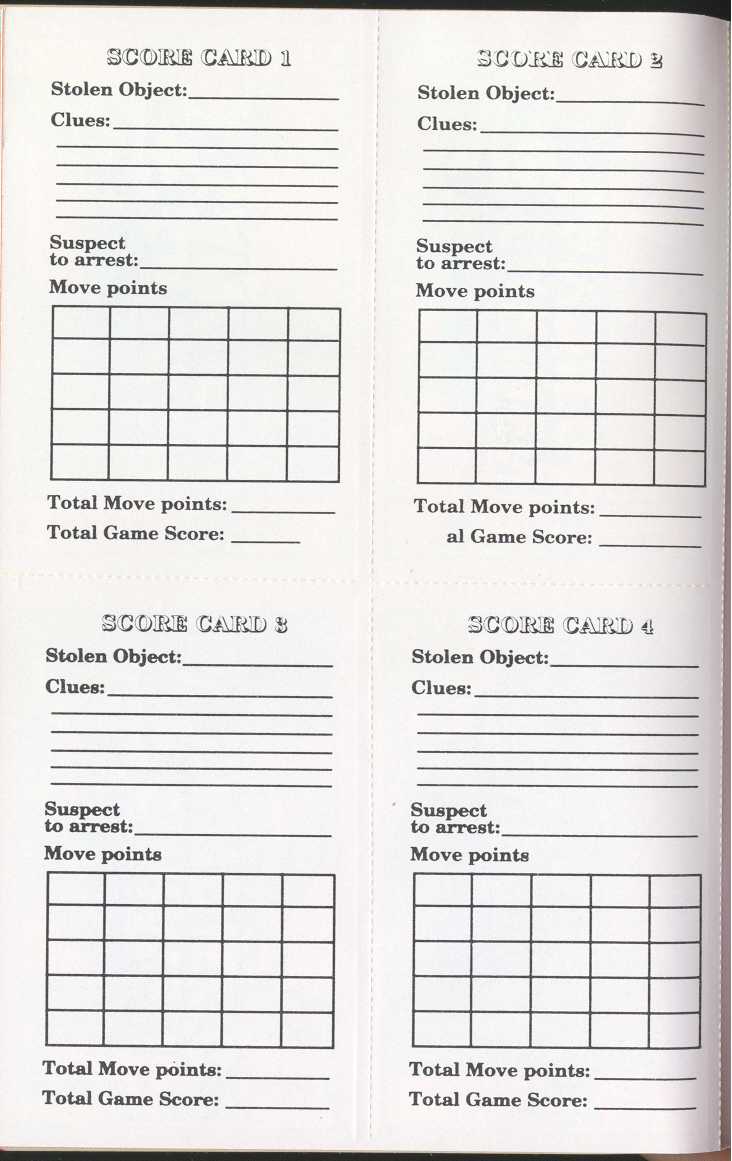
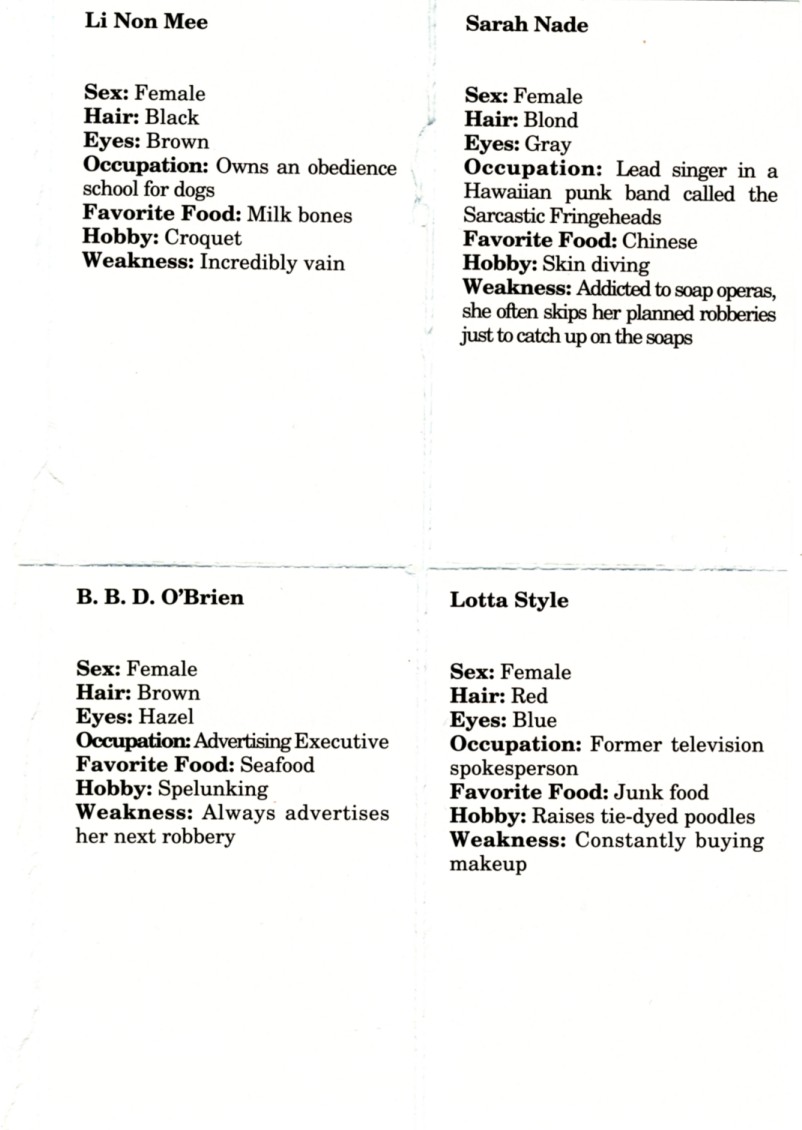
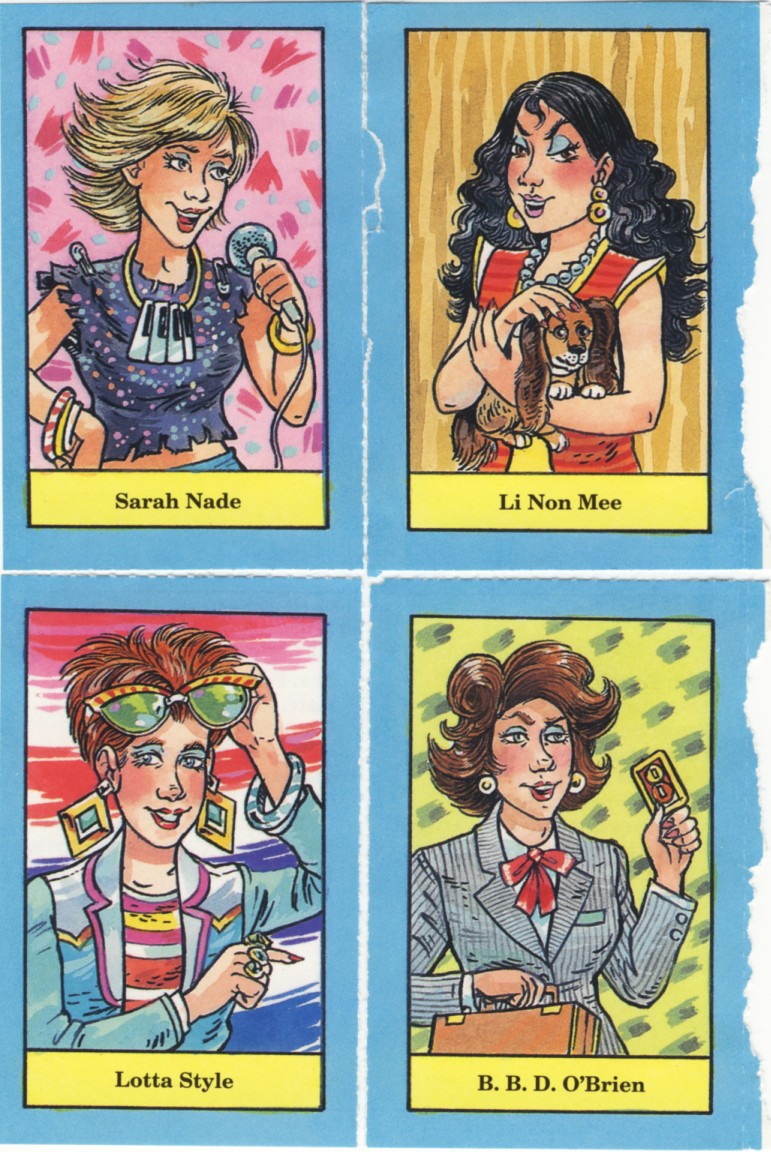
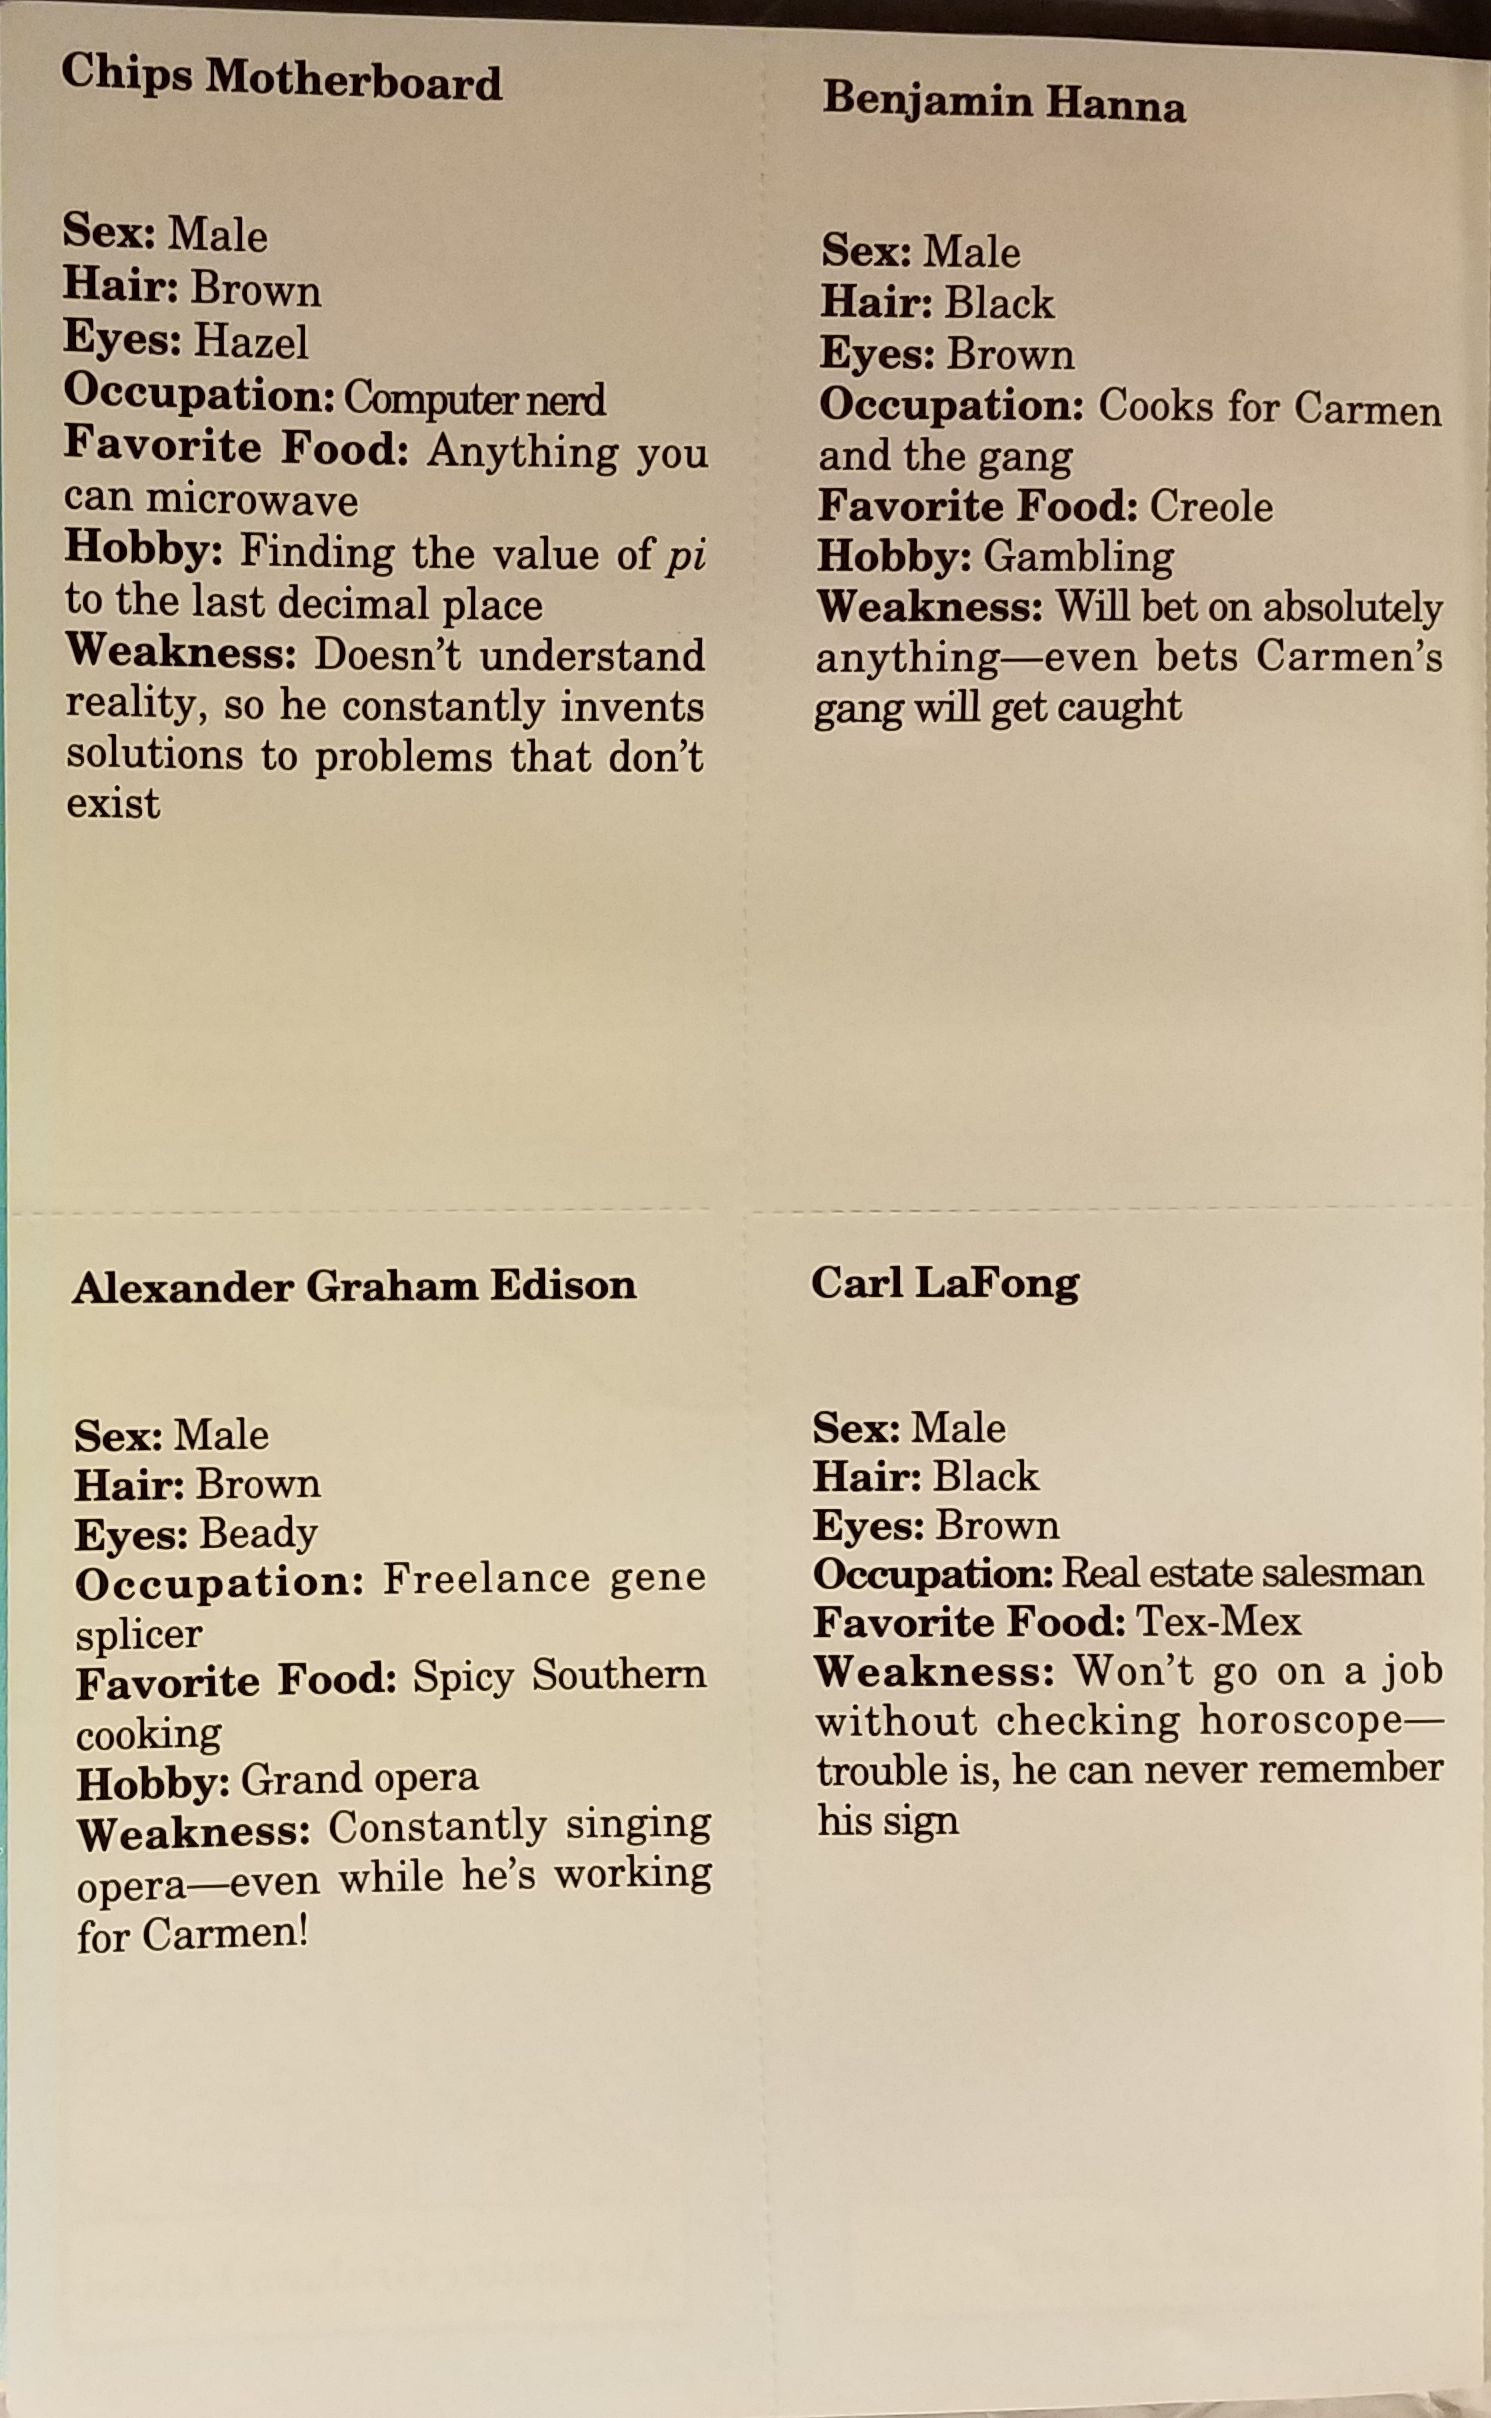
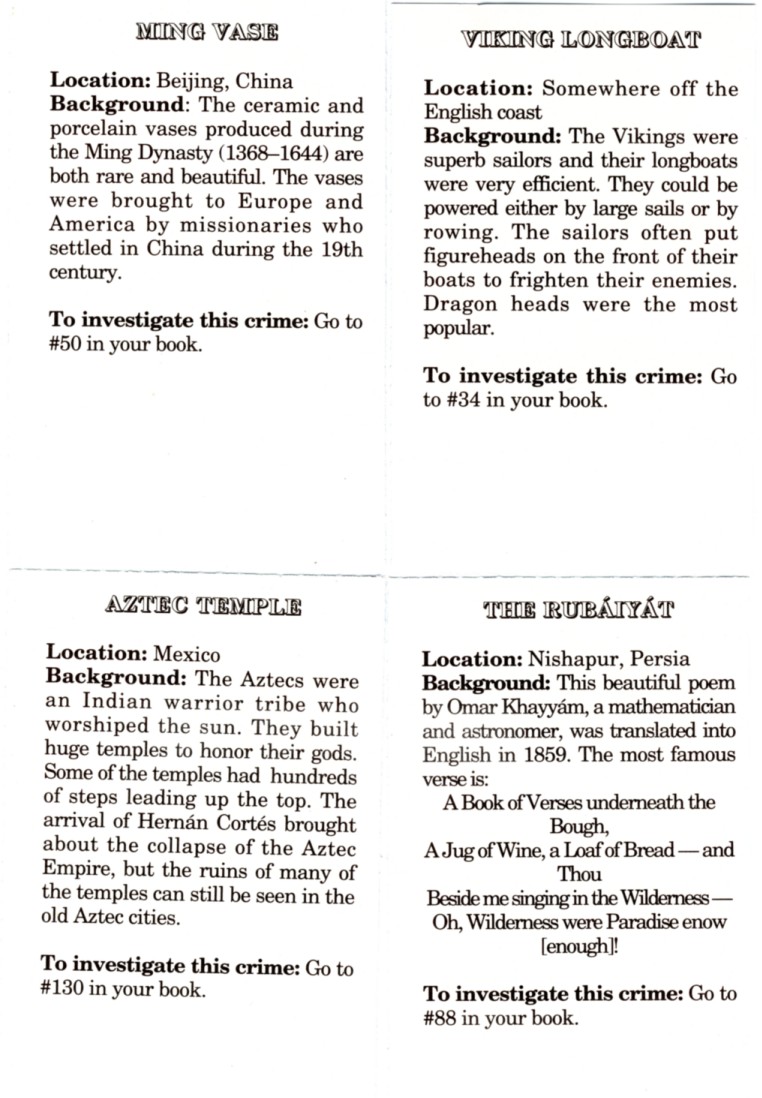
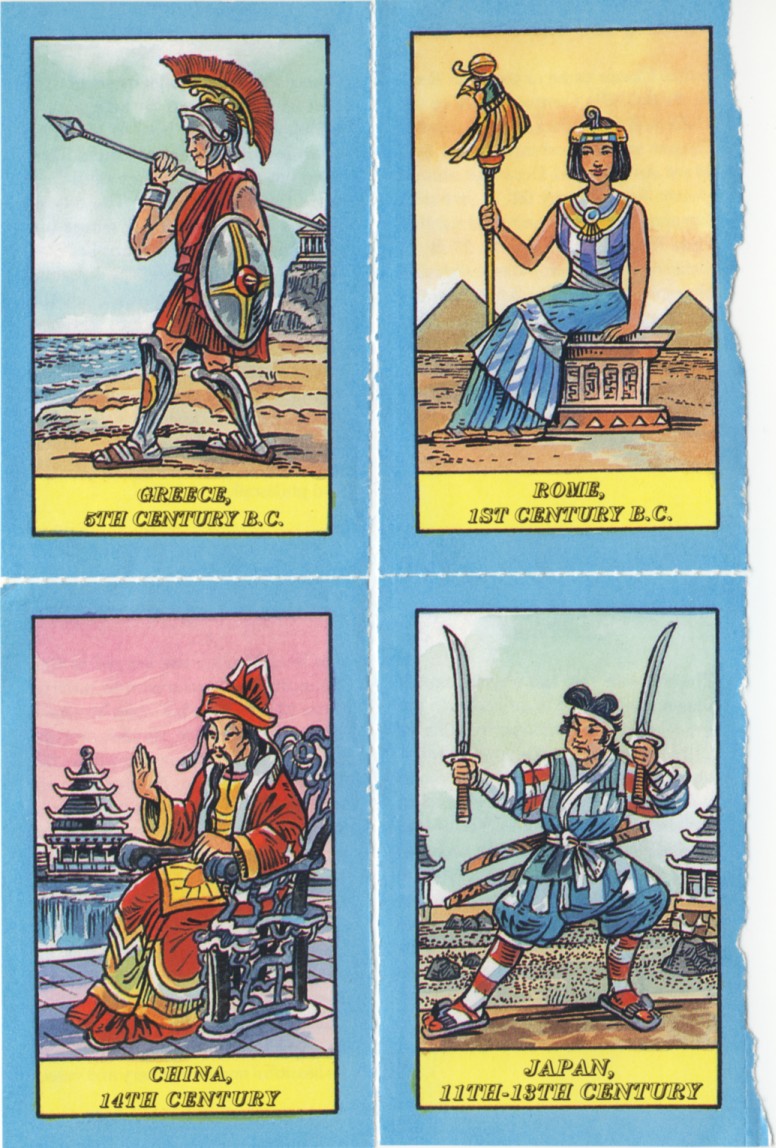
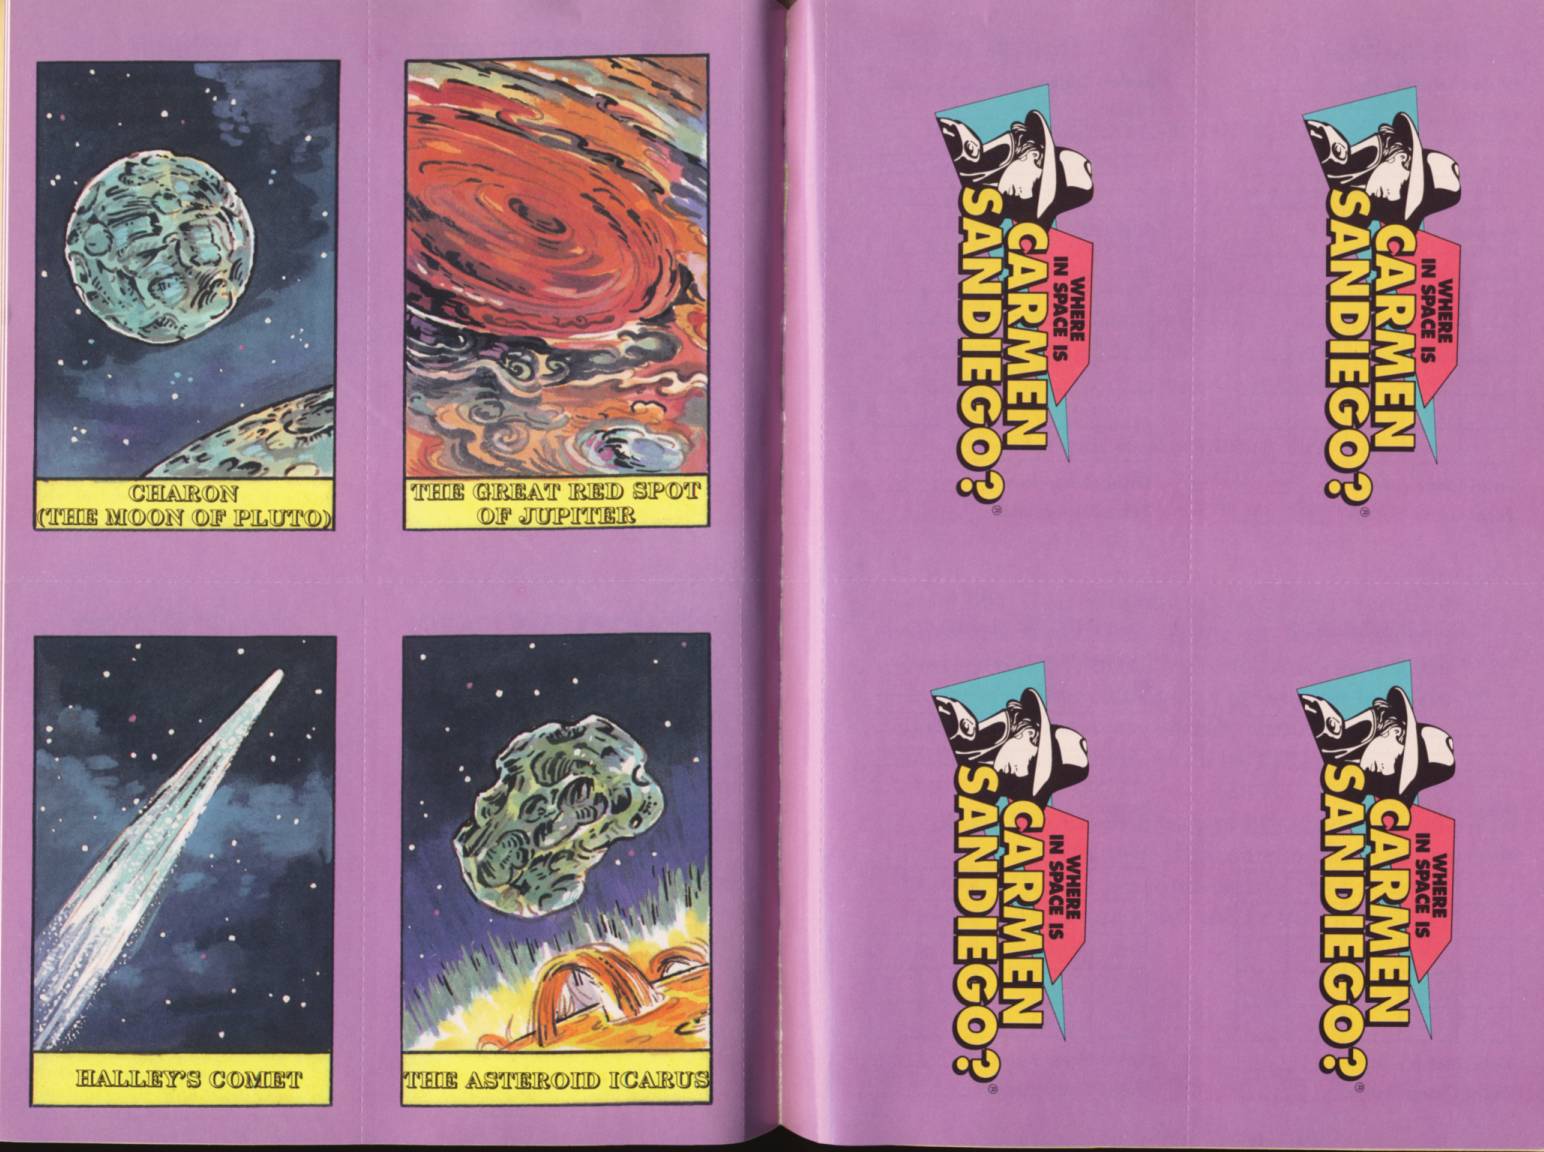
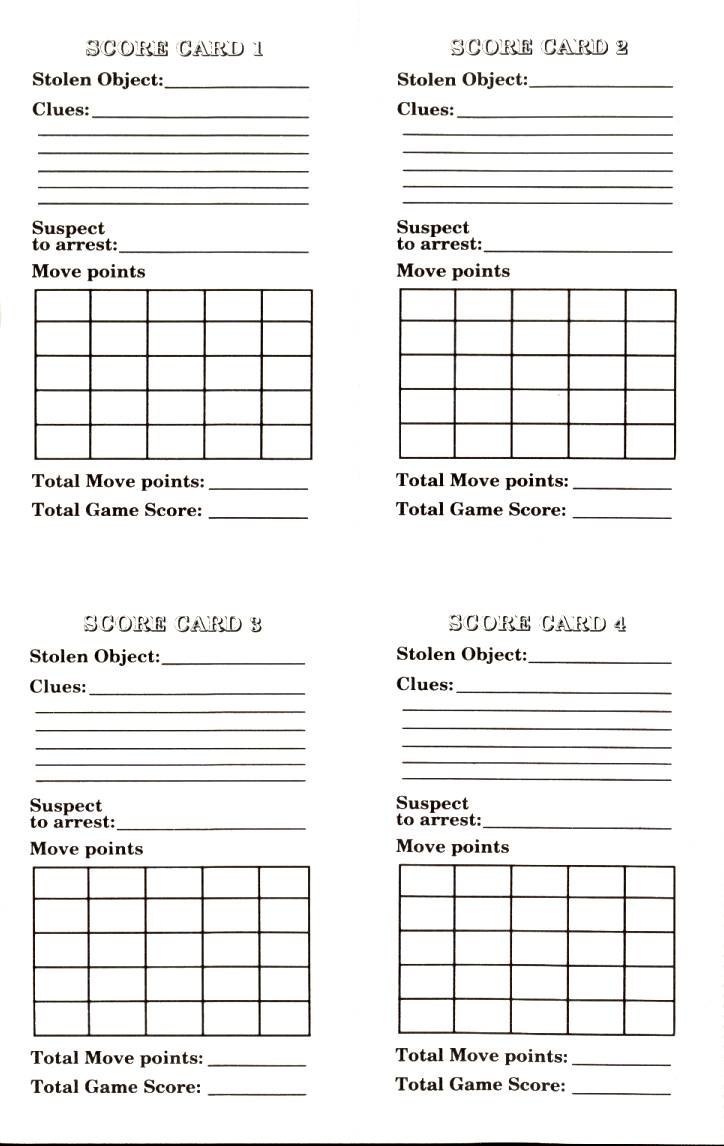
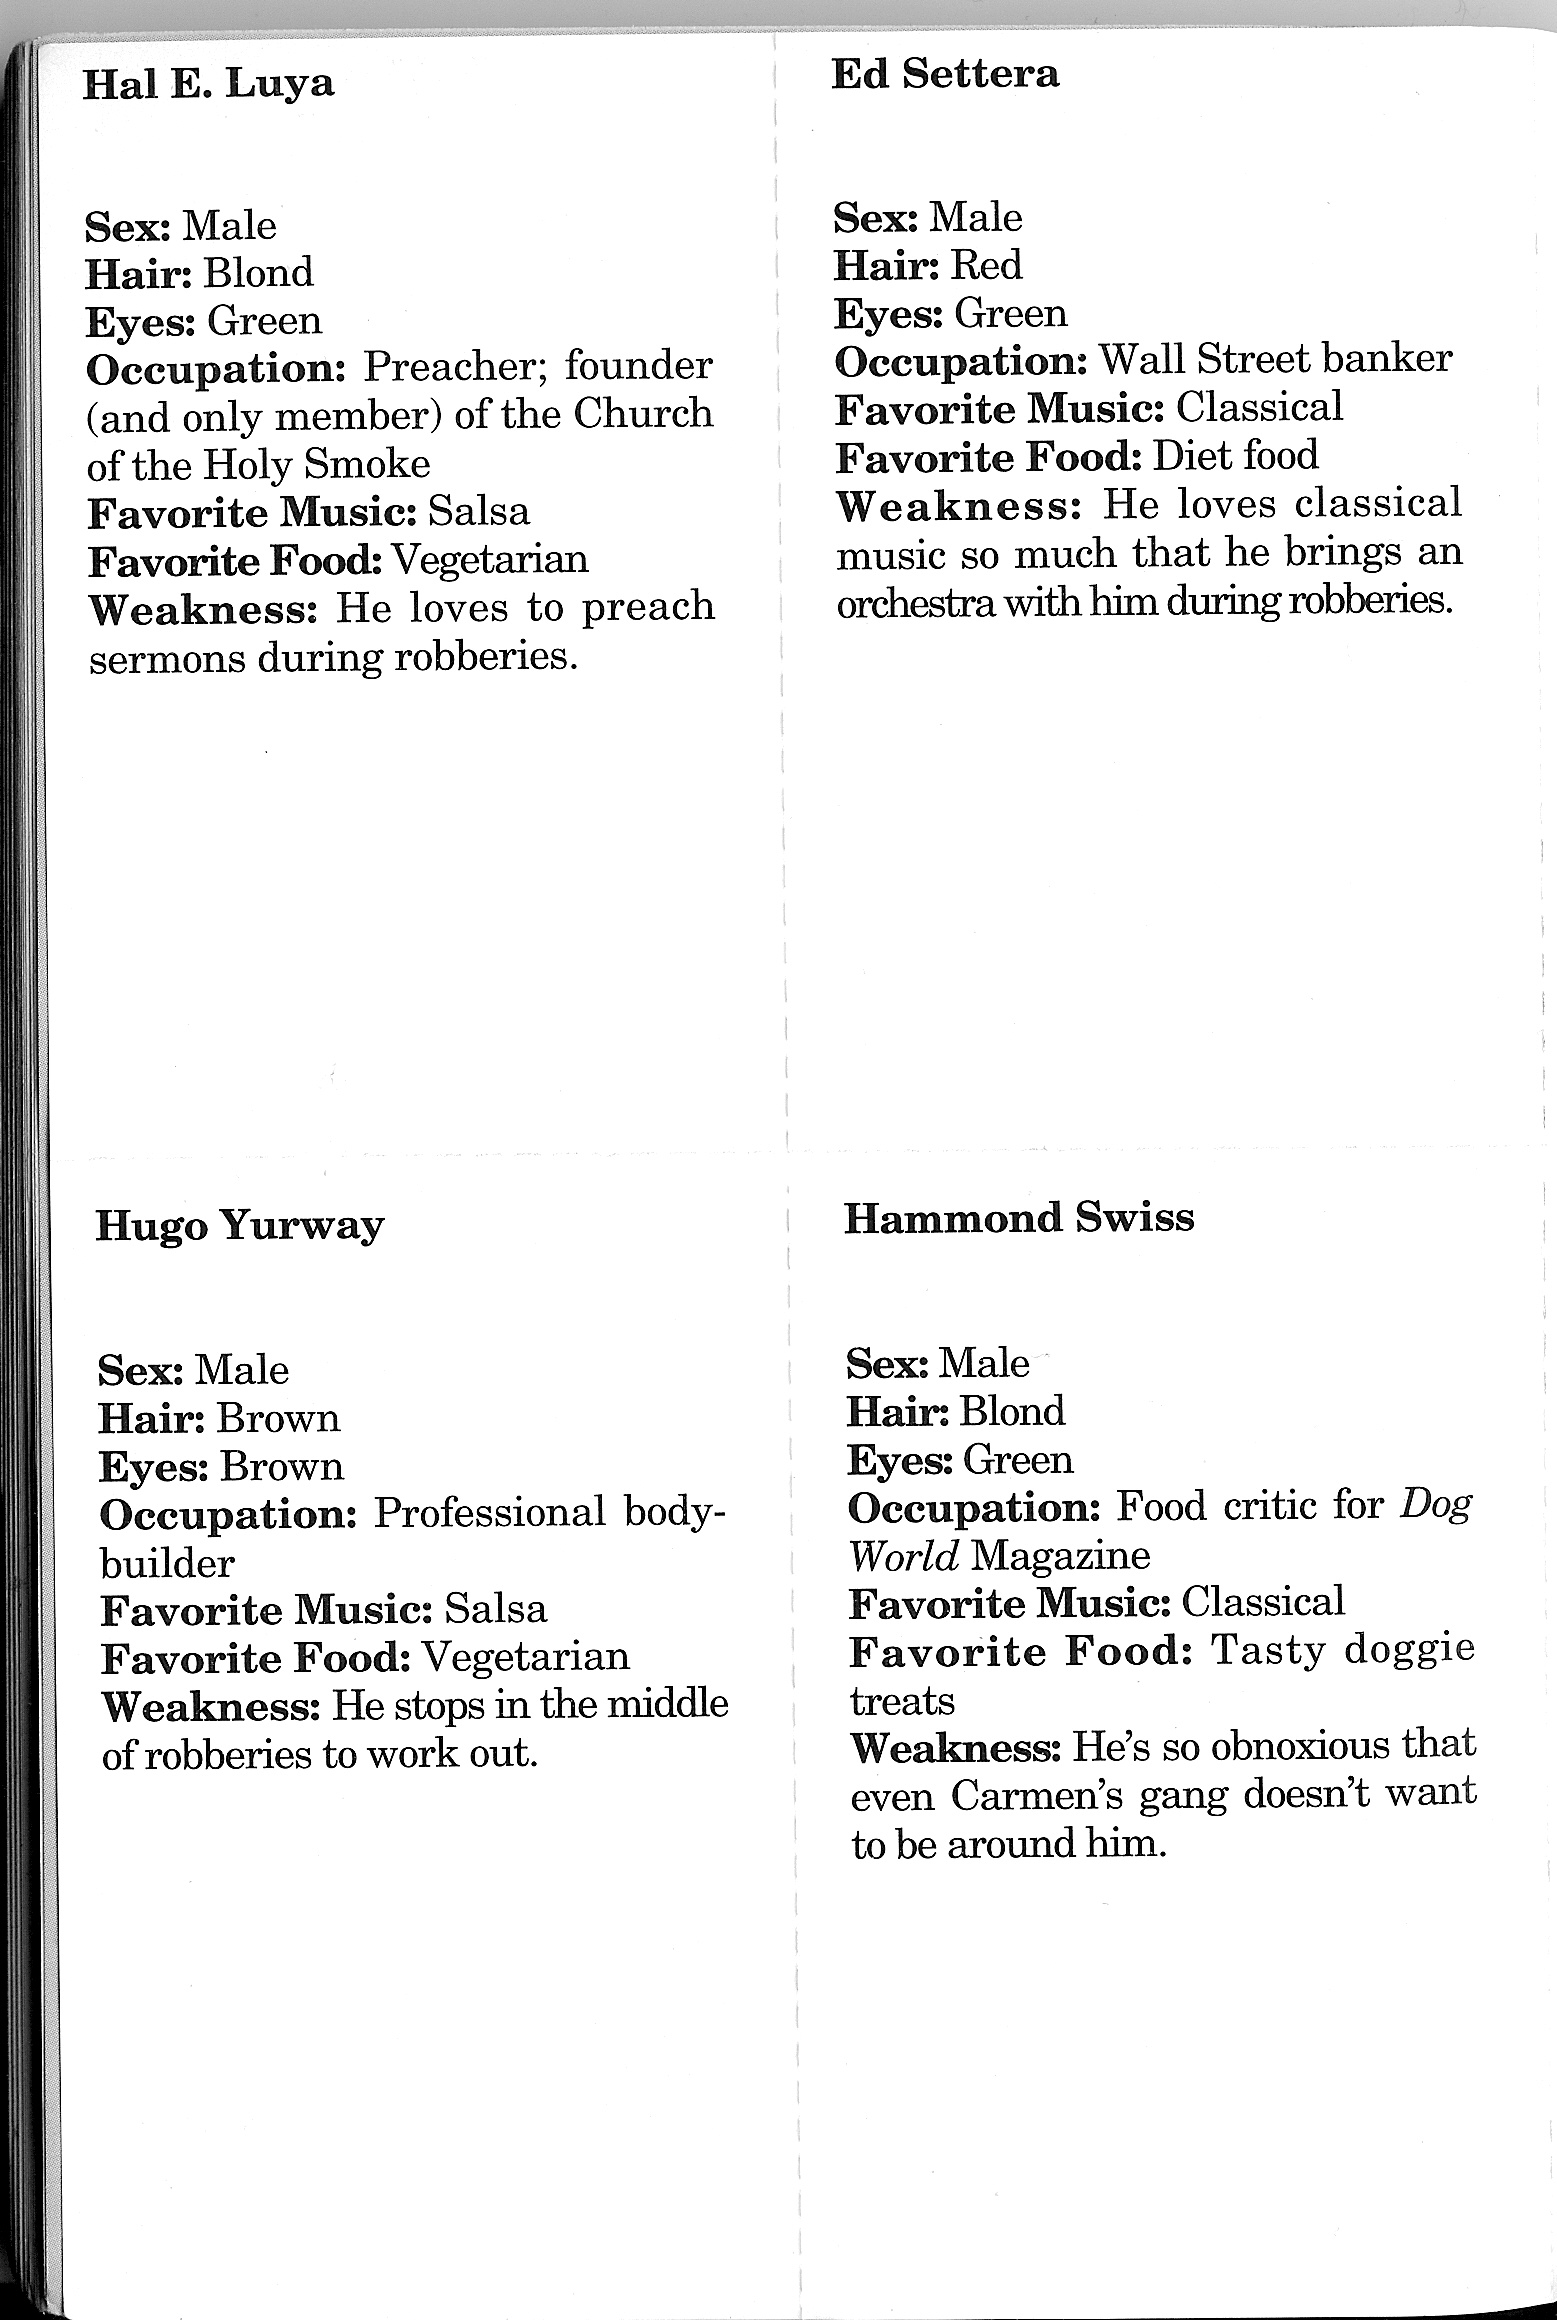
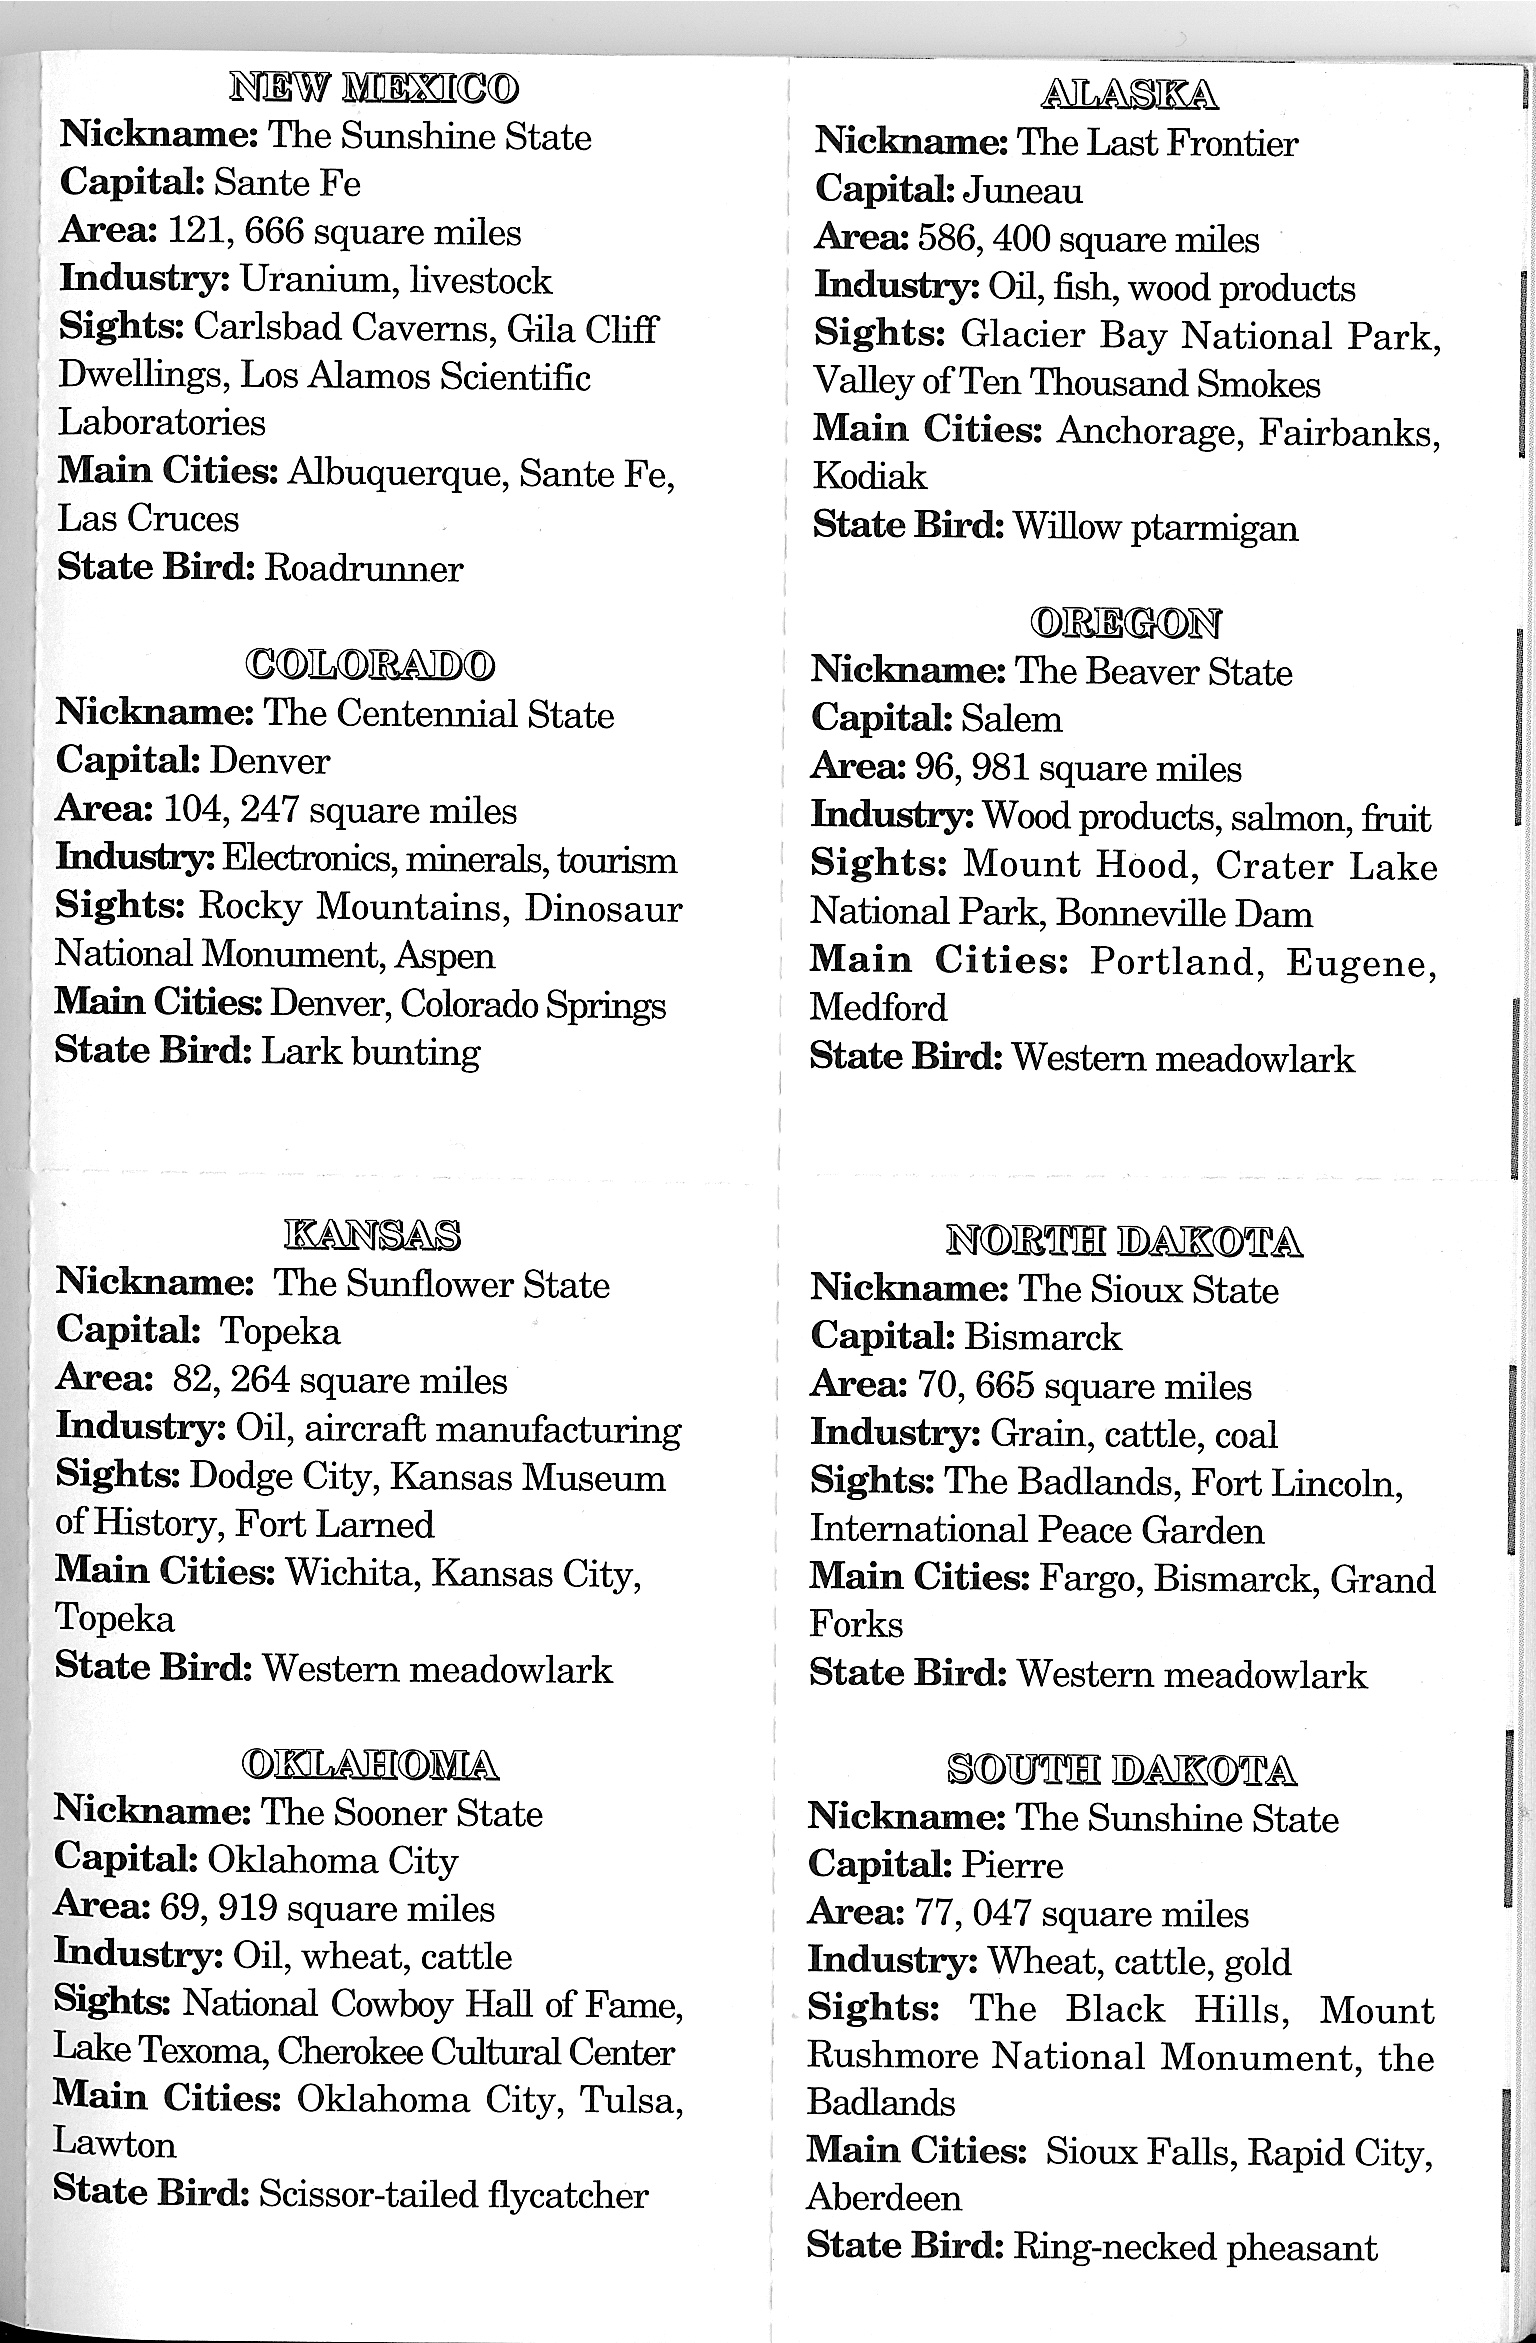
Carmen Sandiego #1 Cards (01/11)
Carmen Sandiego #1 Cards (02/11)
Carmen Sandiego #1 Cards (03/11)
Carmen Sandiego #1 Cards (04/11)
Carmen Sandiego #1 Cards (05/11)
Carmen Sandiego #1 Cards (06/11)
Carmen Sandiego #1 Cards (07/11)
Carmen Sandiego #1 Cards (08/11)
Carmen Sandiego #1 Cards (09/11)
Carmen Sandiego #1 Cards (10/11)
Carmen Sandiego #1 Cards (11/11)
Carmen Sandiego #2 Cards (01/11)
Carmen Sandiego #2 Cards (02/11)
Carmen Sandiego #2 Cards (03/11)
Carmen Sandiego #2 Cards (04/11)
Carmen Sandiego #2 Cards (05/11)
Carmen Sandiego #2 Cards (06/11)
Carmen Sandiego #2 Cards (07/11)
Carmen Sandiego #2 Cards (08/11)
Carmen Sandiego #2 Cards (09/11)
Carmen Sandiego #2 Cards (10/11)
Carmen Sandiego #2 Cards (11/11)
Carmen Sandiego #3 Cards (1/7)
Carmen Sandiego #3 Cards (2/7)
Carmen Sandiego #3 Cards (3/7)
Carmen Sandiego #3 Cards (4/7)
Carmen Sandiego #3 Cards (5/7)
Carmen Sandiego #3 Cards (6/7)
Carmen Sandiego #3 Cards (7/7)
Carmen Sandiego #4 Cards (1/7)
Carmen Sandiego #4 Cards (2/7)
Carmen Sandiego #4 Cards (3/7)
Carmen Sandiego #4 Cards (4/7)
Carmen Sandiego #4 Cards (5/7)
Carmen Sandiego #4 Cards (6/7)
Carmen Sandiego #4 Cards (7/7)
Carmen Sandiego #5 Cards (01/11)
Carmen Sandiego #5 Cards (02/11)
Carmen Sandiego #5 Cards (03/11)
Carmen Sandiego #5 Cards (04/11)
Carmen Sandiego #5 Cards (05/11)
Carmen Sandiego #5 Cards (06/11)
Carmen Sandiego #5 Cards (07/11)
Carmen Sandiego #5 Cards (08/11)
Carmen Sandiego #5 Cards (09/11)
Carmen Sandiego #5 Cards (10/11)
Carmen Sandiego #5 Cards (11/11)
Carmen Sandiego #6 Cards (01/12)
Carmen Sandiego #6 Cards (02/12)
Carmen Sandiego #6 Cards (03/12)
Carmen Sandiego #6 Cards (04/12)
Carmen Sandiego #6 Cards (05/12)
Carmen Sandiego #6 Cards (06/12)
Carmen Sandiego #6 Cards (07/12)
Carmen Sandiego #6 Cards (08/12)
Carmen Sandiego #6 Cards (09/12)
Carmen Sandiego #6 Cards (10/12)
Carmen Sandiego #6 Cards (11/12)
Carmen Sandiego #6 Cards (12/12)
Carmen Sandiego #7 Cards (1/7)
Carmen Sandiego #7 Cards (2/7)
Carmen Sandiego #7 Cards (3/7)
Carmen Sandiego #7 Cards (4/7)
Carmen Sandiego #7 Cards (5/7)
Carmen Sandiego #7 Cards (6/7)
Carmen Sandiego #7 Cards (7/7)
Carmen Sandiego #8 Cards (1/6)
Carmen Sandiego #8 Cards (2/6)
Carmen Sandiego #8 Cards (3/6)
Carmen Sandiego #8 Cards (4/6)
Carmen Sandiego #8 Cards (5/6)
Carmen Sandiego #8 Cards (6/6)
The Castle of Blackwood Moors Character Sheet
- Thanks to sireeyore for the scan.
Catacombs #1 Bookmarks
Catacombs #4 Bookmarks
Choose Your Path Adventure Gamebooks #2 Character Sheet
- Thanks to sireeyore for the scan.
Combat Heroes #1 One-on-One Character Sheet
Combat Heroes #1 Solo Character Sheet
Combat Heroes #2 One-on-One Character Sheet
Combat Heroes #2 Solo Character Sheet
Combat Heroes #3 One-on-One Character Sheet
Combat Heroes #3 Solo Character Sheet
Combat Heroes #4 One-on-One Character Sheet
Combat Heroes #4 Solo Character Sheet
Cretan Chronicles #1-#3 Character Sheet
Crossroads # 2 Character Sheet
Crossroads # 3 Character Sheet
Crossroads # 4 Character Sheet
Crossroads # 5 Character Sheet
Crossroads # 7 Character Sheet
Crossroads # 8 Character Sheet
- Thanks to Andrew Priestap for sharing this file.
Crossroads # 9 Character Sheet
Crossroads #11 Character Sheet
Crossroads #13 Character Sheet
- Thanks to Andrew Priestap for sharing this file.
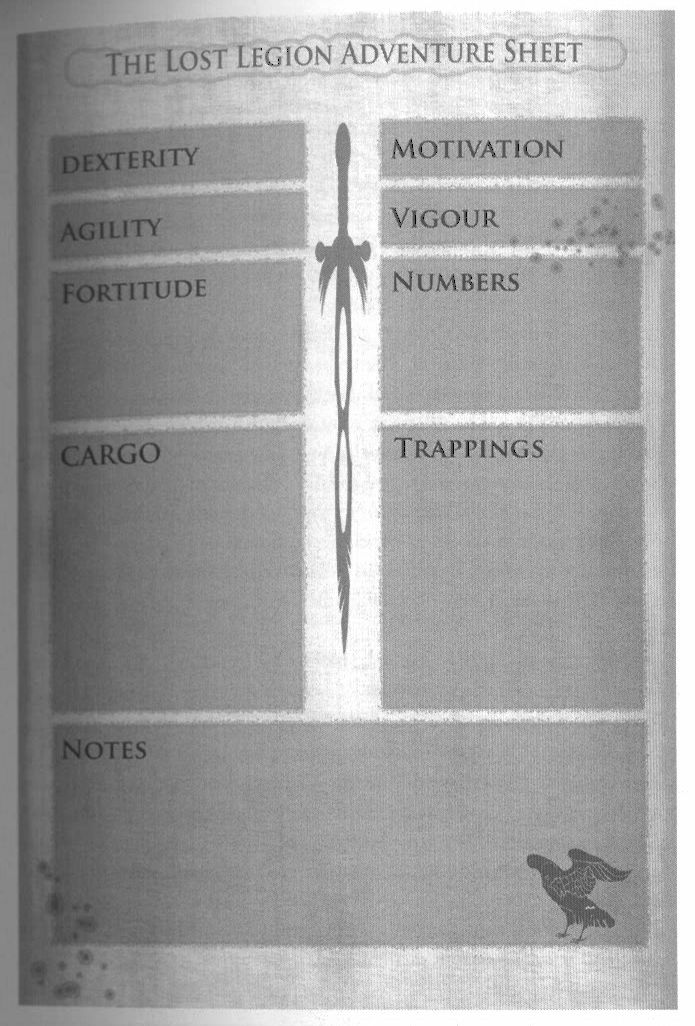
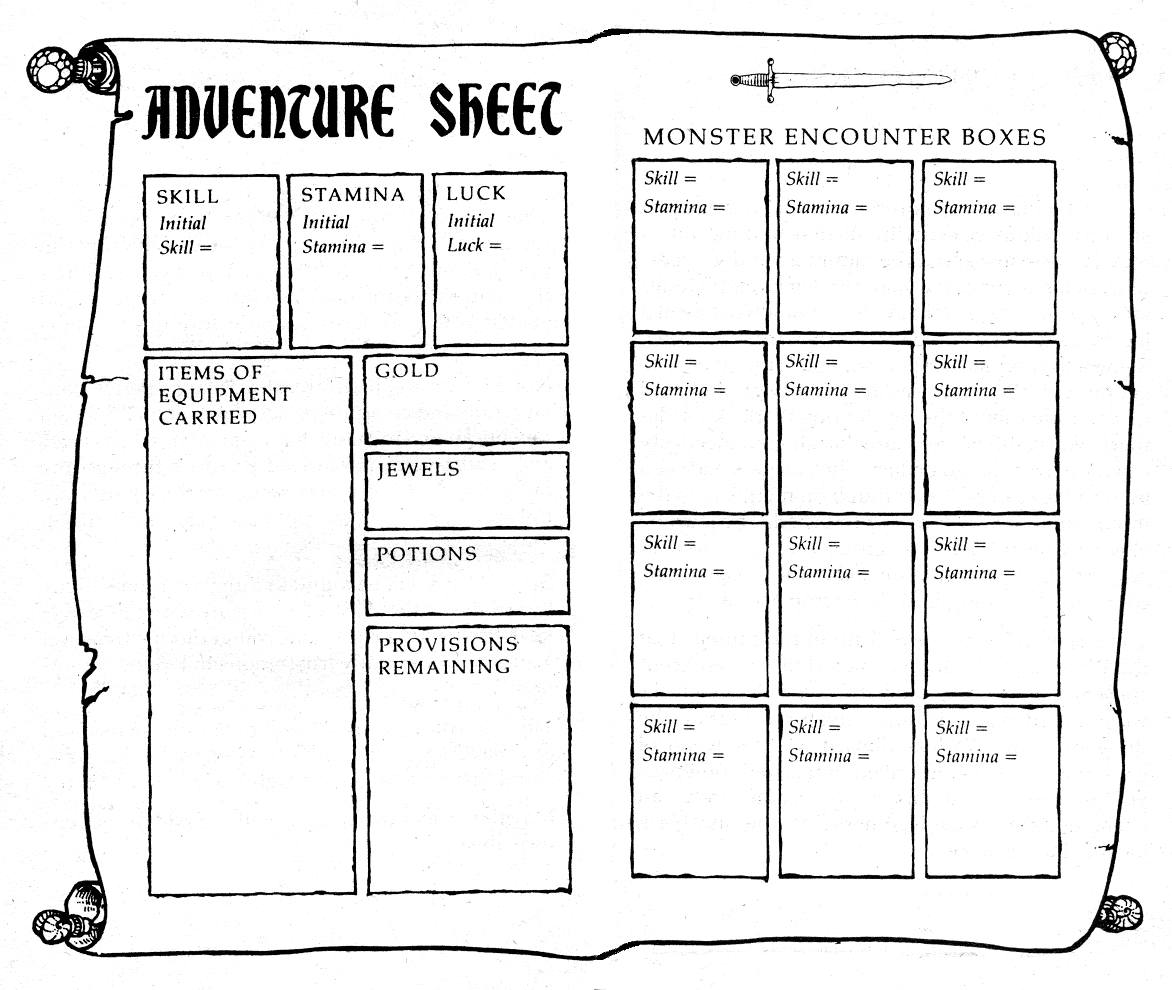
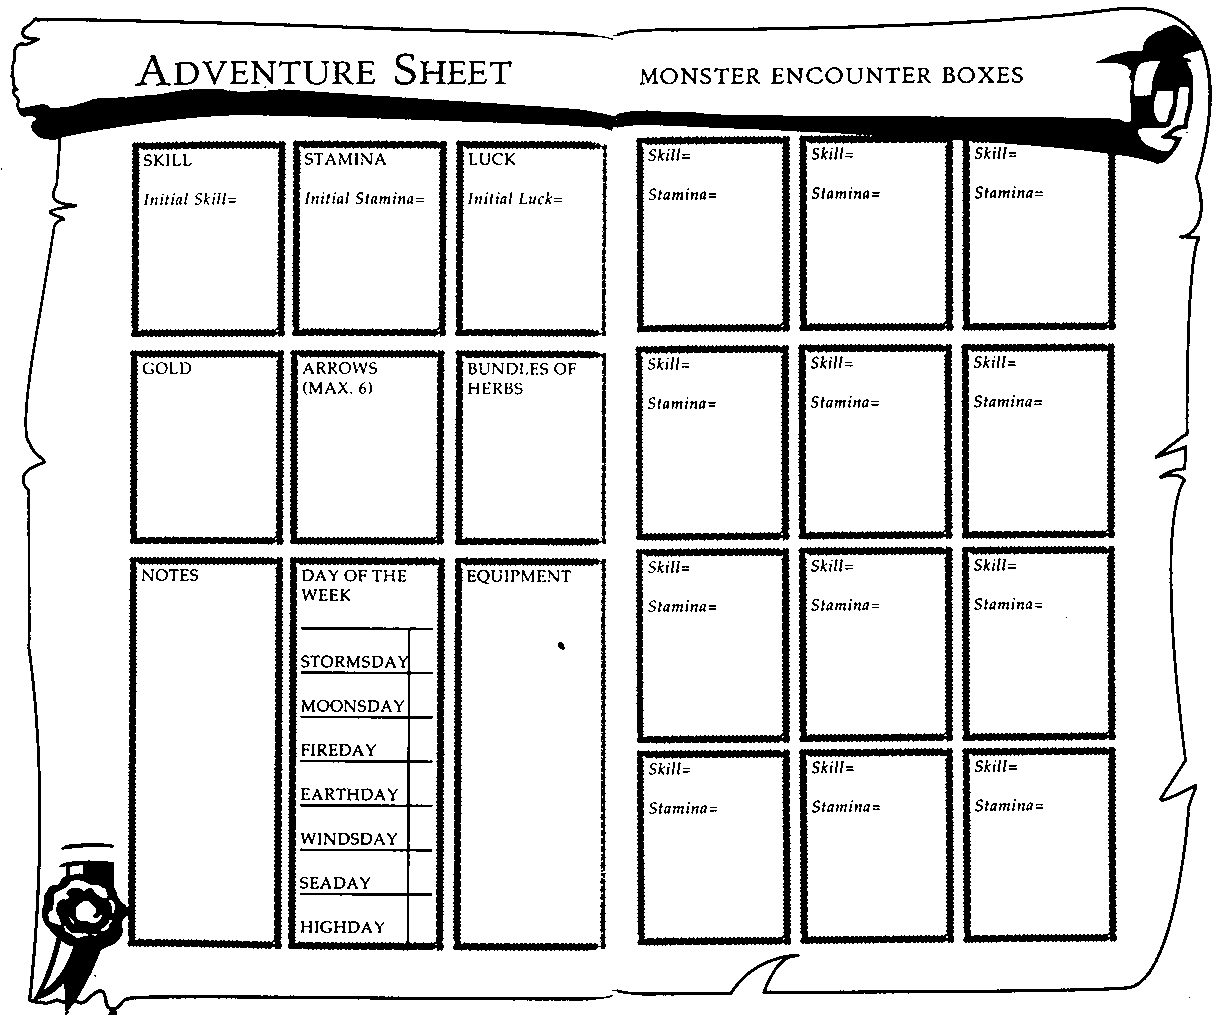
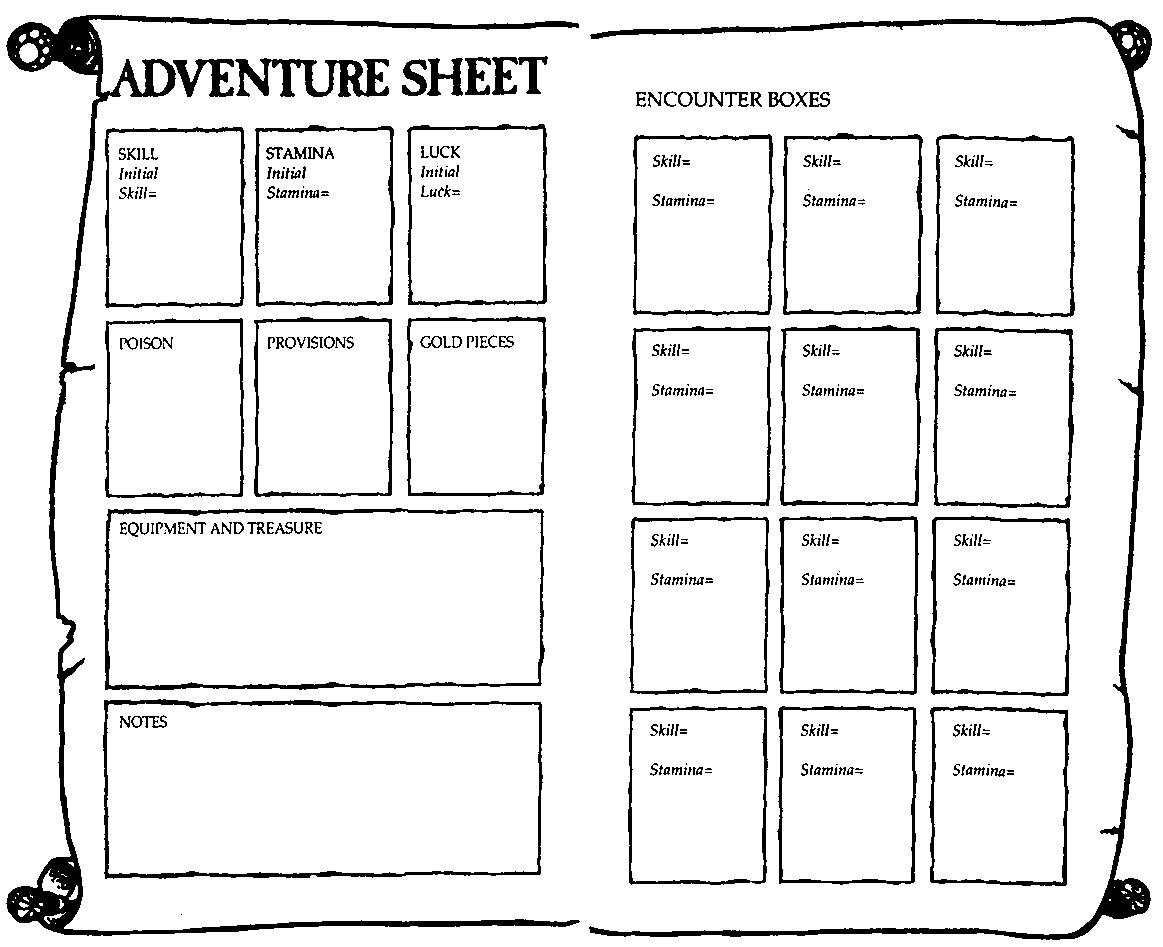
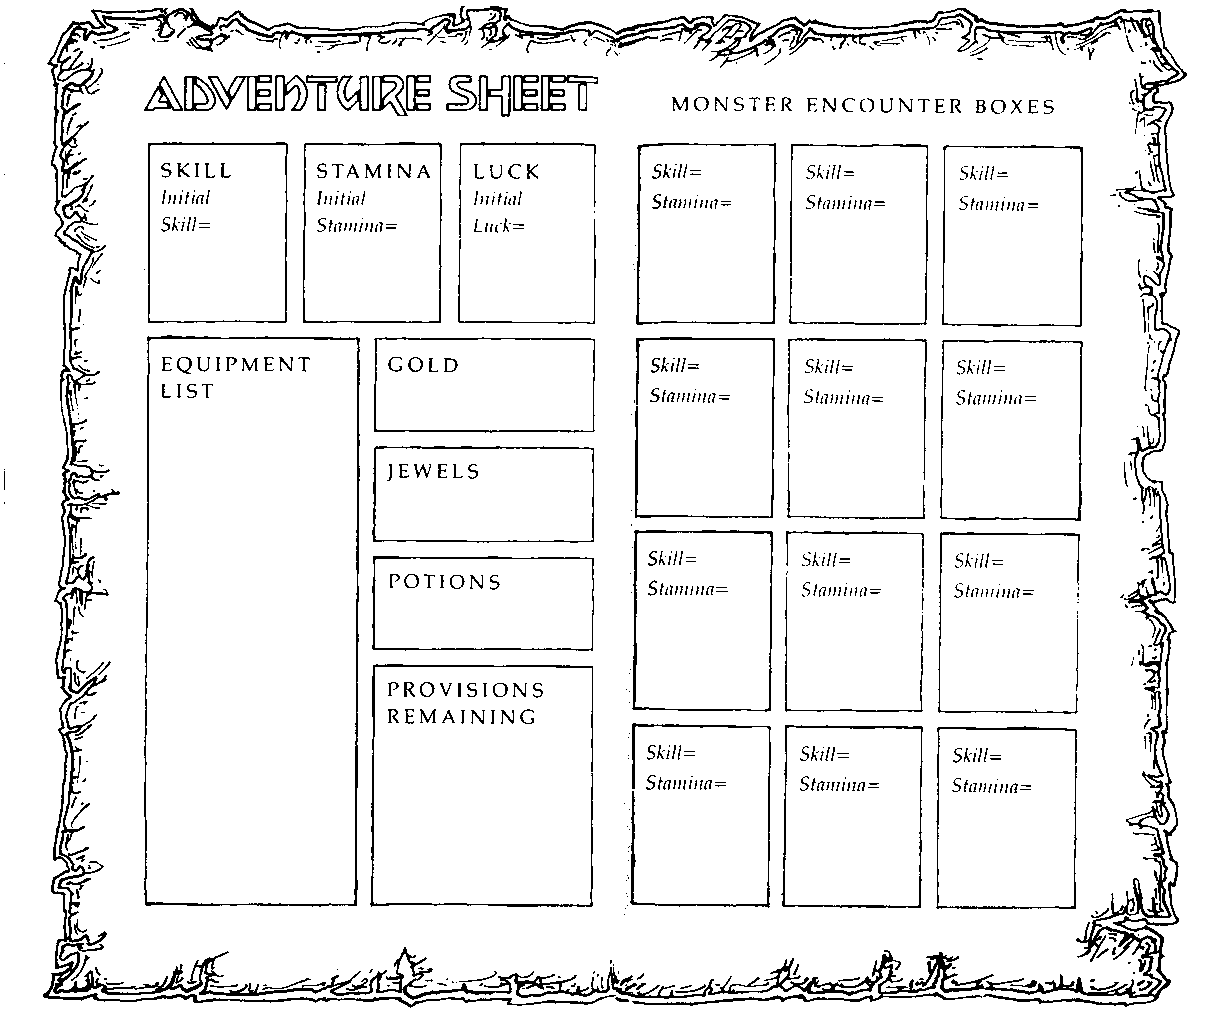
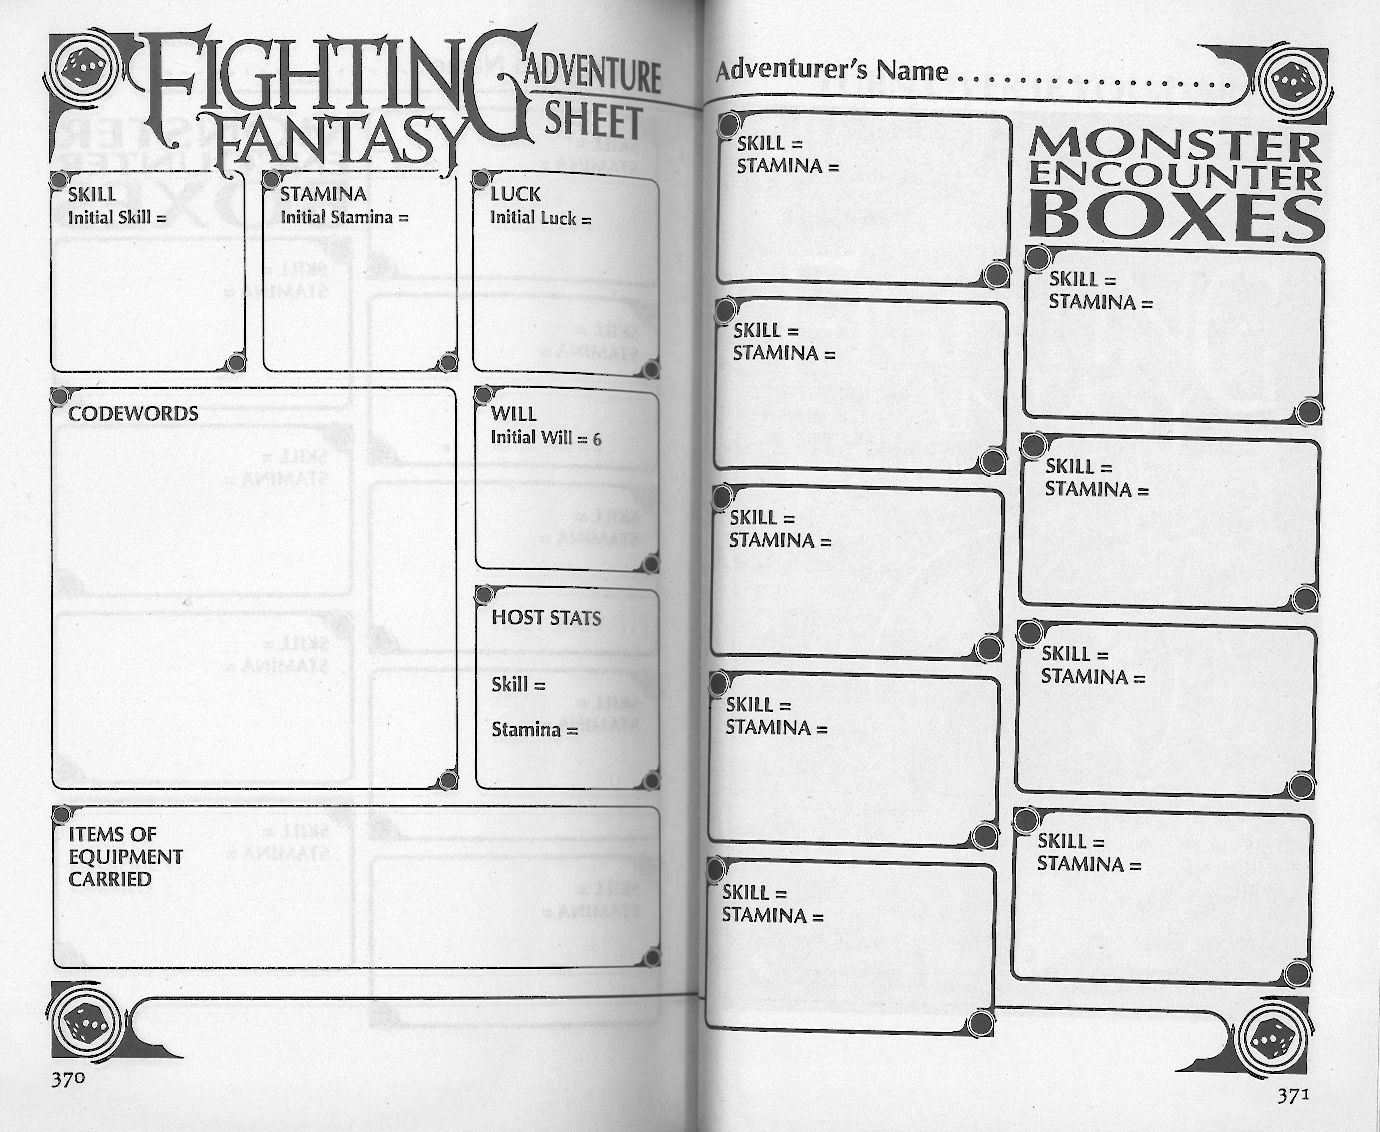
Crystal Maze Adventure Sheet
D&D Cartoon Show Book #5 Connect-the-Dots #1
D&D Cartoon Show Book #5 Connect-the-Dots #2
D&D Cartoon Show Book #5 Maze
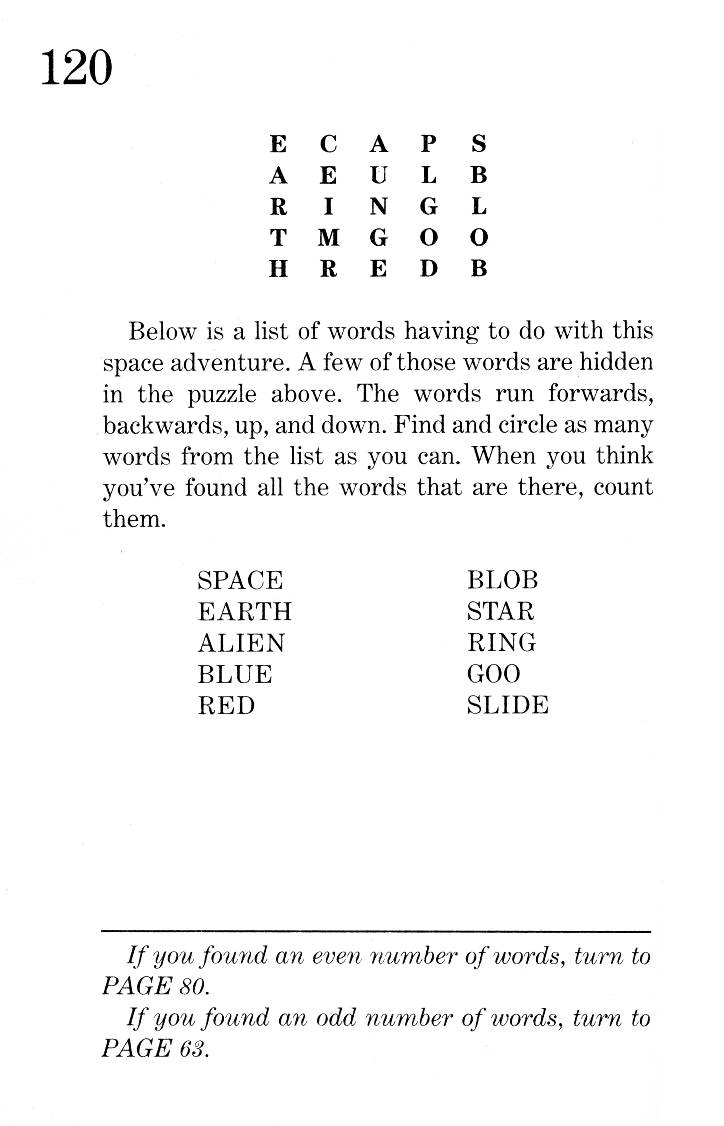
D&D Cartoon Show Book #5 Word Find
D&D Cartoon Show Book #5 Word Puzzle
Dangerous Worlds #2 Character Sheet
- Thanks to sireeyore for the scan.
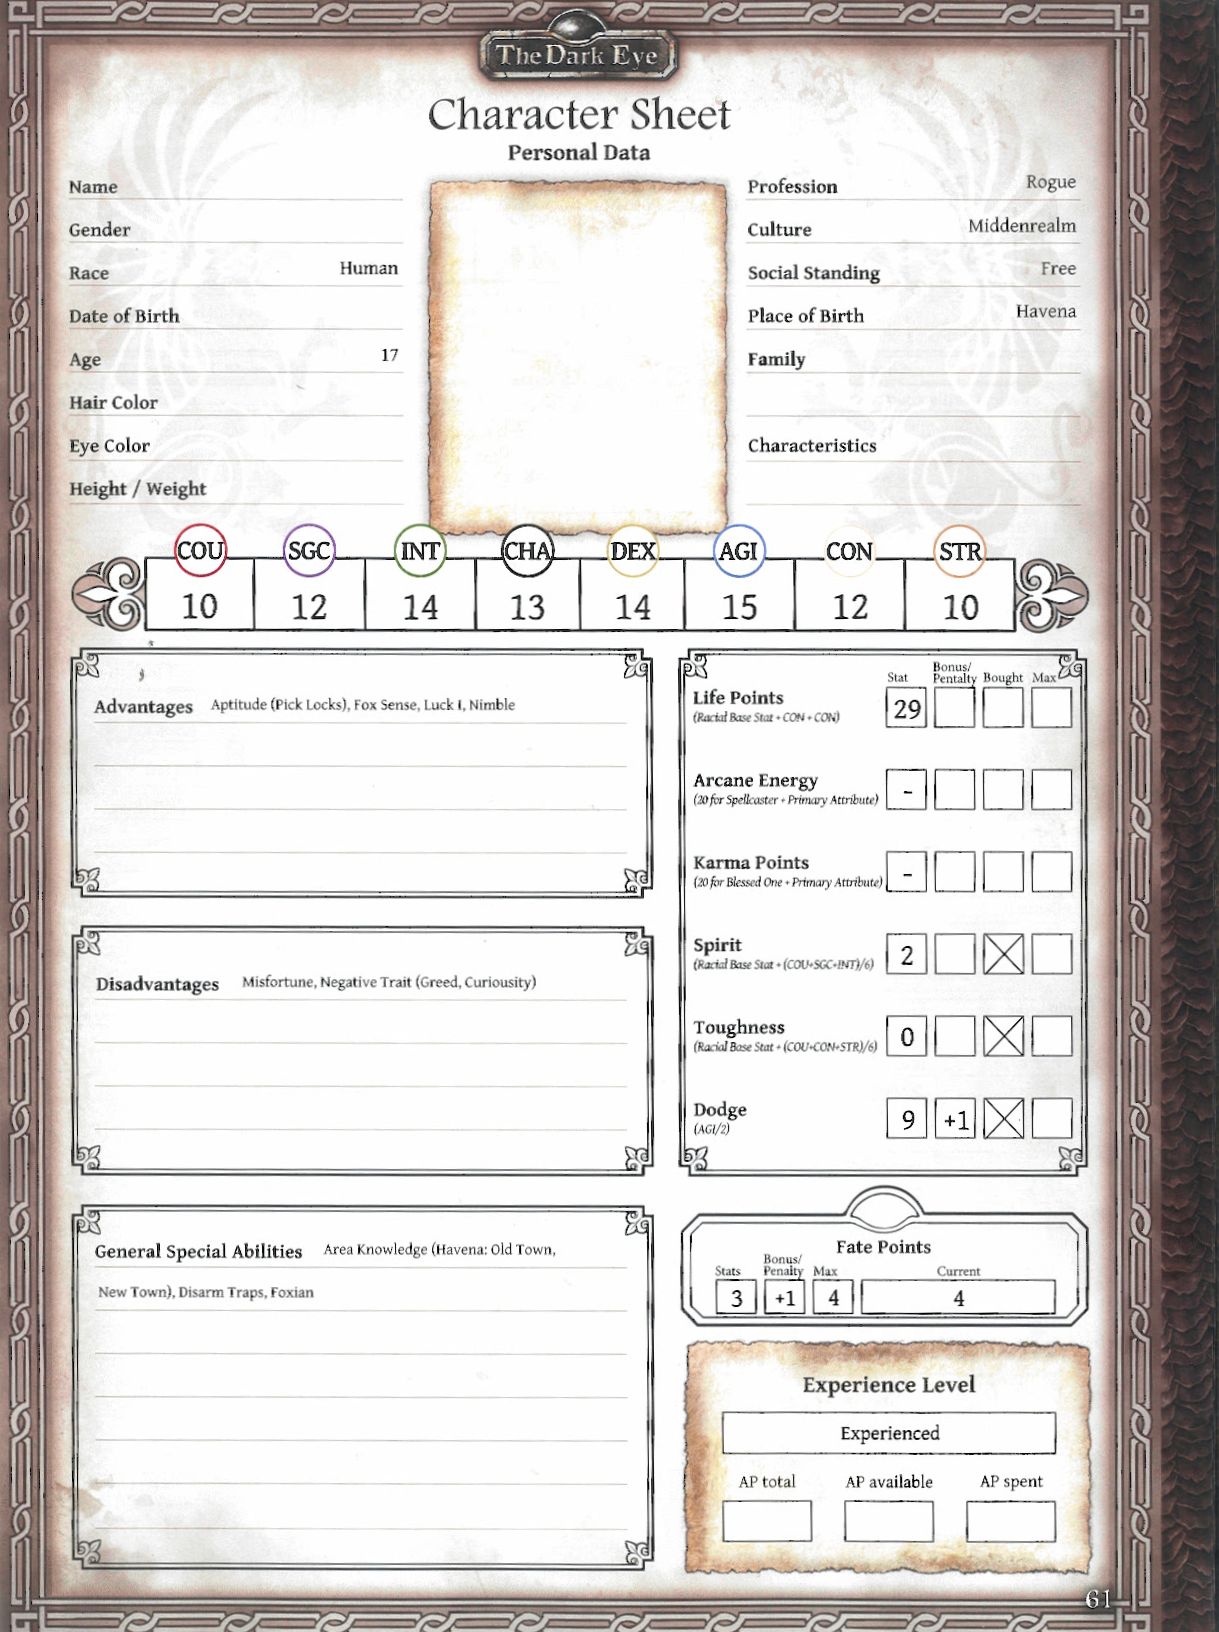
Dark Eye - Vampire of Havena - Character Sheet
- Thanks to sireeyore for the scan.
Dark Game #1 Character Sheet
- Thanks to sireeyore for the scan.
DestinyQuest #1 Character Sheet
- Thanks to sireeyore for the scan.
DestinyQuest #2 Character Sheet
- Thanks to sireeyore for the scan.
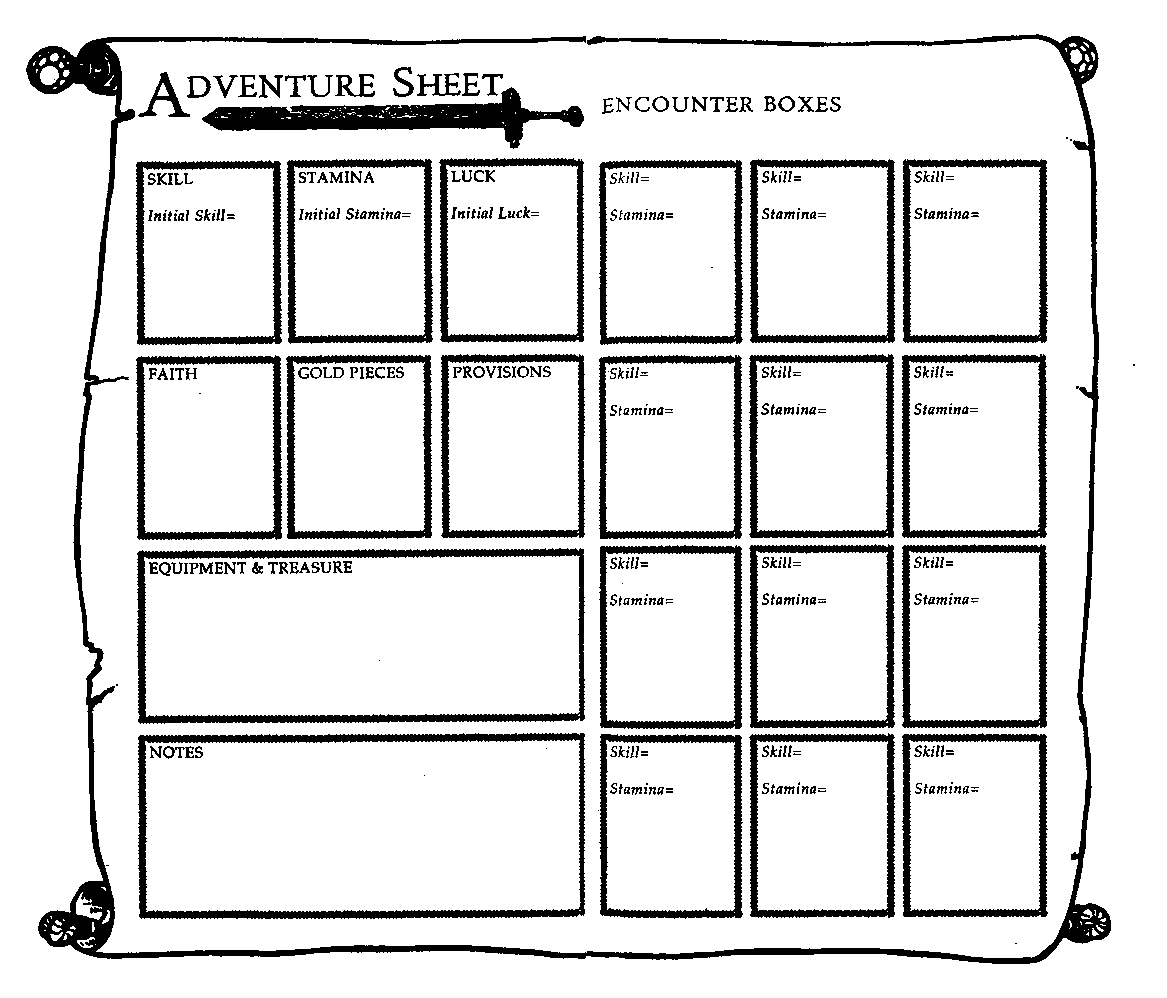
Dicing with Dragons: Eye of the Dragon Character Sheet
Dinah-Mite #1 Character Sheet
- Thanks to the author for sharing this image.
Dinah-Mite #2 Character Sheet
- Thanks to the author for sharing this image.
Dinky Dungeons #1 Board Back
Dinky Dungeons #1 Board Front
Doctor Who and the Fescan Threat Character Sheet
- Thanks to sireeyore for the scan.
Dragon Magazine #265: The Voice Character Sheet
Duel Master #1 Map
- Thanks to Gabe Atkinson for sharing this image.
Duel Master #1: Challenge of the Magi Character Sheet
Duel Master #2: Archveult Character Sheet
Duel Master #2: Barbarian Character Sheet
Duel Master #2: Priest Character Sheet
Duel Master #2: Thief Character Sheet
Dungeon Saga #1 Character Sheet
Dungeoneer Character Sheets
Enid Blyton's Famous 5 Adventure Games #1 Gamekit (part 1 of 2)
Enid Blyton's Famous 5 Adventure Games #1 Gamekit (part 2 of 2)
O enigma do sol oculto Adventure Sheet
- Thanks to Pedro Panhoca for sharing the image.
O enigma do sol oculto Cemetery Sheet
- Thanks to Pedro Panhoca for sharing the image.
O enigma do sol oculto Initial Adventure Sheet
- Thanks to Pedro Panhoca for sharing the image.
O enigma do sol oculto Photo Album
- Thanks to Pedro Panhoca for sharing the image.
O enigma do sol oculto Trophy Room
- Thanks to Pedro Panhoca for sharing the image.
Epic Adventure Game Books #1 Character Sheet
- This sheet is for the revised edition of the book.
Escape from Tenopia #2 Cryptogram Puzzle
Fabled Lands #7 Character Sheet
- Thanks to sireeyore for the scan.
Fabled Lands #7 Map (Megara)
- Thanks to Ian Berger for the map.
Fabled Lands Quests #1 Character Sheet
- Thanks to sireeyore for the scan.
Fabled Worlds Z-Town Character Sheets
Falcon #1 Character Sheet
Falcon #2 Character Sheet (back)
Falcon #2 Character Sheet (front)
Falcon #3 Character Sheet
Falcon #4 Character Sheet
Fantasy Hero Gamebooks #2 Character Sheet
- Thanks to sireeyore for the scan.
Fantasy Questbook #1 Grid
Fantasy Questbook #1 Log
Fantasy Questbook #4 Map
Fantom Empires # 1 Character Sheet
Fatemaster #1 Character Sheet
Fatemaster #1 Graph Paper (enhanced)
Fatemaster #1 Graph Paper (straight scan)
Fatemaster #1 Hex Paper (enhanced)
Fatemaster #1 Hex Paper (straight scan)
Fatemaster #2 Character Sheet
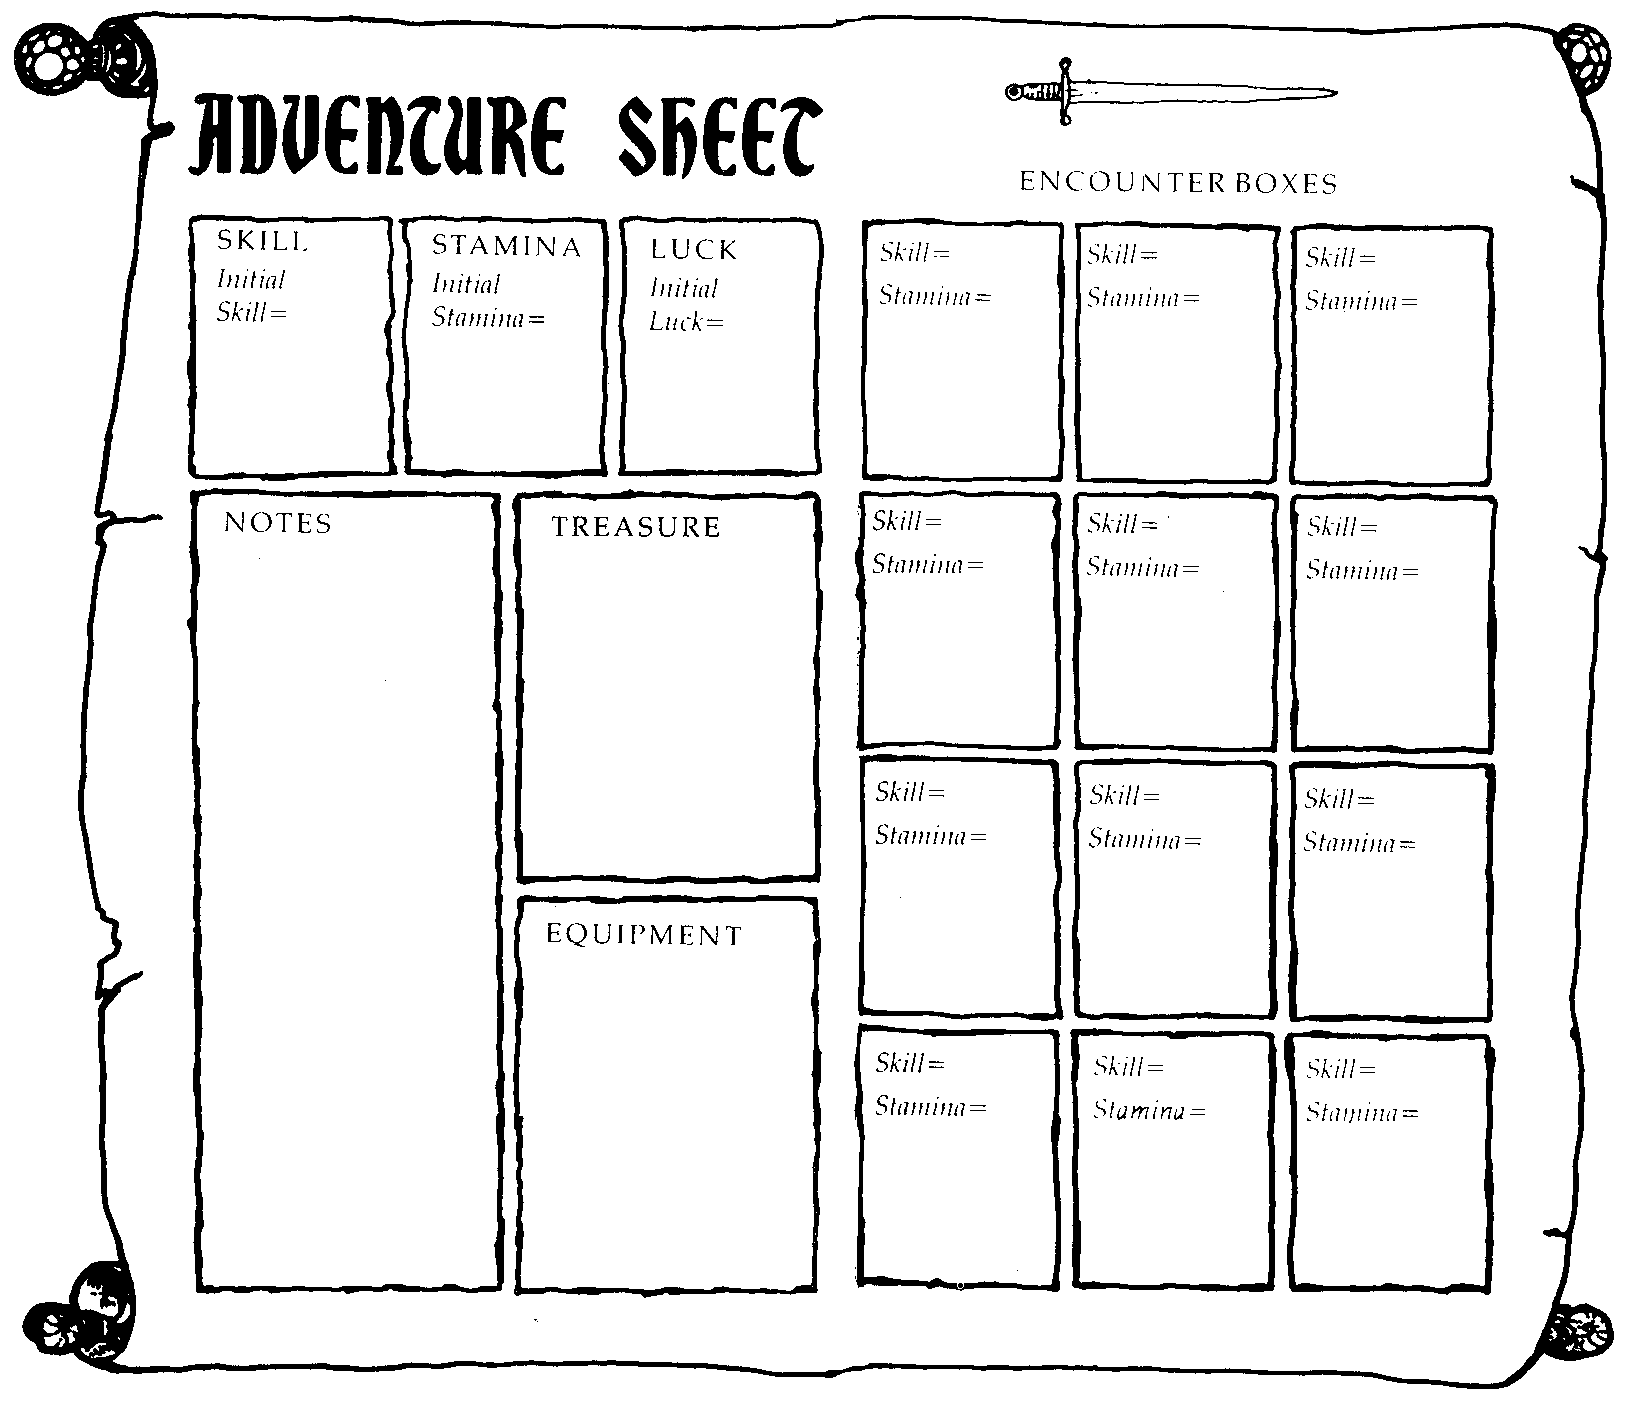
Fighting Fantasy # 1 / # 6 / #19 Character Sheet
Fighting Fantasy # 2 Character Sheet
Fighting Fantasy # 3 Character Sheet
Fighting Fantasy # 4 Character Sheet
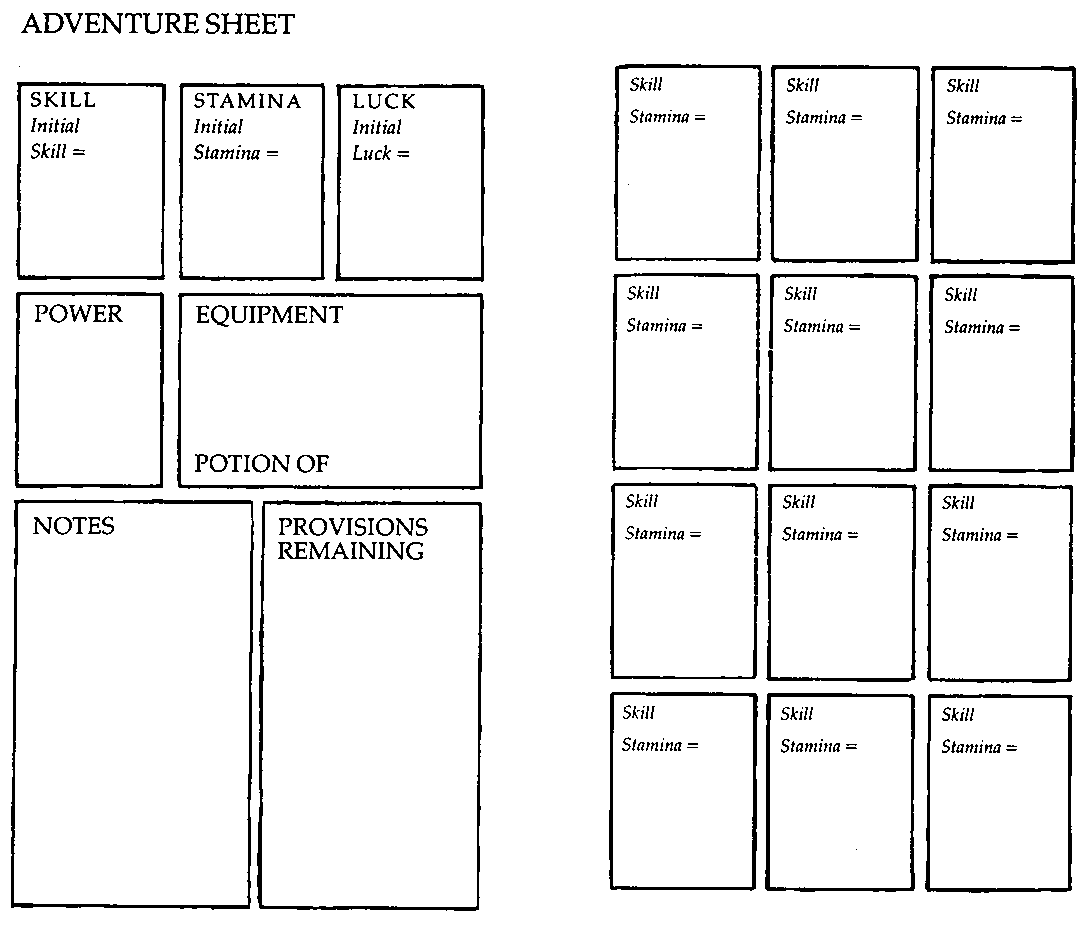
Fighting Fantasy # 5 / #11 Character Sheet
Fighting Fantasy # 6 Map
- This is a map of Fighting Fantasy #6 courtesy of Adam Trionfo.
Fighting Fantasy # 7 Character Sheet
Fighting Fantasy # 8 Character Sheet
Fighting Fantasy # 9 Character Sheet
Fighting Fantasy #10 Character Sheet
Fighting Fantasy #12 Character Sheet
Fighting Fantasy #13 Character Sheet (back)
Fighting Fantasy #13 Character Sheet (front)
Fighting Fantasy #14 Character Sheet
Fighting Fantasy #15 Character Sheet
Fighting Fantasy #16 Character Sheet
Fighting Fantasy #17 Character Sheet
Fighting Fantasy #18 Character Sheet
Fighting Fantasy #20 Character Sheet
Fighting Fantasy #21 Character Sheet
Fighting Fantasy #22 Character Sheet
Fighting Fantasy #23 Character Sheet
Fighting Fantasy #24 Character Sheet
Fighting Fantasy #25 Character Sheet
Fighting Fantasy #26 Character Sheet
- Thanks to Ben Nelson for providing this file.
Fighting Fantasy #27 Character Sheet
Fighting Fantasy #28 Character Sheet
Fighting Fantasy #29 Character Sheet
Fighting Fantasy #30 Character Sheet
Fighting Fantasy #31 Character Sheet
Fighting Fantasy #32 Character Sheet
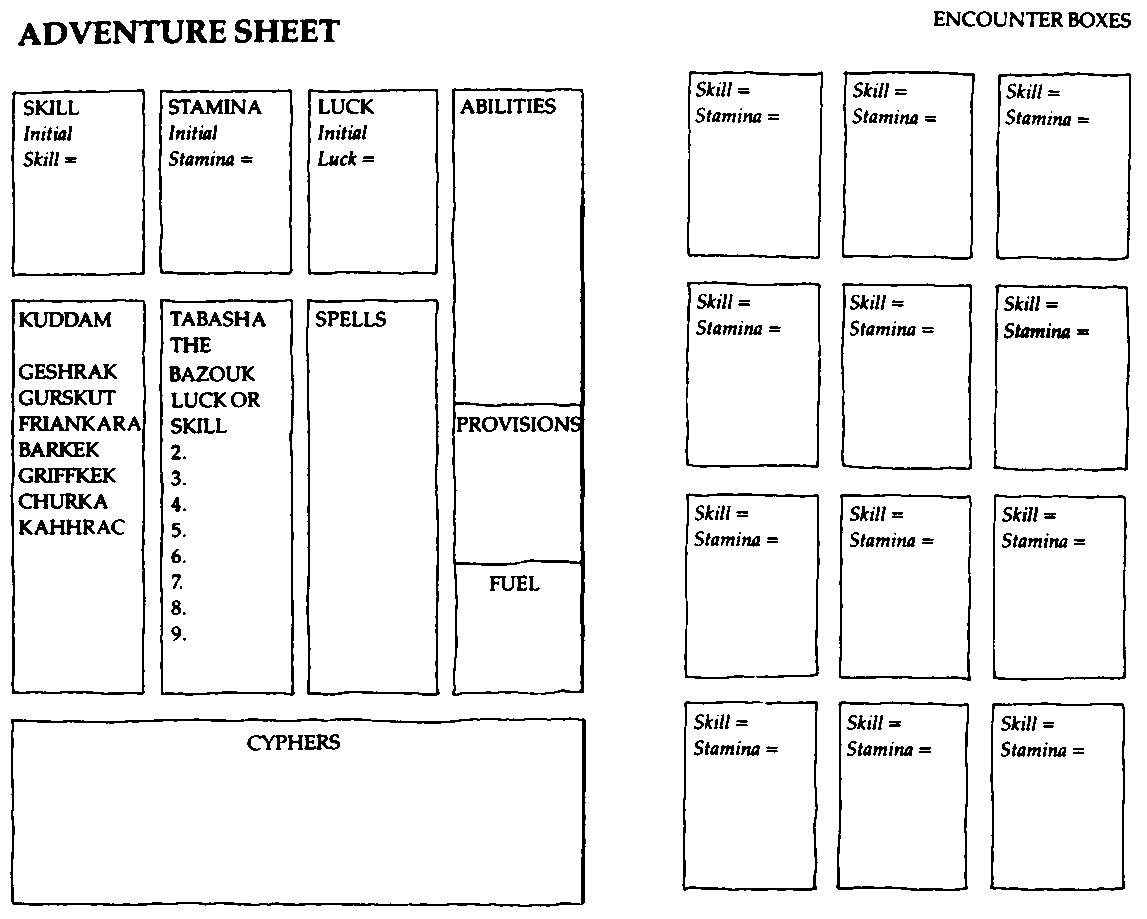
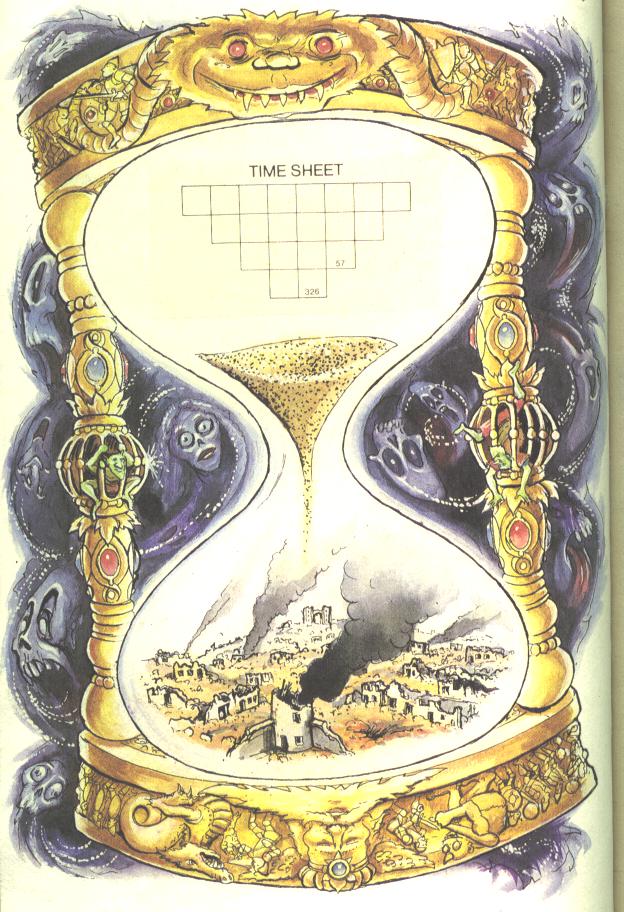
Fighting Fantasy #32 Timesheet
Fighting Fantasy #33 Character Sheet (back)
Fighting Fantasy #33 Character Sheet (front)
Fighting Fantasy #33 Diagrams
Fighting Fantasy #34 Character Sheet
Fighting Fantasy #35 Character Sheet
Fighting Fantasy #36 Character Sheet
Fighting Fantasy #37 Character Sheet
- Thanks to Ben Nelson for providing this file.
Fighting Fantasy #38 Character Sheet
Fighting Fantasy #39 Character Sheet
Fighting Fantasy #40 Character Sheet
Fighting Fantasy #41 Character Sheet
Fighting Fantasy #41 Map
- This map is missing from many copies of Master of Chaos but is important to gameplay. Thanks to Guillermo Paredes for sharing the file.
Fighting Fantasy #42 Character Sheet
Fighting Fantasy #43 Character Sheet
Fighting Fantasy #44 Character Sheet
Fighting Fantasy #45 Character Sheet
Fighting Fantasy #45 Maze
Fighting Fantasy #46 Character Sheet
Fighting Fantasy #47 Character Sheet
Fighting Fantasy #48 Character Sheet
Fighting Fantasy #49 Character Sheet
Fighting Fantasy #50 Character Sheet
Fighting Fantasy #51 Character Sheet
Fighting Fantasy #52 Character Sheet
Fighting Fantasy #53 Character Sheet
- Thanks to Ben Nelson for providing this file.
Fighting Fantasy #54 Character Sheets (Anvar / Braxus)
Fighting Fantasy #54 Character Sheets (Stubble / Sallazar)
Fighting Fantasy #55 Character Sheet
Fighting Fantasy #56 Character Sheet
Fighting Fantasy #57 Character Sheet
Fighting Fantasy #58 Character Sheet
Fighting Fantasy #59 Character Sheet
Fighting Fantasy 10th Anniversary Yearbook Character Sheet
- Thanks to Ben Nelson for providing this file.
Fighting Fantasy Reissues #21 Character Sheet
- Thanks to Ben Nelson for providing this file.
Fighting Fantasy Reissues #26 Character Sheet
- Thanks to Ben Nelson for providing this file.
Fighting Fantasy RPG Character Sheet
- Thanks to Ben Nelson for providing this file.
Fighting Fantasy: Blood of the Zombies Character Sheet
- Thanks to sireeyore for the scan.
Fighting Fantasy: Clash of the Princes Warlock Character Sheet
Fighting Fantasy: Clash of the Princes Warrior Character Sheet
Fighting Fantasy: Night of the Necromancer Character Sheet
- Thanks to sireeyore for the scan.
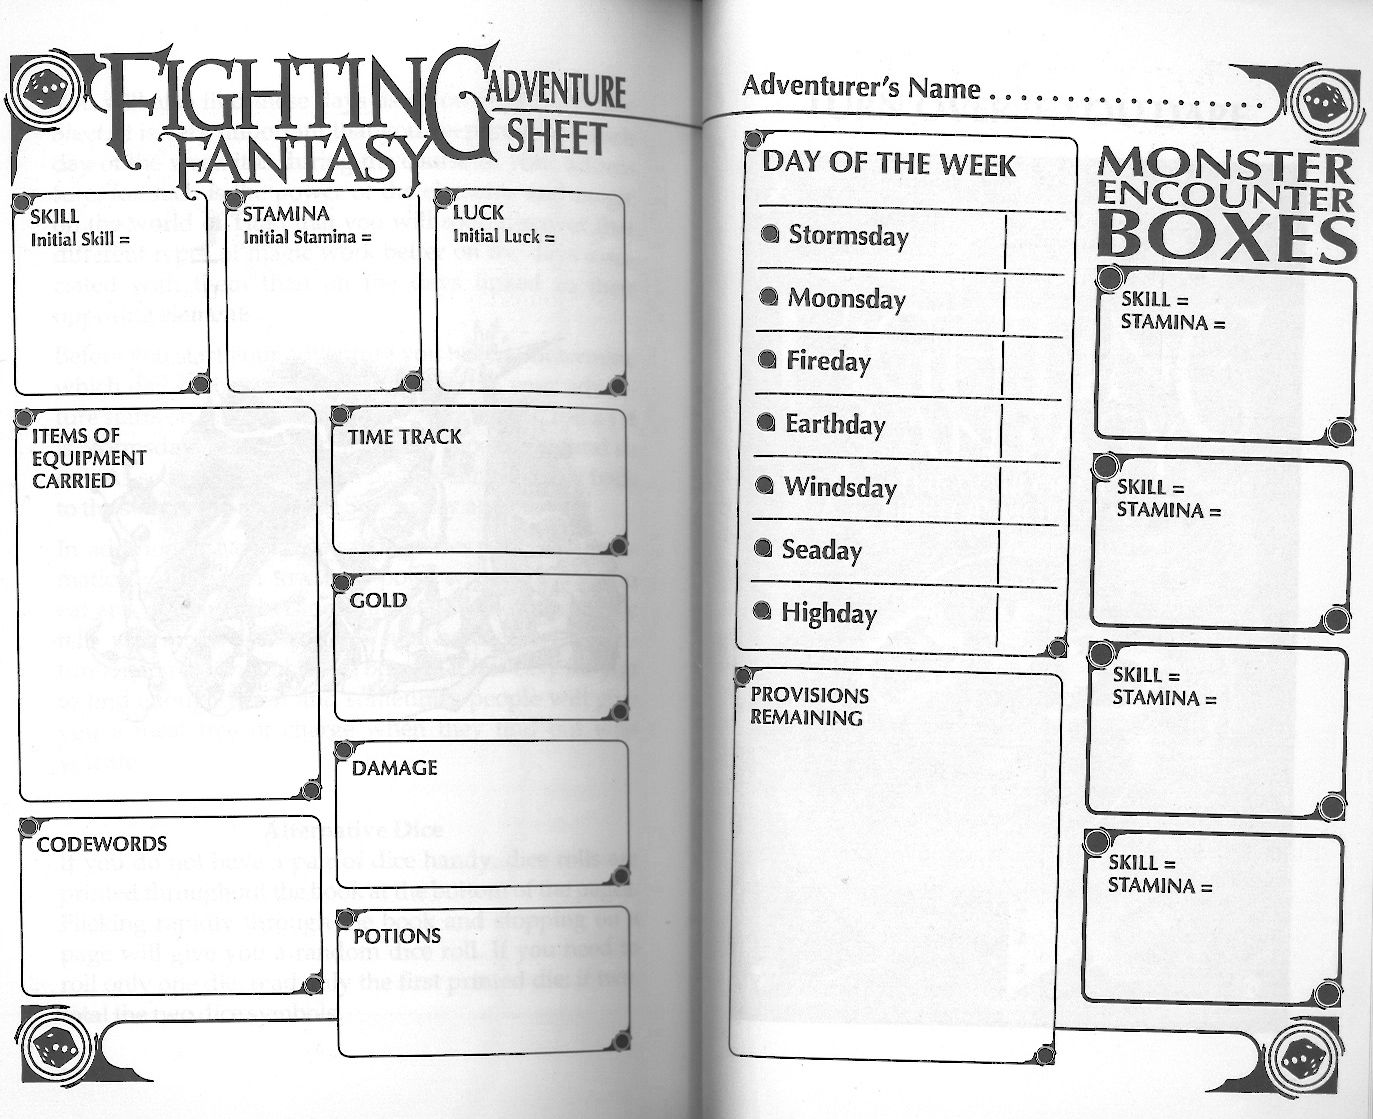
Fighting Fantasy: Stormslayer Character Sheet
- Thanks to sireeyore for the scan.
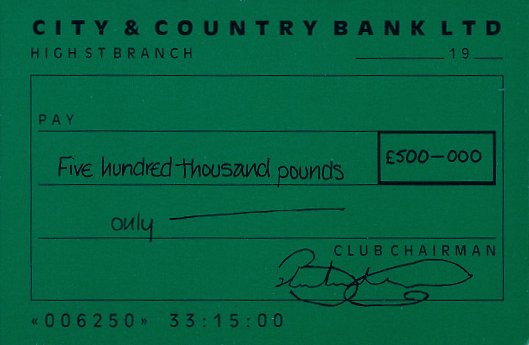
Football Adventure Game Cheque
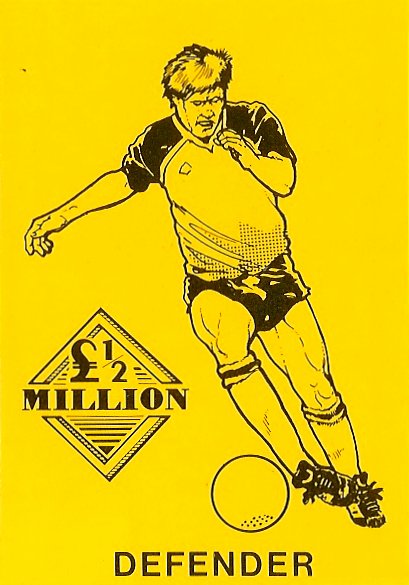
Football Adventure Game Defender Card (back)
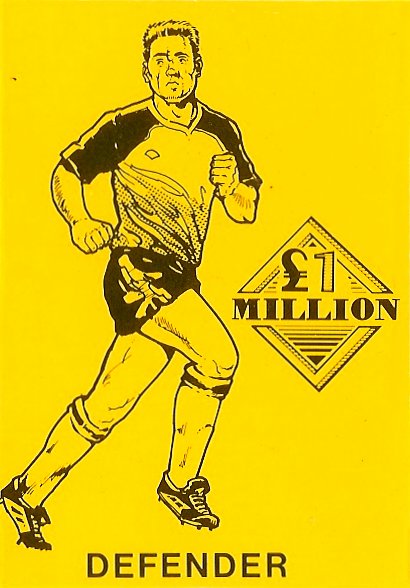
Football Adventure Game Defender Card (front)
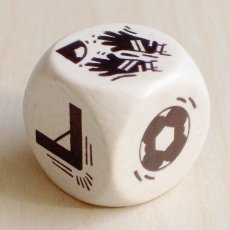
Football Adventure Game Die
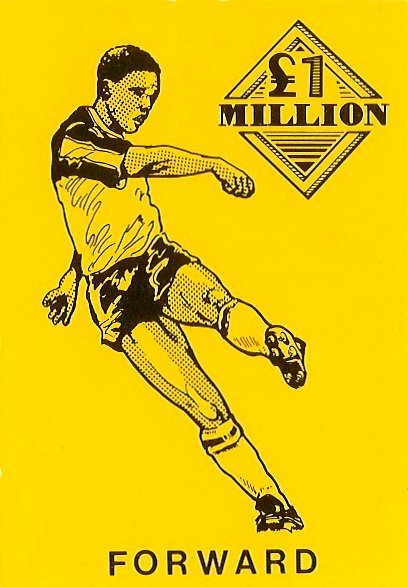
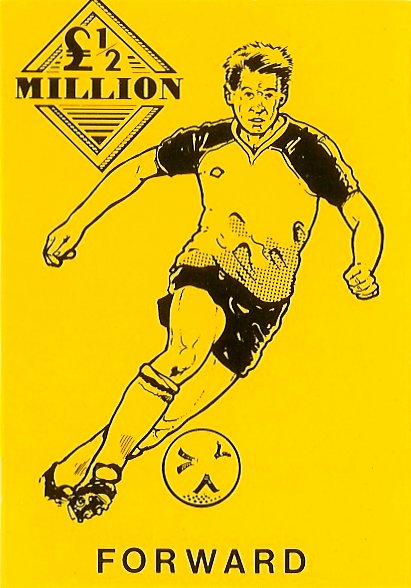
Football Adventure Game Forward Card (back)
Football Adventure Game Forward Card (front)
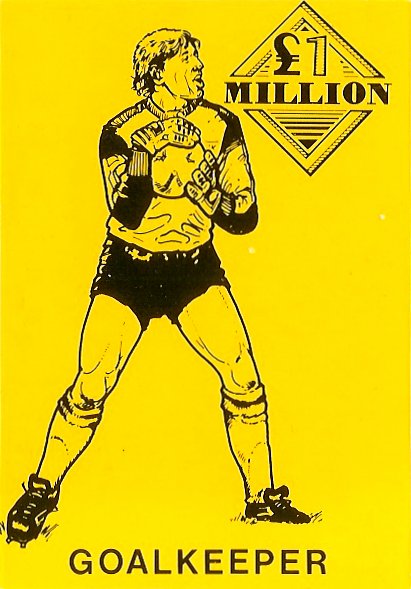
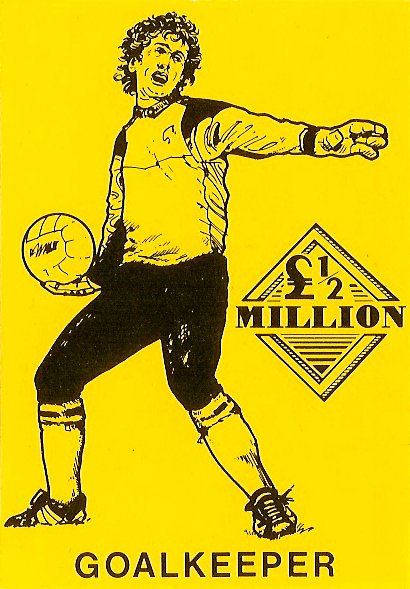
Football Adventure Game Goalkeeper Card (back)
Football Adventure Game Goalkeeper Card (front)
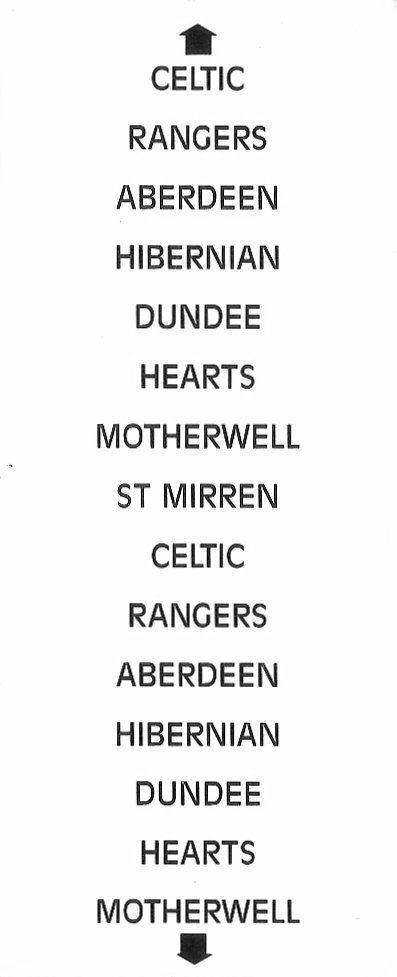
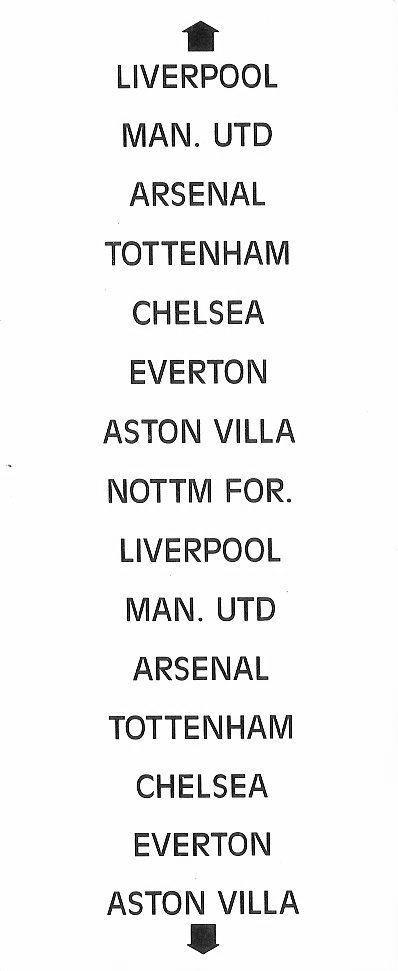
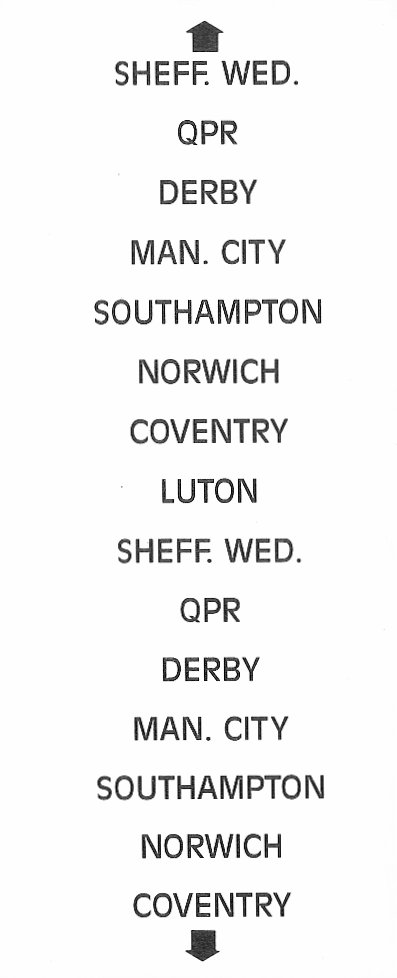
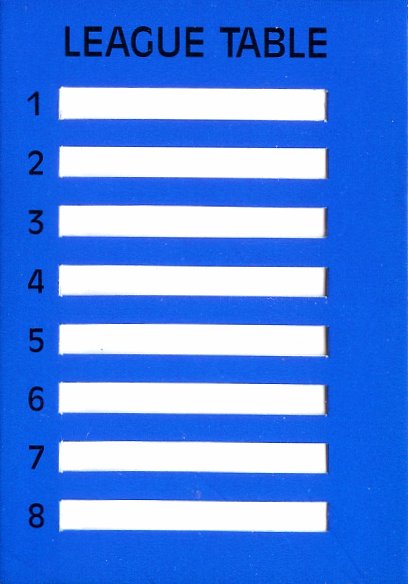
Football Adventure Game League Card (blank)
Football Adventure Game League Card 1 (back)
Football Adventure Game League Card 1 (front)
Football Adventure Game League Card 2 (back)
Football Adventure Game League Card 2 (front)
Football Adventure Game League Card Holder
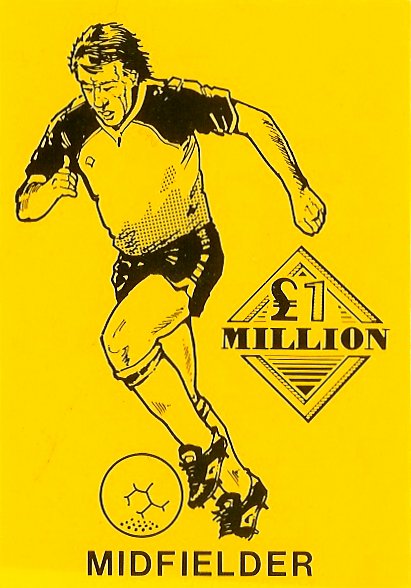
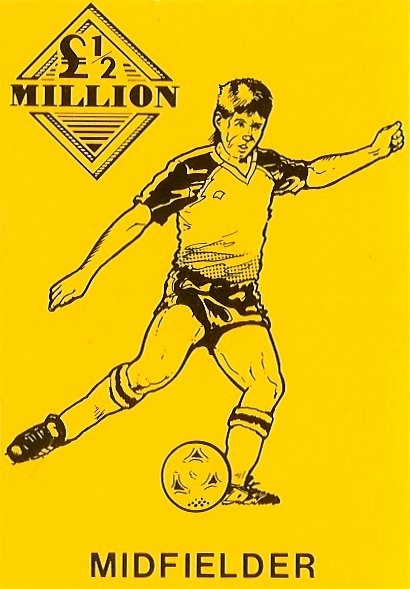
Football Adventure Game Midfielder Card (back)
Football Adventure Game Midfielder Card (front)
Football Adventure Game Scoreboard
Football Adventure Game Substitute Card
Forbidden Gateway #1 Character Sheet
Forbidden Gateway #2 Character Sheet
Freeway Warrior Character Sheet (back)
Freeway Warrior Character Sheet (front)
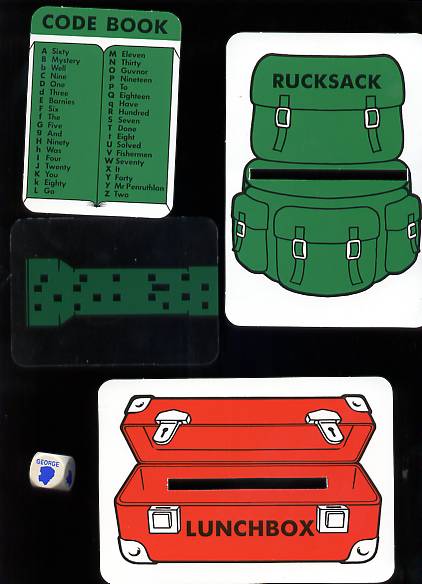
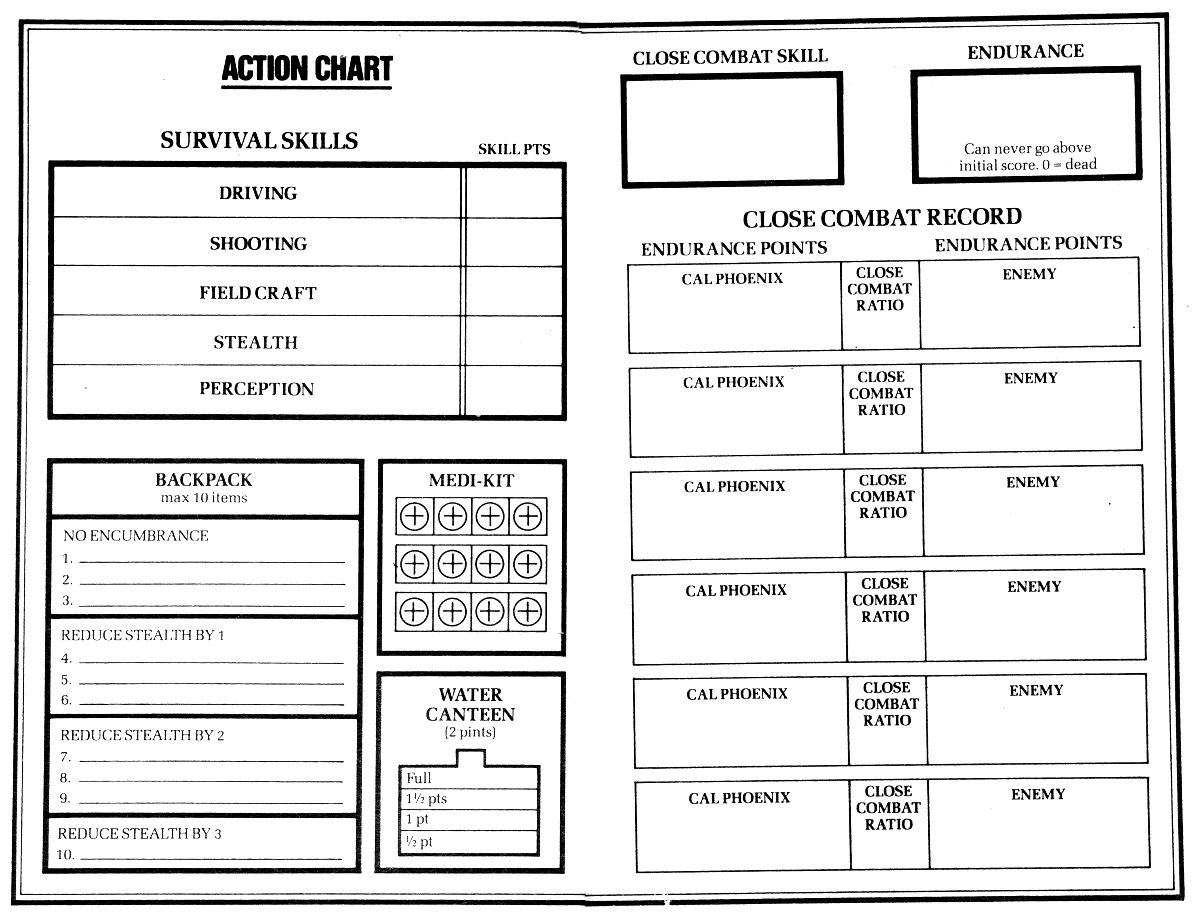
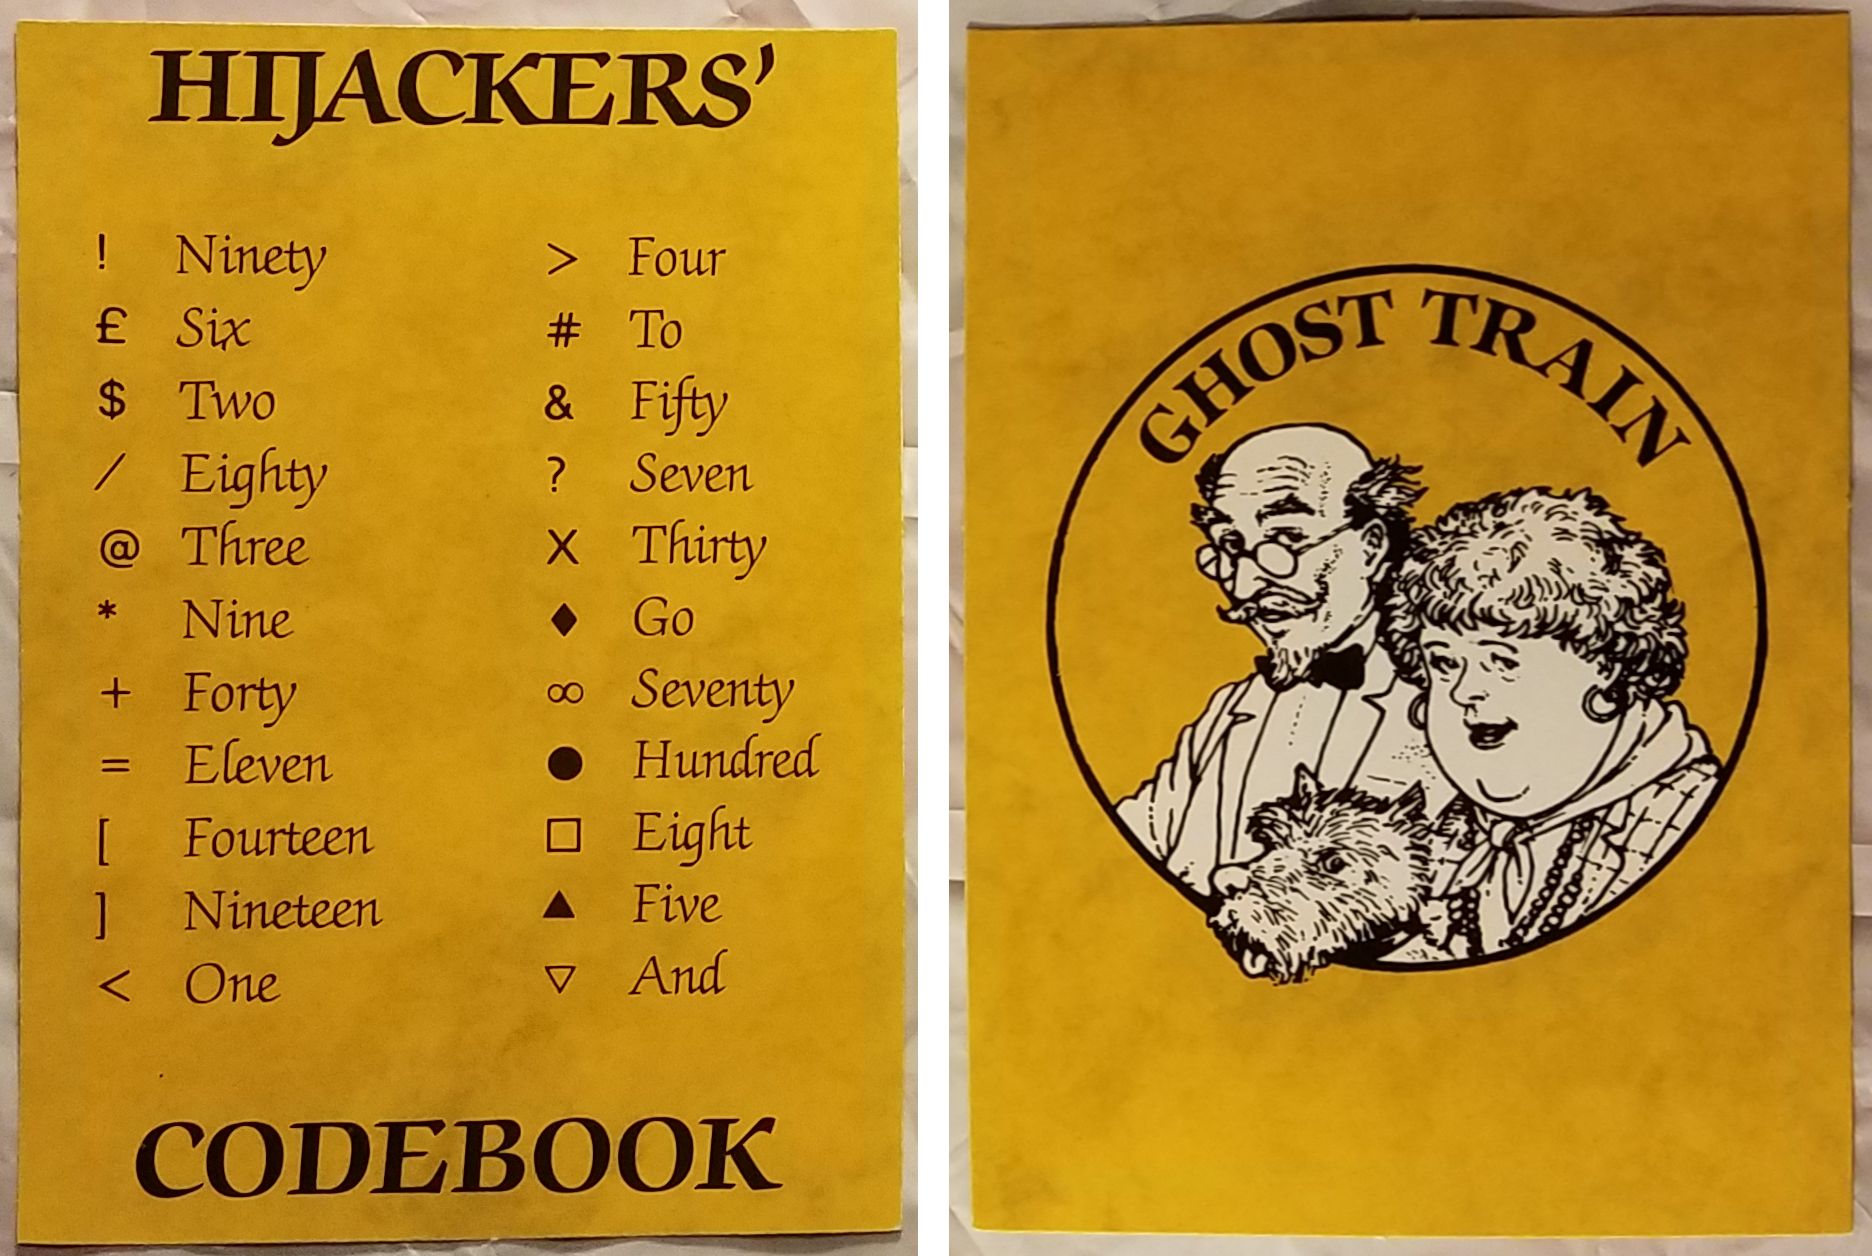
Ghost Adventure Games #2 - Codebook
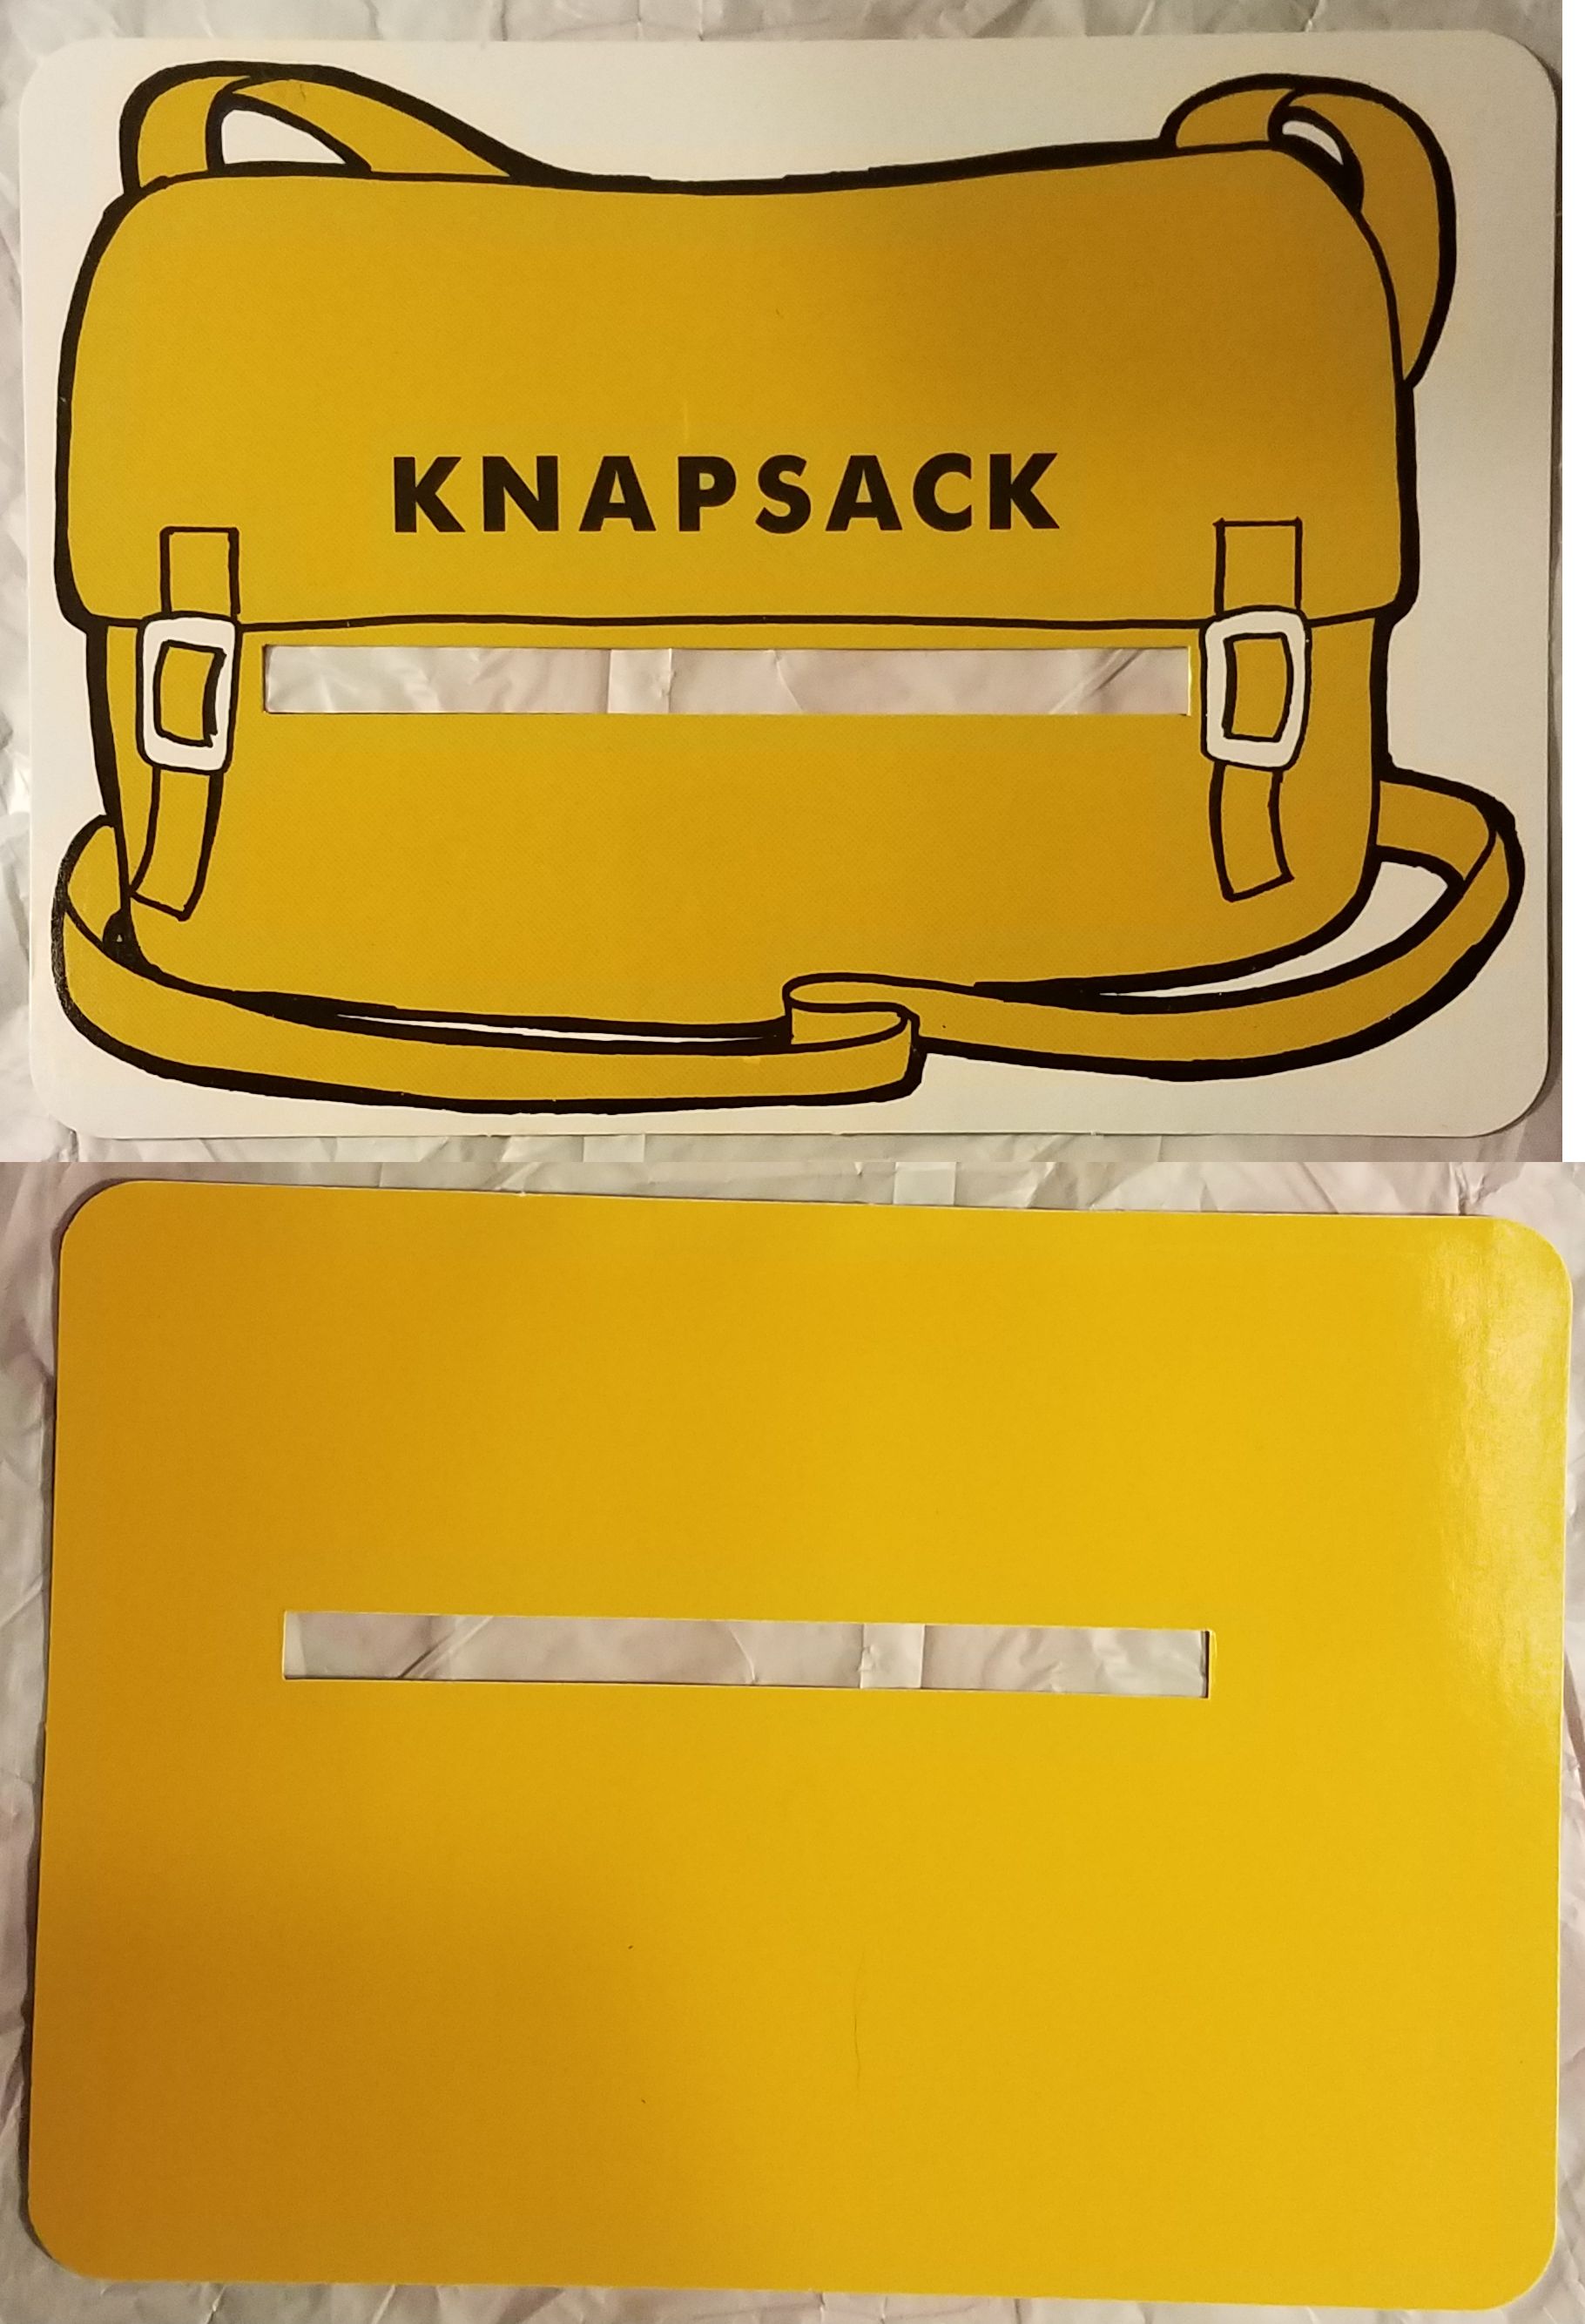
Ghost Adventure Games #2 - Knapsack
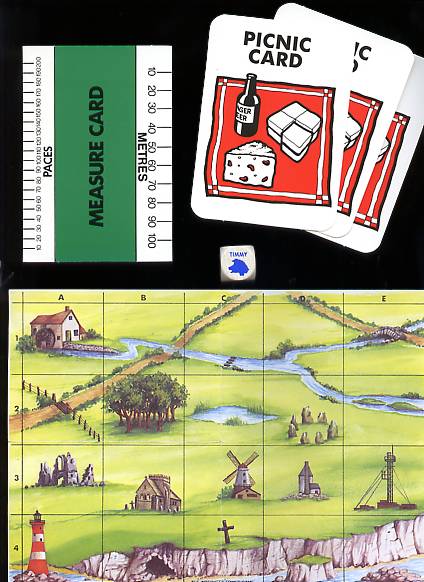
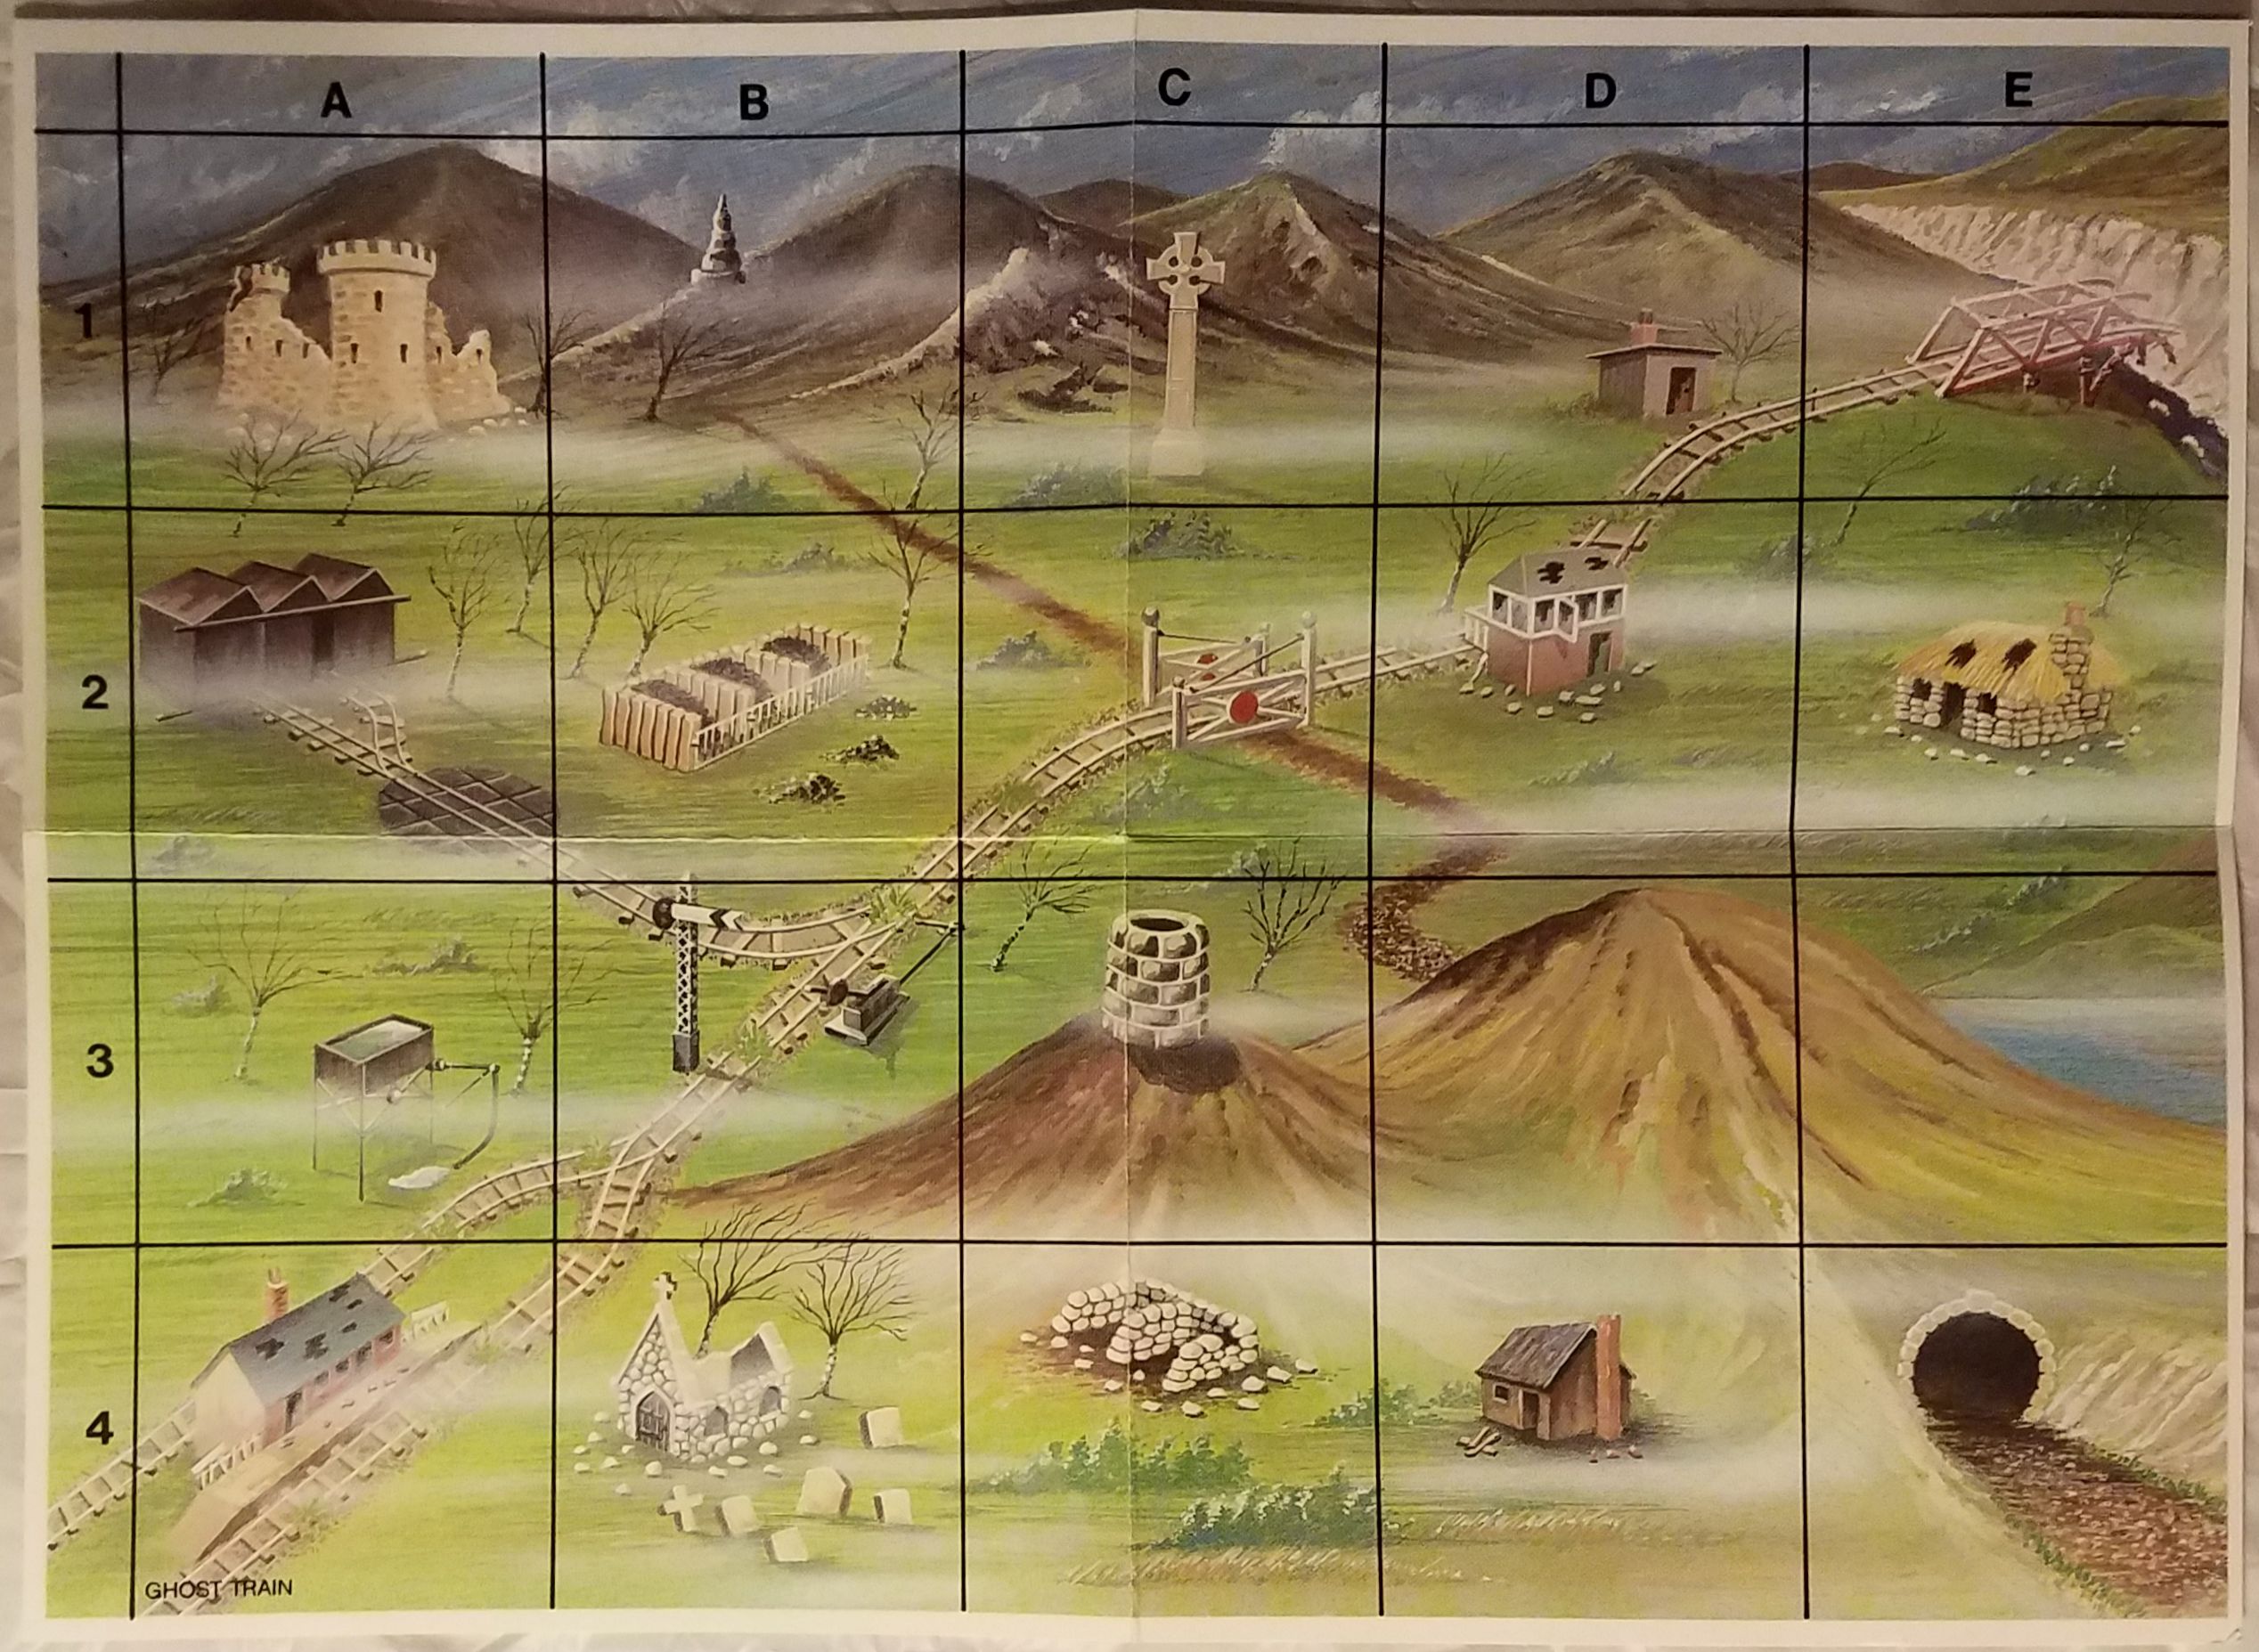
Ghost Adventure Games #2 - Map
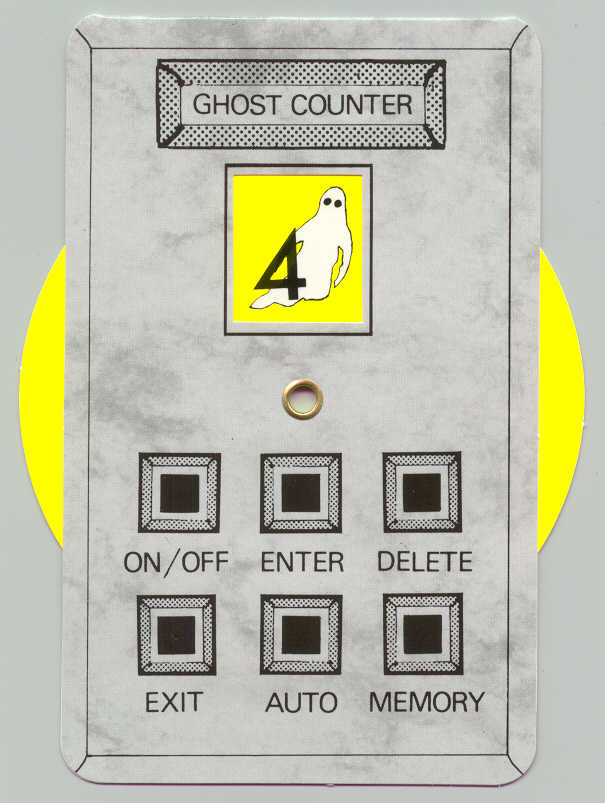
Ghost Adventure Games #3 - Ghost Counter
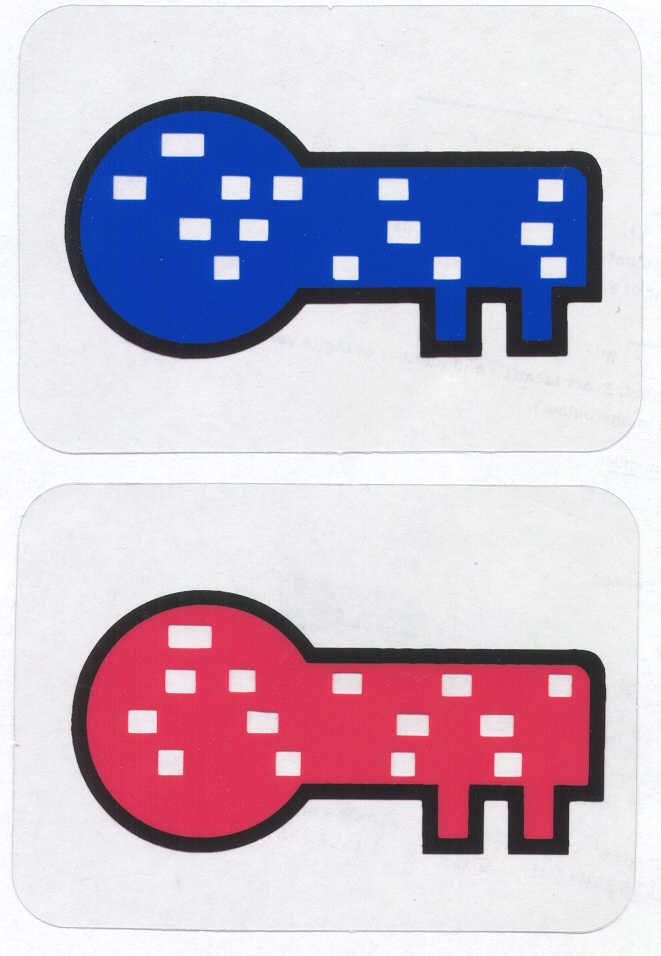
Ghost Adventure Games #3 - Keys
Ghost Adventure Games #3 - Map
Give Yourself Goosebumps # 8 Coffin Puzzle
Give Yourself Goosebumps # 9 Maze
Give Yourself Goosebumps #12 Maze
Give Yourself Goosebumps #18 Maze
Give Yourself Goosebumps #2 Inventory Sheet
Give Yourself Goosebumps #21 Maze
Give Yourself Goosebumps #22 Word Maze
Give Yourself Goosebumps #23 Maze
Give Yourself Goosebumps #23 Word Search
Give Yourself Goosebumps #24 Maze
Give Yourself Goosebumps #24 Word Scramble
Give Yourself Goosebumps #24 Word Search
Give Yourself Goosebumps #25 Maze
Give Yourself Goosebumps #25 Word Search
Give Yourself Goosebumps Special Edition #1 Inventory Sheet
Give Yourself Goosebumps Special Edition #3 Word Search
Give Yourself Goosebumps Special Edition #5 Character Sheets
Give Yourself Goosebumps Special Edition #5 Sandstorm Puzzle
Give Yourself Goosebumps Special Edition #5 Word Puzzle
Golden Dragon #1 Character Sheet
Golden Dragon #2 Character Sheet
Golden Dragon #3 Character Sheet
Golden Dragon #4 Character Sheet
- Thanks to Ben Nelson for providing this file.
Golden Dragon #5 Character Sheet
Golden Dragon #6 Character Sheet
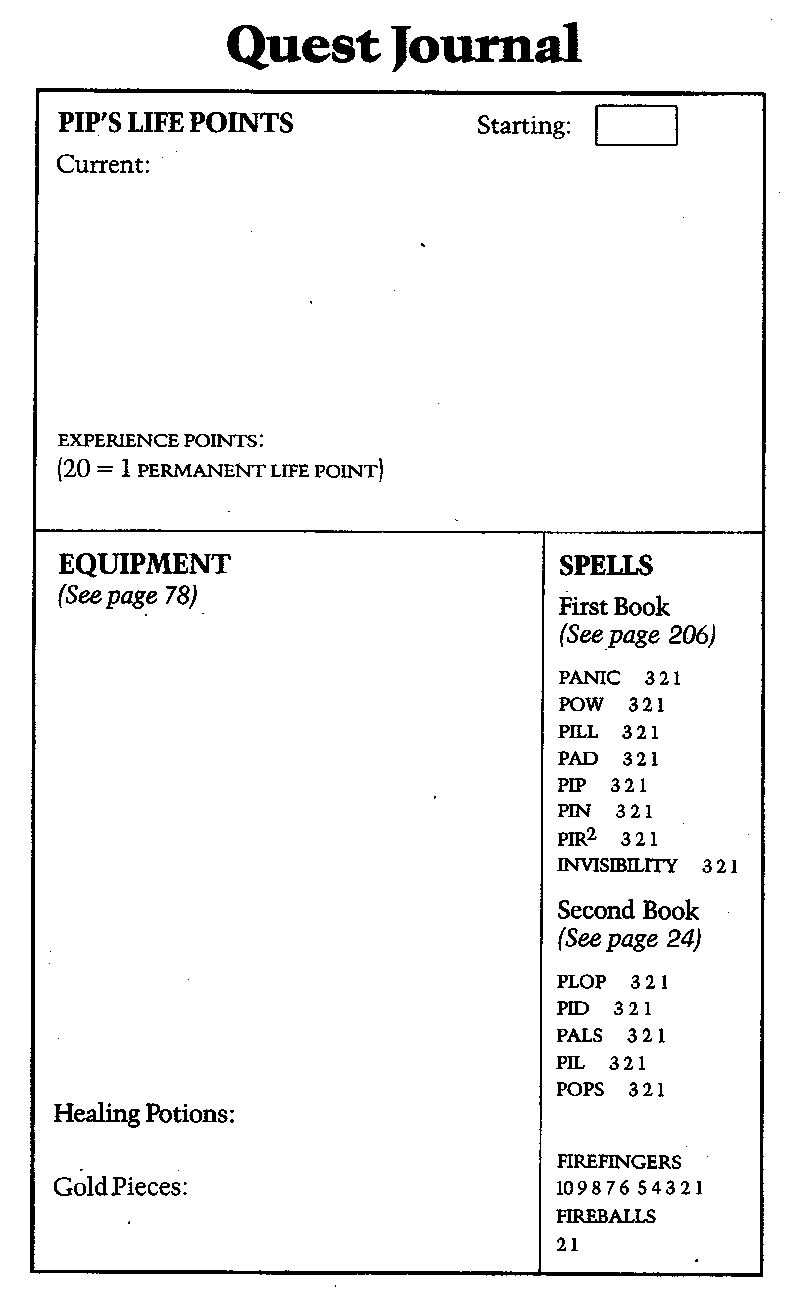
Grailquest #1 Character Sheet (back)
Grailquest #1 Character Sheet (front)
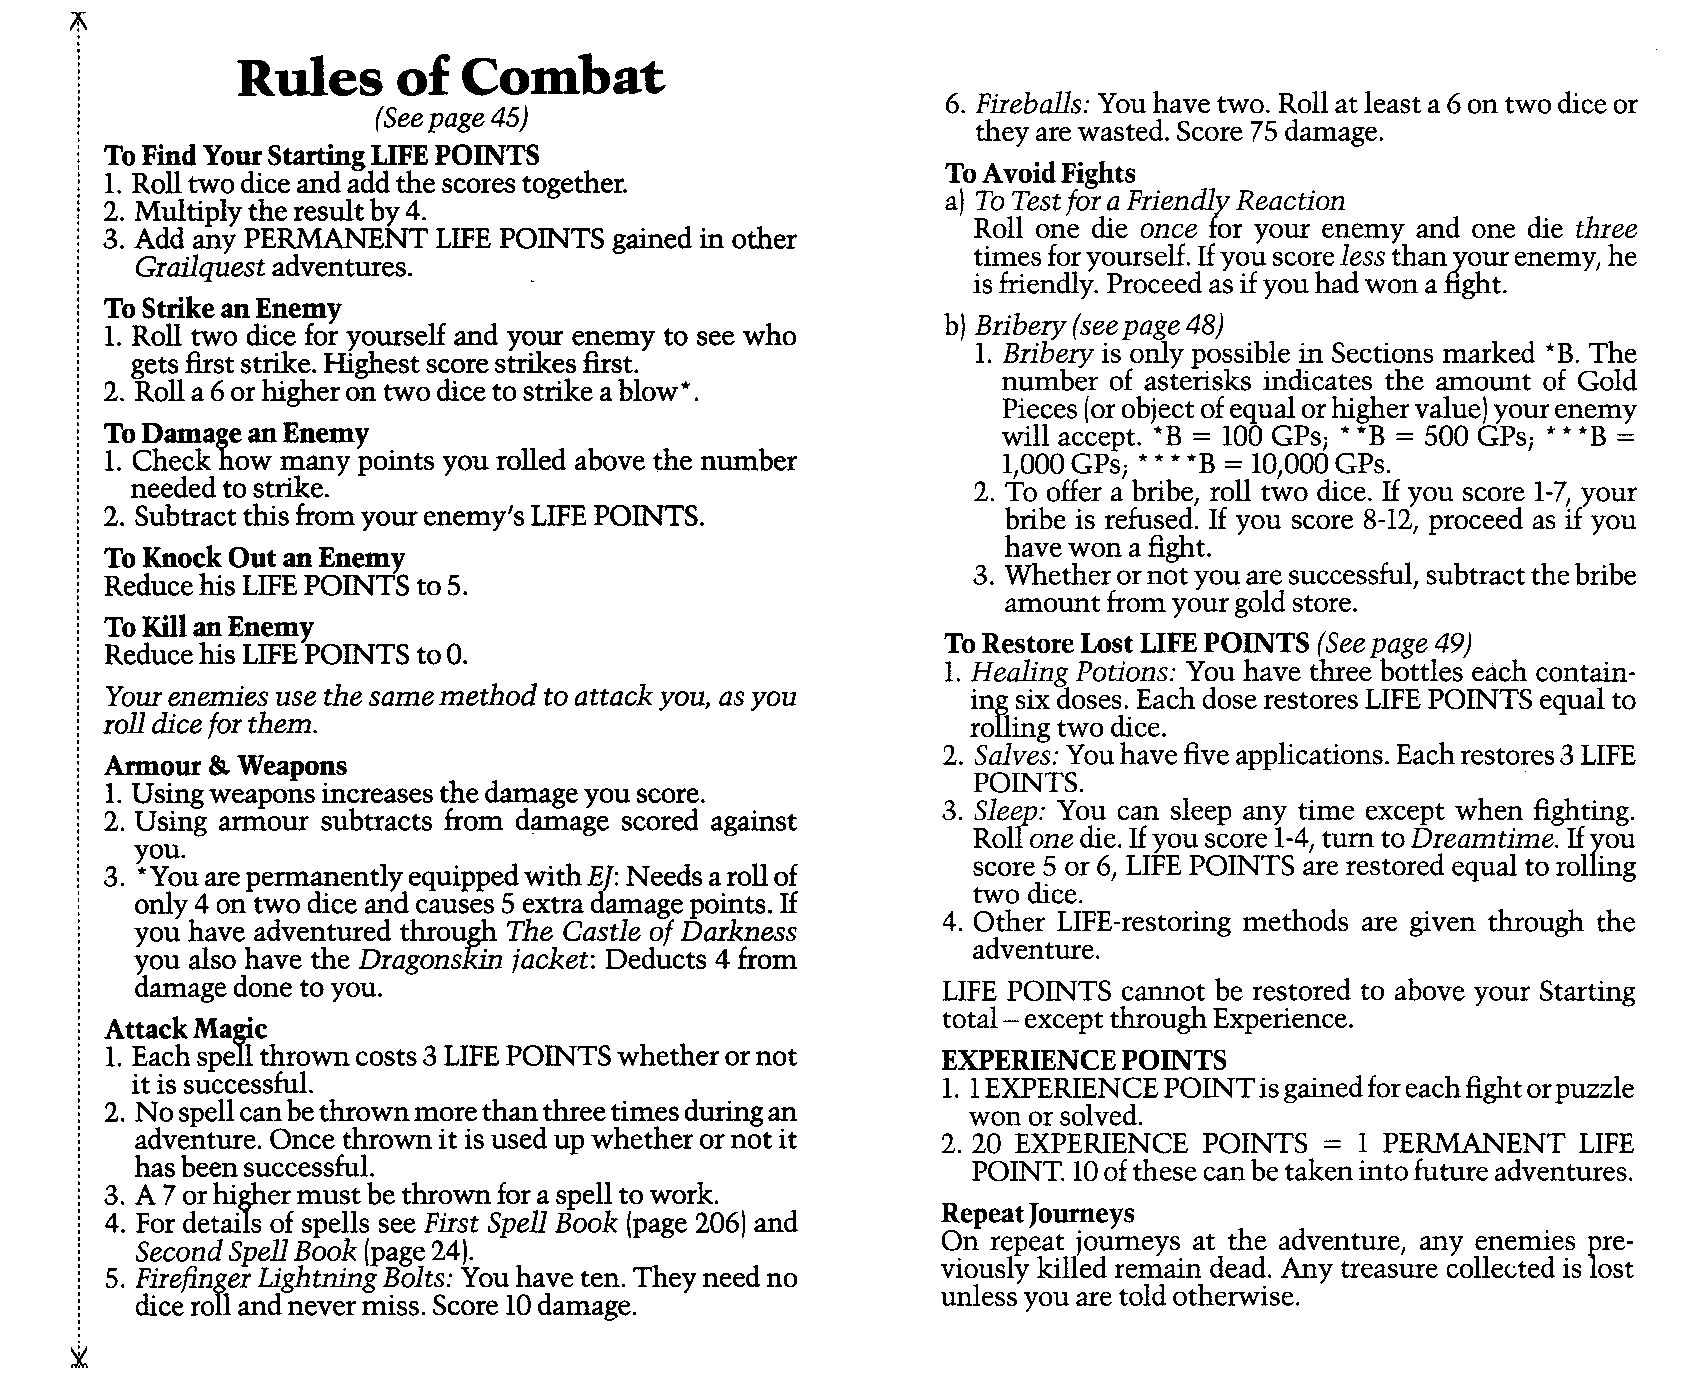
Grailquest #1 Rules Reference (back)
Grailquest #1 Rules Reference (front)
Grailquest #2 Character Sheet (back)
Grailquest #2 Character Sheet (front)
Grailquest #2 Rules Reference (back)
Grailquest #2 Rules Reference (front)
Grailquest #2 Village Map
Grailquest #3 Character Sheet
- Thanks to Ben Nelson for providing this file.
Grailquest #3 Map 4
Grailquest #3 Rules Reference
- Thanks to Ben Nelson for providing this file.
Grailquest #5 / #6 / #7 Character Sheet (back)
Grailquest #5 / #6 / #7 Character Sheet (front)
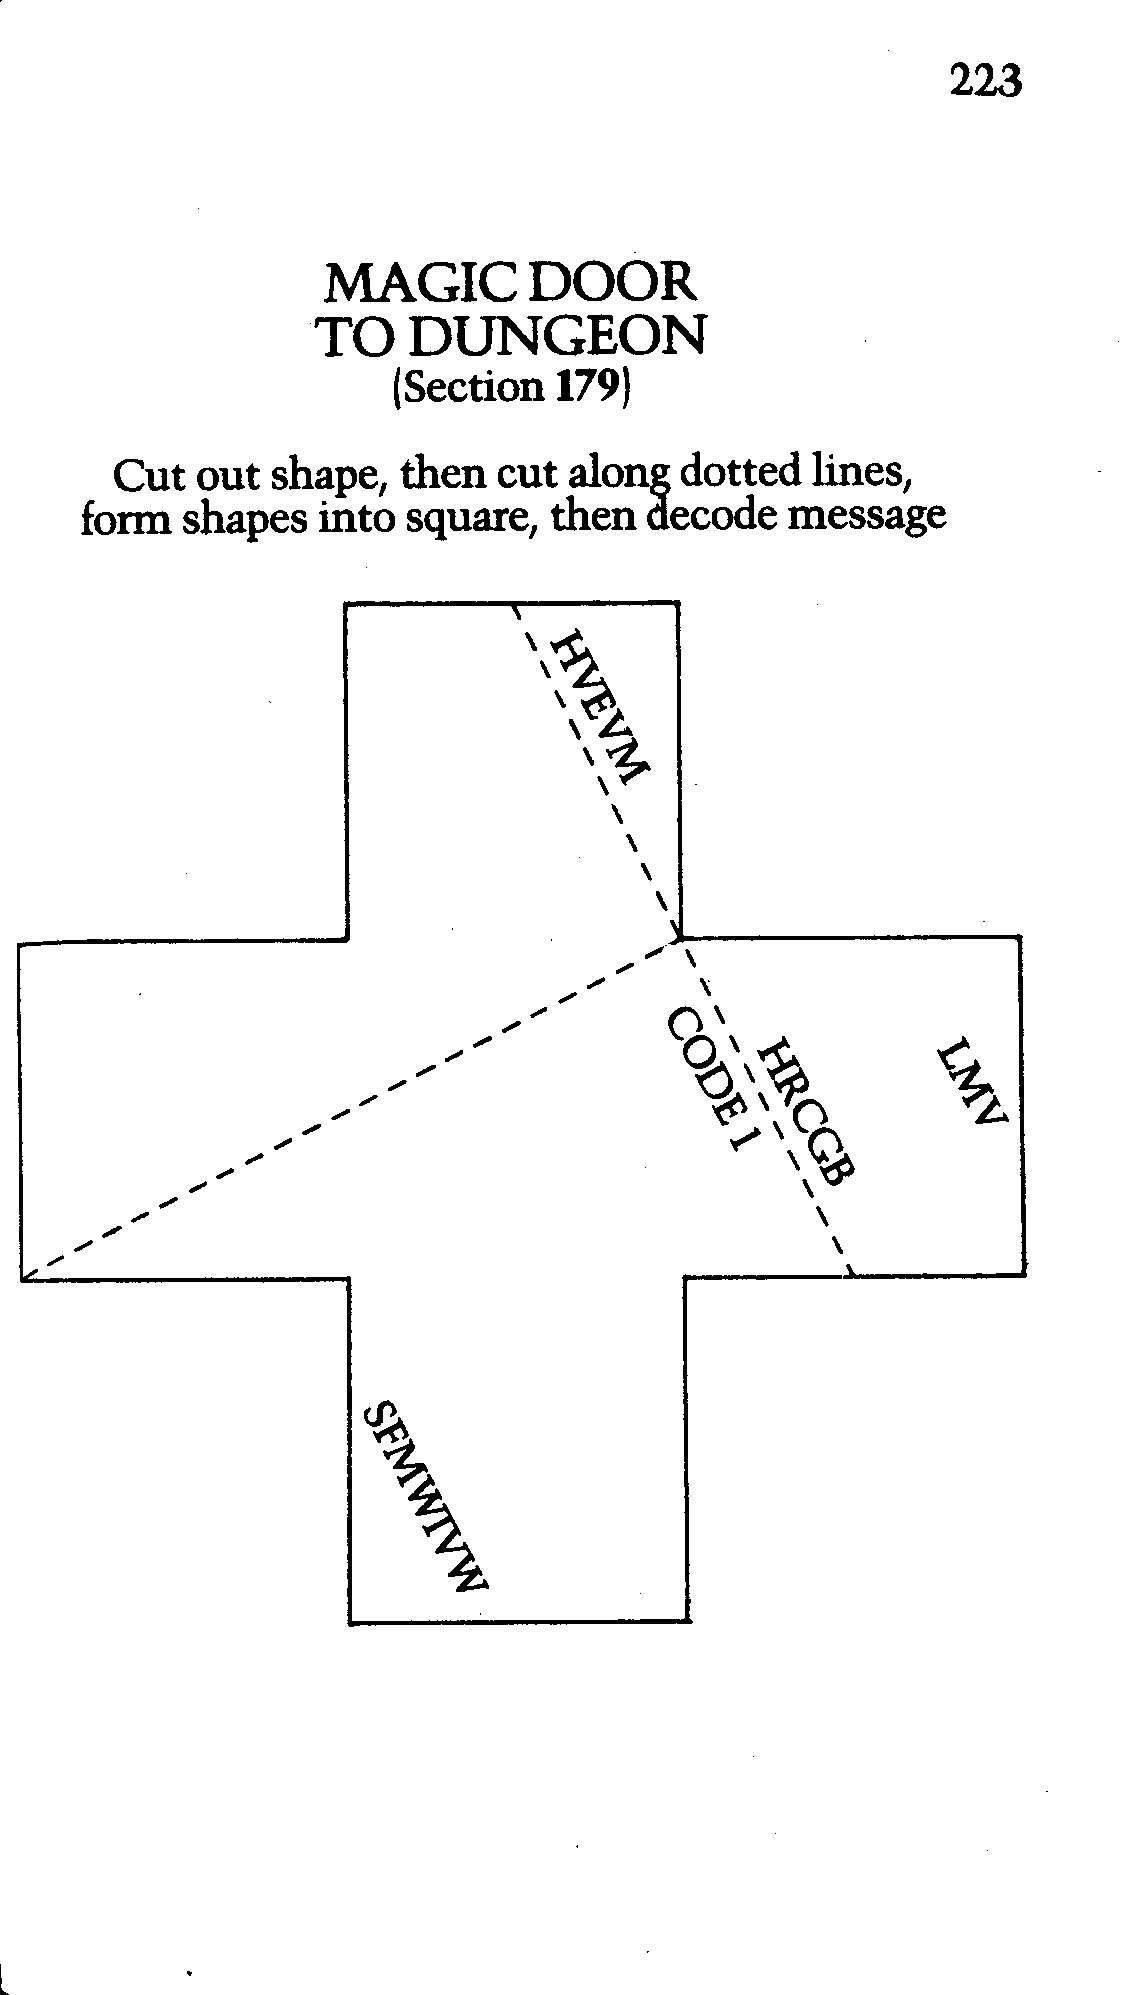
Grailquest #5 Magic Door
Grailquest #6 Rules Reference (back)
Grailquest #6 Rules Reference (front)
Grailquest #7 Deathometer
Grailquest #7 Rules Reference (back)
Grailquest #7 Rules Reference (front)
Grampa Barmo's Discount Game Magazine: Circus Supremus Character Sheet
Graphic Novel Adventures Season 4 Errata Sheet
Das Grosse Spielbücher no. 1 Character Sheet
- Thanks to Florian Kalenda for sharing this scan.
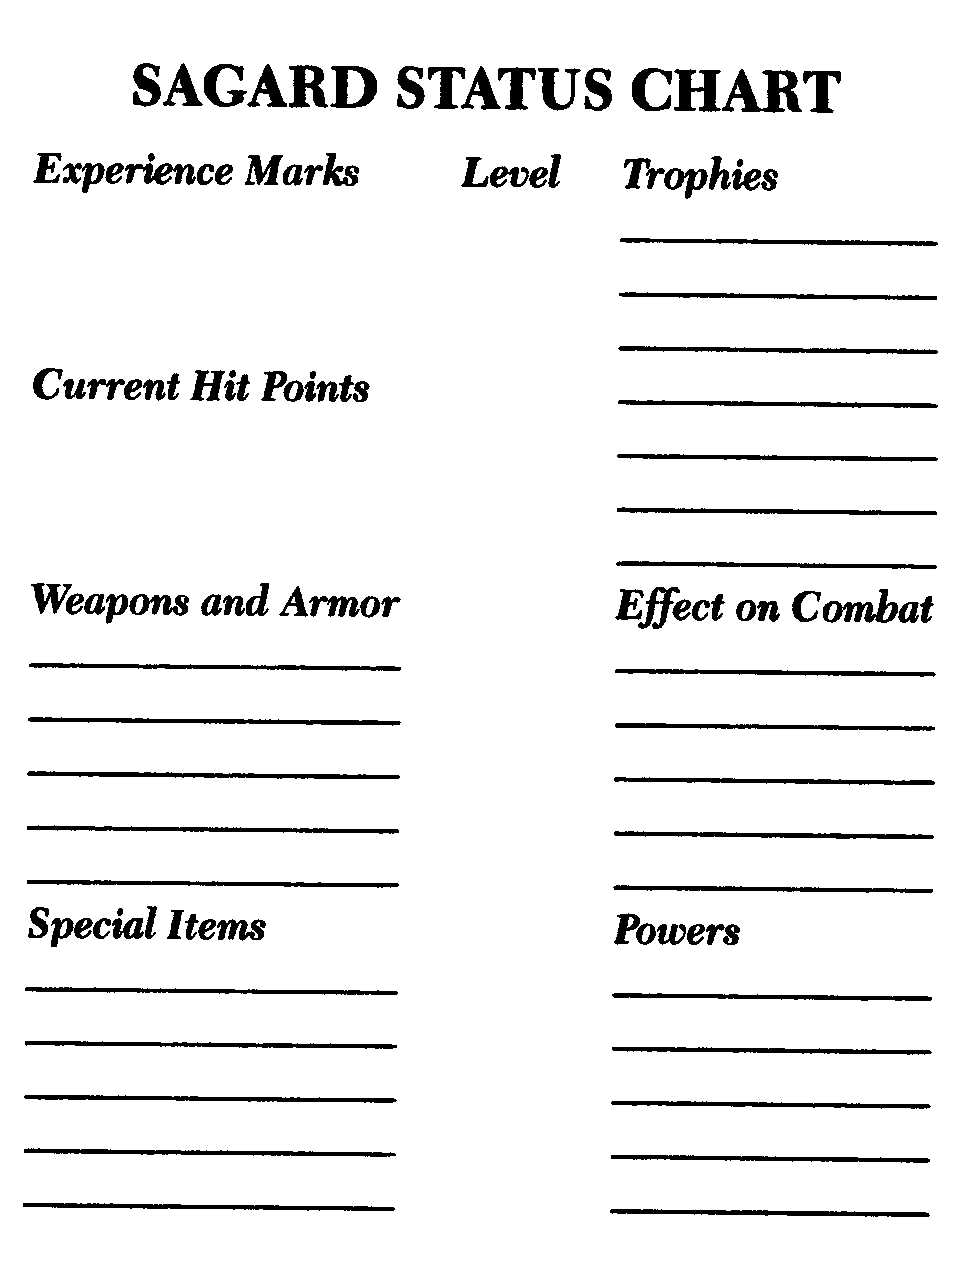
Hero's Challenge: Sagard the Barbarian #1 - #2 Character Sheet
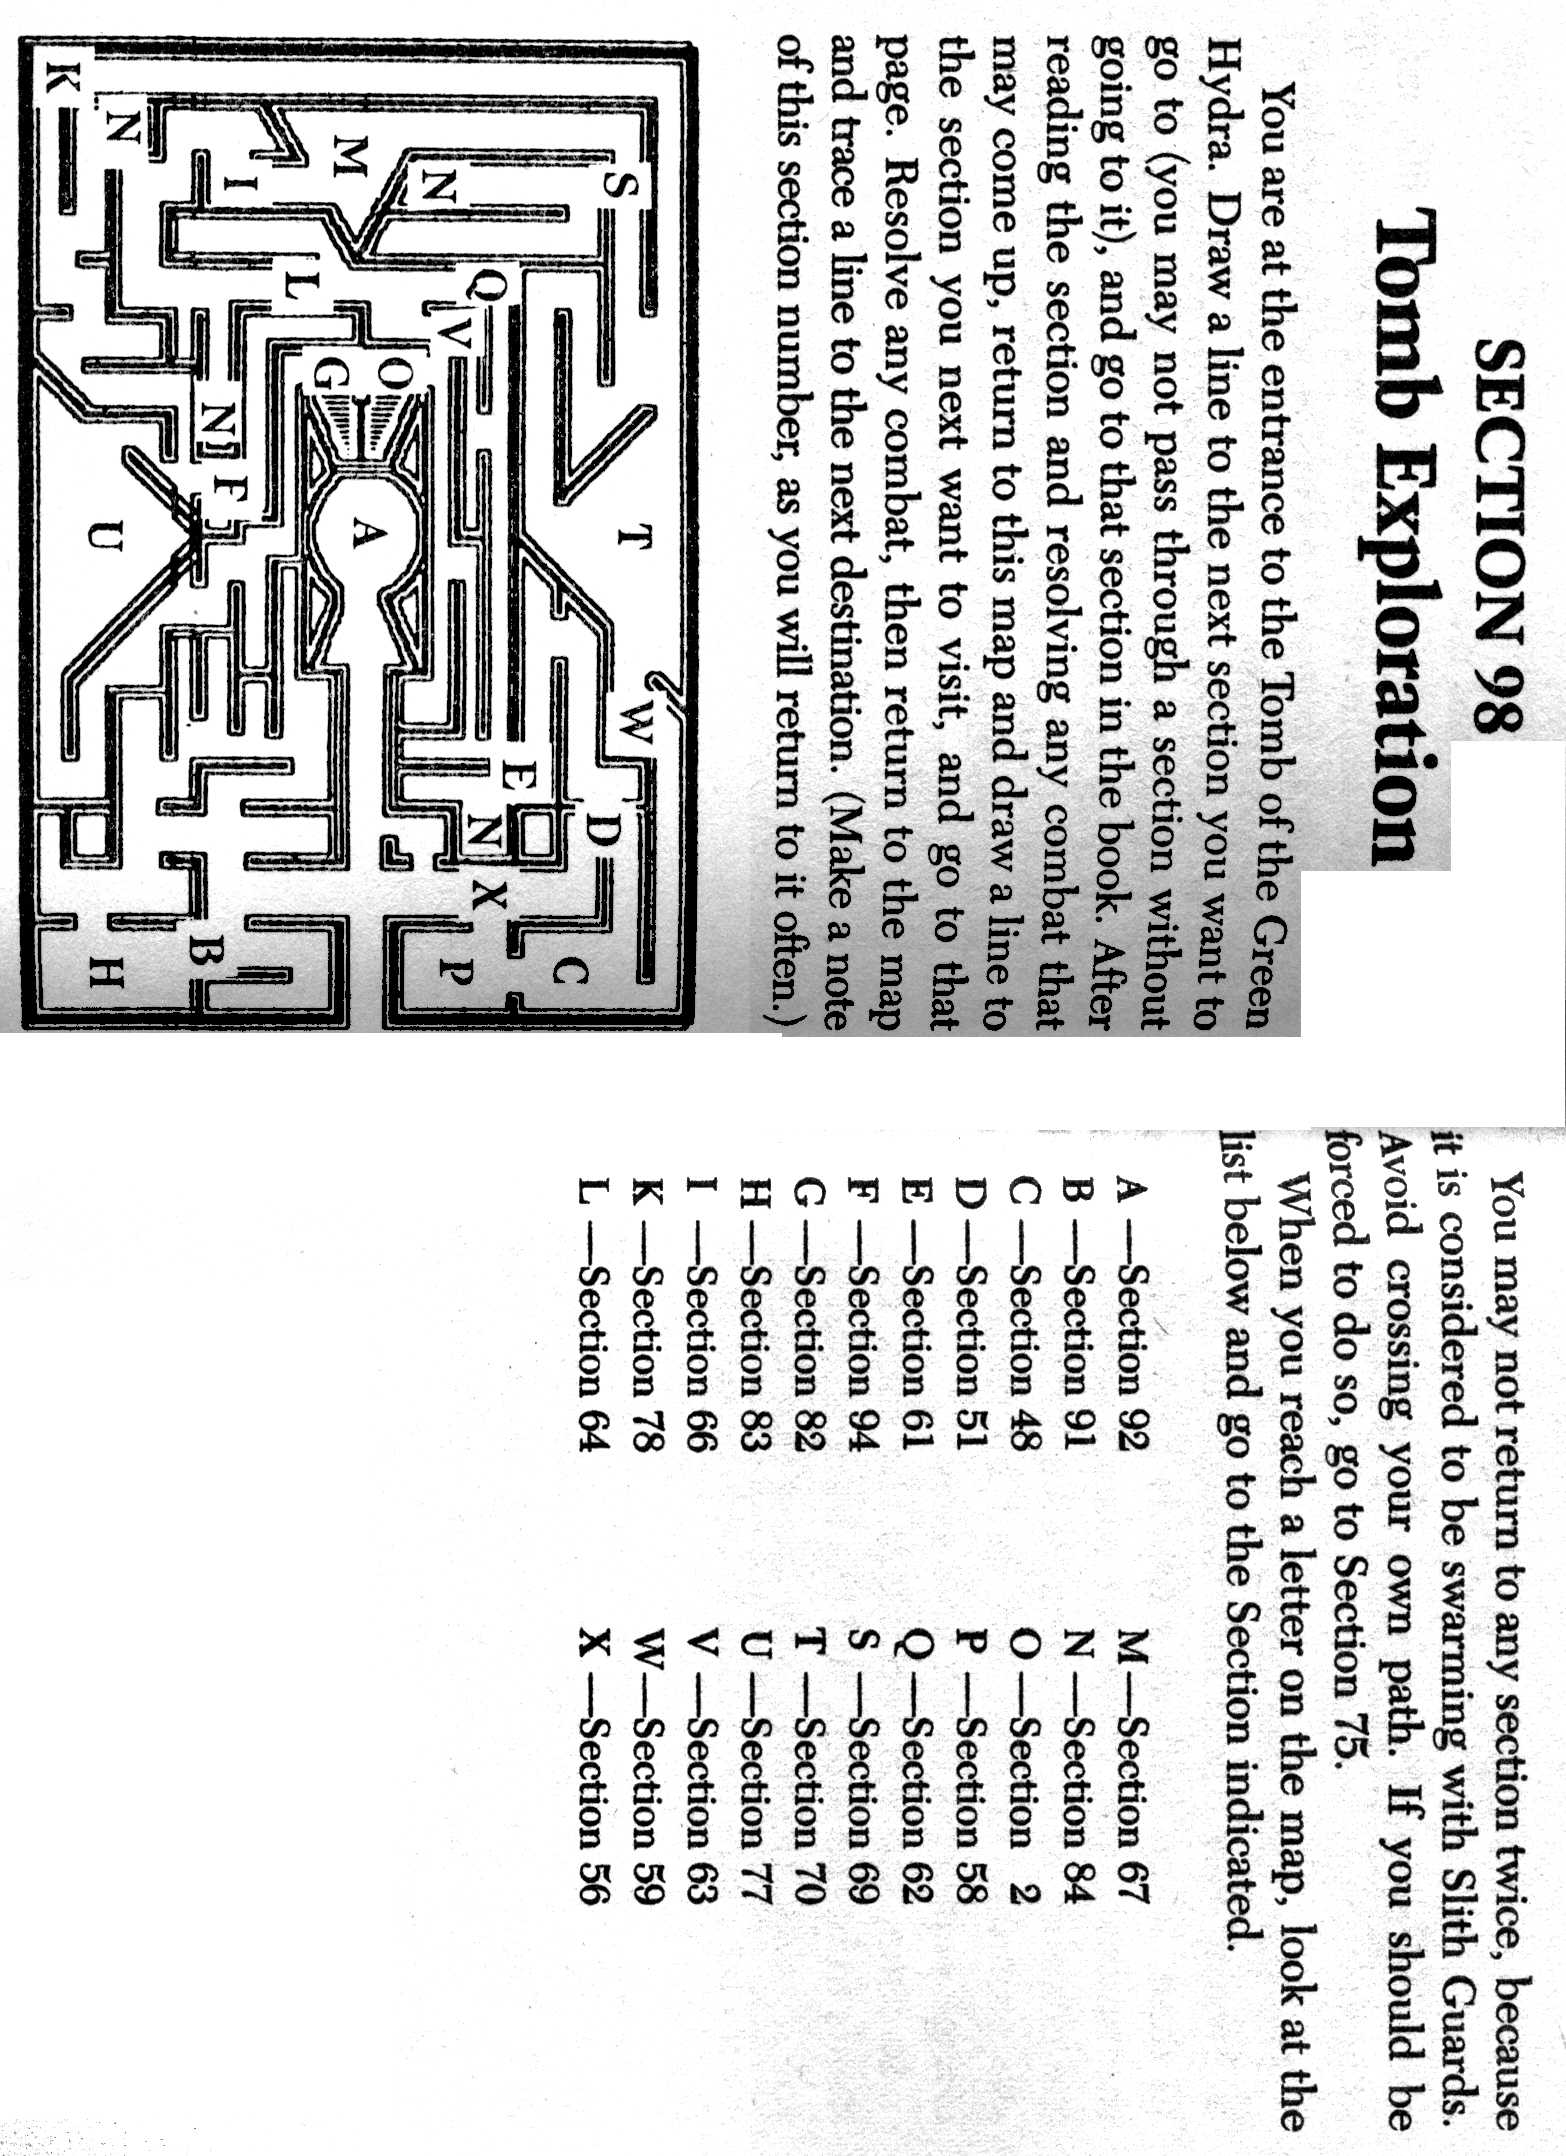
Hero's Challenge: Sagard the Barbarian #2 Hydra Tomb Map
John F. Antal's Tactical Books: Decision Charts (front page)
John F. Antal's Tactical Books: Decision Charts (two facing pages)
Knuckleduster #1 Final Roundup
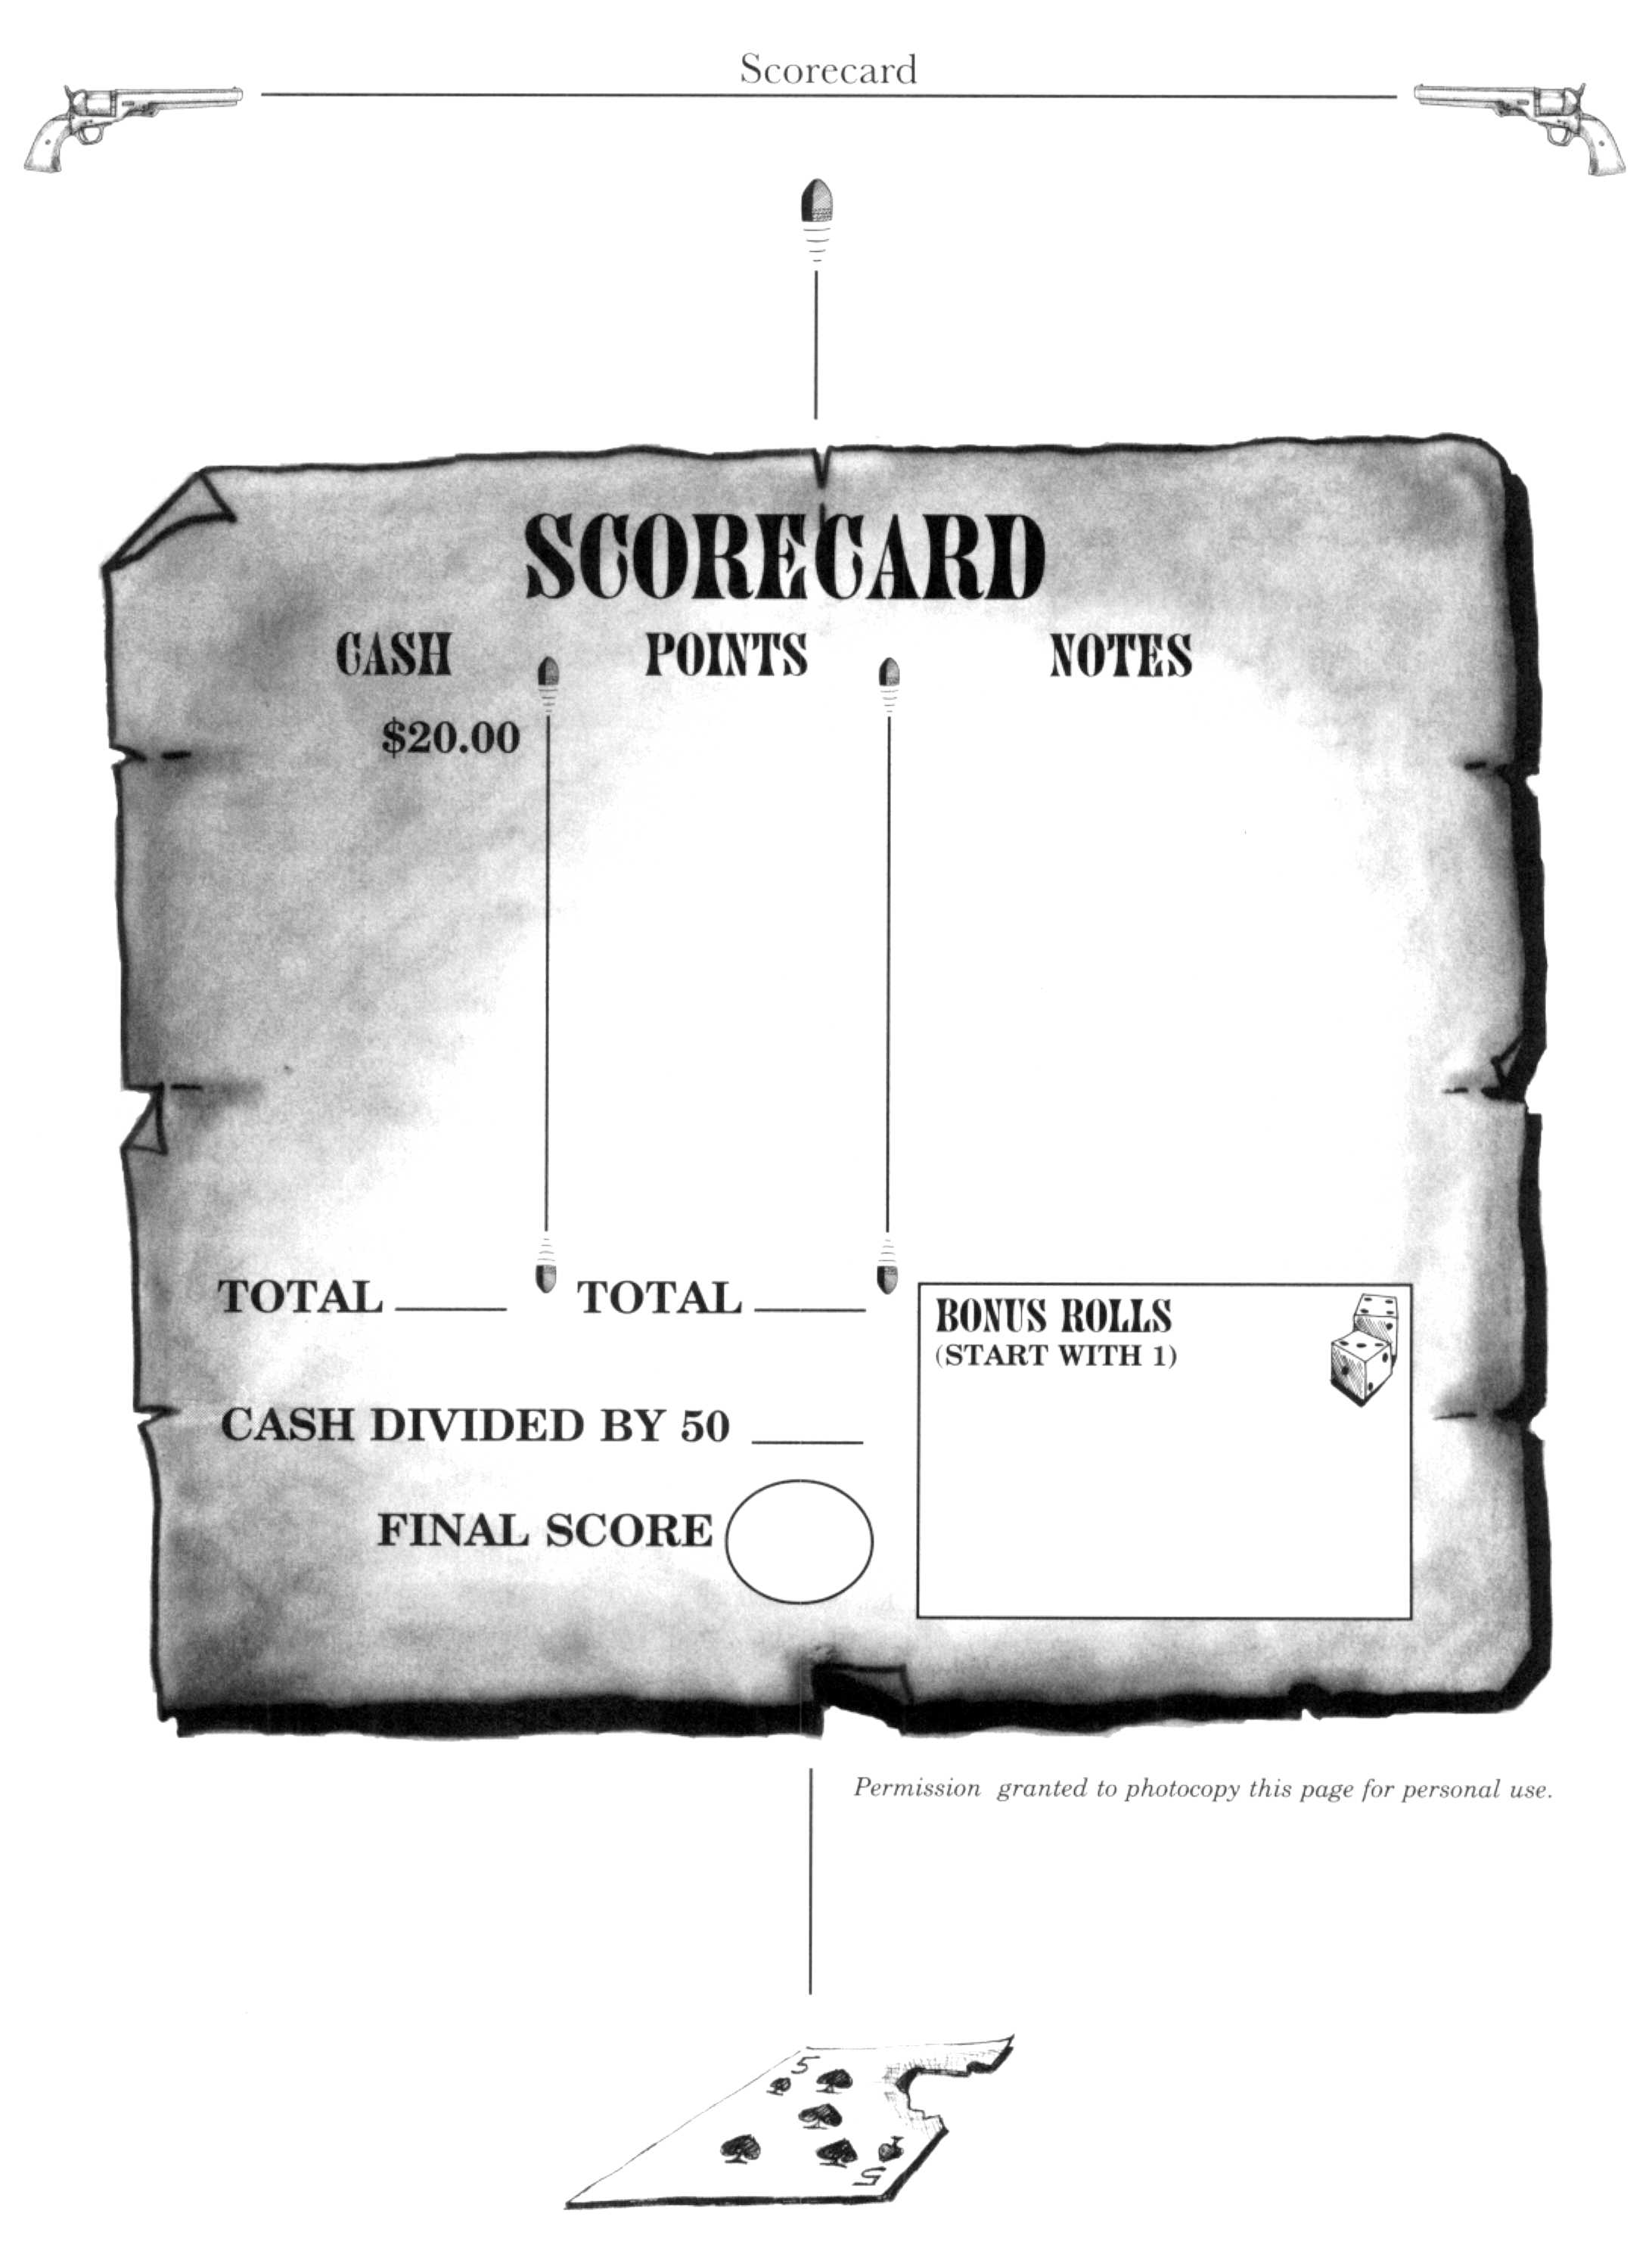
Knuckleduster #1 Scorecard
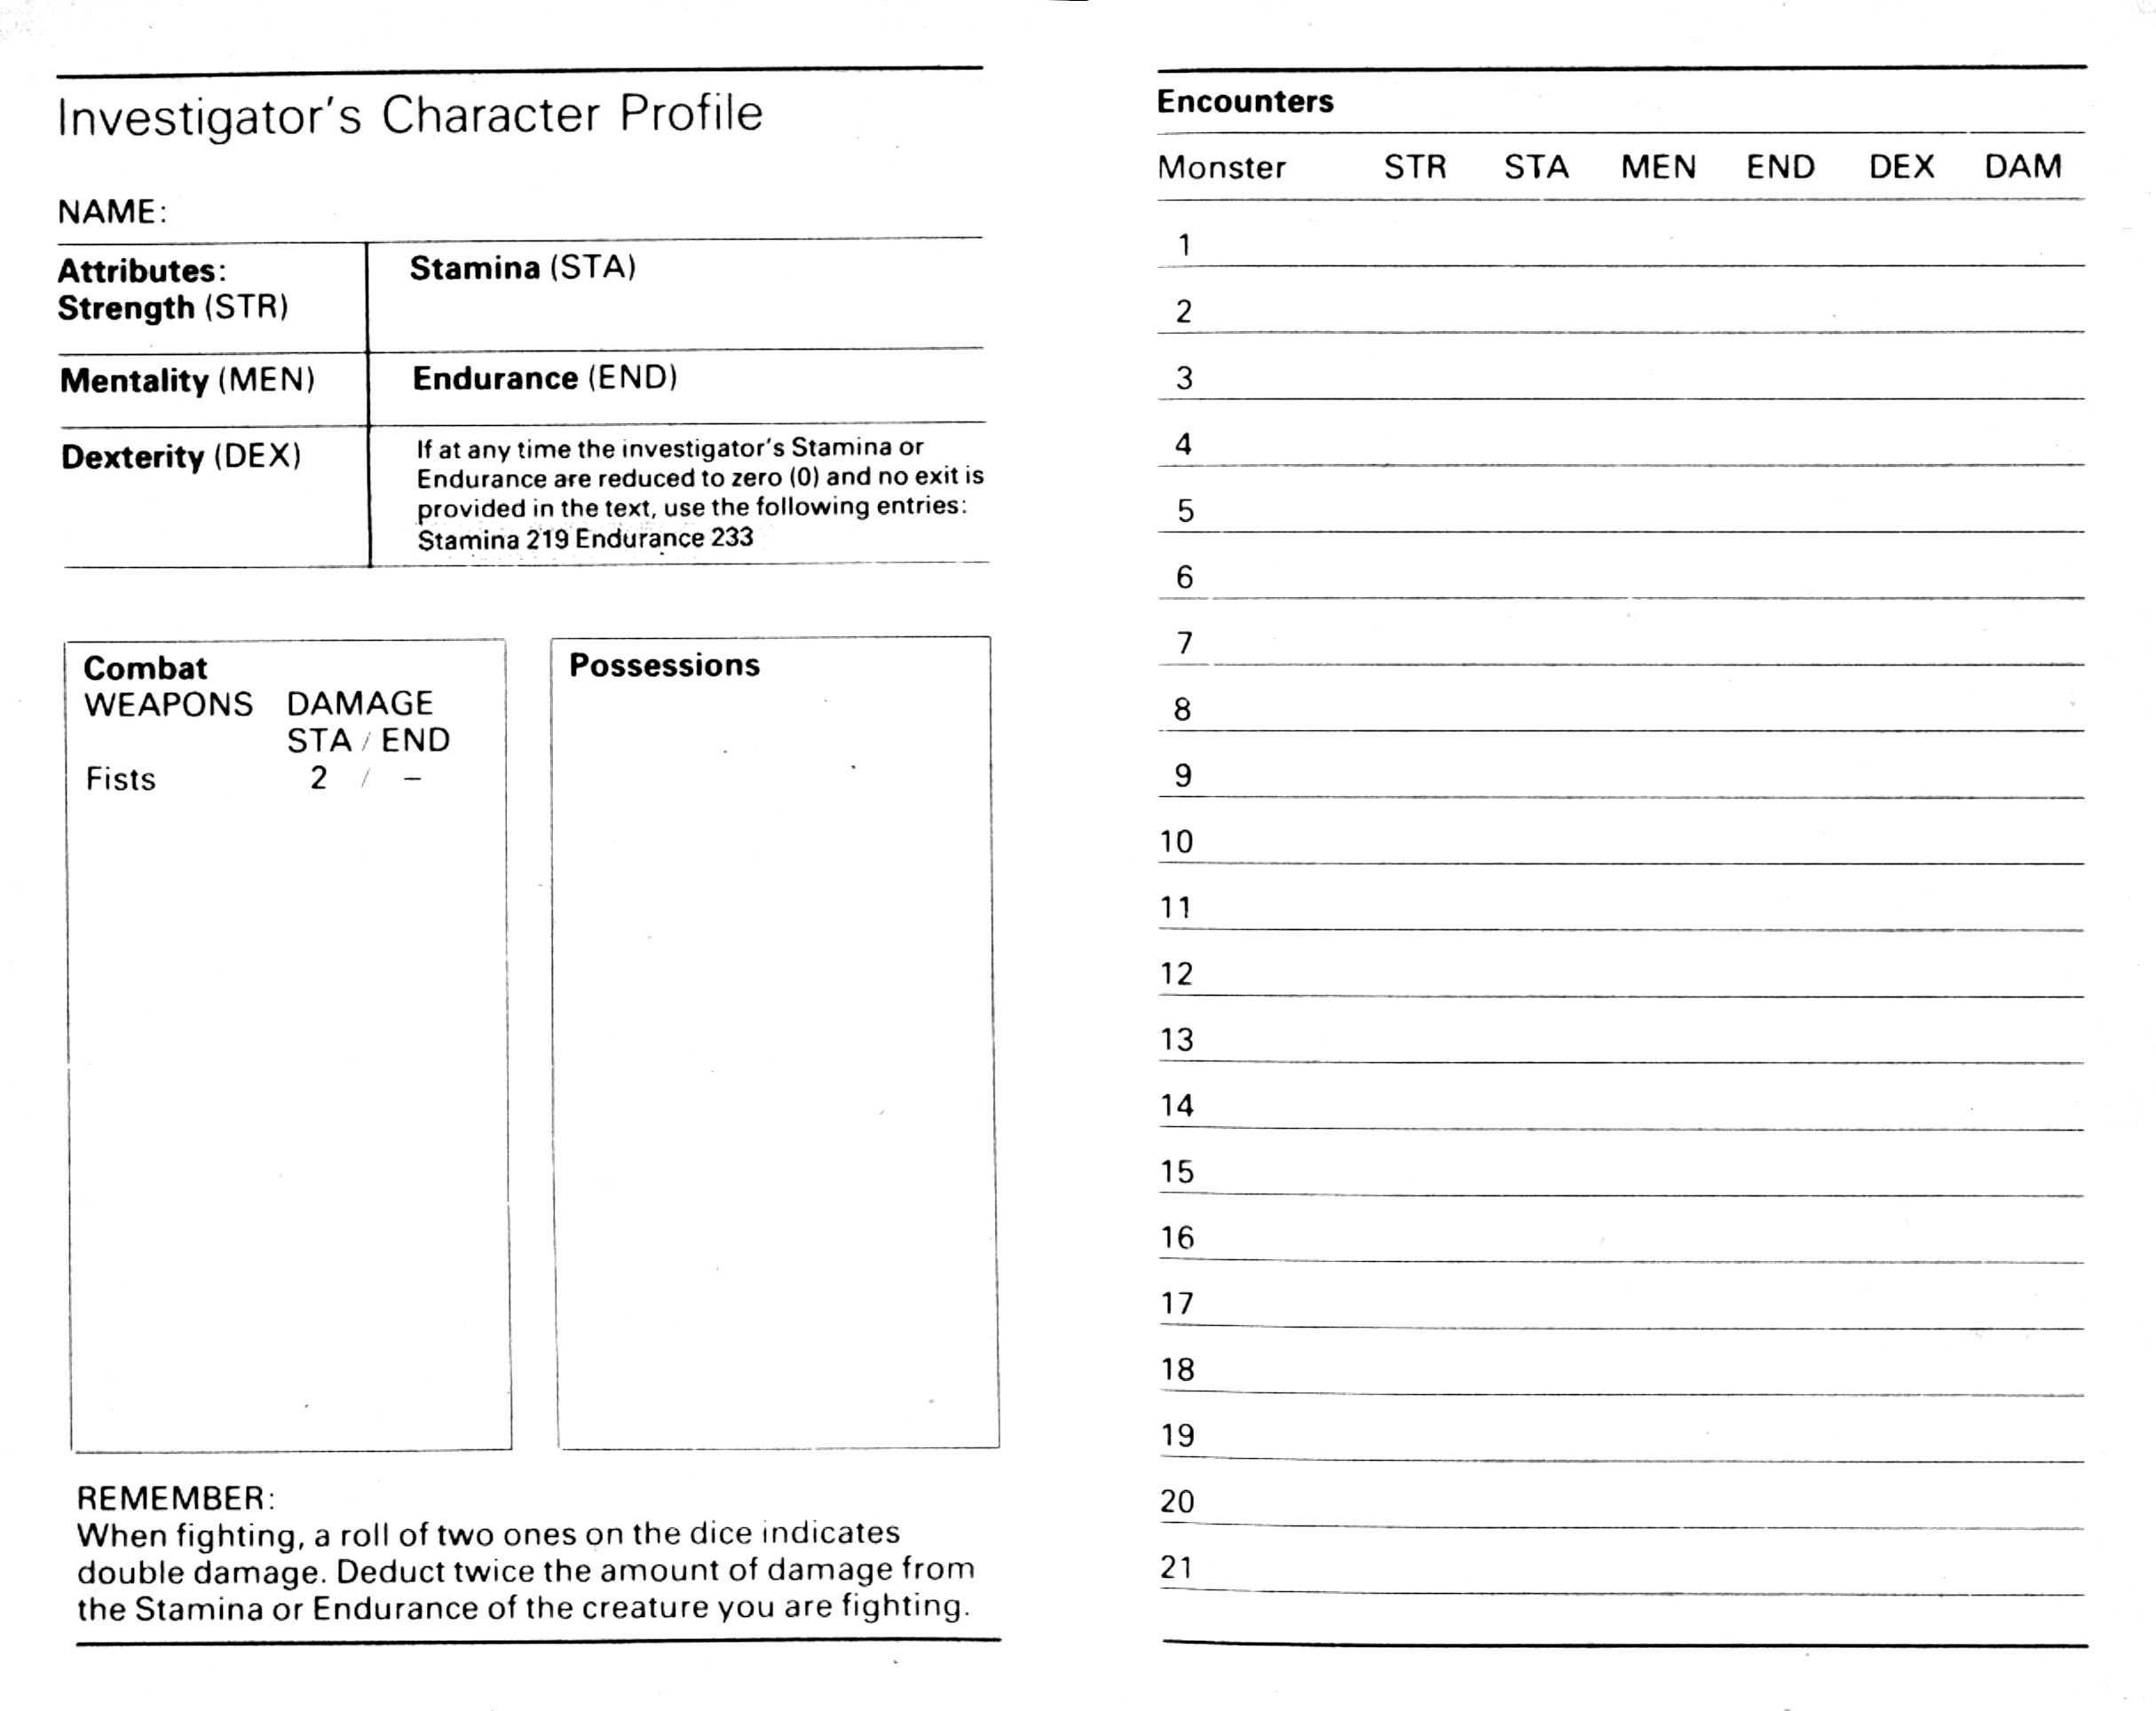
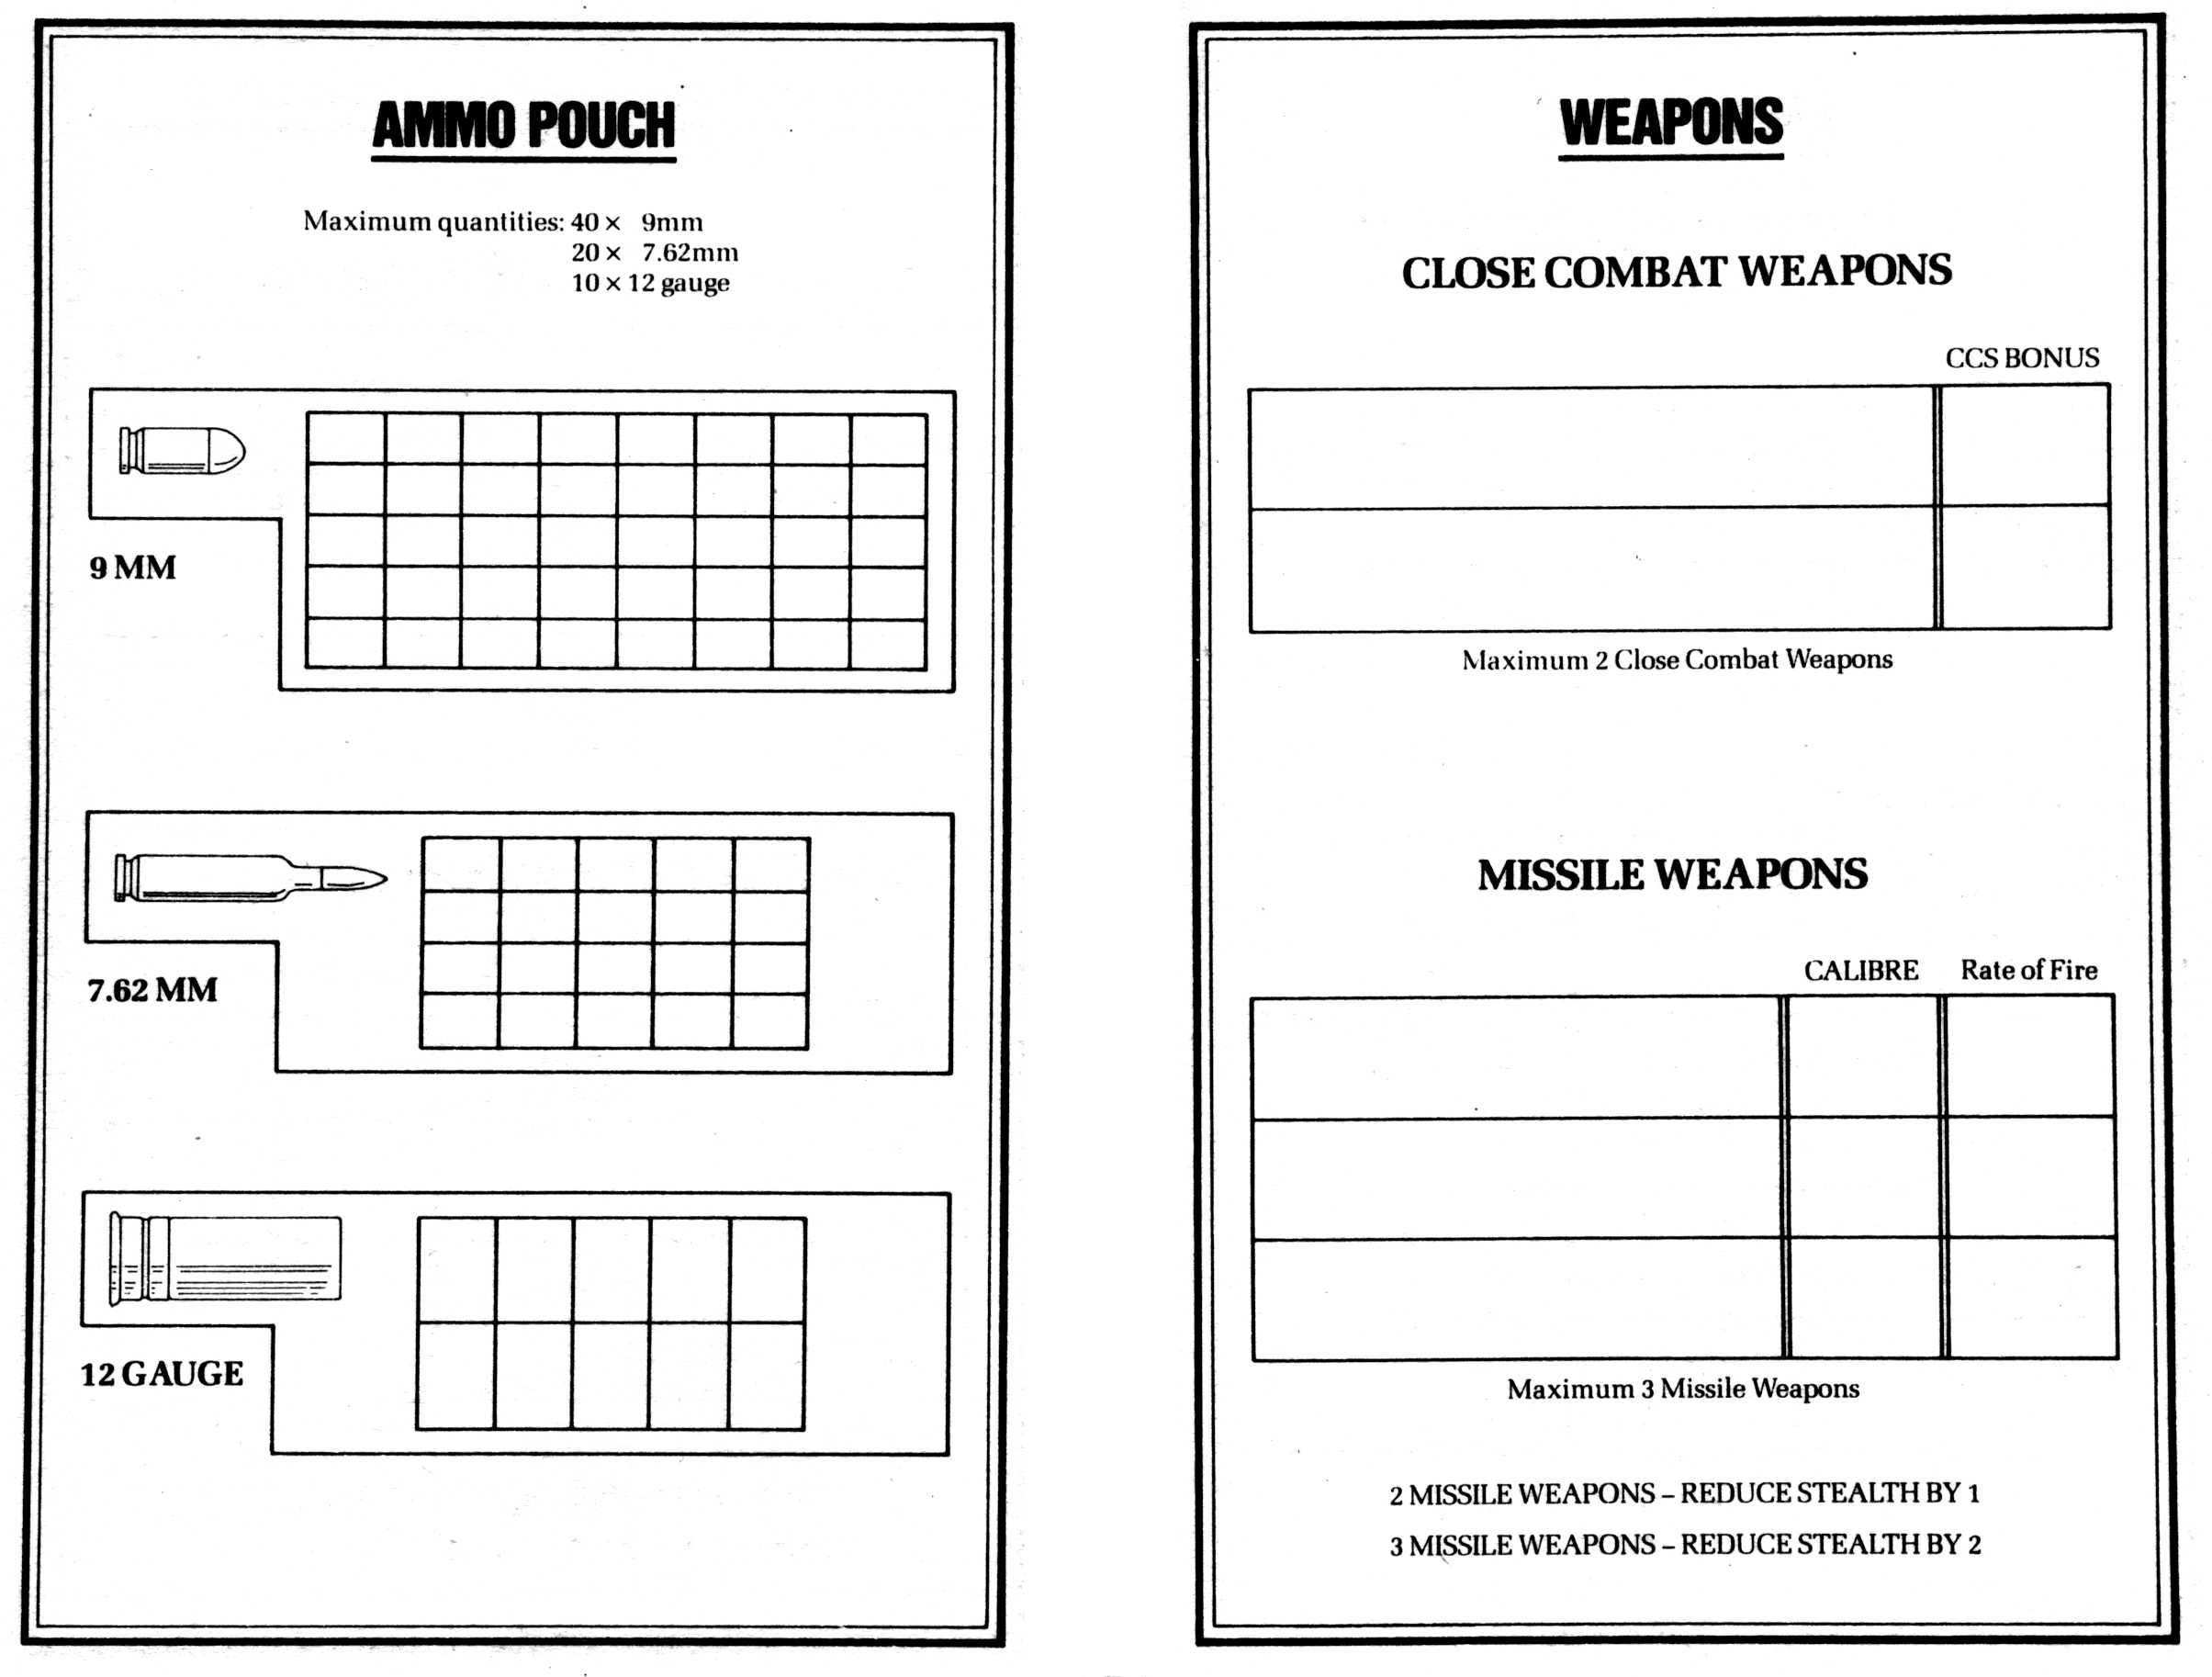
Knuckleduster #2 Character Profile
Knuckleduster #2 Scorecard
Lands of Delorian #1 Character Sheet
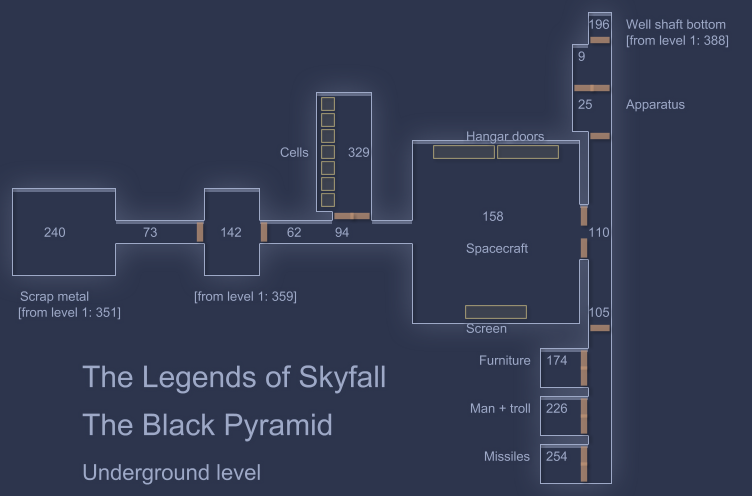
Legends of Skyfall #2 - Map, Level 0
- Thanks to Michael Hartland for creating and sharing this map.
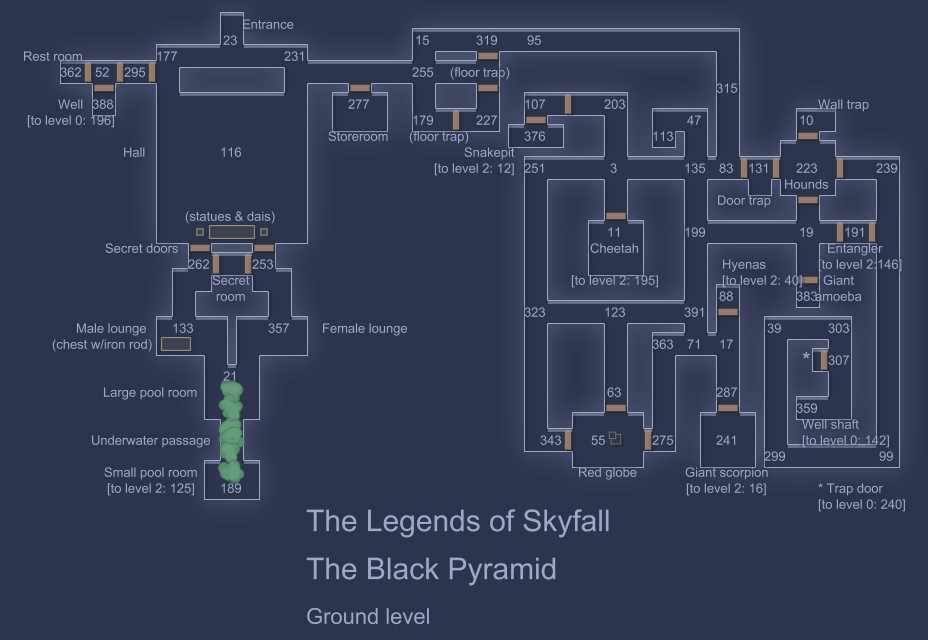
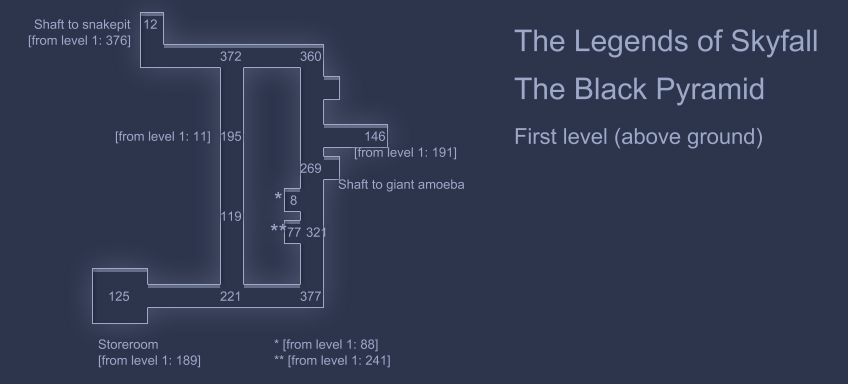
Legends of Skyfall #2 - Map, Level 1
- Thanks to Michael Hartland for creating and sharing this map.
Legends of Skyfall #2 - Map, Level 2
- Thanks to Michael Hartland for creating and sharing this map.
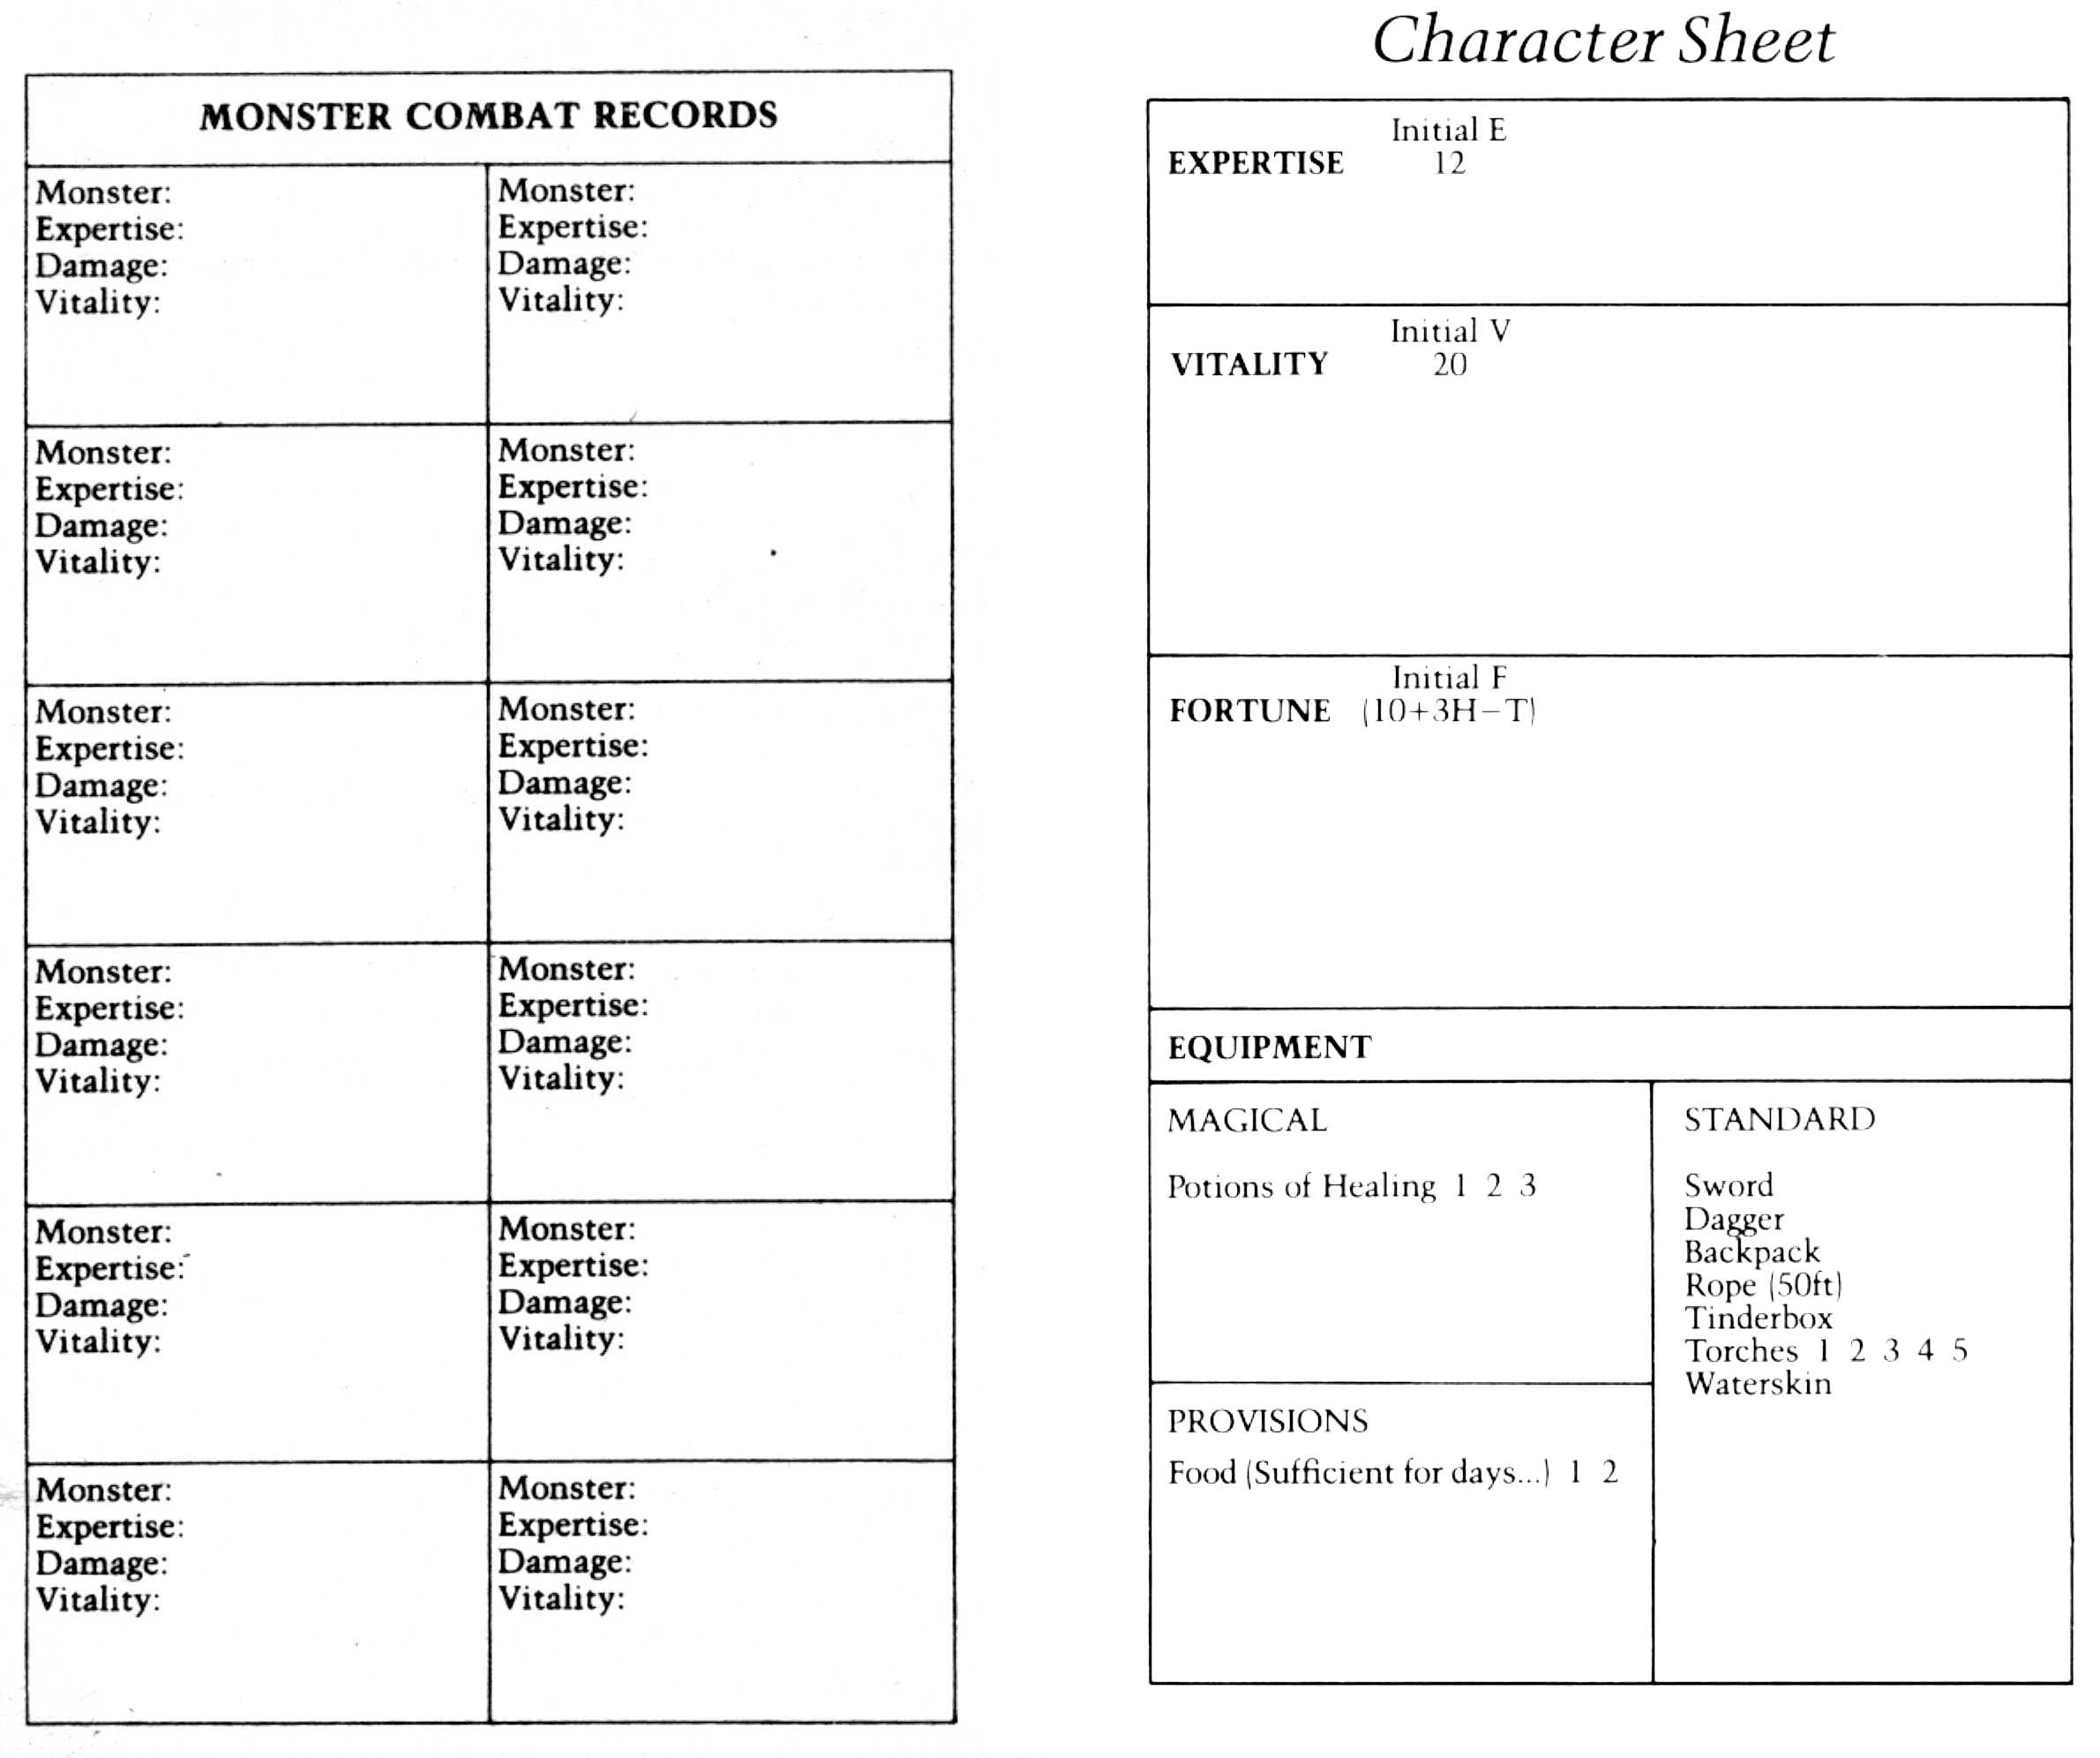
Legends of Skyfall Character Sheet
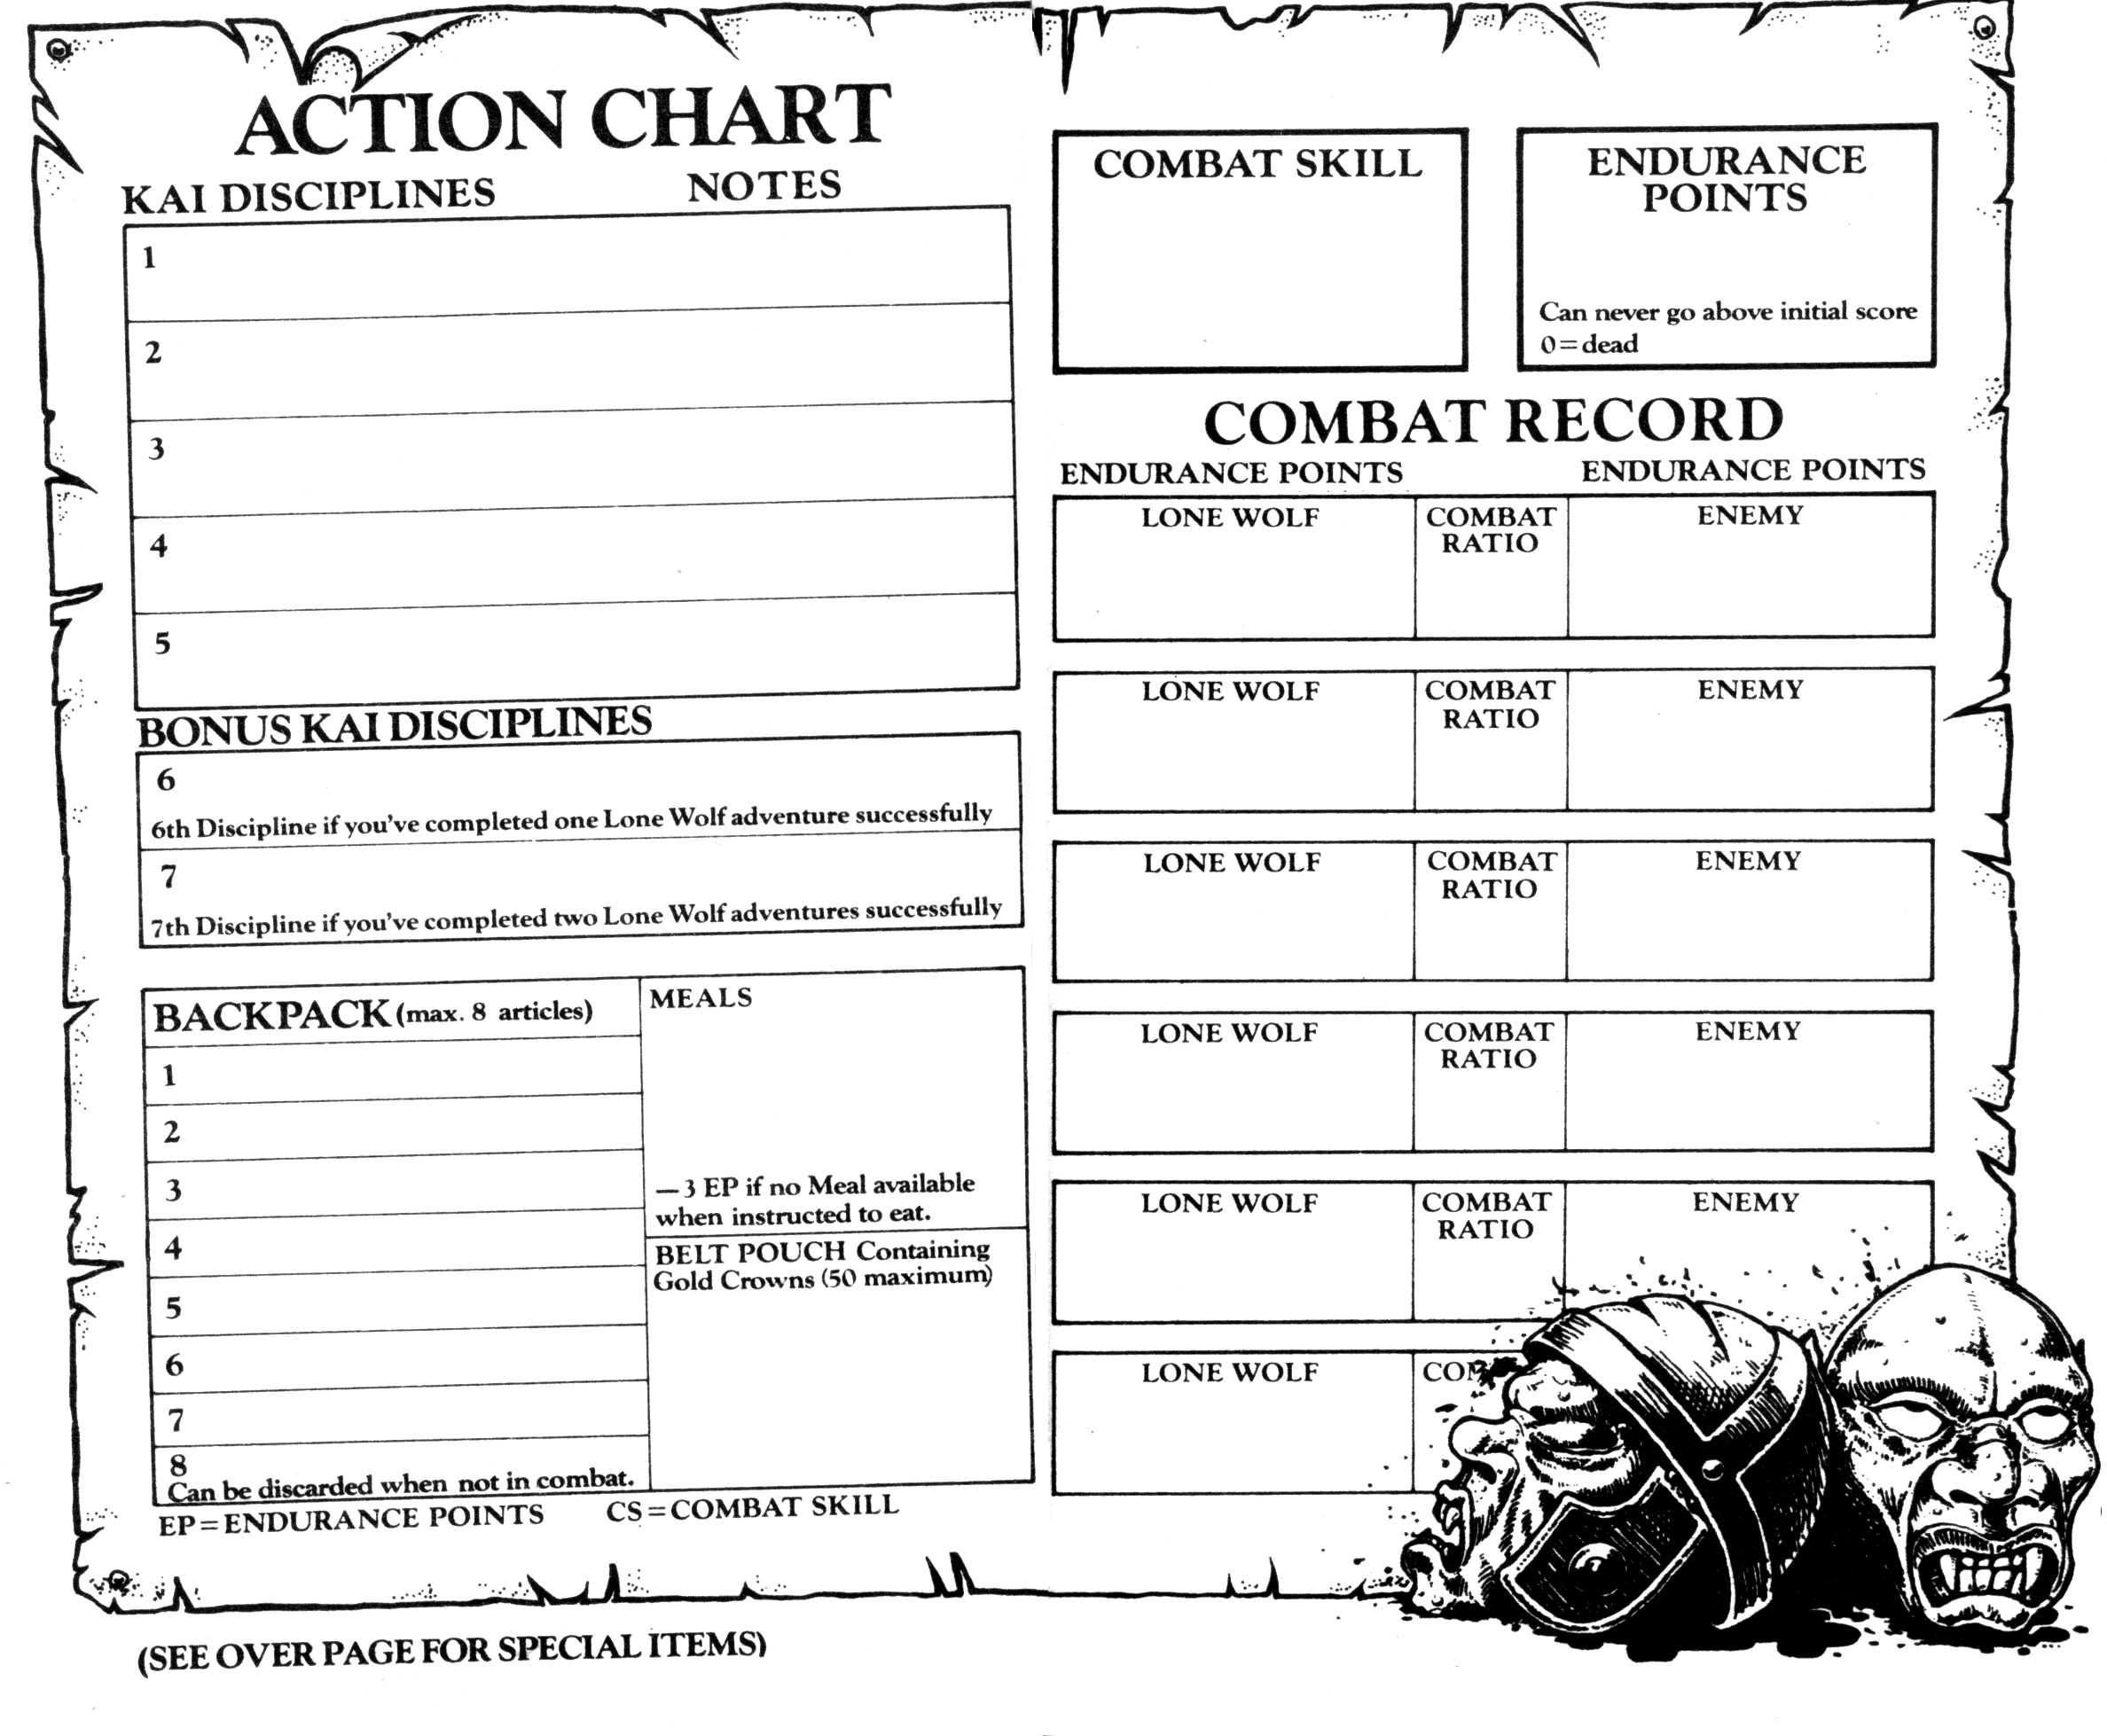
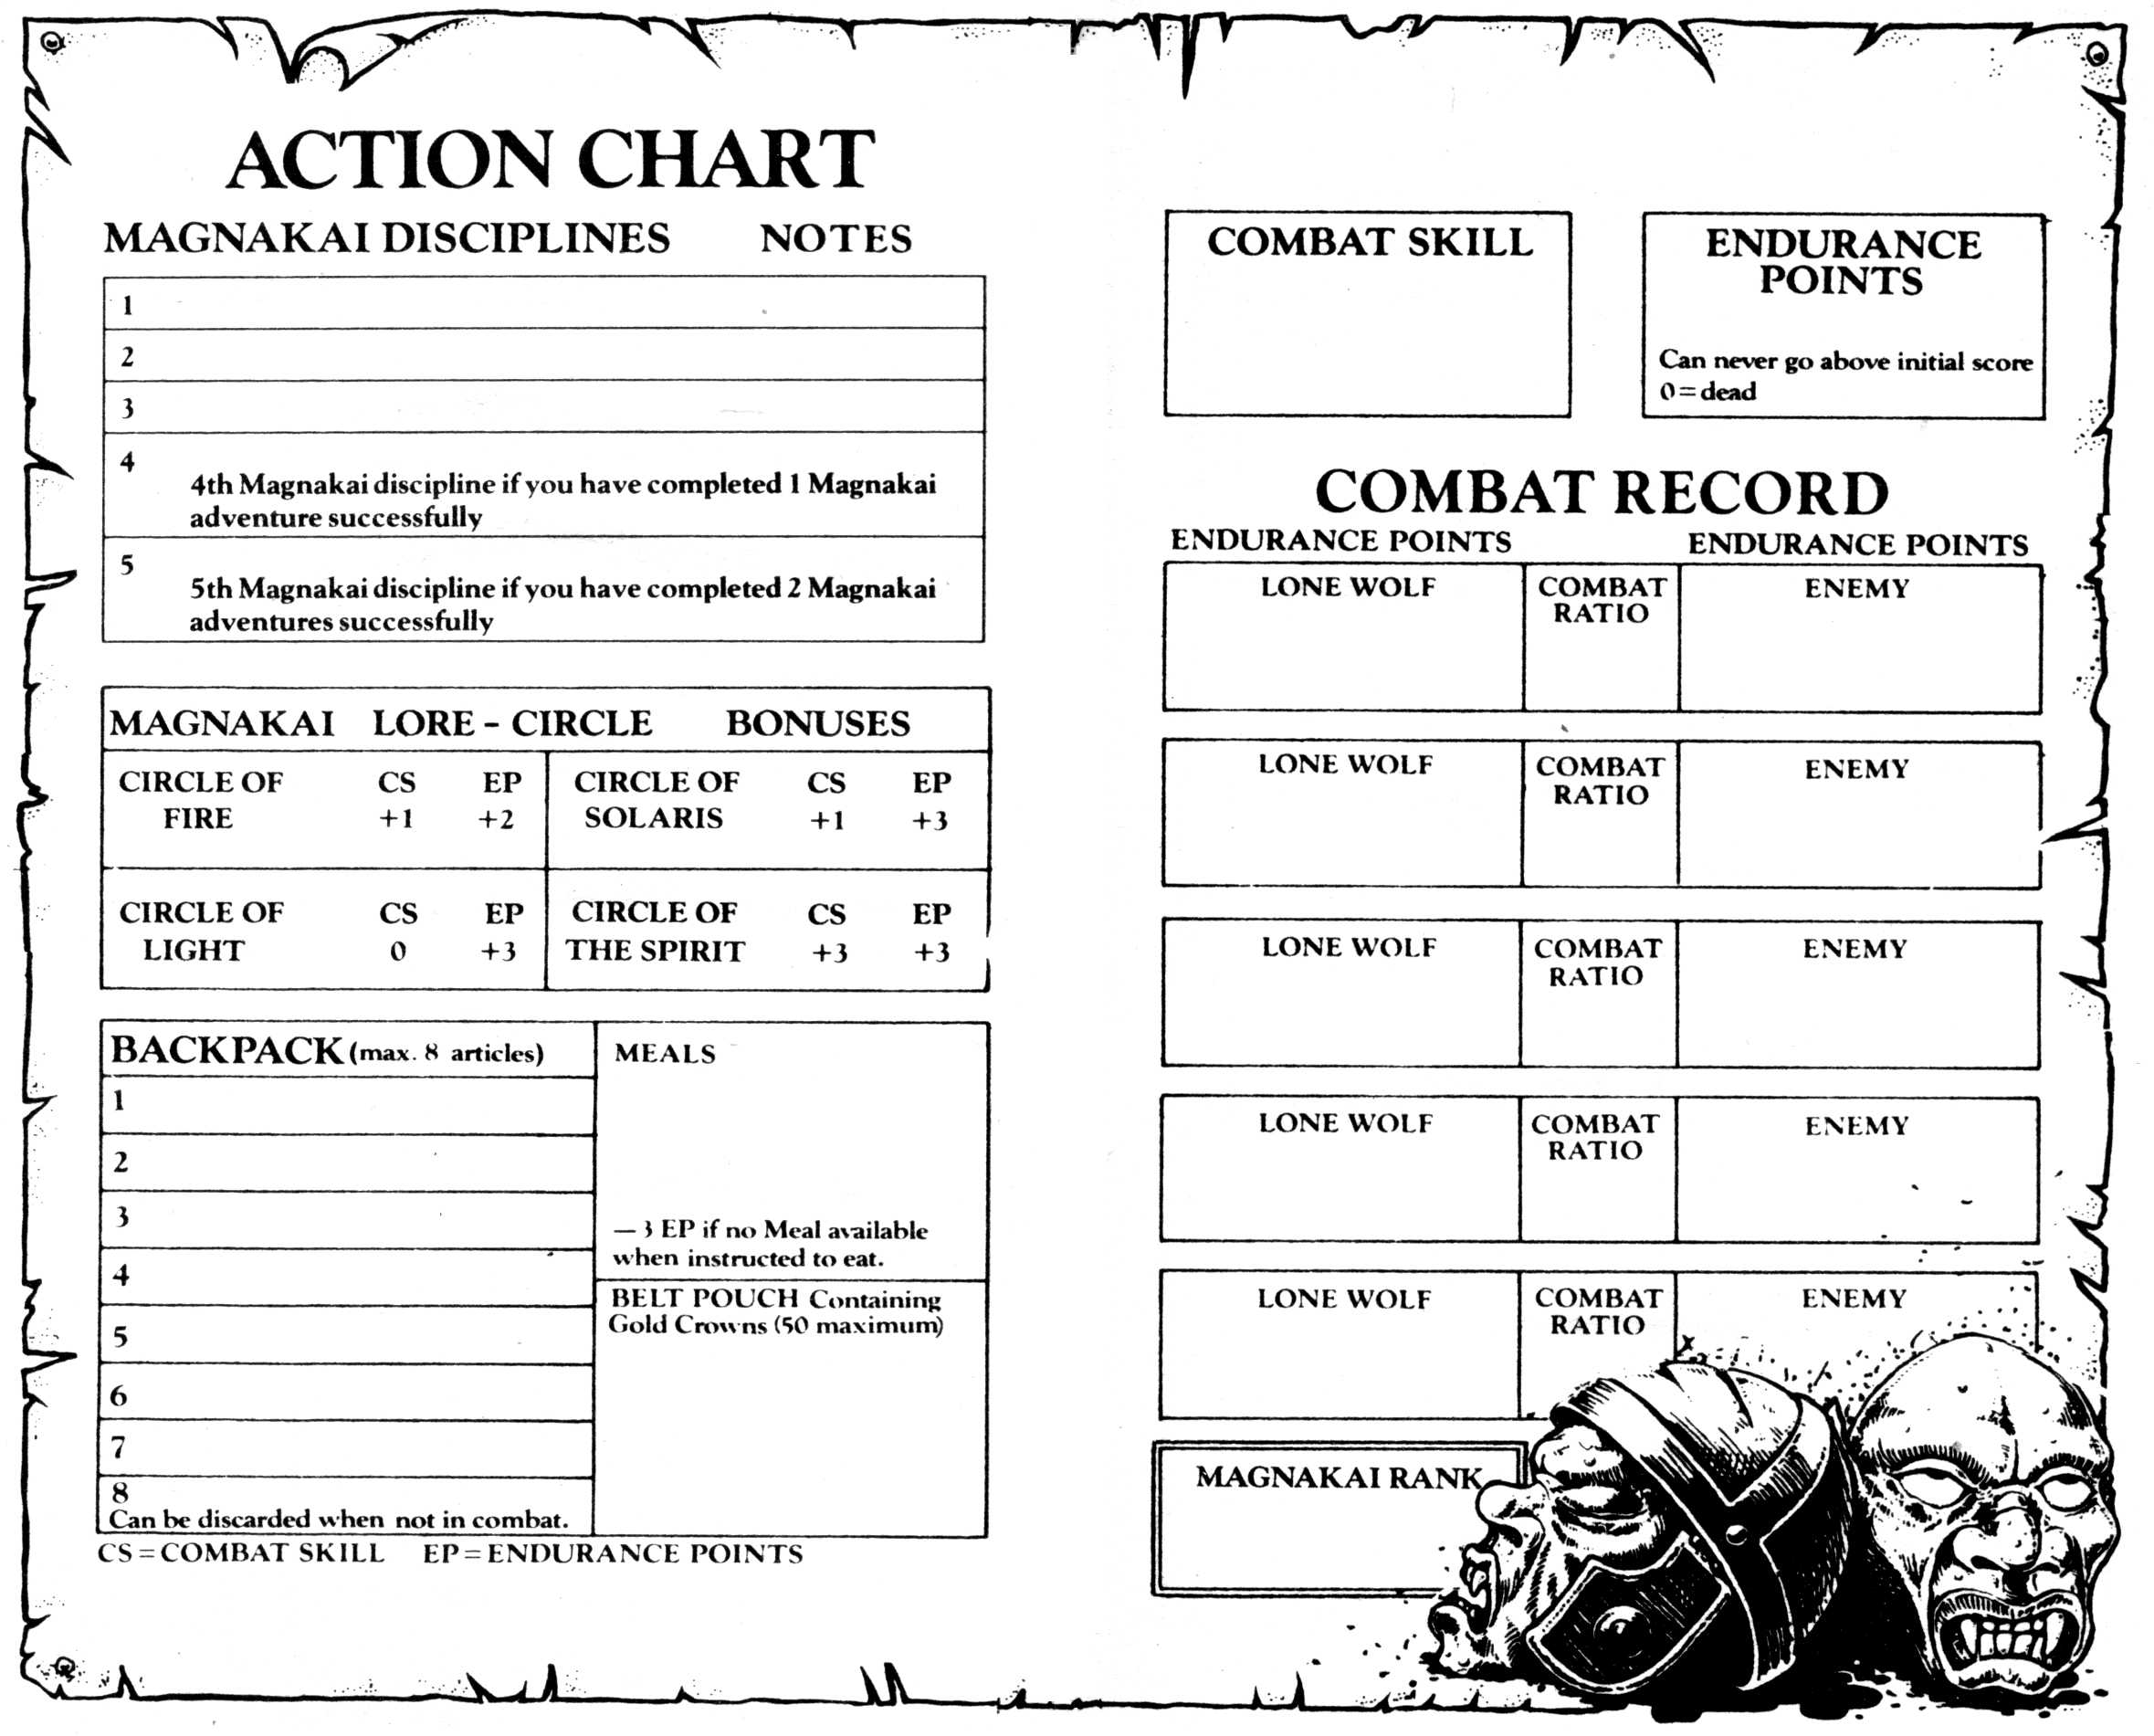
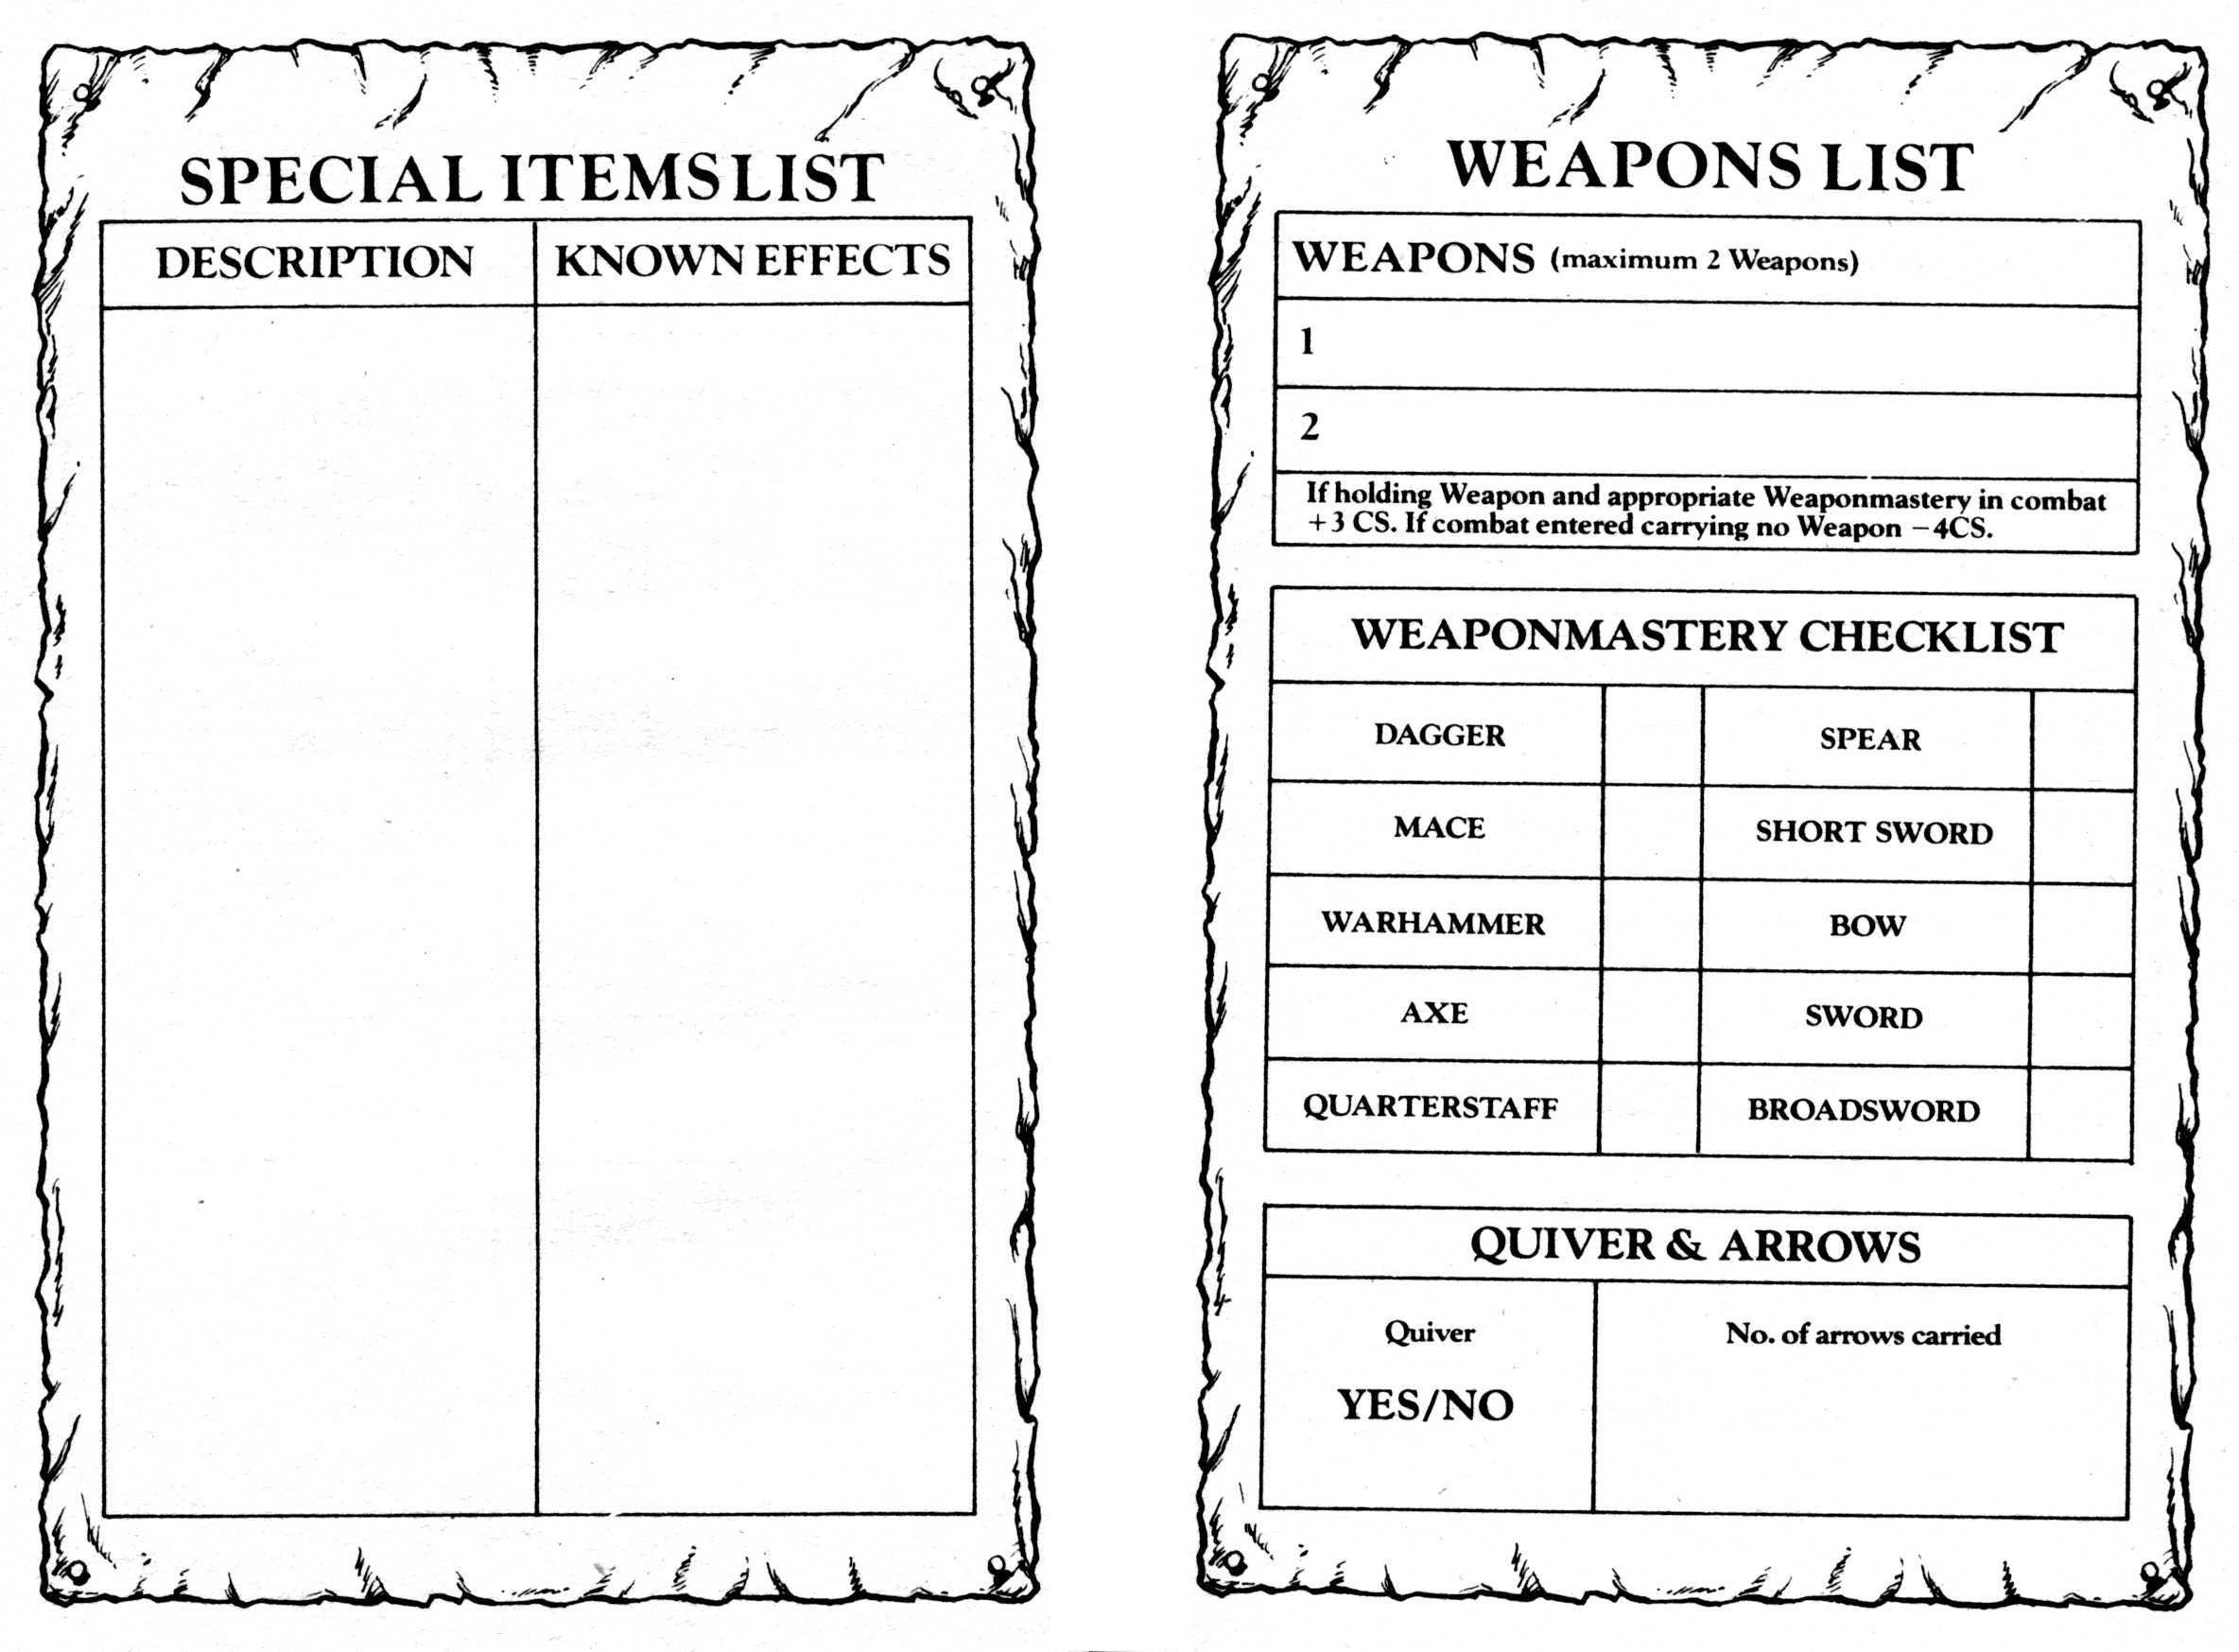
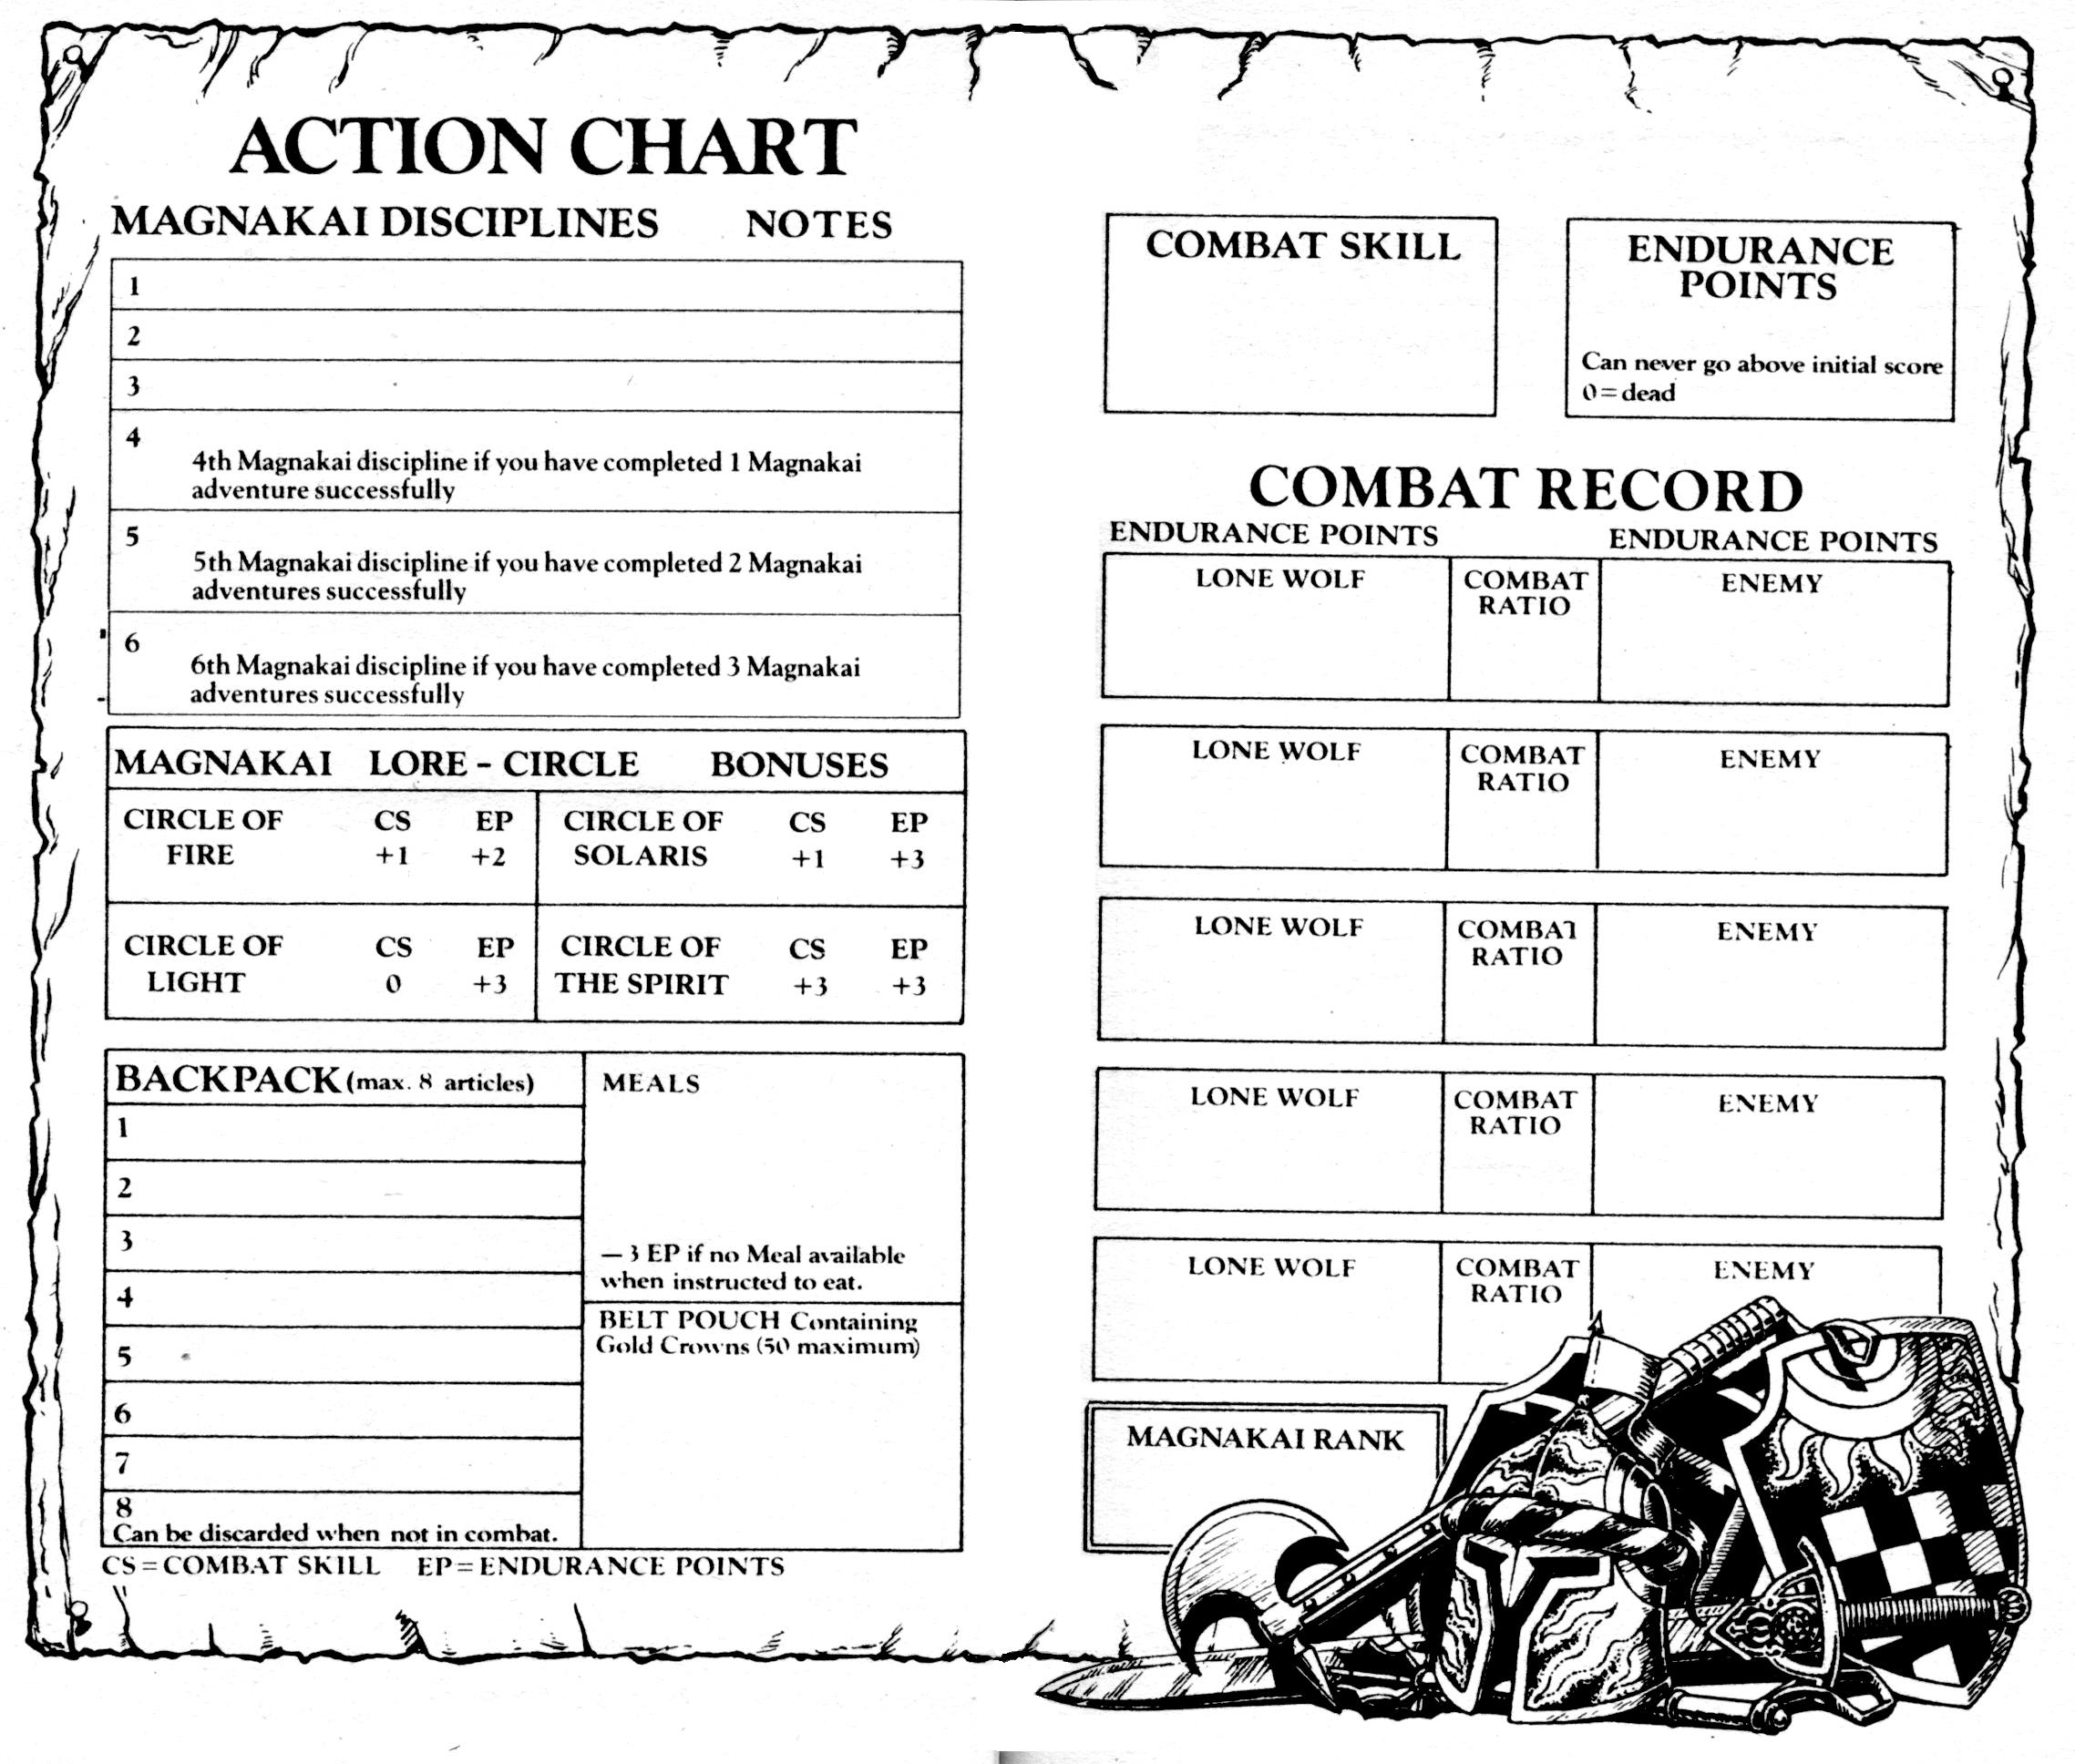
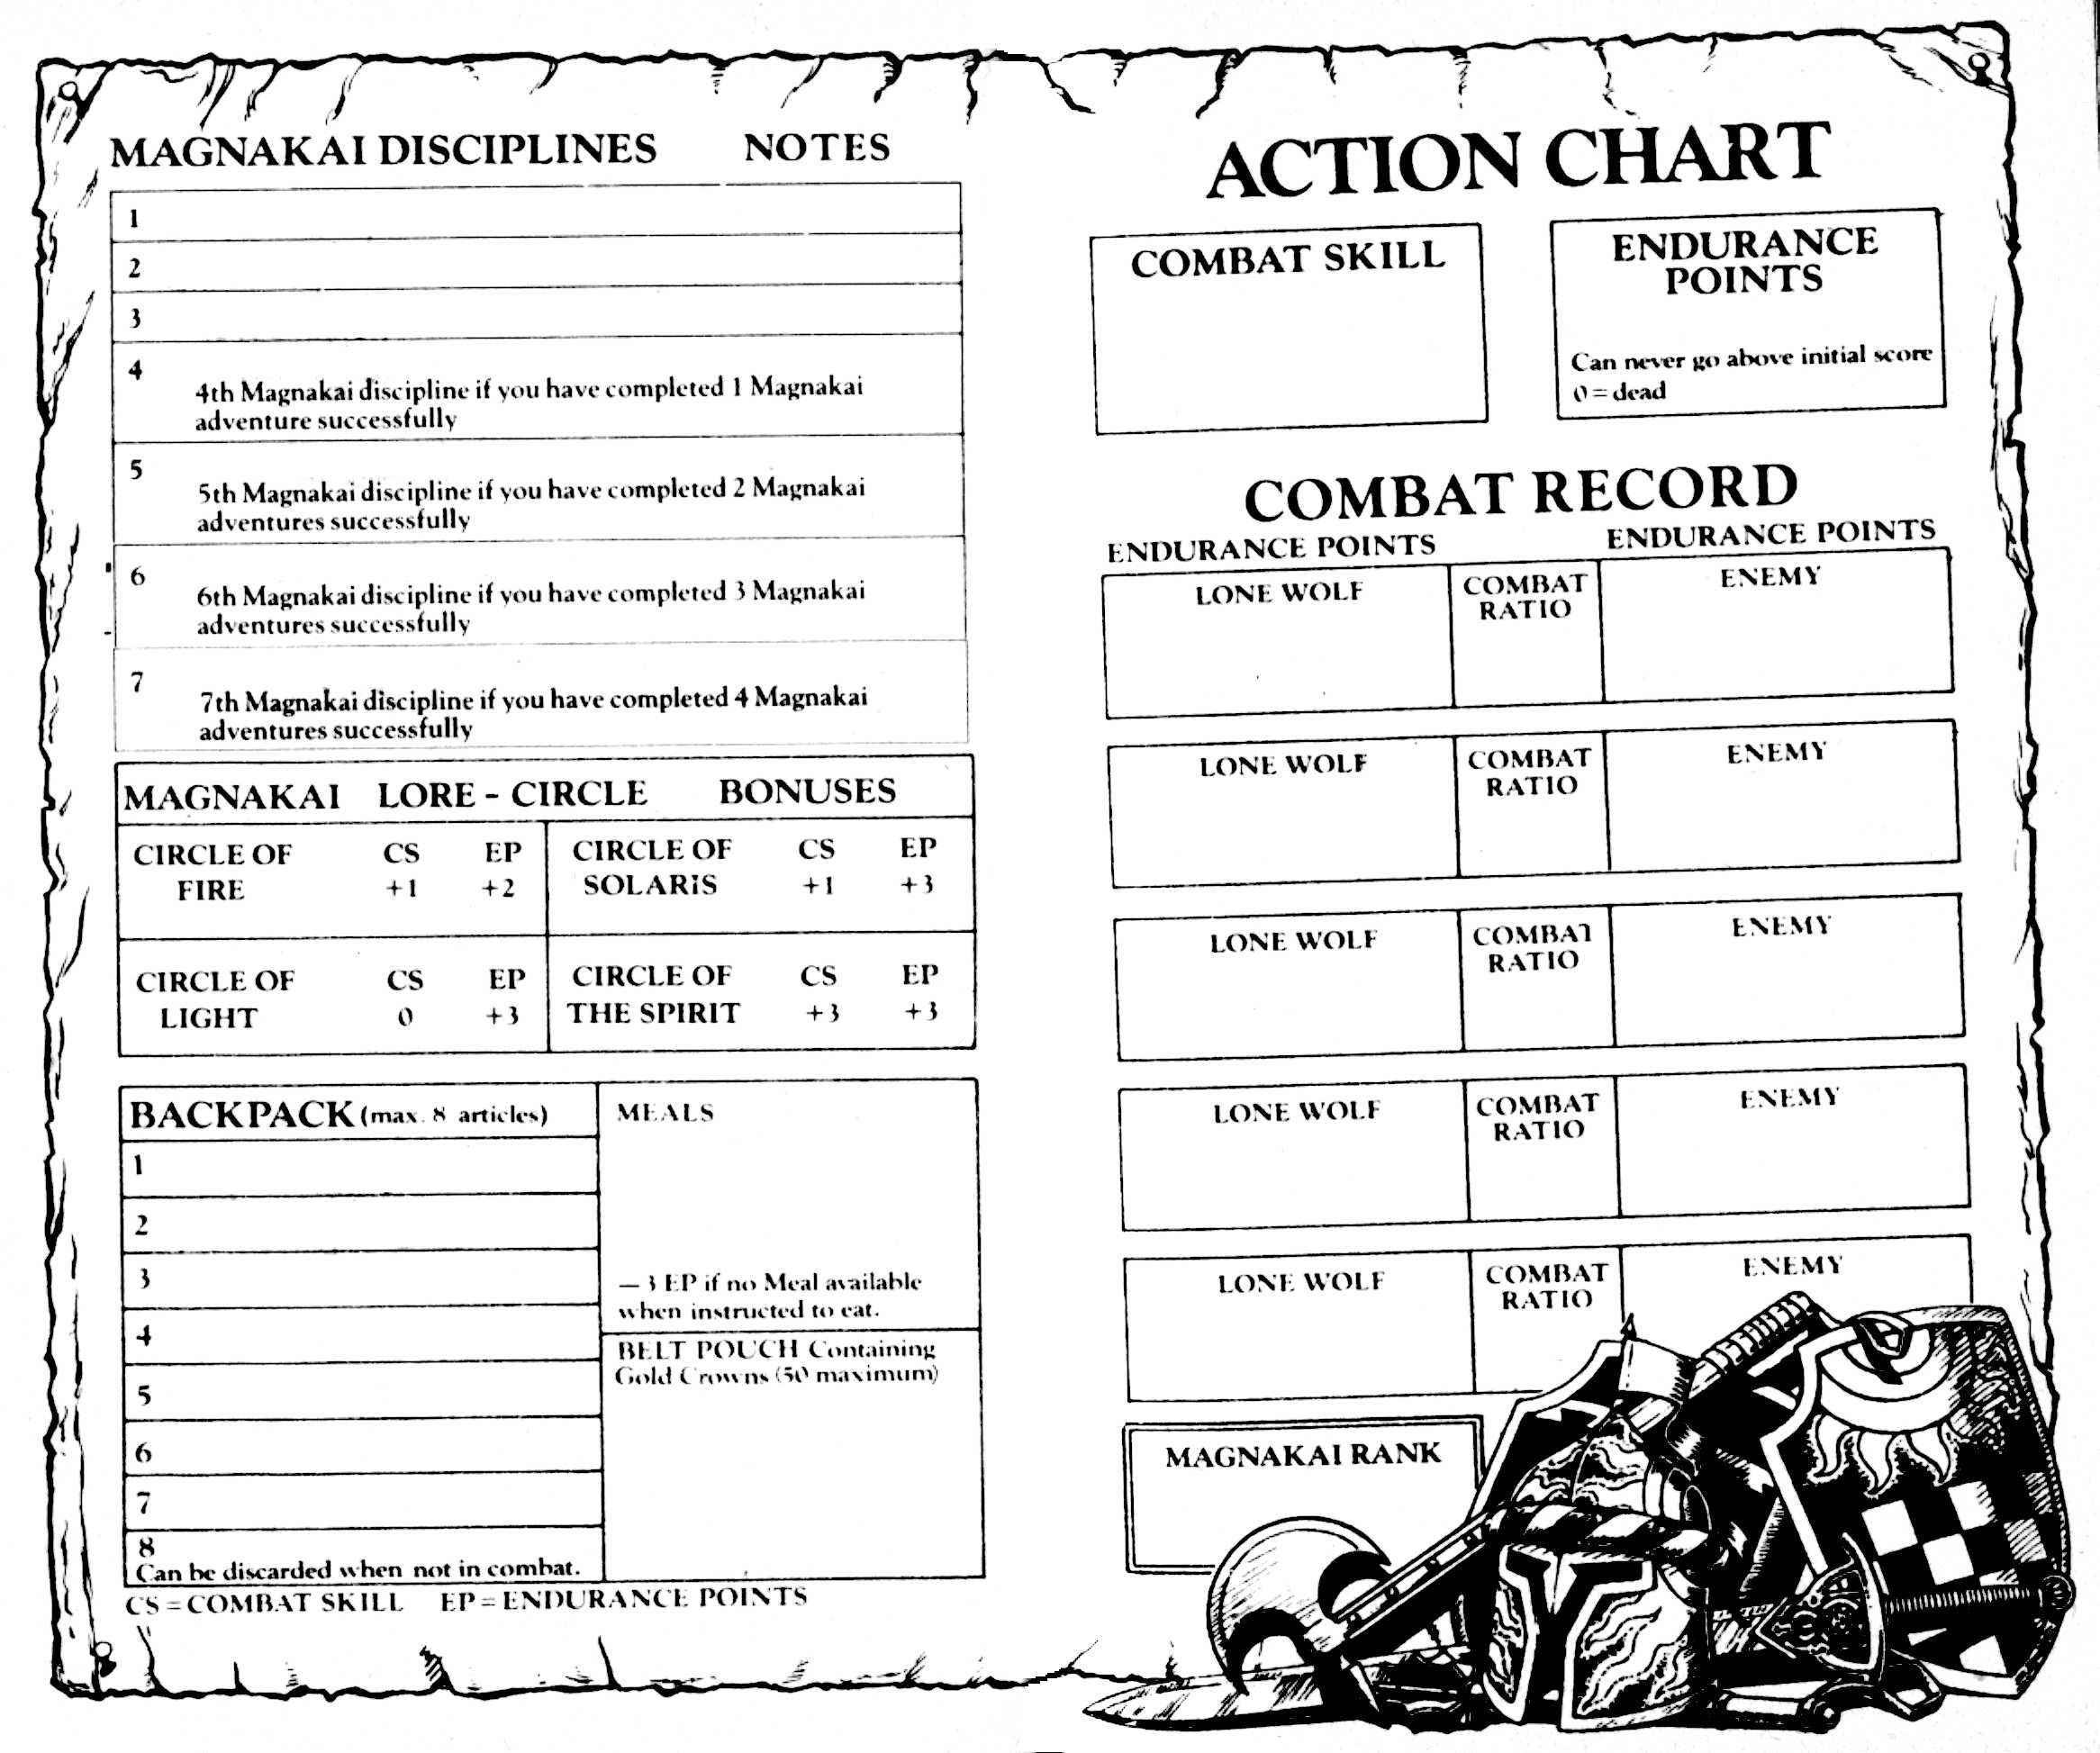
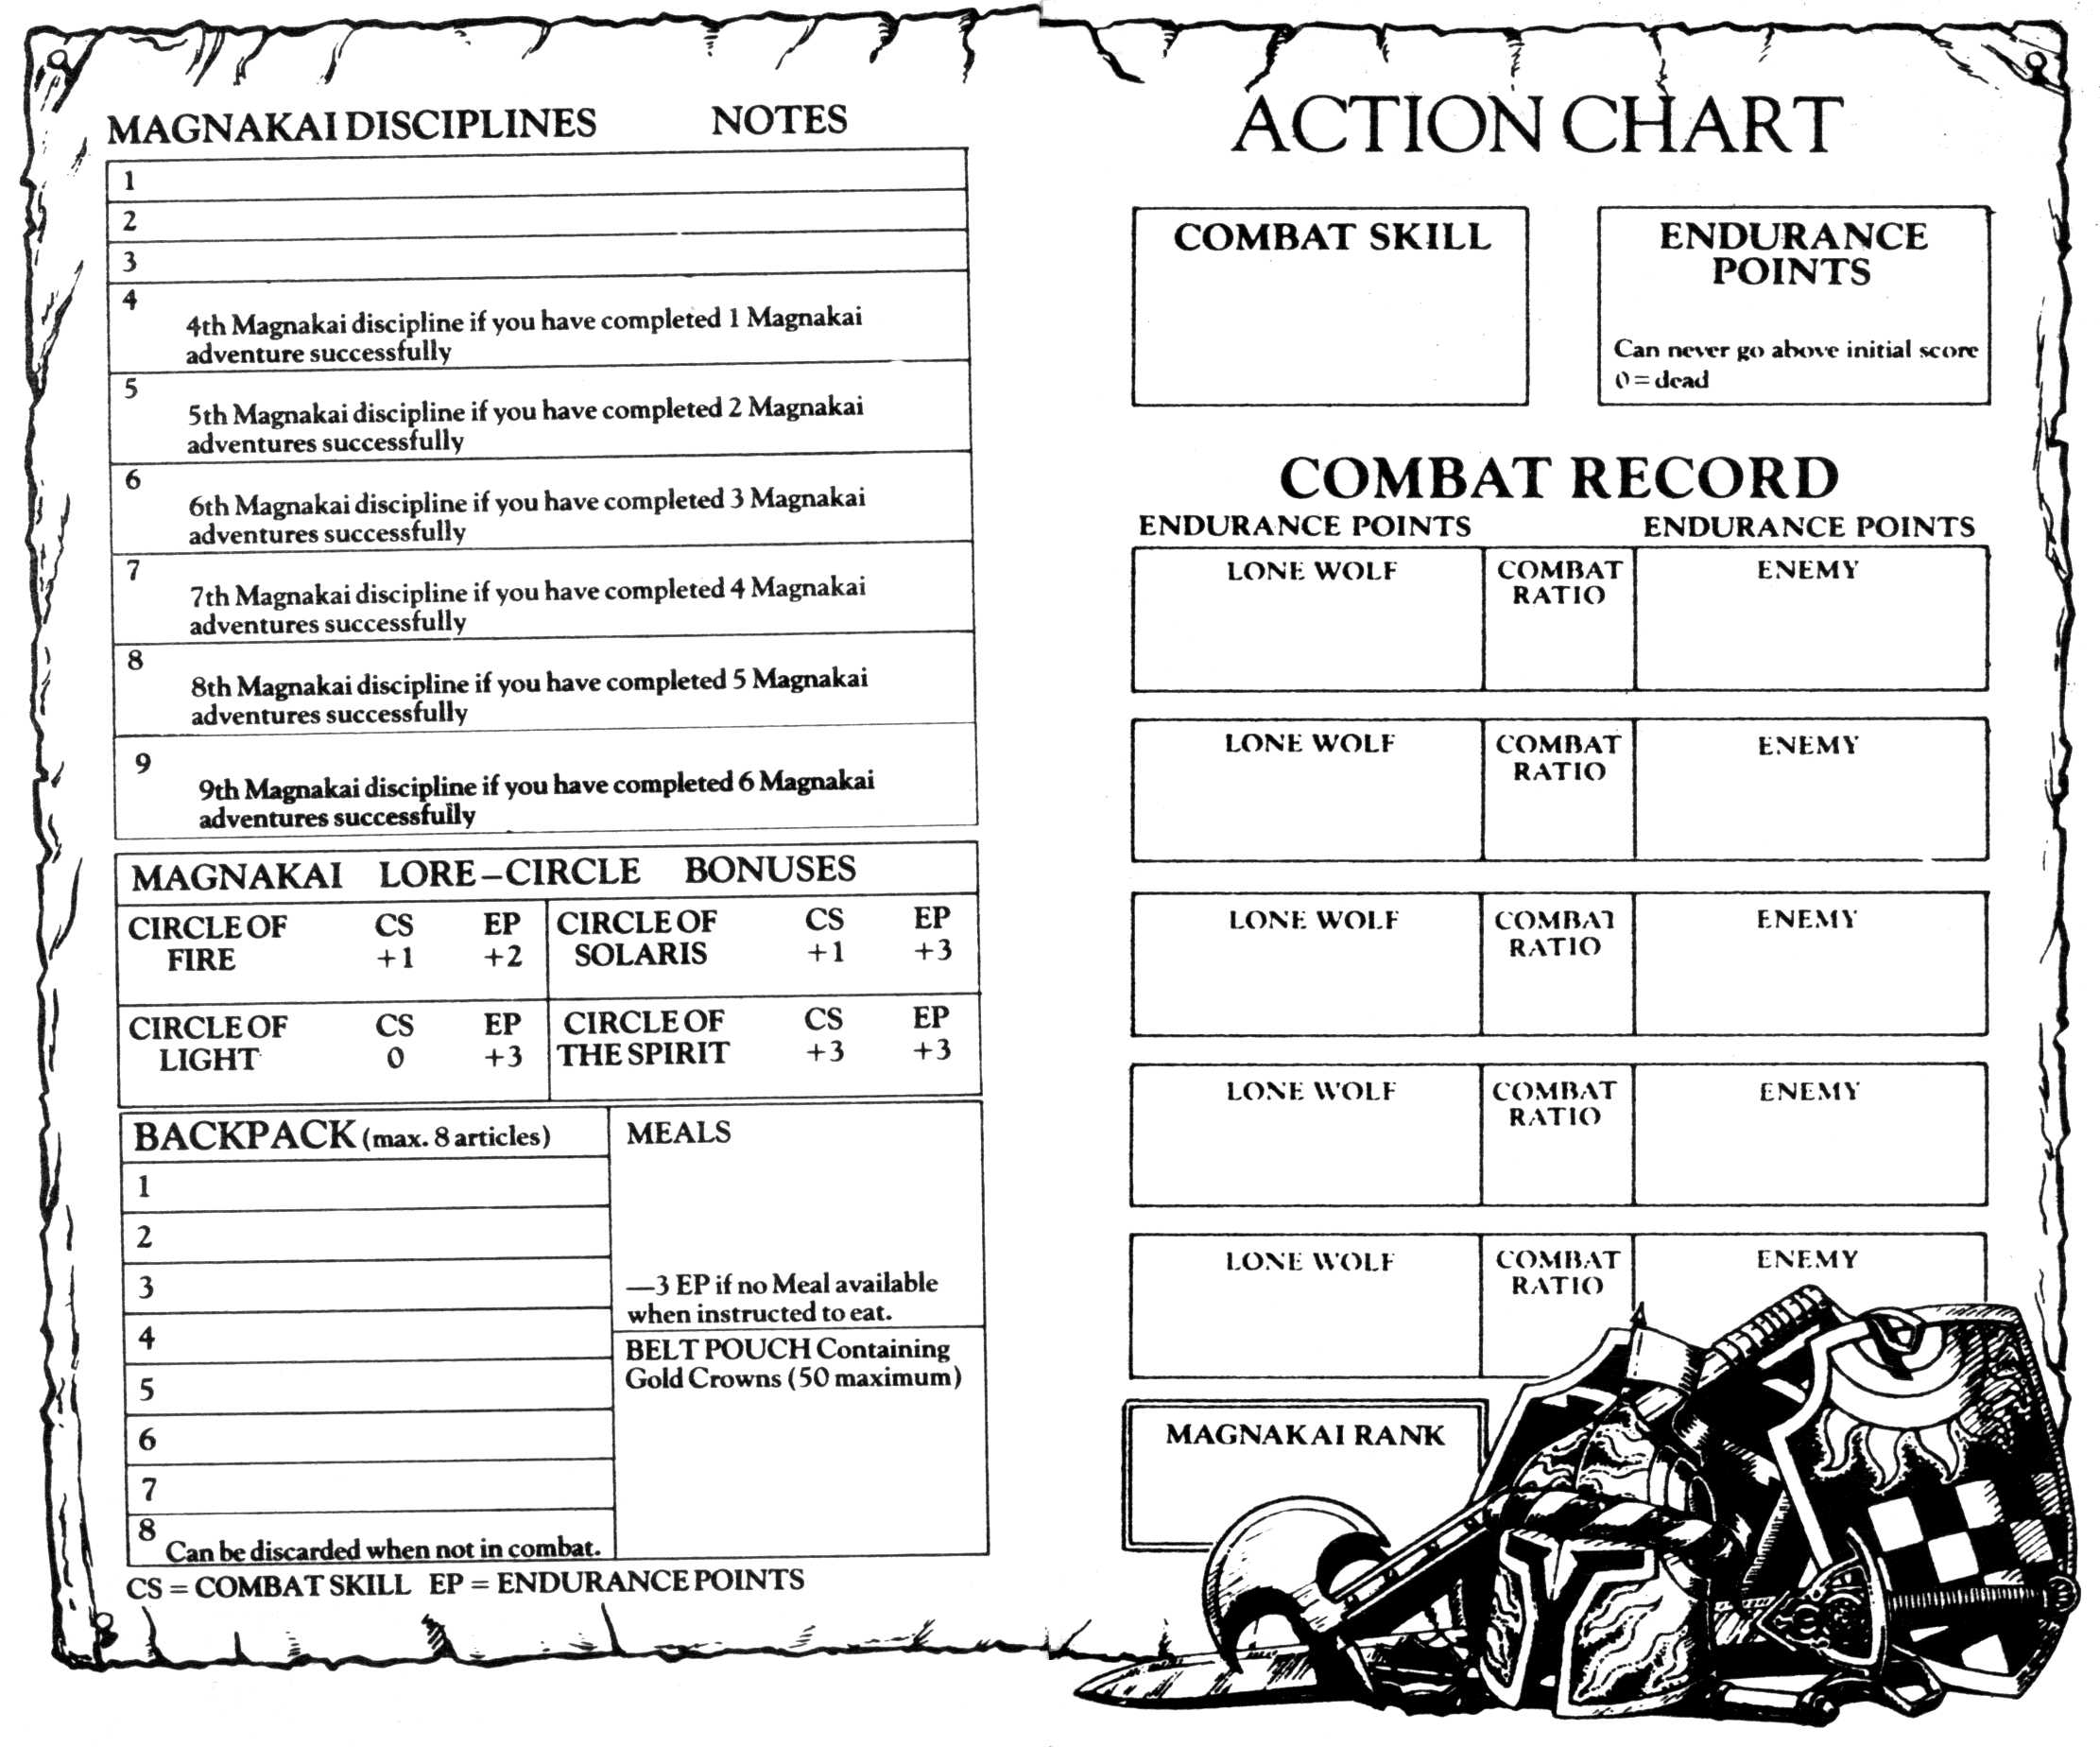
Lone Wolf # 1 Character Sheet
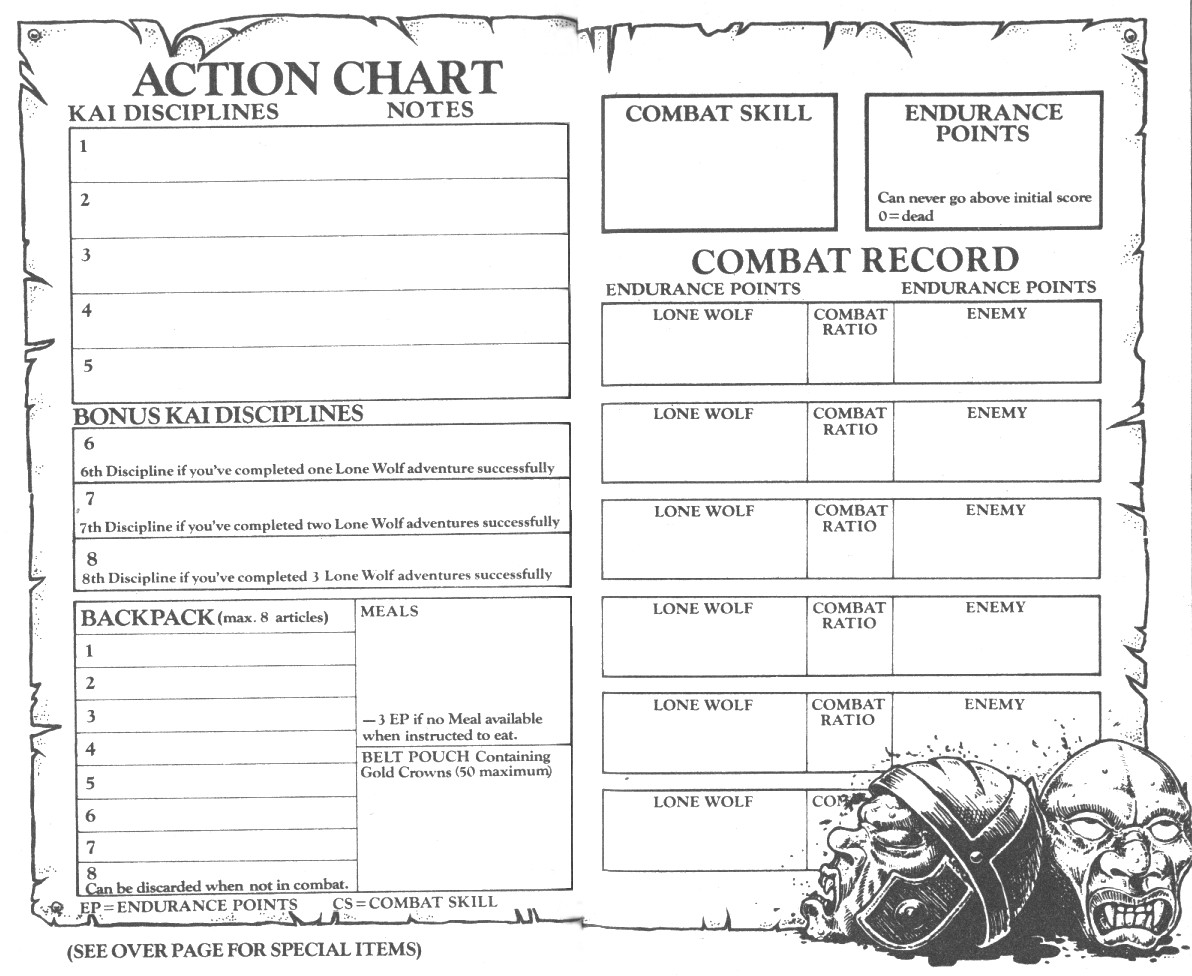
Lone Wolf # 2 Character Sheet
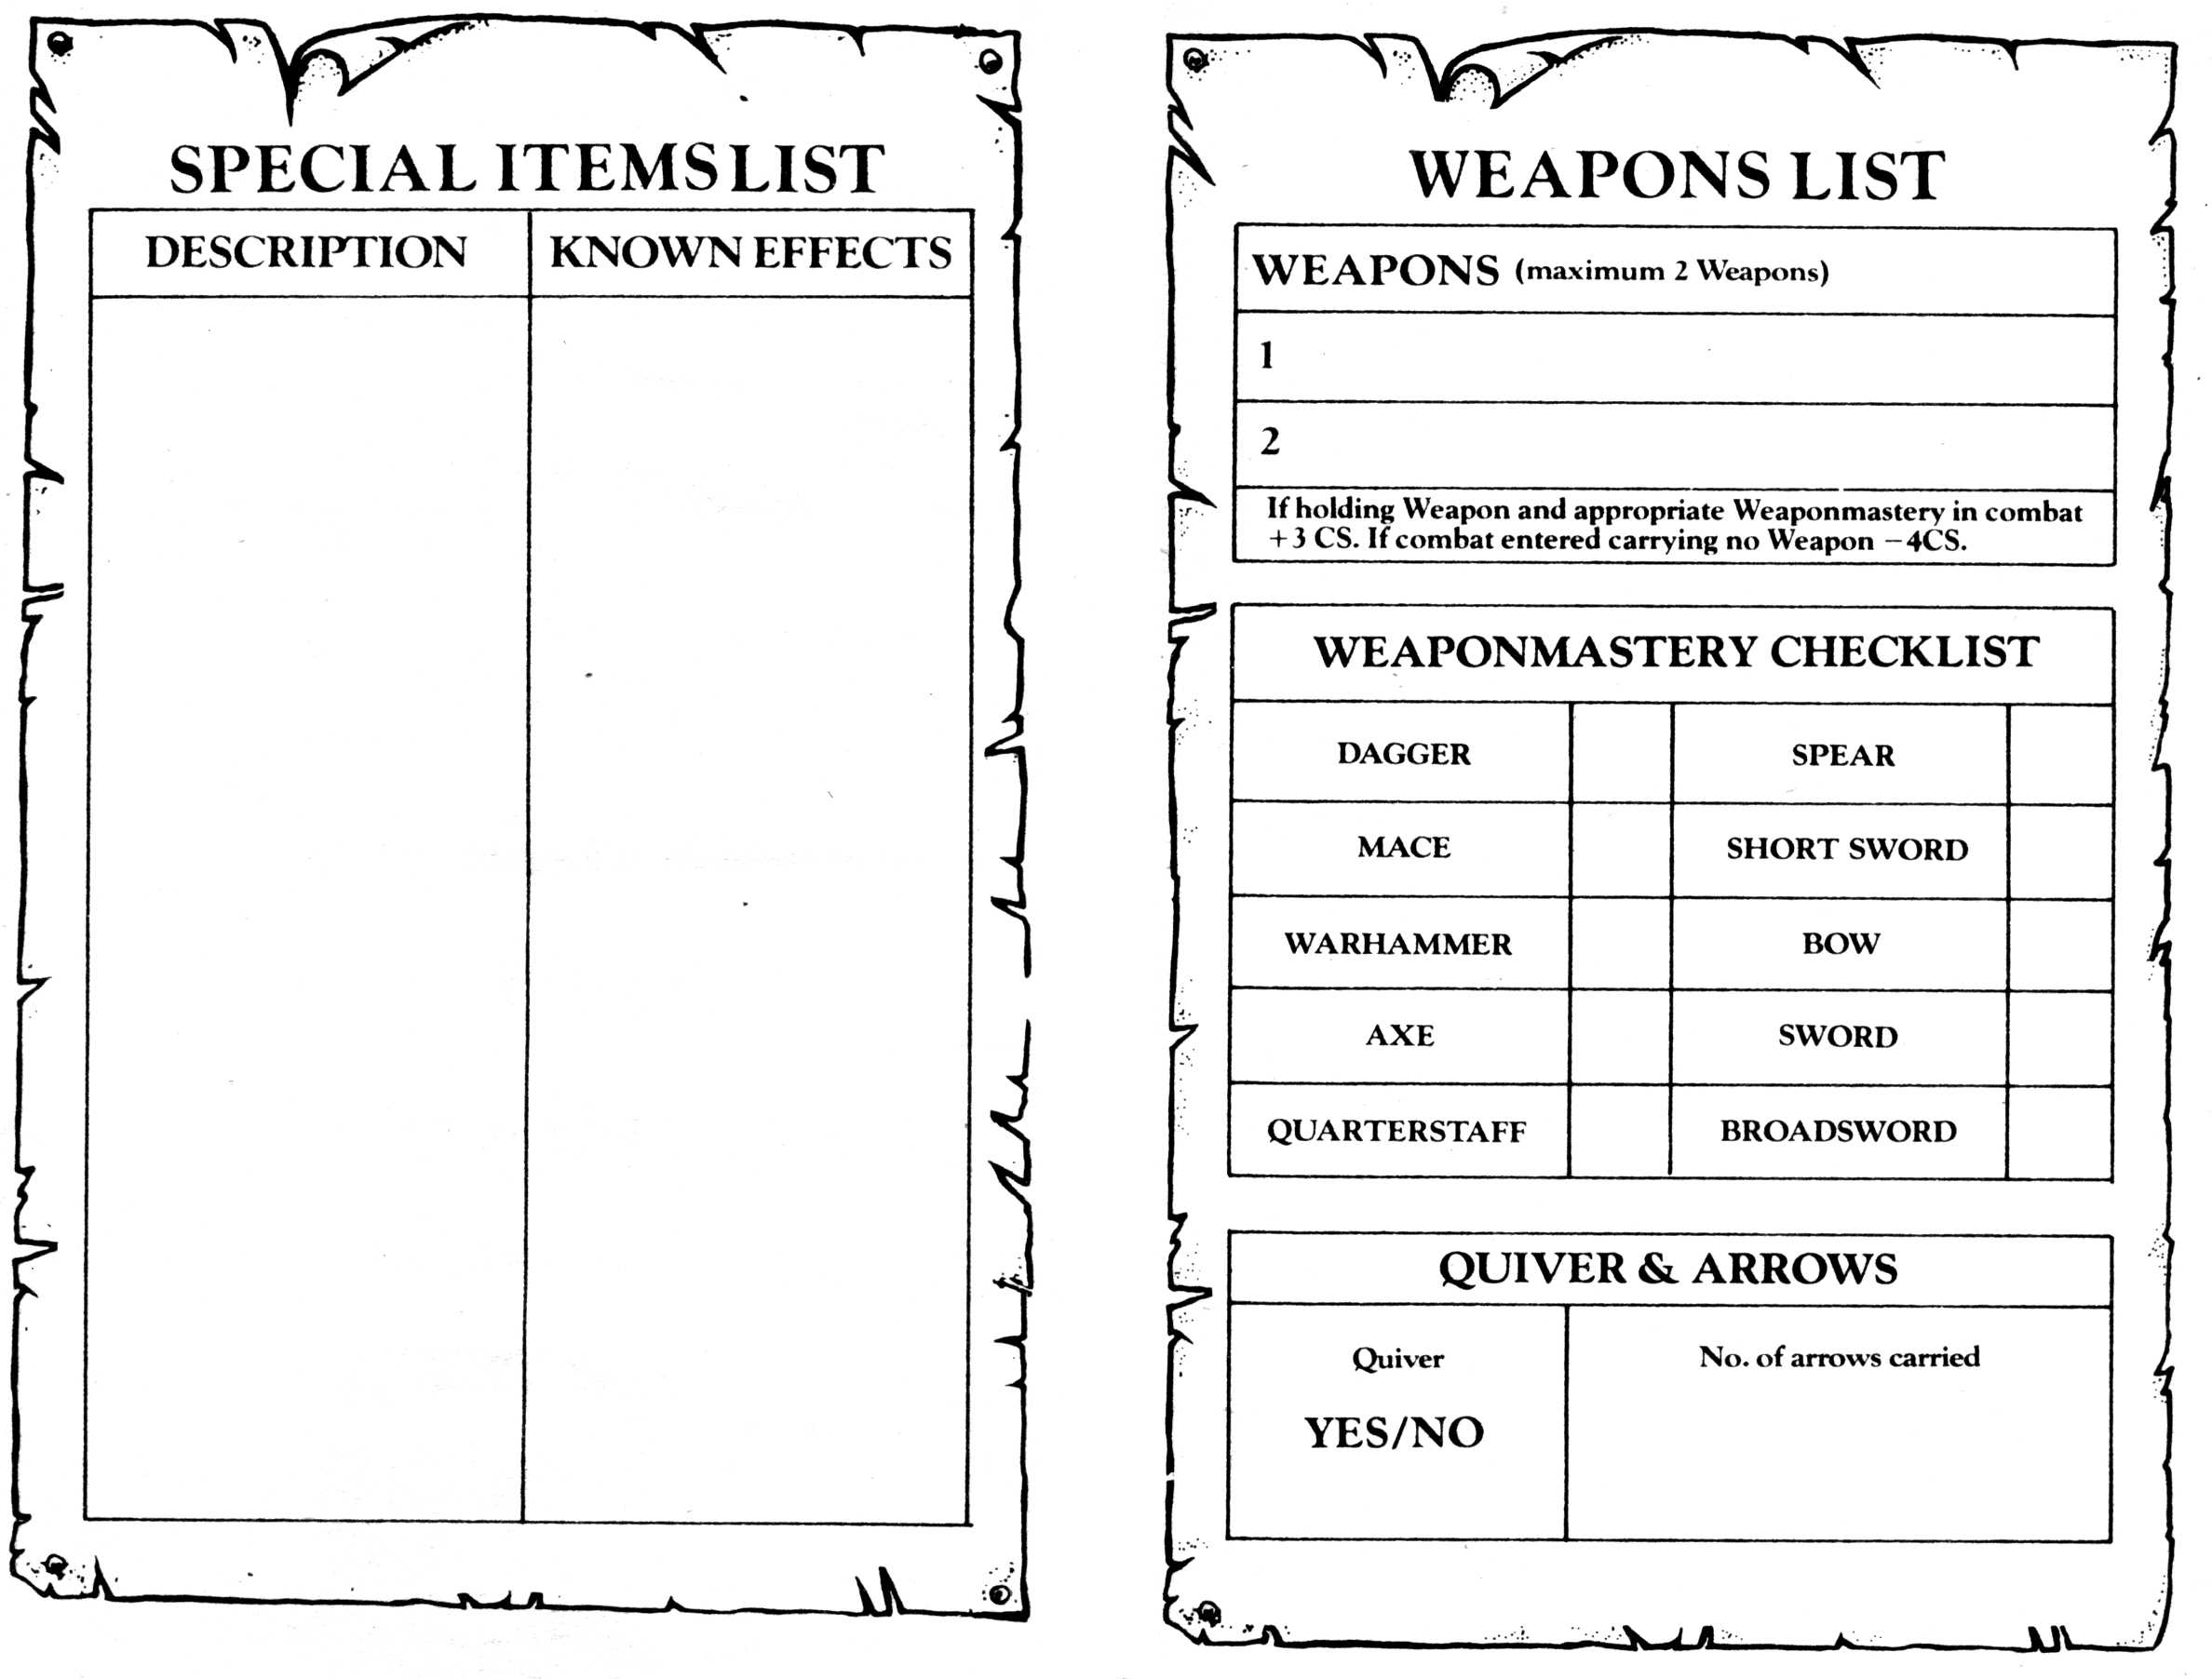
Lone Wolf # 3 / #4 / # 5 Character Sheet (back)
Lone Wolf # 3 Character Sheet (front)
Lone Wolf # 4 Character Sheet (front)
Lone Wolf # 5 Character Sheet (front)
Lone Wolf # 6 / # 8 Character Sheet (back)
Lone Wolf # 6 Character Sheet (front)
Lone Wolf # 7 Character Sheet (back)
Lone Wolf # 7 Character Sheet (front)
Lone Wolf # 8 Character Sheet (front)
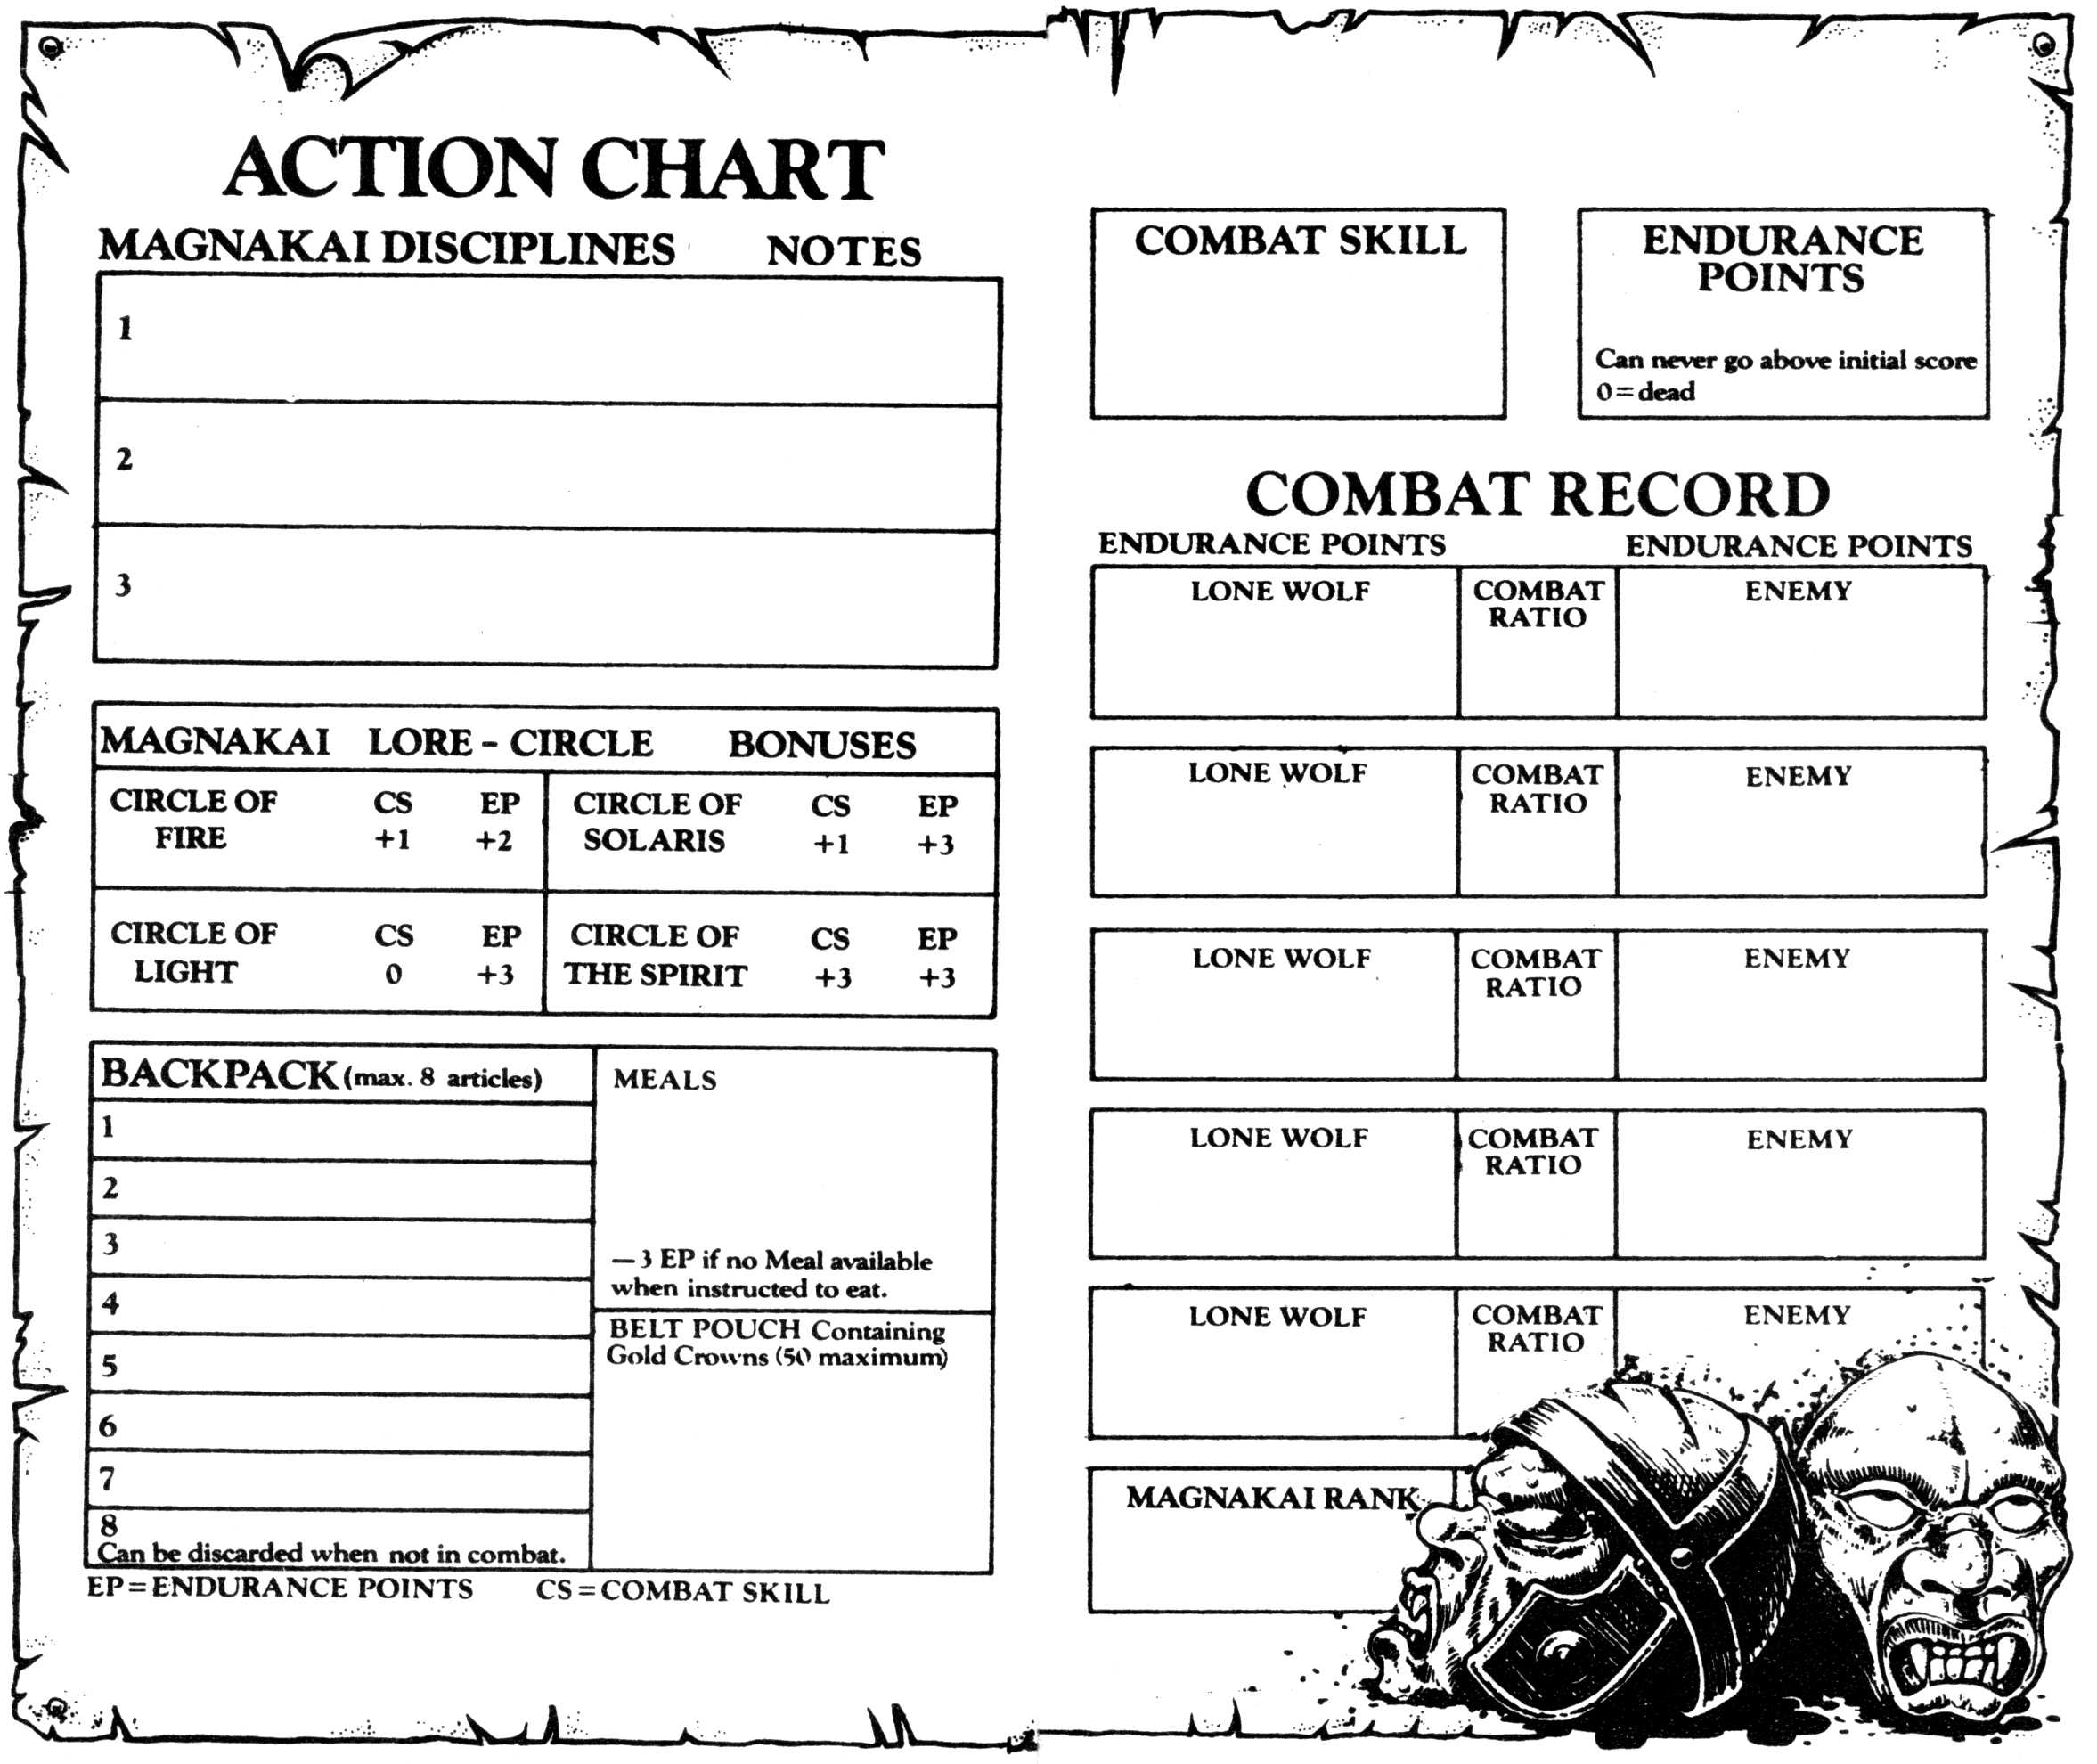
Lone Wolf # 9 / #10 / #11 / #12 Character Sheet (back)
Lone Wolf # 9 Character Sheet (front)
Lone Wolf #10 Character Sheet (front)
Lone Wolf #11 Character Sheet (front)
Lone Wolf #12 Character Sheet (front)
Lone Wolf #13 / #14 / #16 / #18 / #20 Character Sheet (back)
Lone Wolf #13 Character Sheet (front)
Lone Wolf #14 Character Sheet (front)
Lone Wolf #16 Character Sheet (front)
Lone Wolf #18 Character Sheet (front)
Lone Wolf #19 Character Sheet
Lone Wolf #20 Character Sheet (front)
Lone Wolf #32 Character Sheet (Lone Wolf, page 1)
- Thanks to Ben Devere and Holmgard Press for sharing this file.
Lone Wolf #32 Character Sheet (Lone Wolf, page 2)
- Thanks to Ben Devere and Holmgard Press for sharing this file.
Lone Wolf #32 Character Sheet (Lorn Commander, page 1)
- Thanks to Ben Devere and Holmgard Press for sharing this file.
Lone Wolf #32 Character Sheet (Lorn Commander, page 2)
- Thanks to Ben Devere and Holmgard Press for sharing this file.
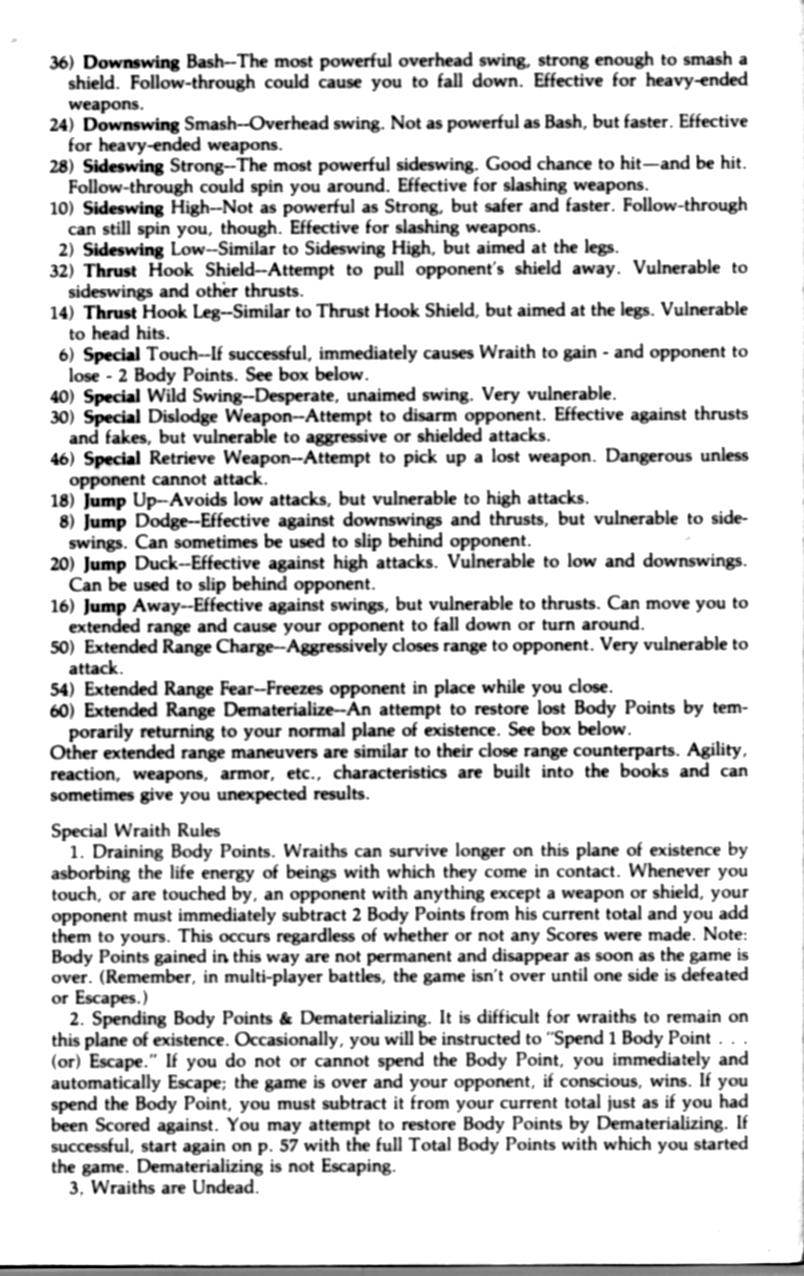
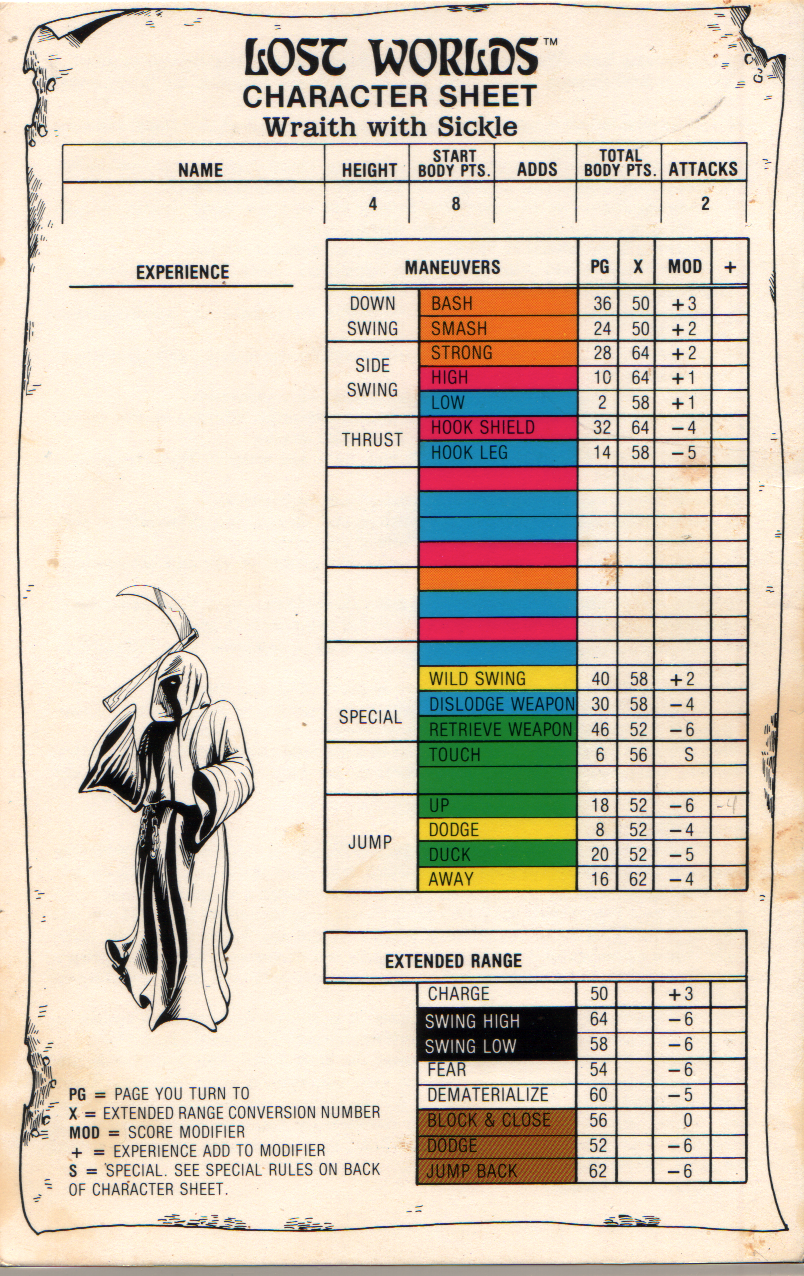
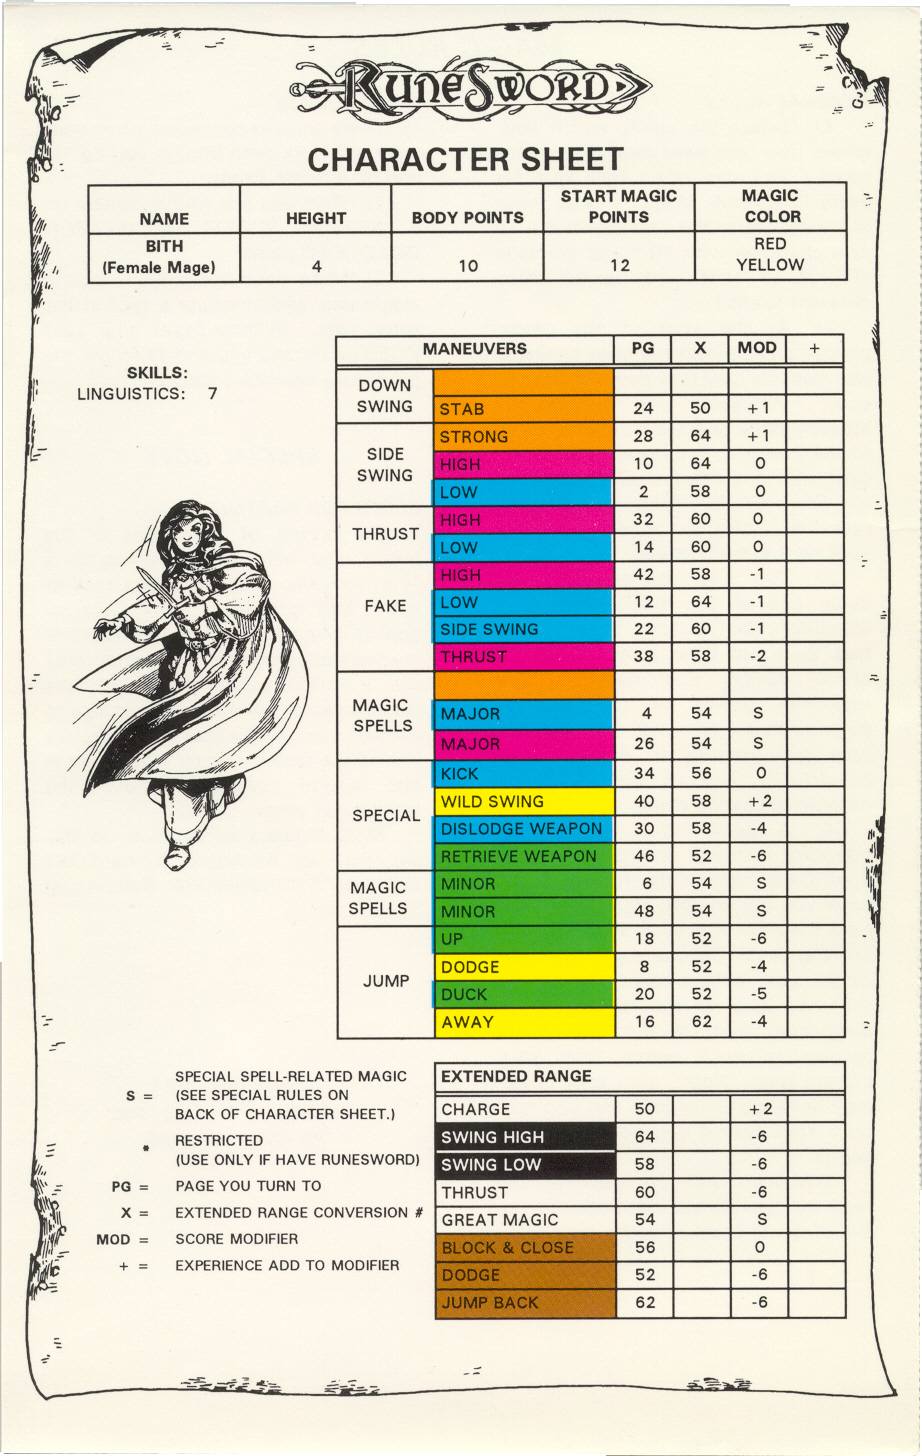
Lost Worlds 1001 Character Sheet (front)
Lost Worlds 1001/1002 Character Sheet (back)
Lost Worlds 1002 Character Sheet (front)
Lost Worlds 1009 Character Sheet (back)
Lost Worlds 1009 Character Sheet (front)
Lost Worlds 1010 Character Sheet (back)
Lost Worlds 1010 Character Sheet (front)
Lost Worlds 3001 Cards (back)
Lost Worlds 3001 Cards (front)
Lost Worlds 3001 Character Sheet (back)
Lost Worlds 3001 Character Sheet (front)
Lost Worlds 3002 Cards (back)
Lost Worlds 3002 Cards (front)
Lost Worlds 3002 Character Sheet (back)
Lost Worlds 3002 Character Sheet (front)
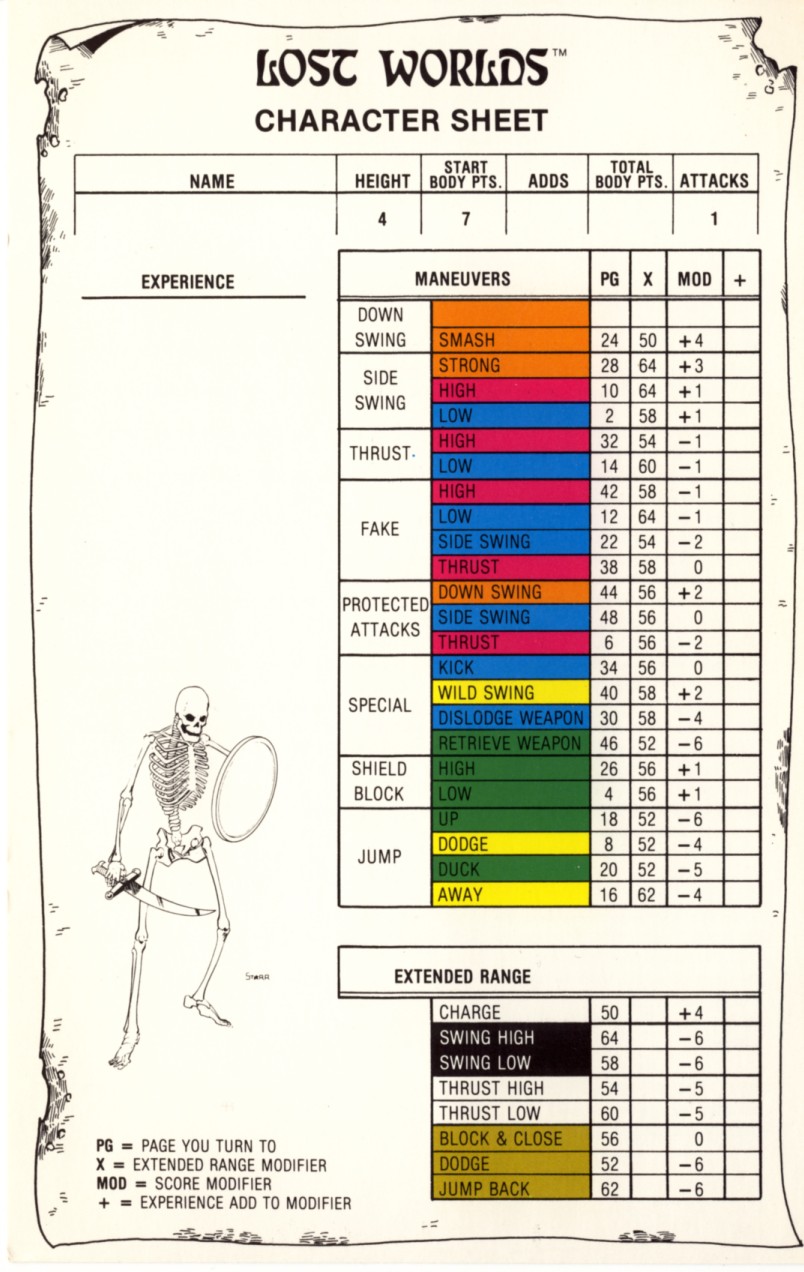
Lost Worlds 5001 Character Sheet
Maelstrom Character Sheet
Magnamund Companion Tear-Out Sheet (back)
Magnamund Companion Tear-Out Sheet (front)
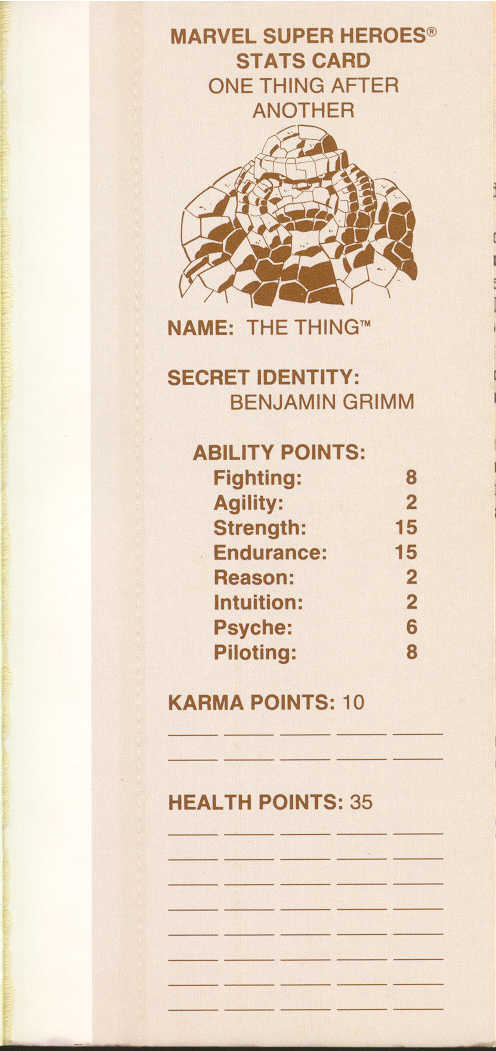
Marvel Superheroes Adventure Gamebook #1 Bookmark
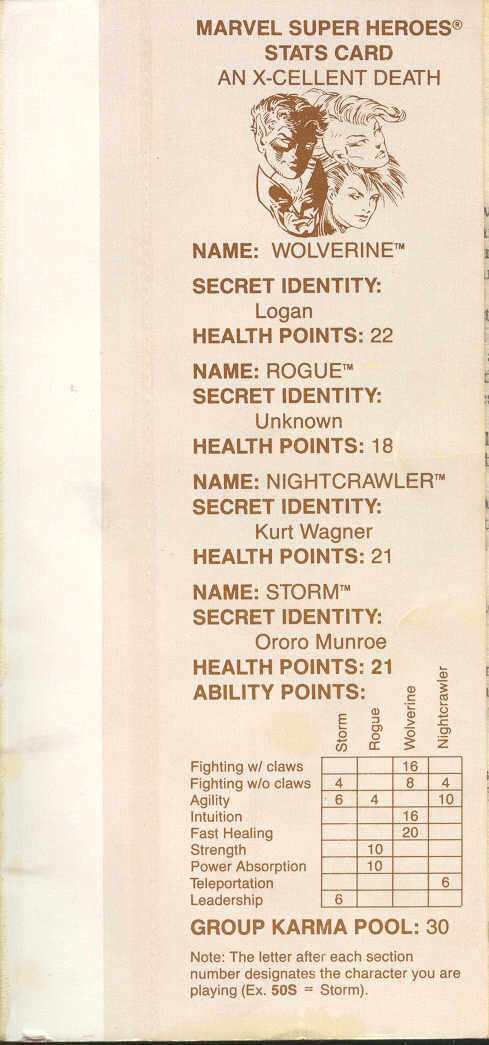
Marvel Superheroes Adventure Gamebook #2 Bookmark
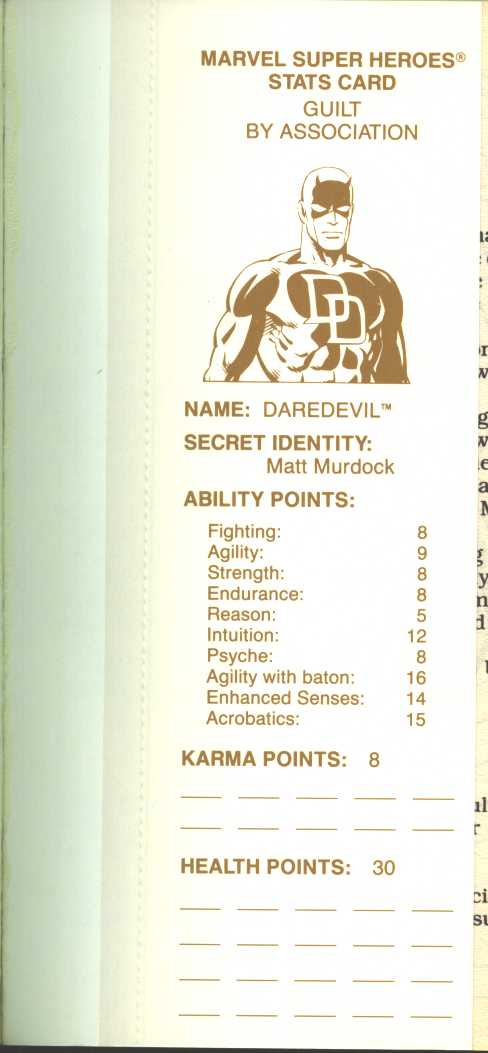
Marvel Superheroes Adventure Gamebook #3 Bookmark
Marvel Superheroes Adventure Gamebook #4 Bookmark
Marvel Superheroes Adventure Gamebook #5 Bookmark
Marvel Superheroes Adventure Gamebook #6 Bookmark
Marvel Superheroes Adventure Gamebook #7 Bookmark
- Thanks to Marc Tassin for sharing this image.
Marvel Superheroes Adventure Gamebook #8 Bookmark
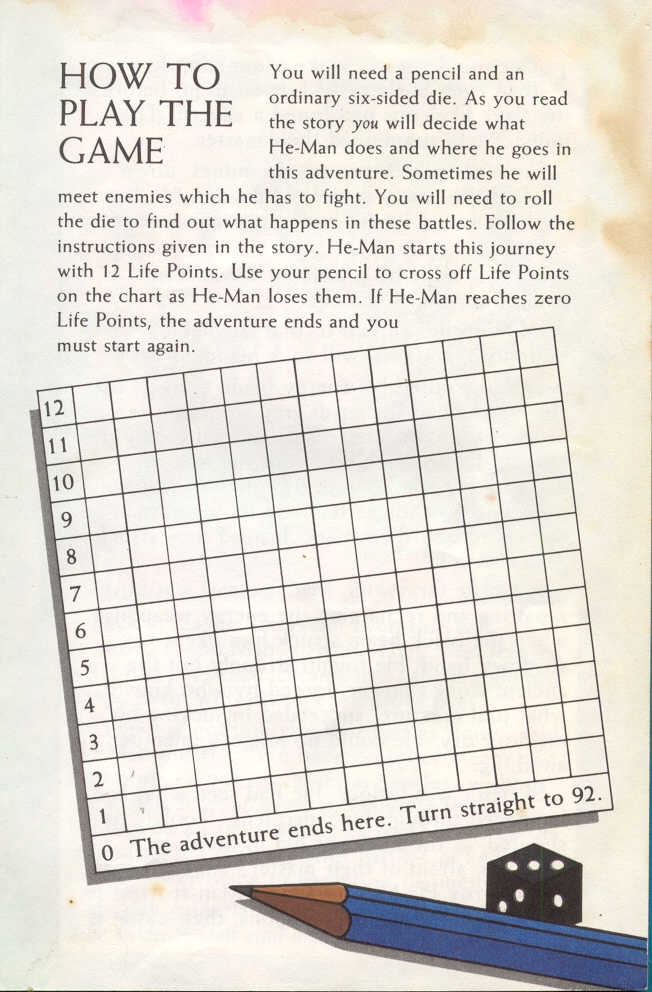
Masters of the Universe Character Sheet
Middle-earth Quest: A Spy in Isengard Character Sheet
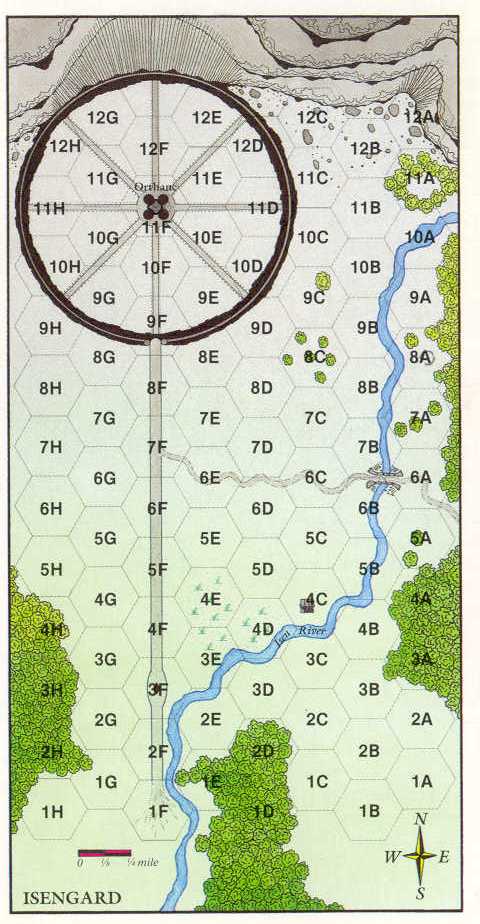
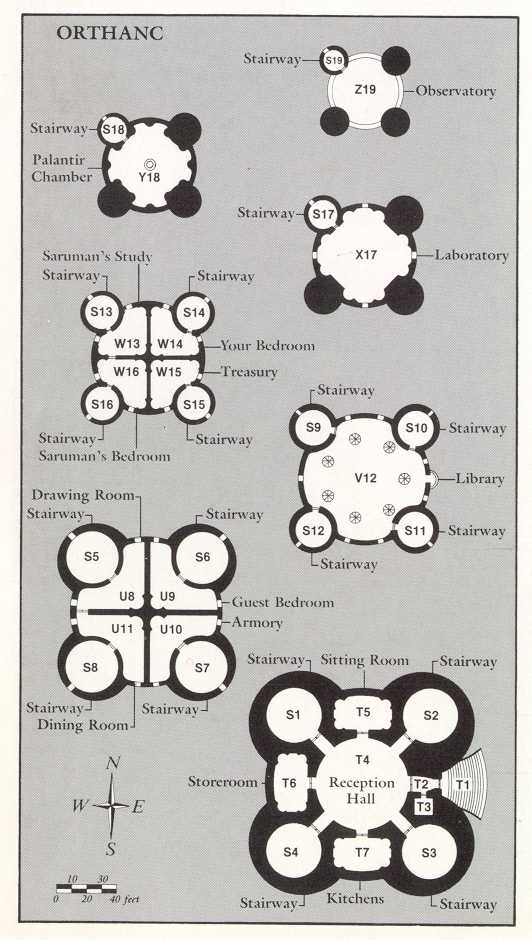
Middle-earth Quest: A Spy in Isengard Map Card (side 1)
Middle-earth Quest: A Spy in Isengard Map Card (side 2)
Middle-earth Quest: Night of the Nazgûl Map Card (side 1)
Middle-earth Quest: Night of the Nazgûl Map Card (side 2)
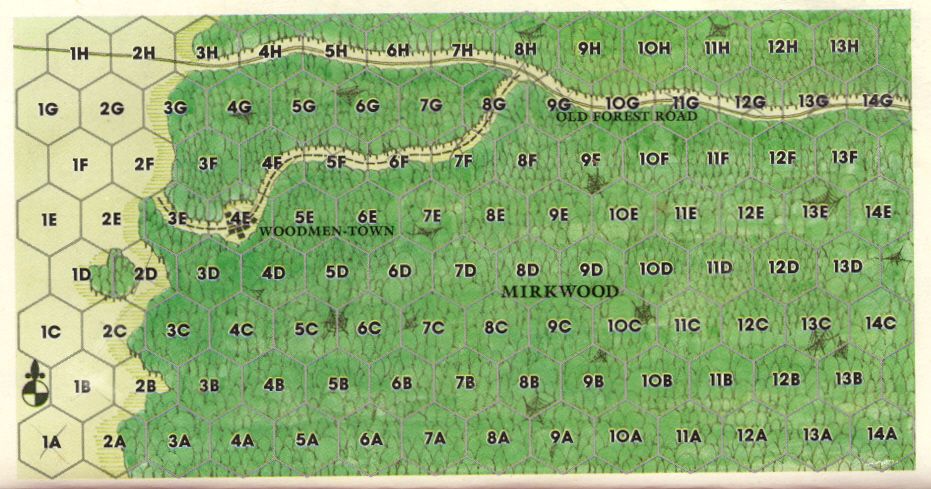
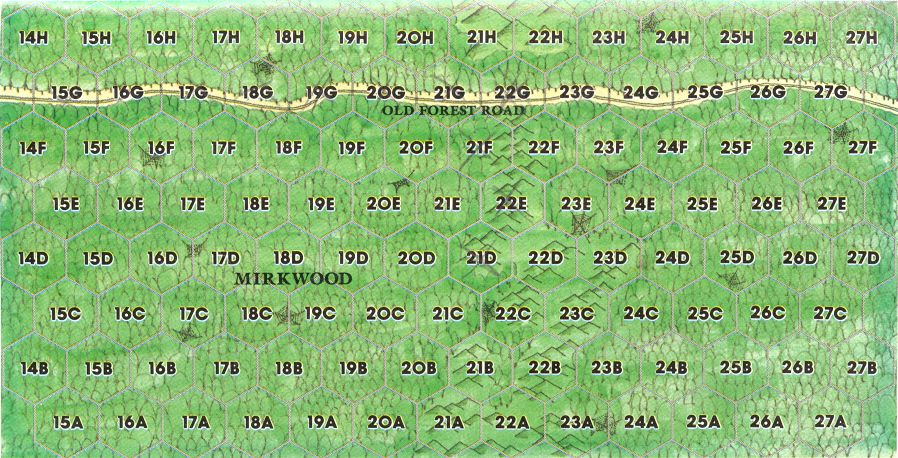
Middle-earth Quest: Rescue in Mirkwood Map Card (side 1)
Middle-earth Quest: Rescue in Mirkwood Map Card (side 2)
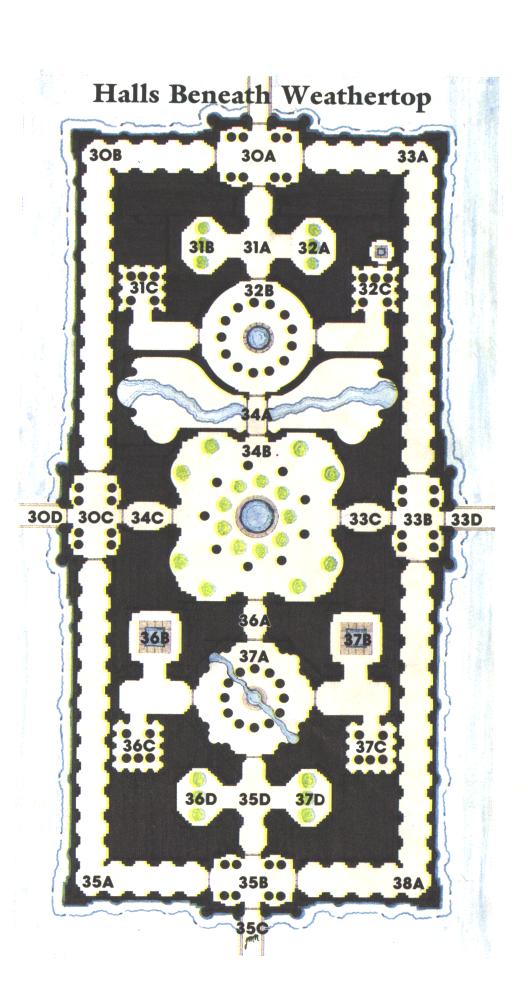
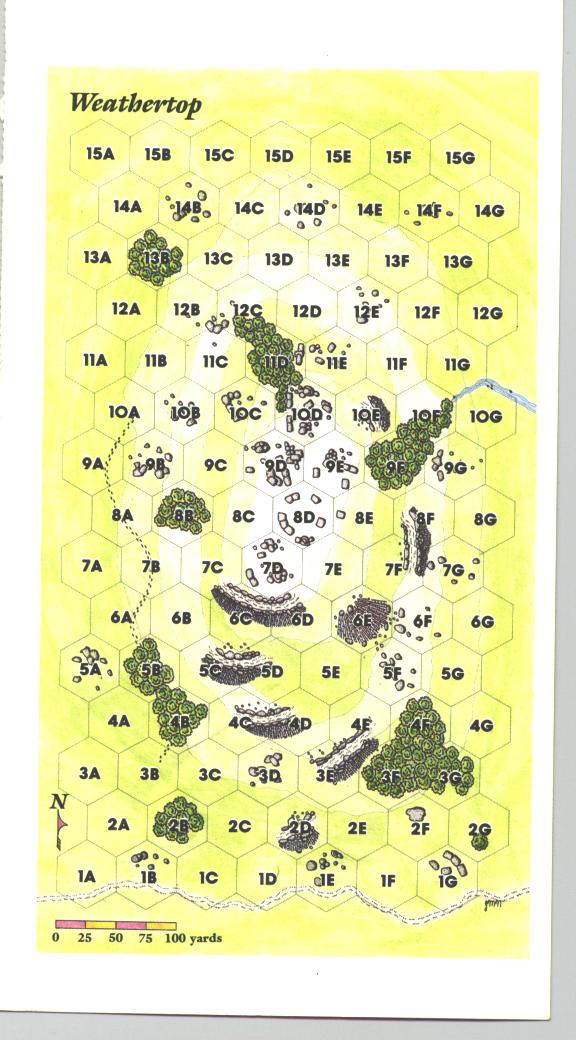
Middle-earth Quest: The Legend of Weathertop Map Card (side 1)
Middle-earth Quest: The Legend of Weathertop Map Card (side 2)
Middle-earth Quest: Treason at Helm's Deep Character Sheet
- Thanks to Philip Bach for sharing this file.
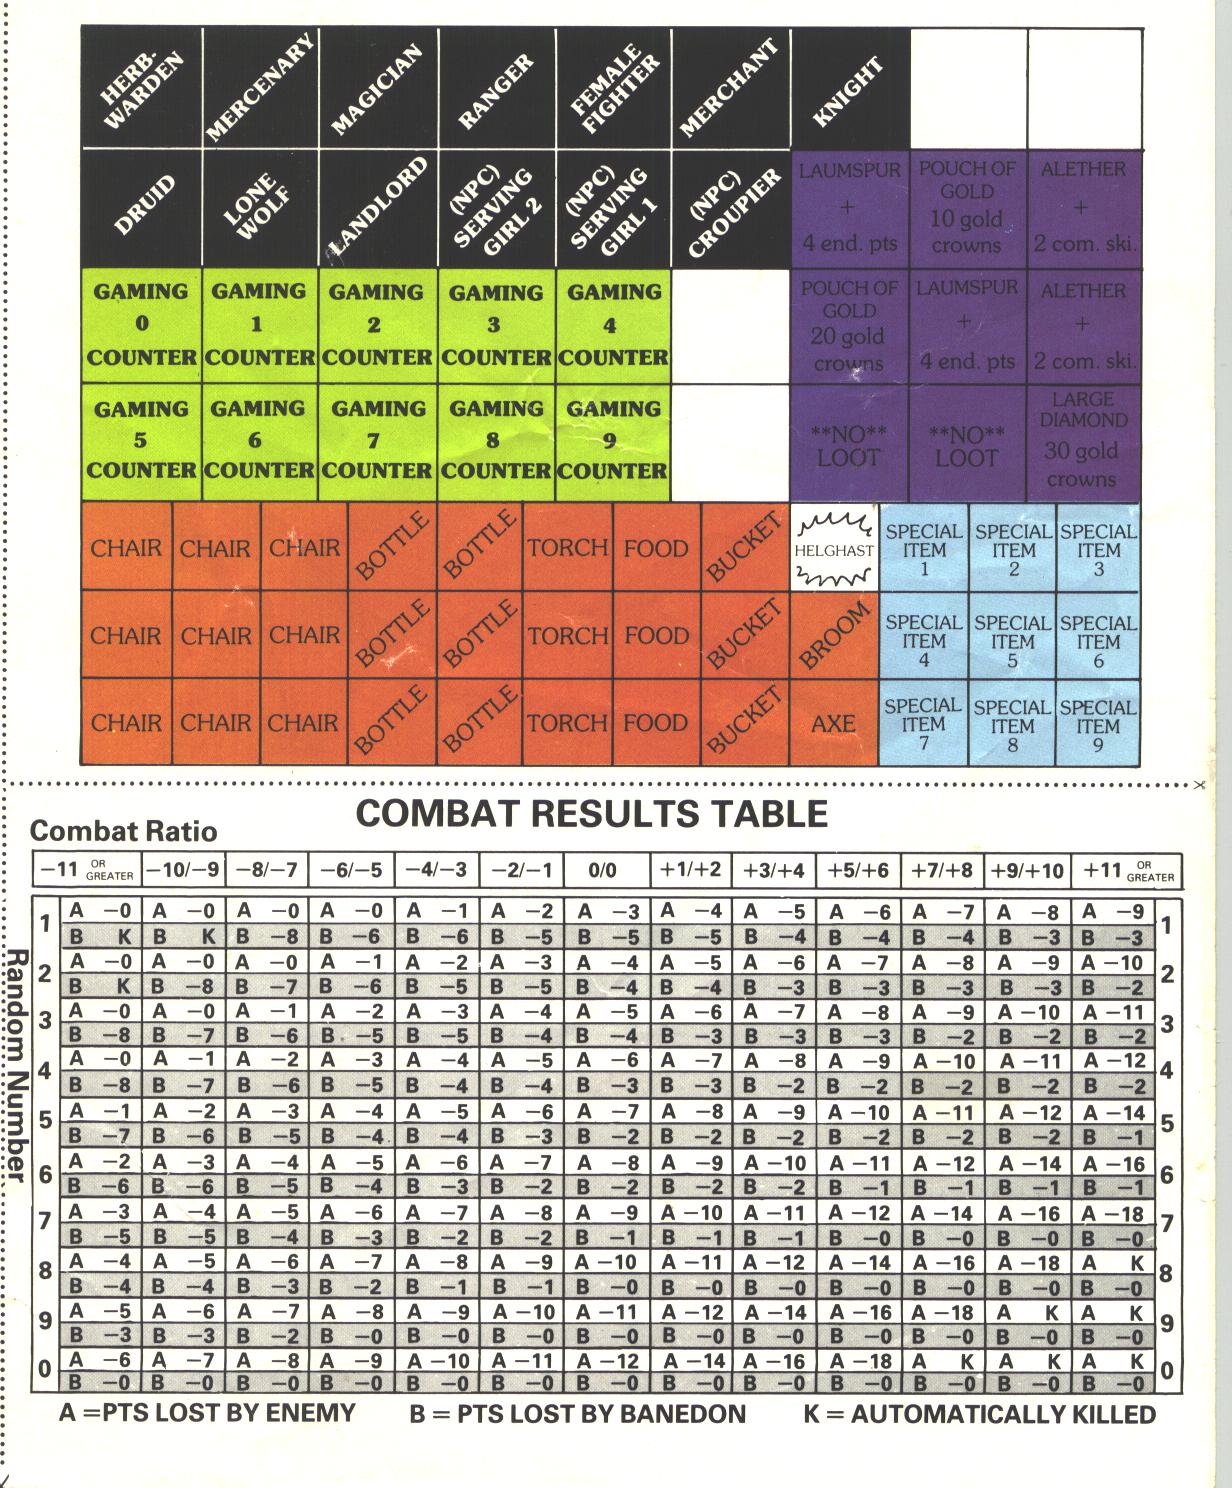
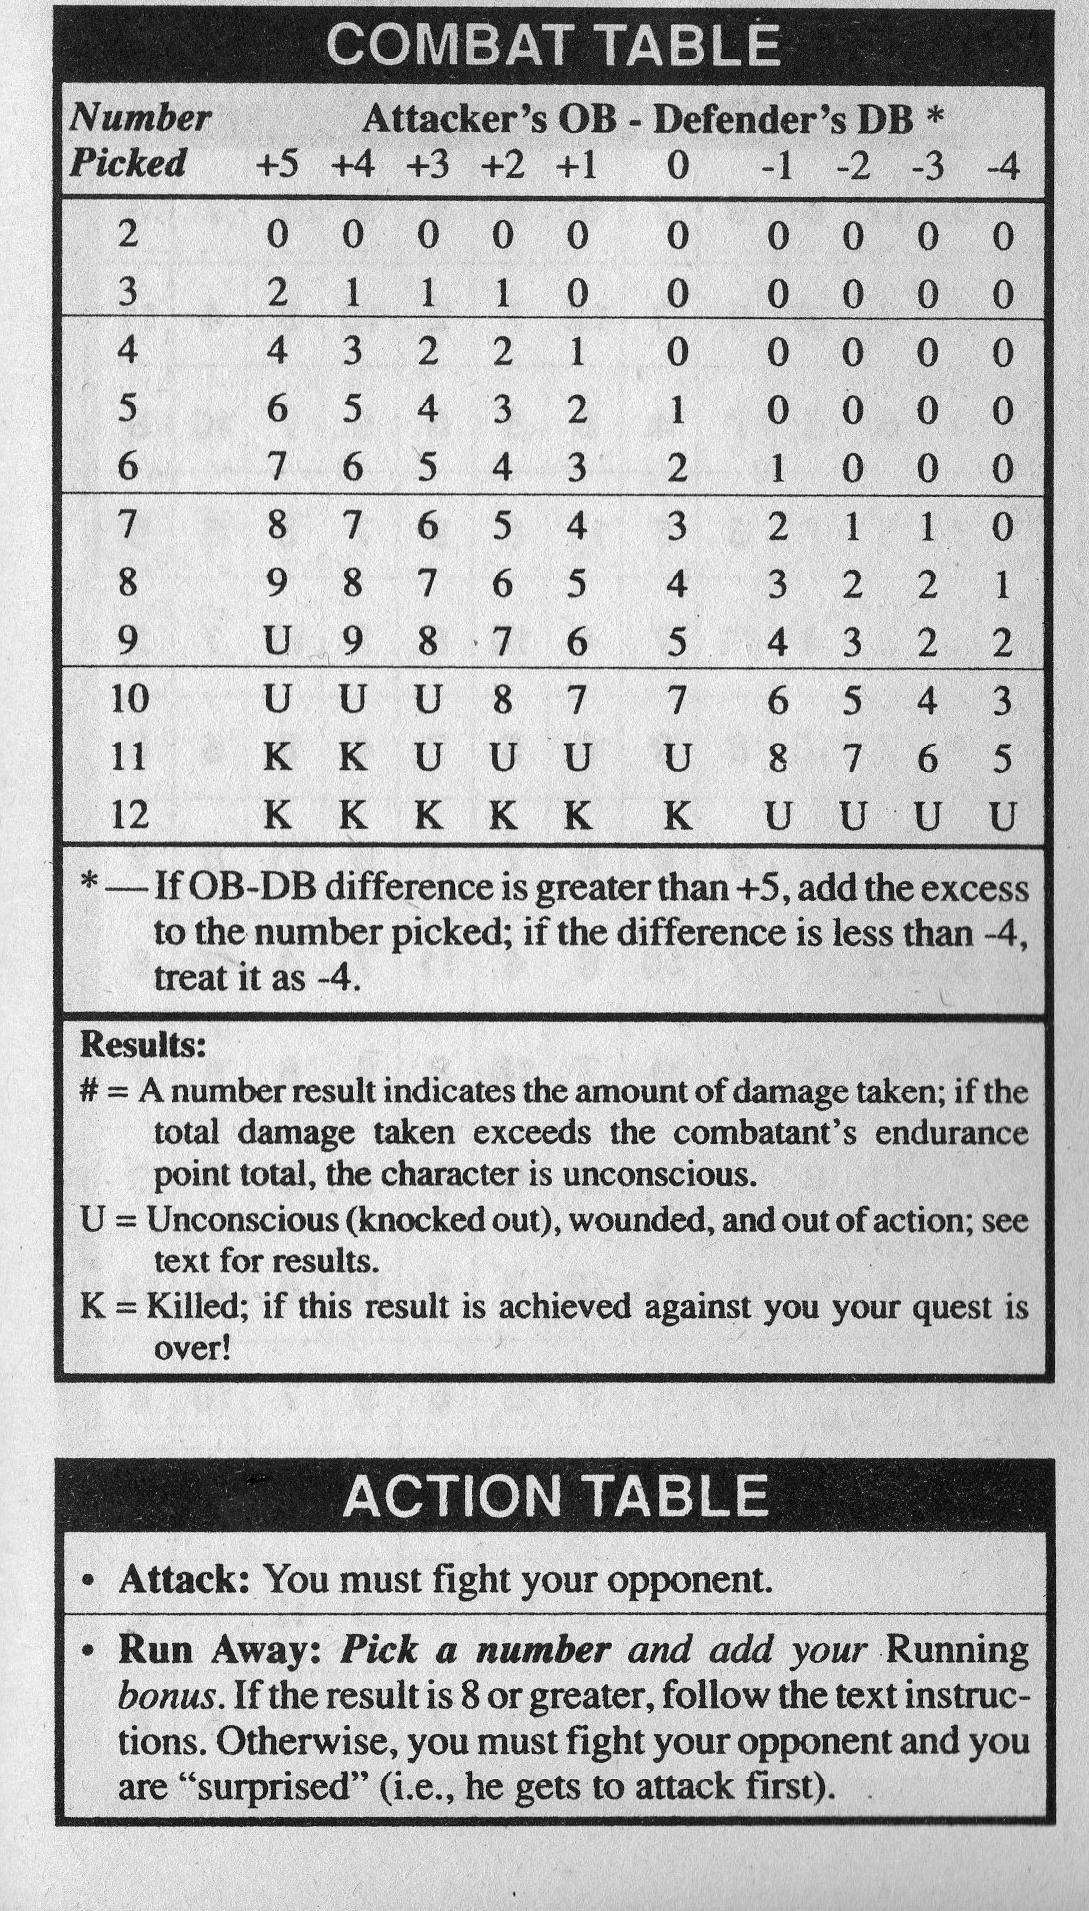
Middle-earth Quest: Treason at Helm's Deep Combat Table
- Thanks to Philip Bach for sharing this file.
Middle-earth Quest: Treason at Helm's Deep Map Card (side 1)
Middle-earth Quest: Treason at Helm's Deep Map Card (side 2)
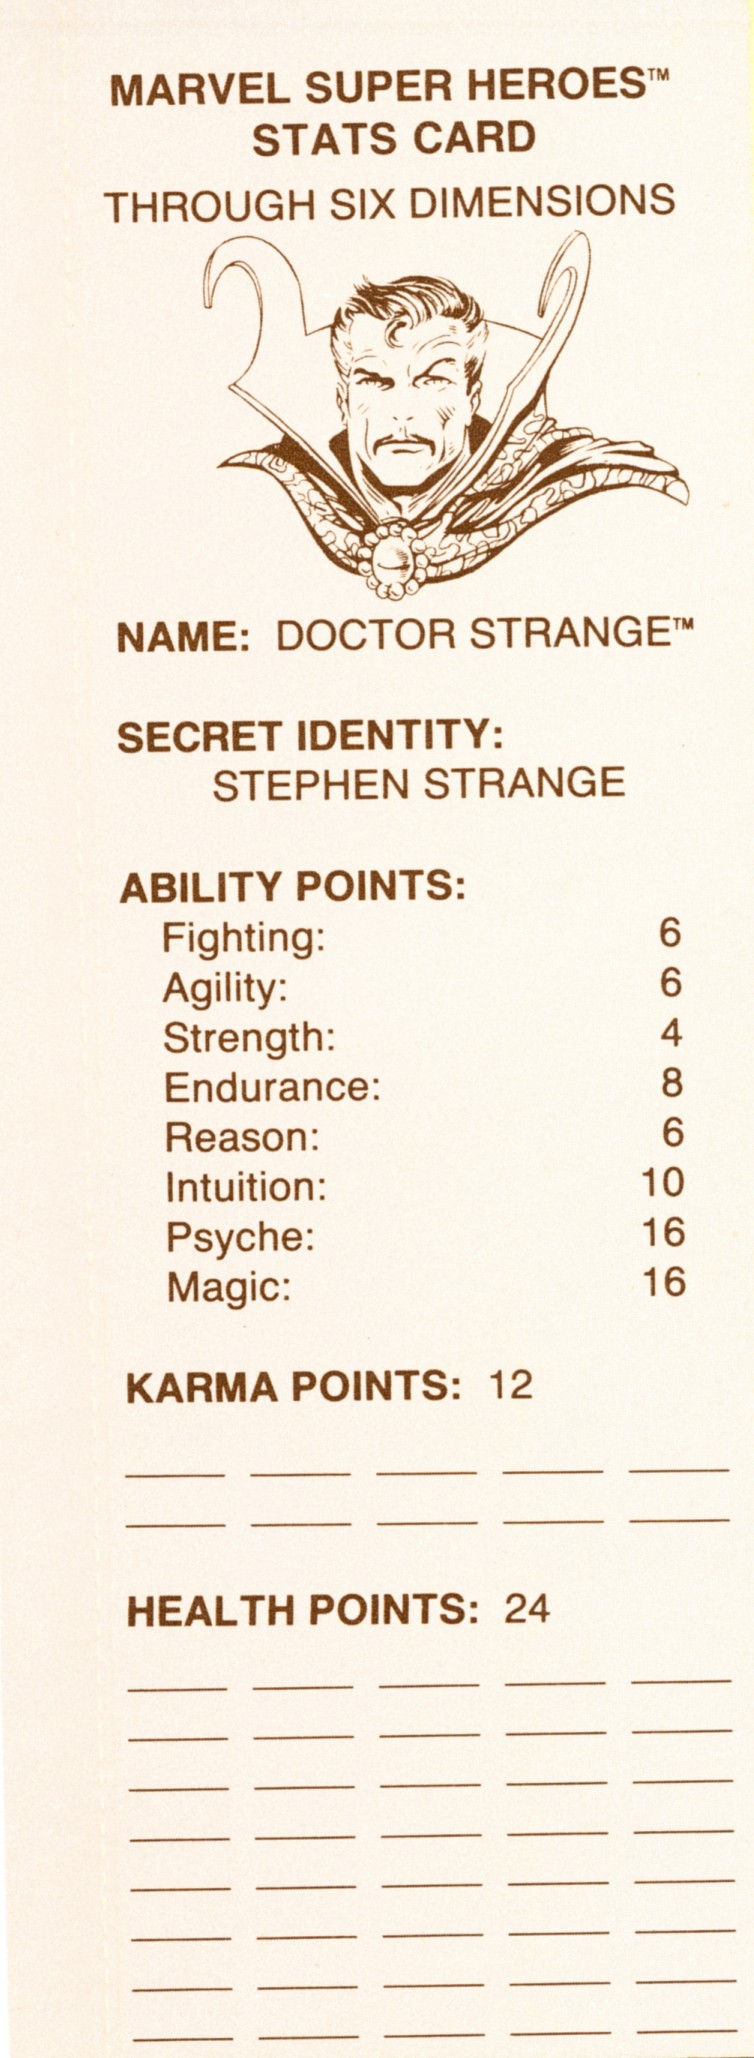
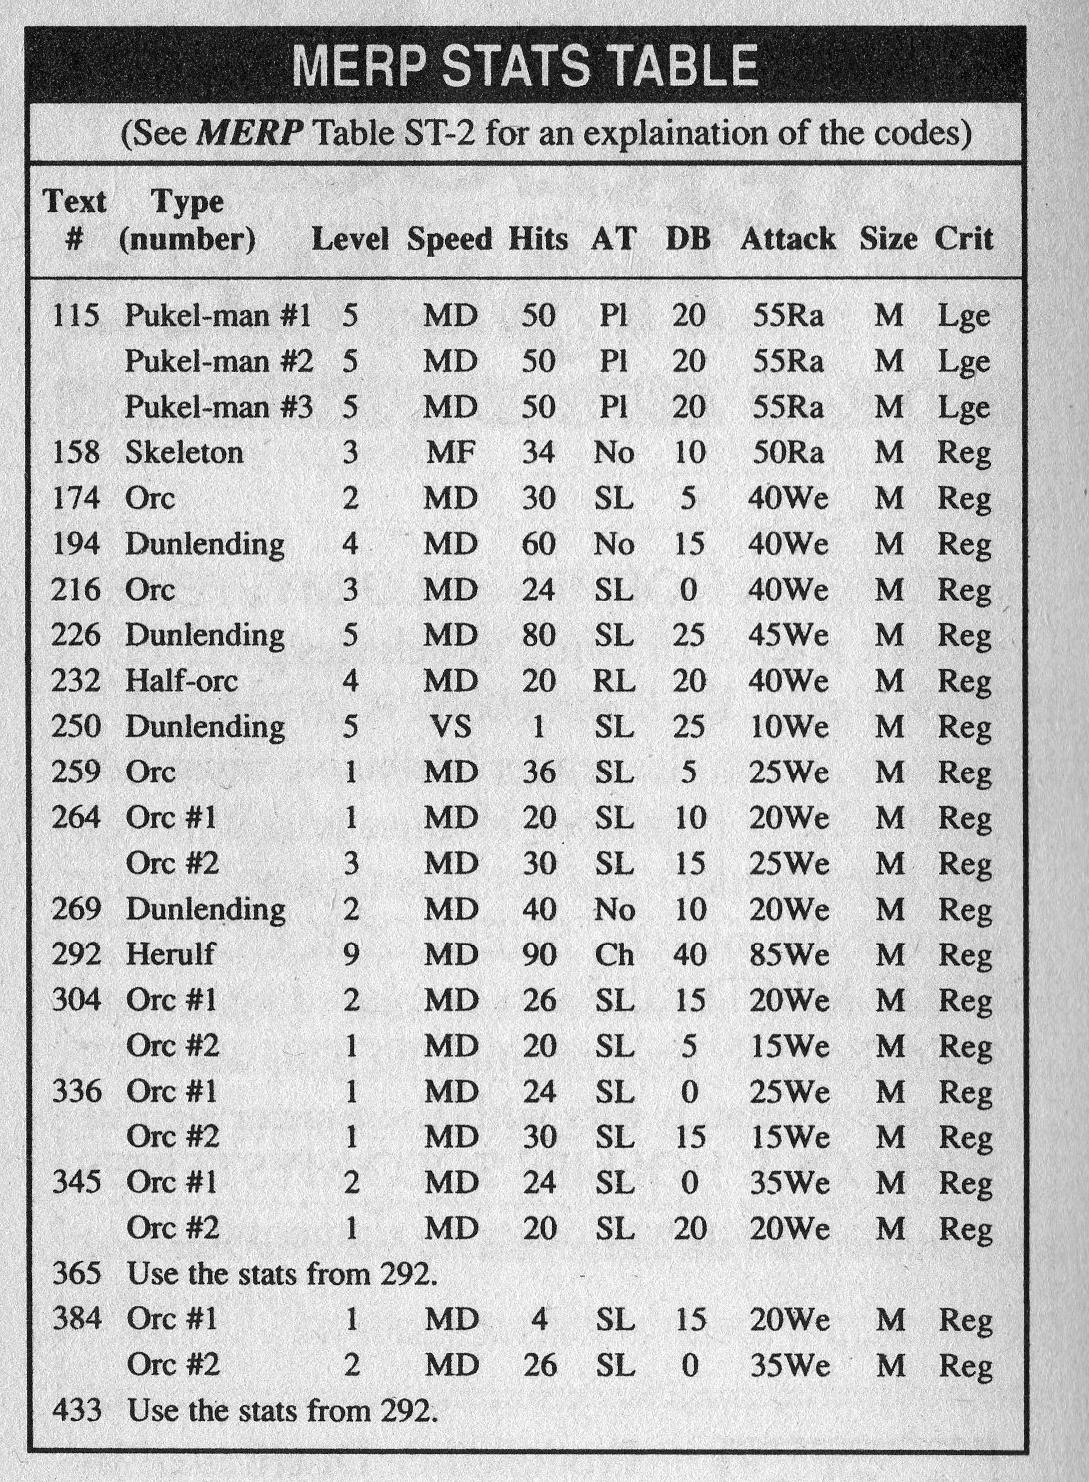
Middle-earth Quest: Treason at Helm's Deep MERP Stats Table
- Thanks to Philip Bach for sharing this file.
Middle-earth Quest: Treason at Helm's Deep Notes Page
- Thanks to Philip Bach for sharing this file.
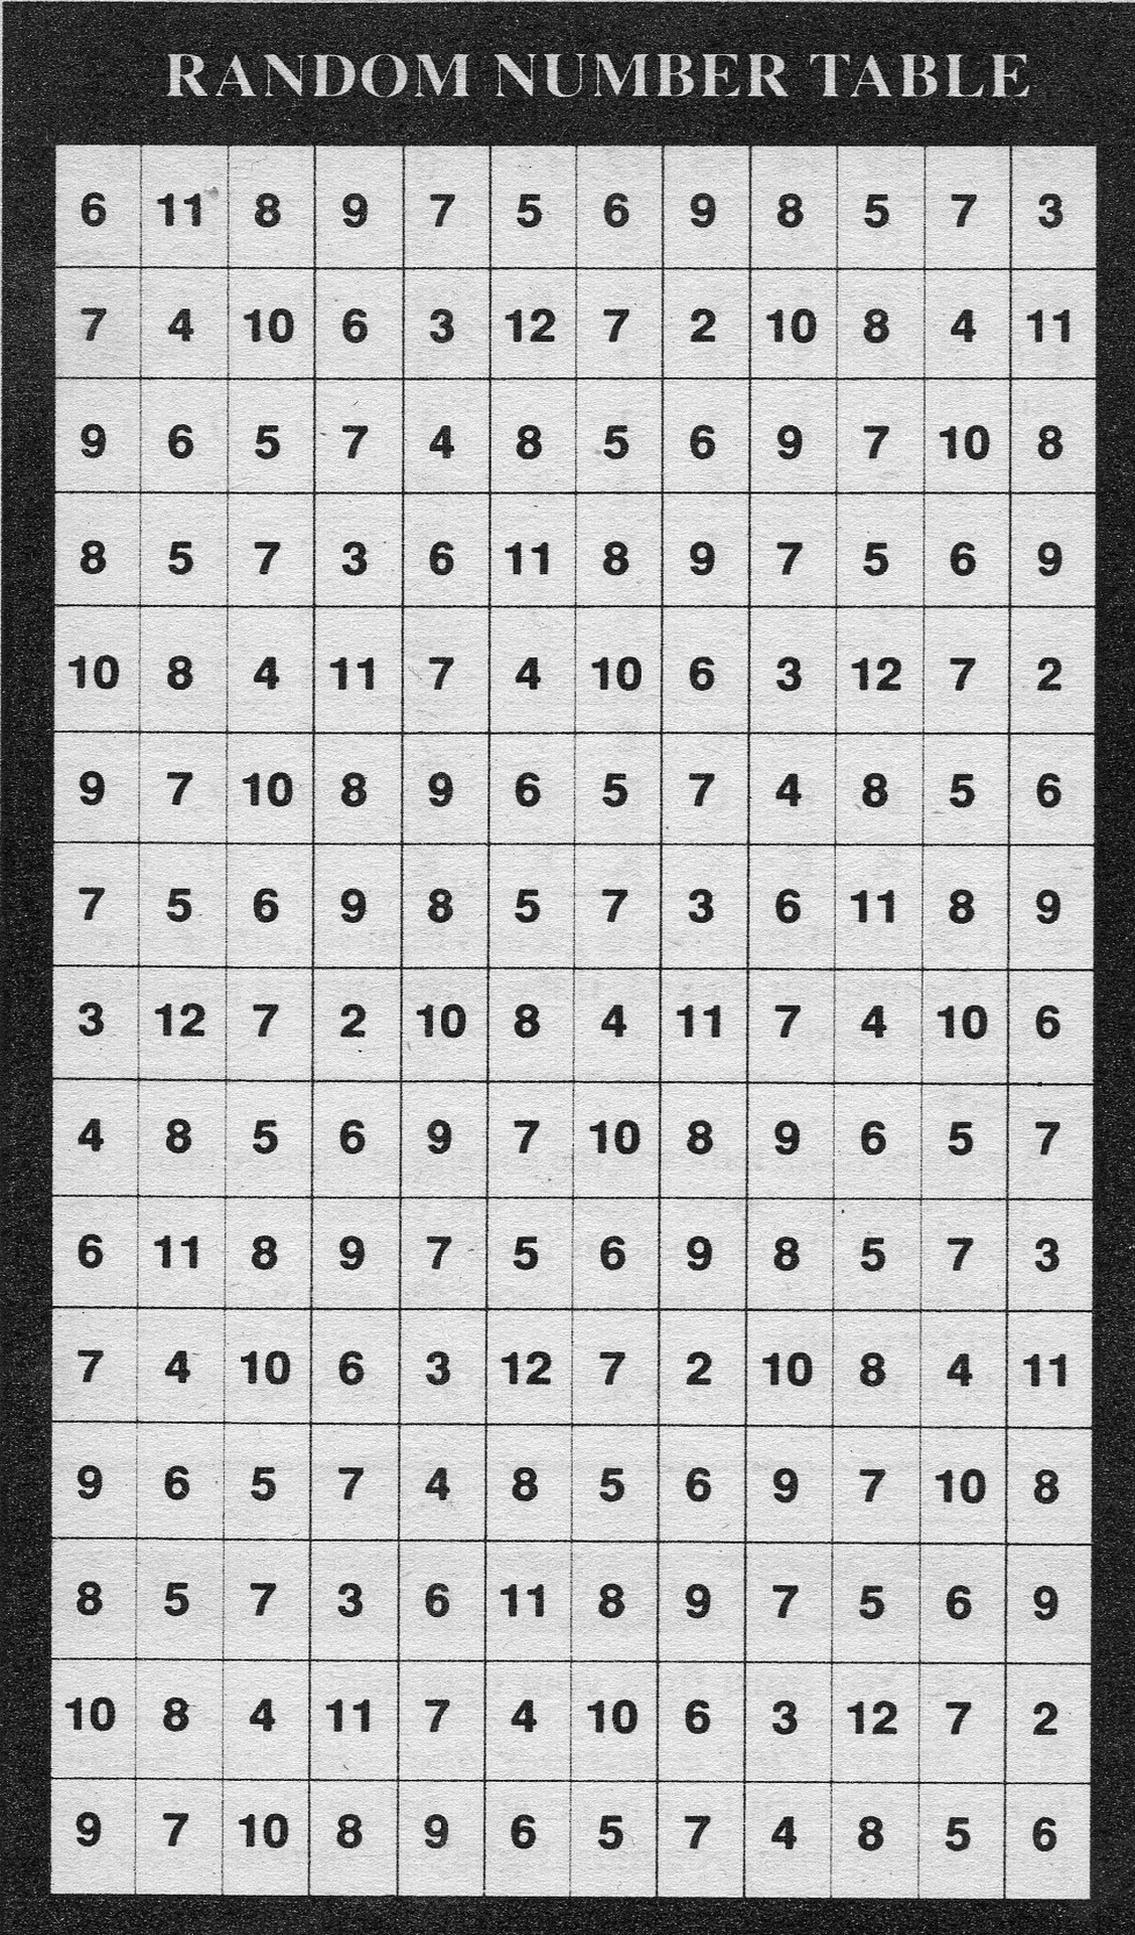
Middle-earth Quest: Treason at Helm's Deep Random Number Table
- Thanks to Philip Bach for sharing this file.
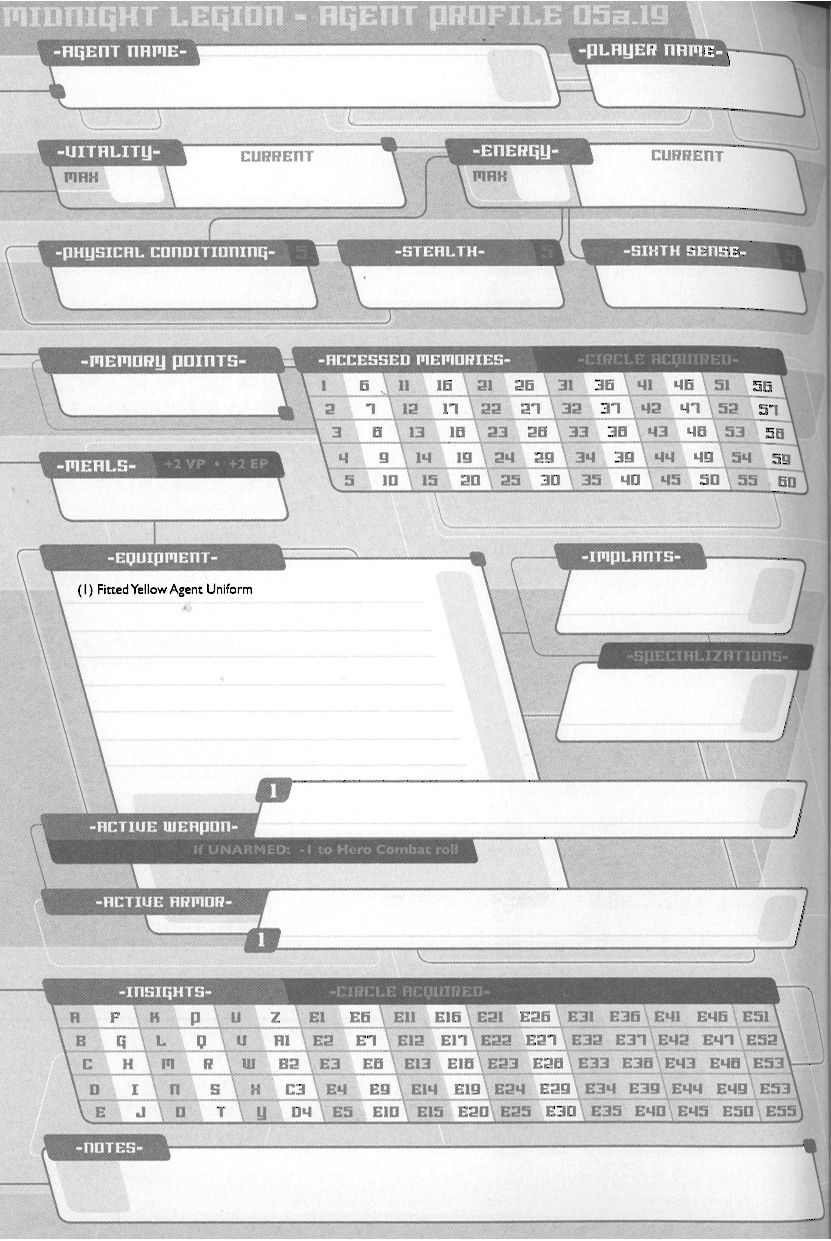
Midnight Legion Character Sheet
- Thanks to sireeyore for the scan.
Monster Horrorshow Cards (1 of 2)
- Thanks to The Museum of Computer Adventure Game History for sharing this image.
Monster Horrorshow Cards (2 of 2)
- Thanks to The Museum of Computer Adventure Game History for sharing this image.
Mr. Buckethead #2 Character Sheet
Nintendo Adventure Book # 1 Scorecard
Nintendo Adventure Book # 2 Scorecard
Nintendo Adventure Book # 3 Scorecard
Nintendo Adventure Book # 5 Scorecard
Nintendo Adventure Book # 6 Scorecard
Nintendo Adventure Book # 8 Scorecard
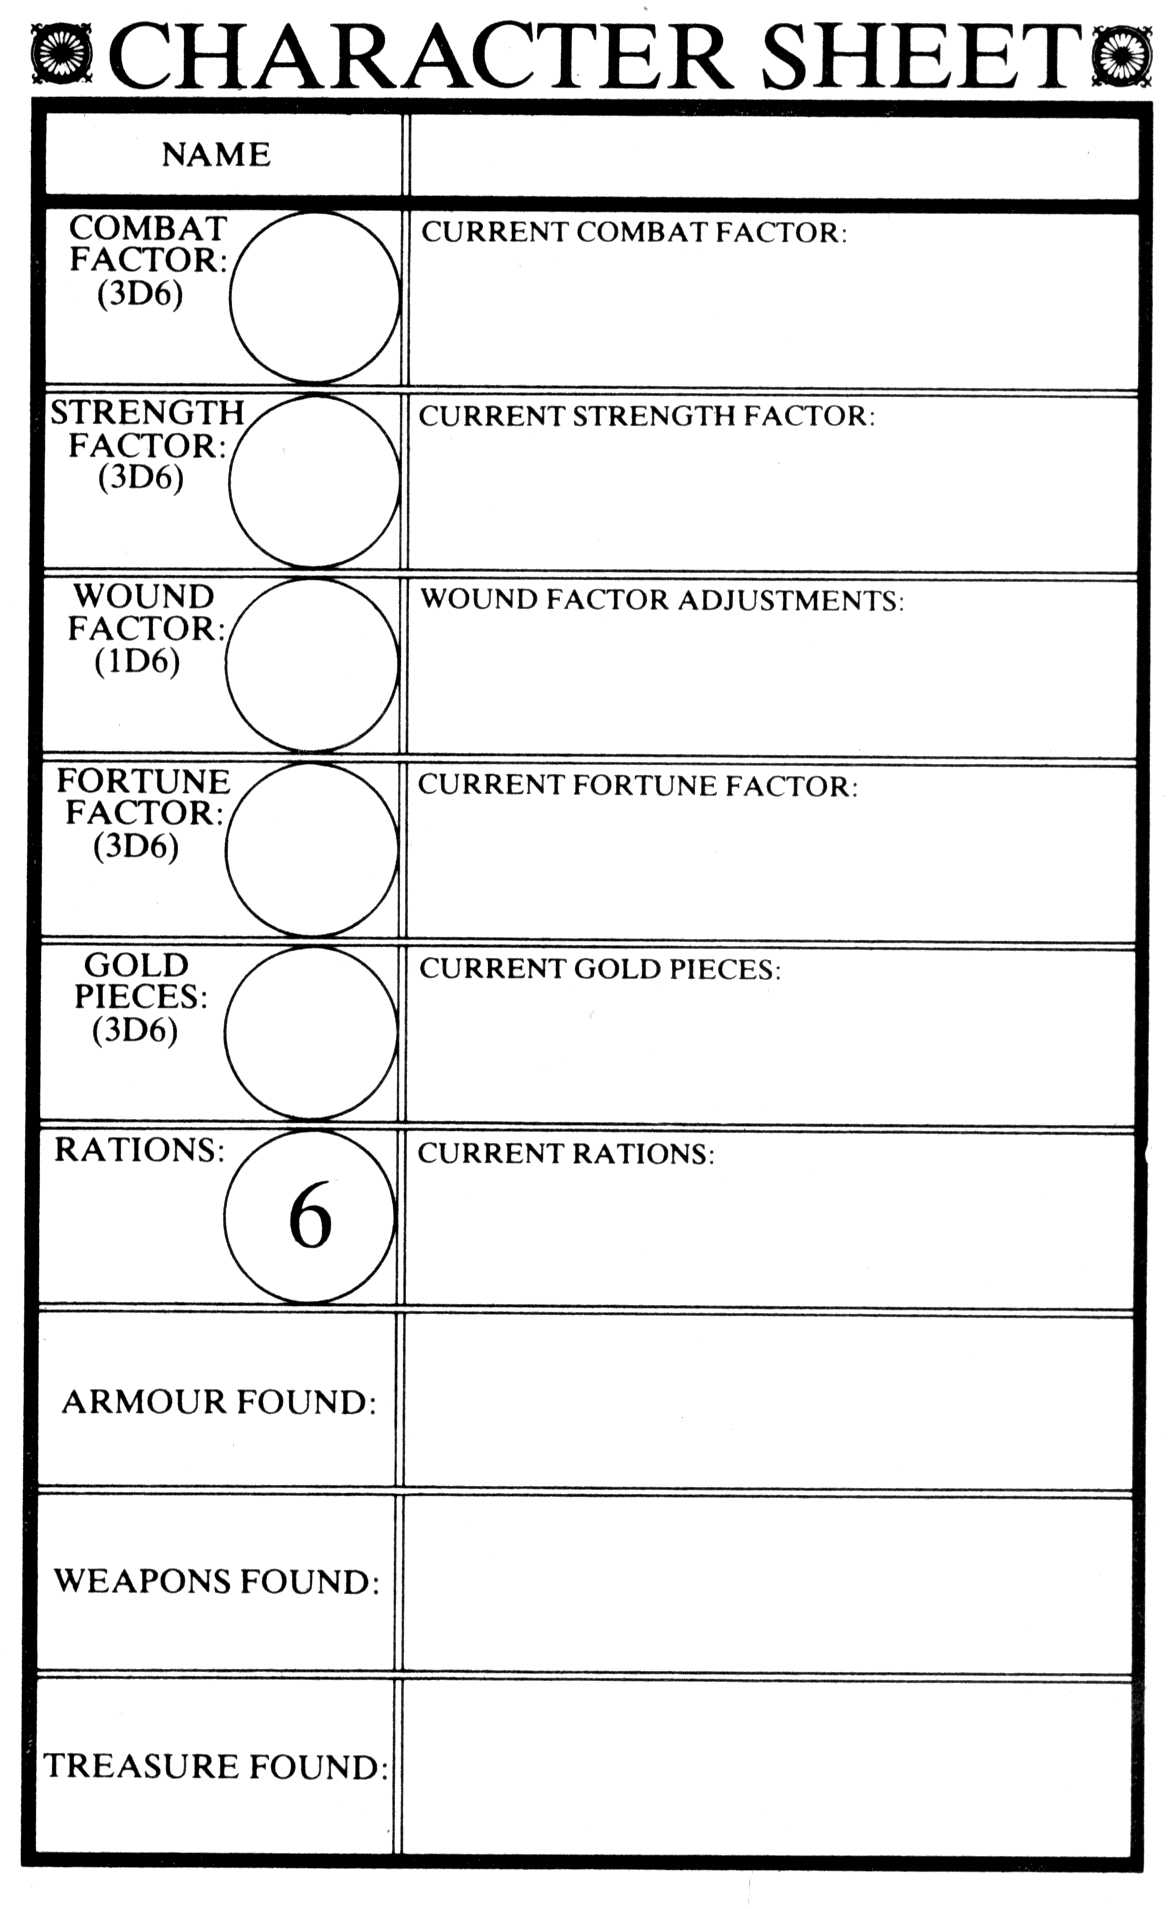
Original Gamebook #1 Character Sheet
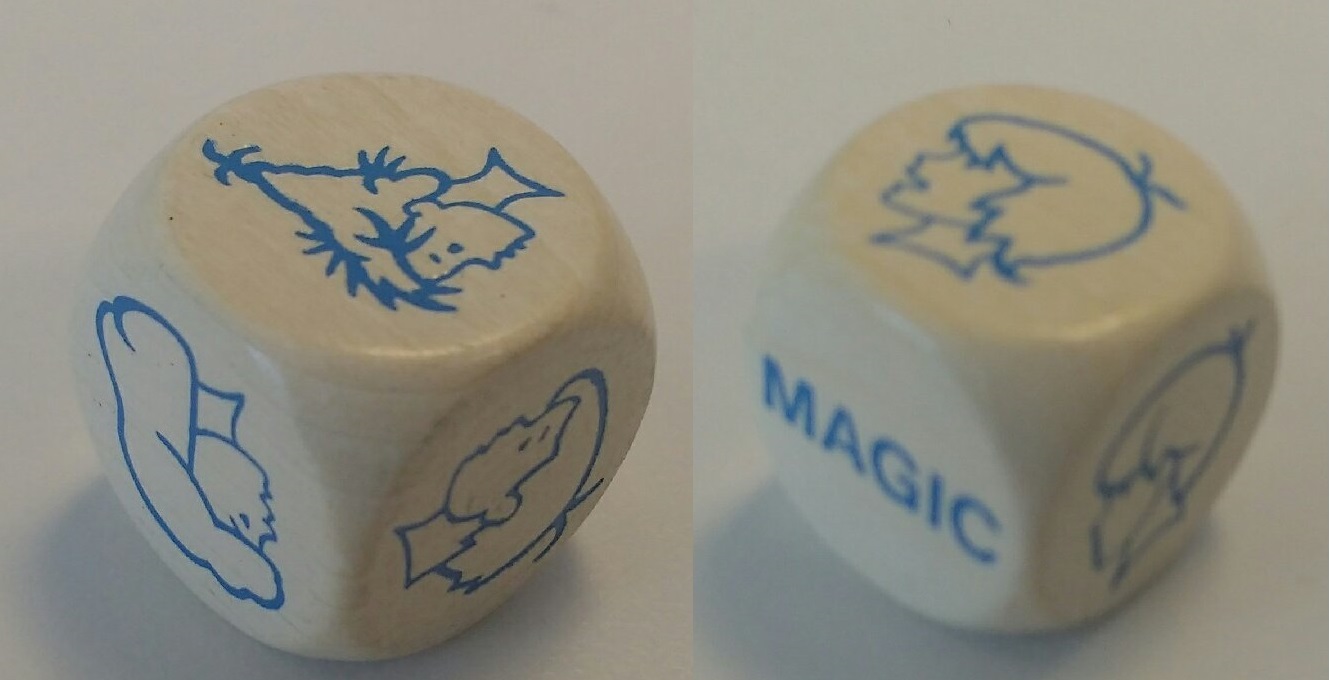
Peter Pan Adventure Game Die
- Thanks to sireeyore for the image.
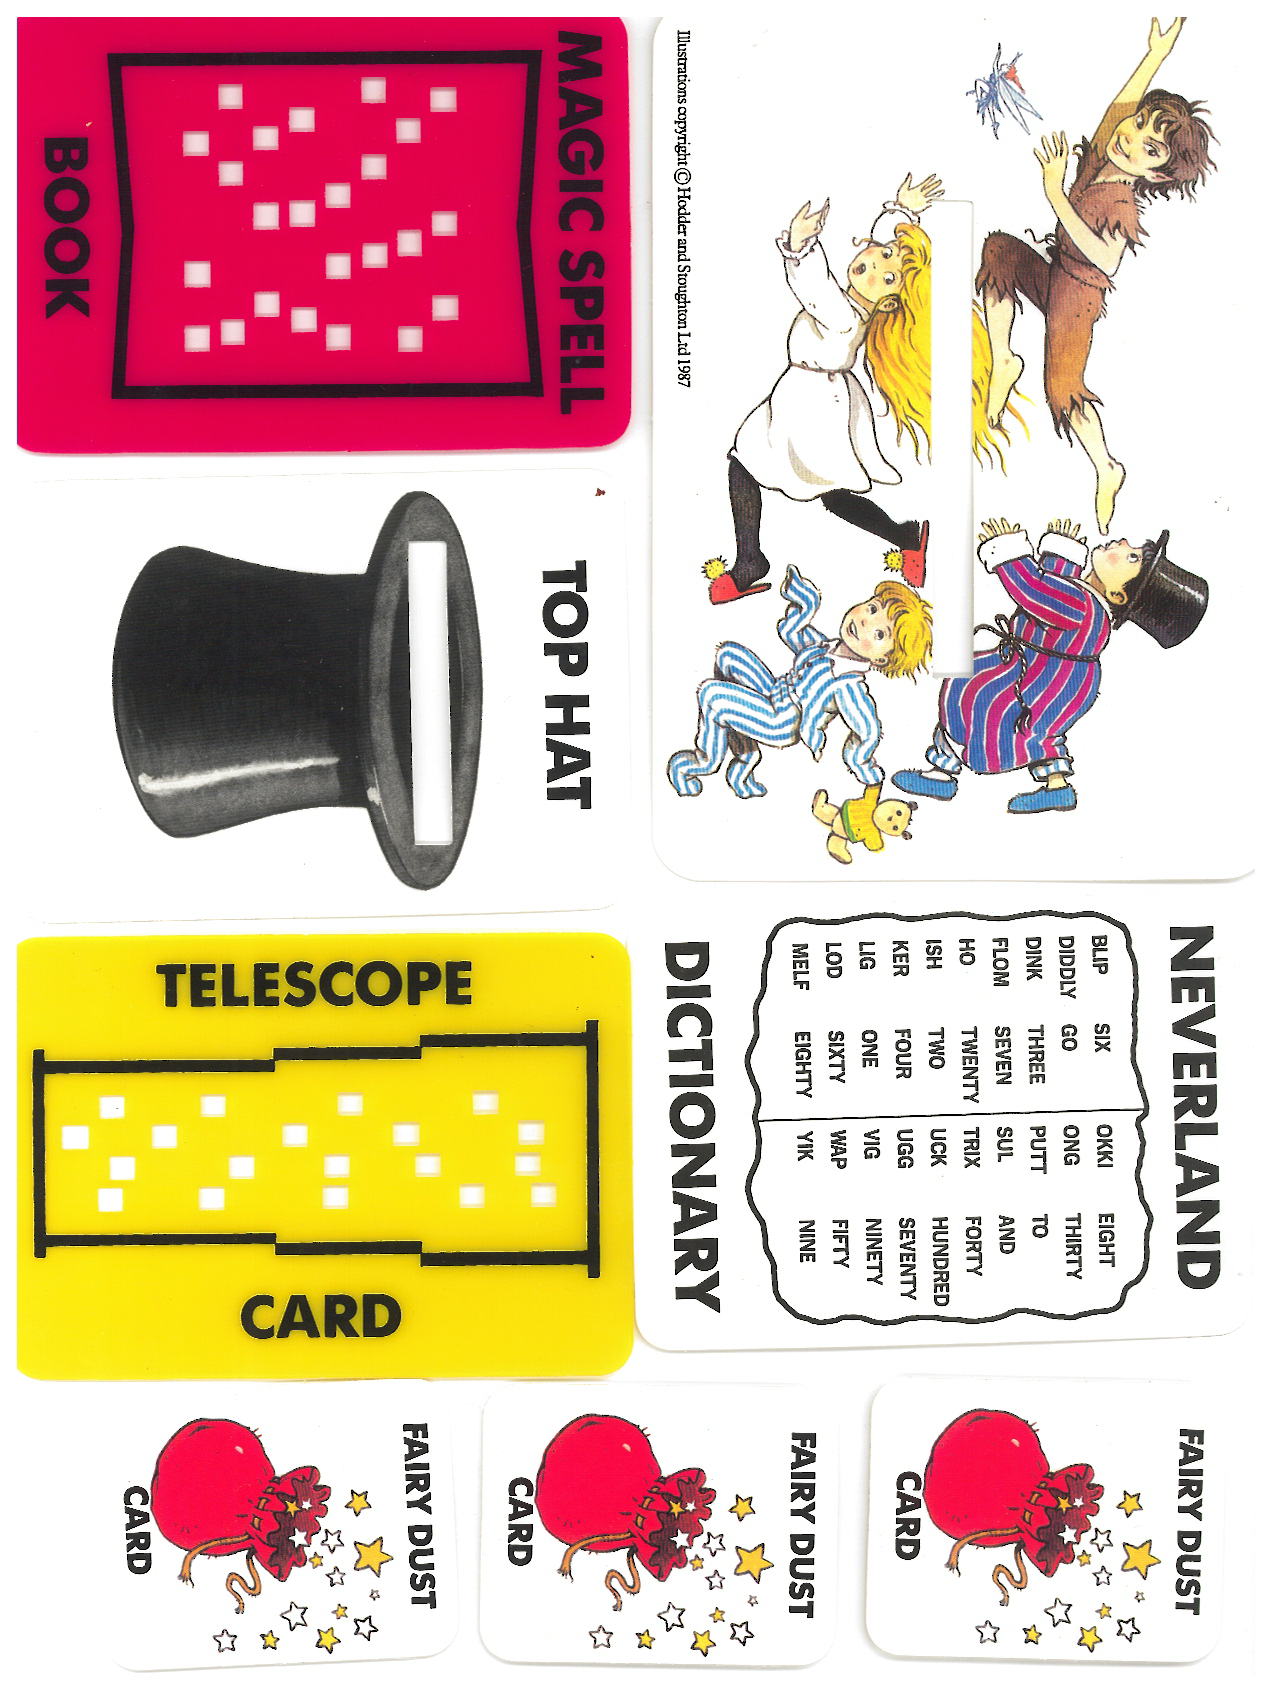
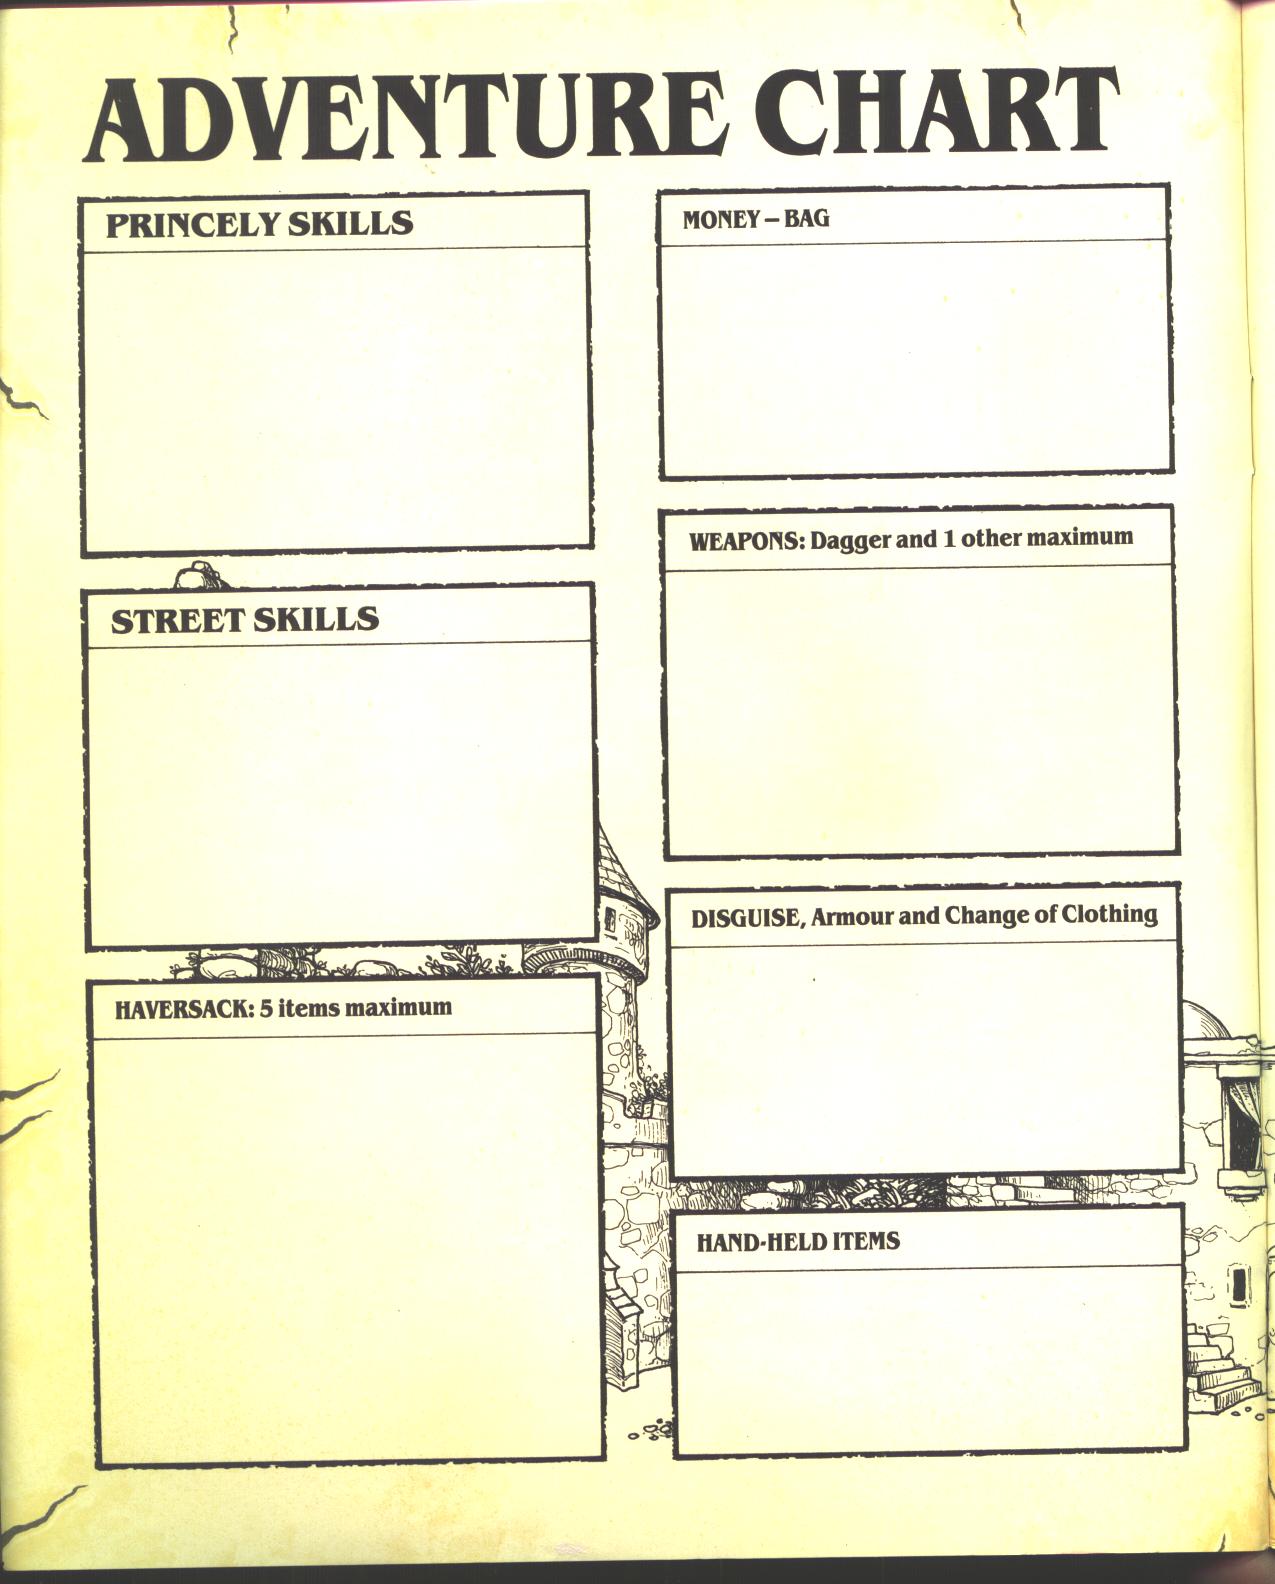
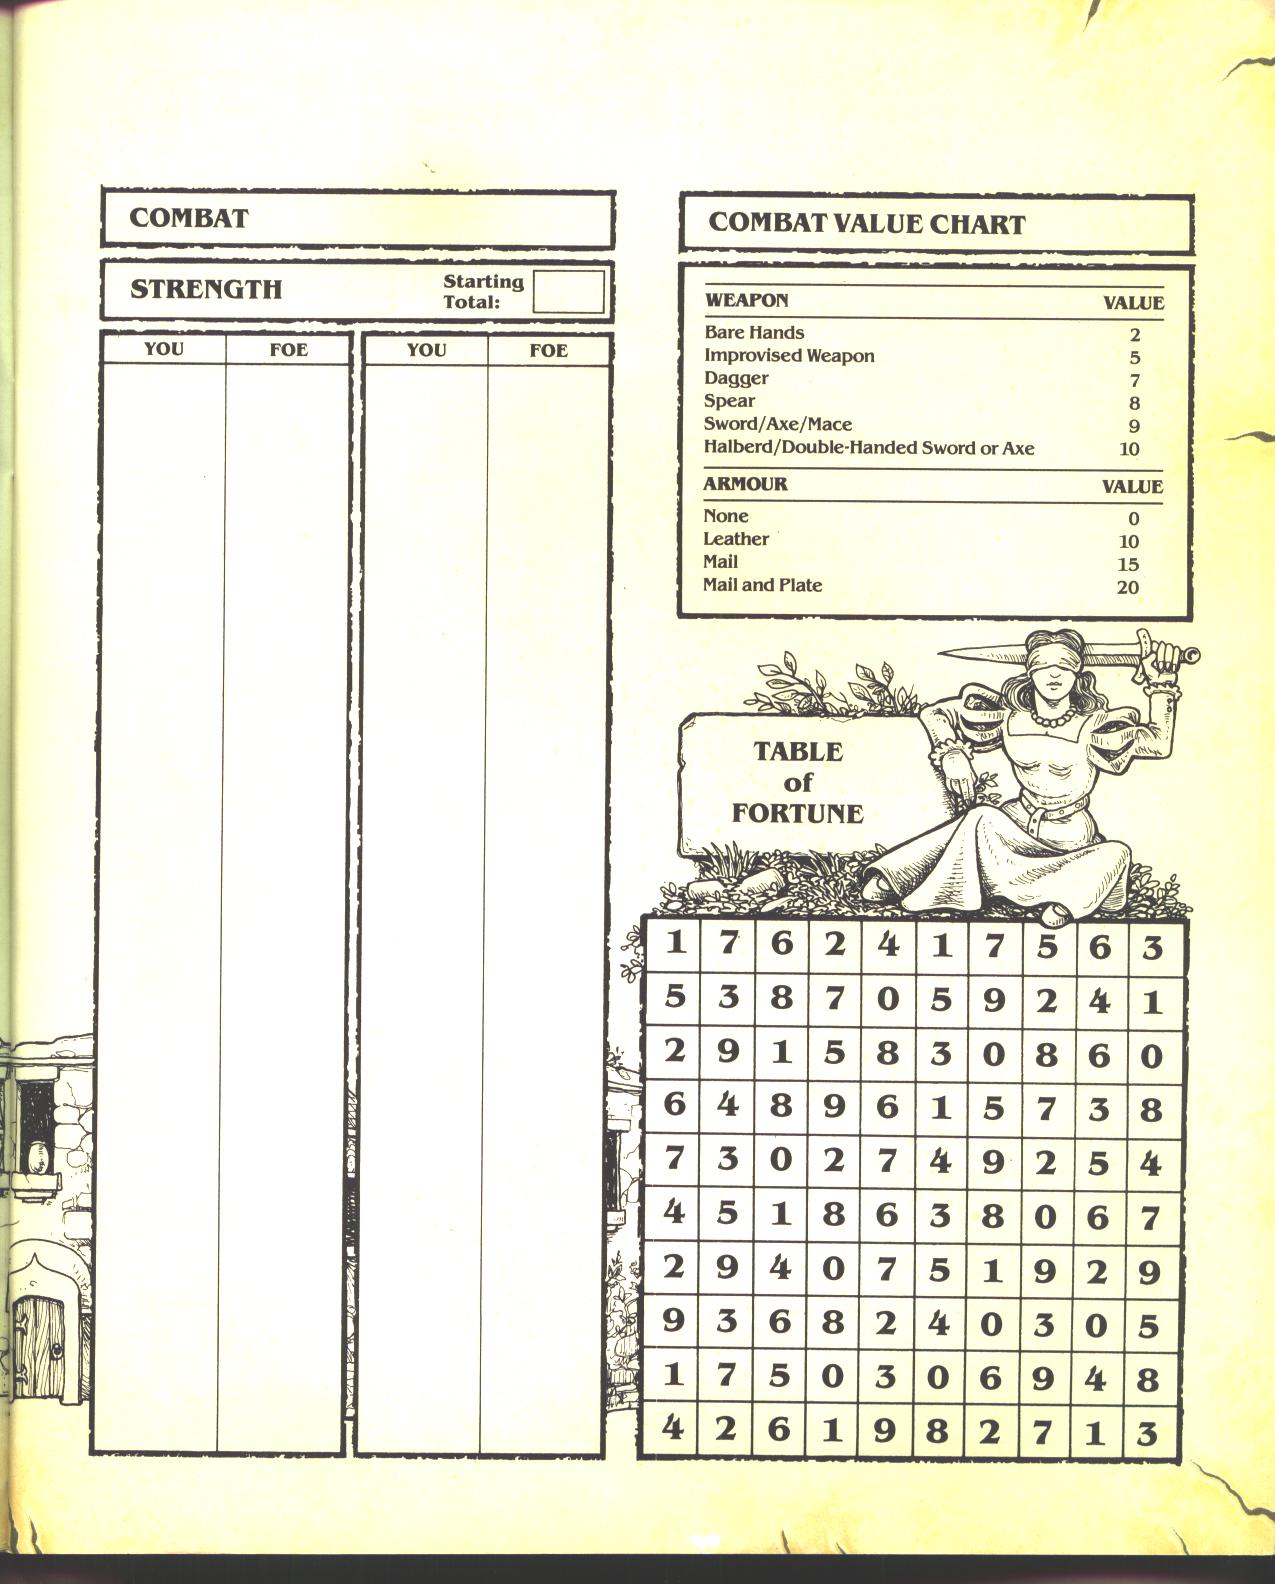
Peter Pan Adventure Game Gamekit
- Thanks to sireeyore for the image.
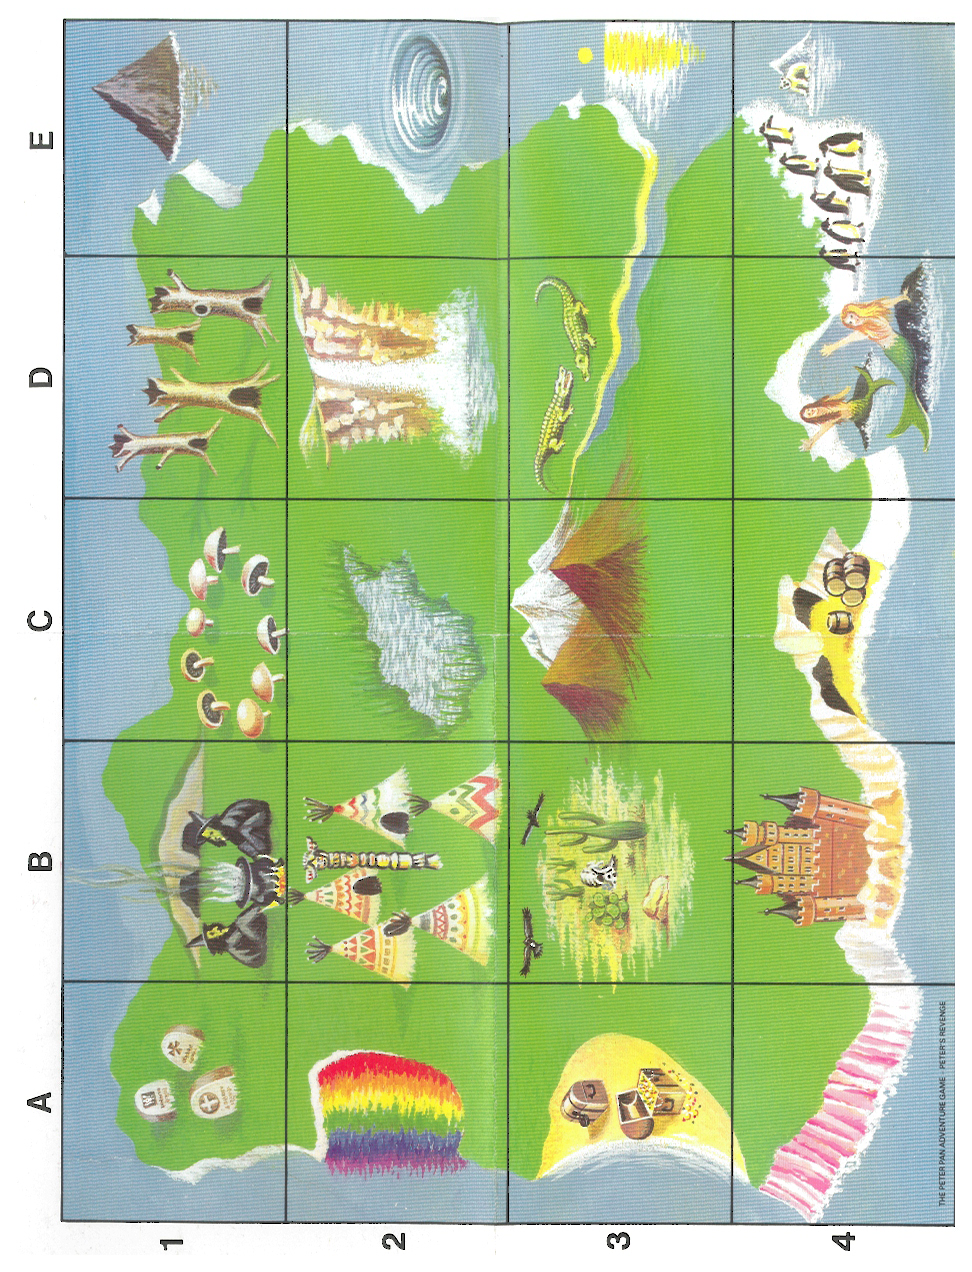
Peter Pan Adventure Game Map
- Thanks to sireeyore for the image.
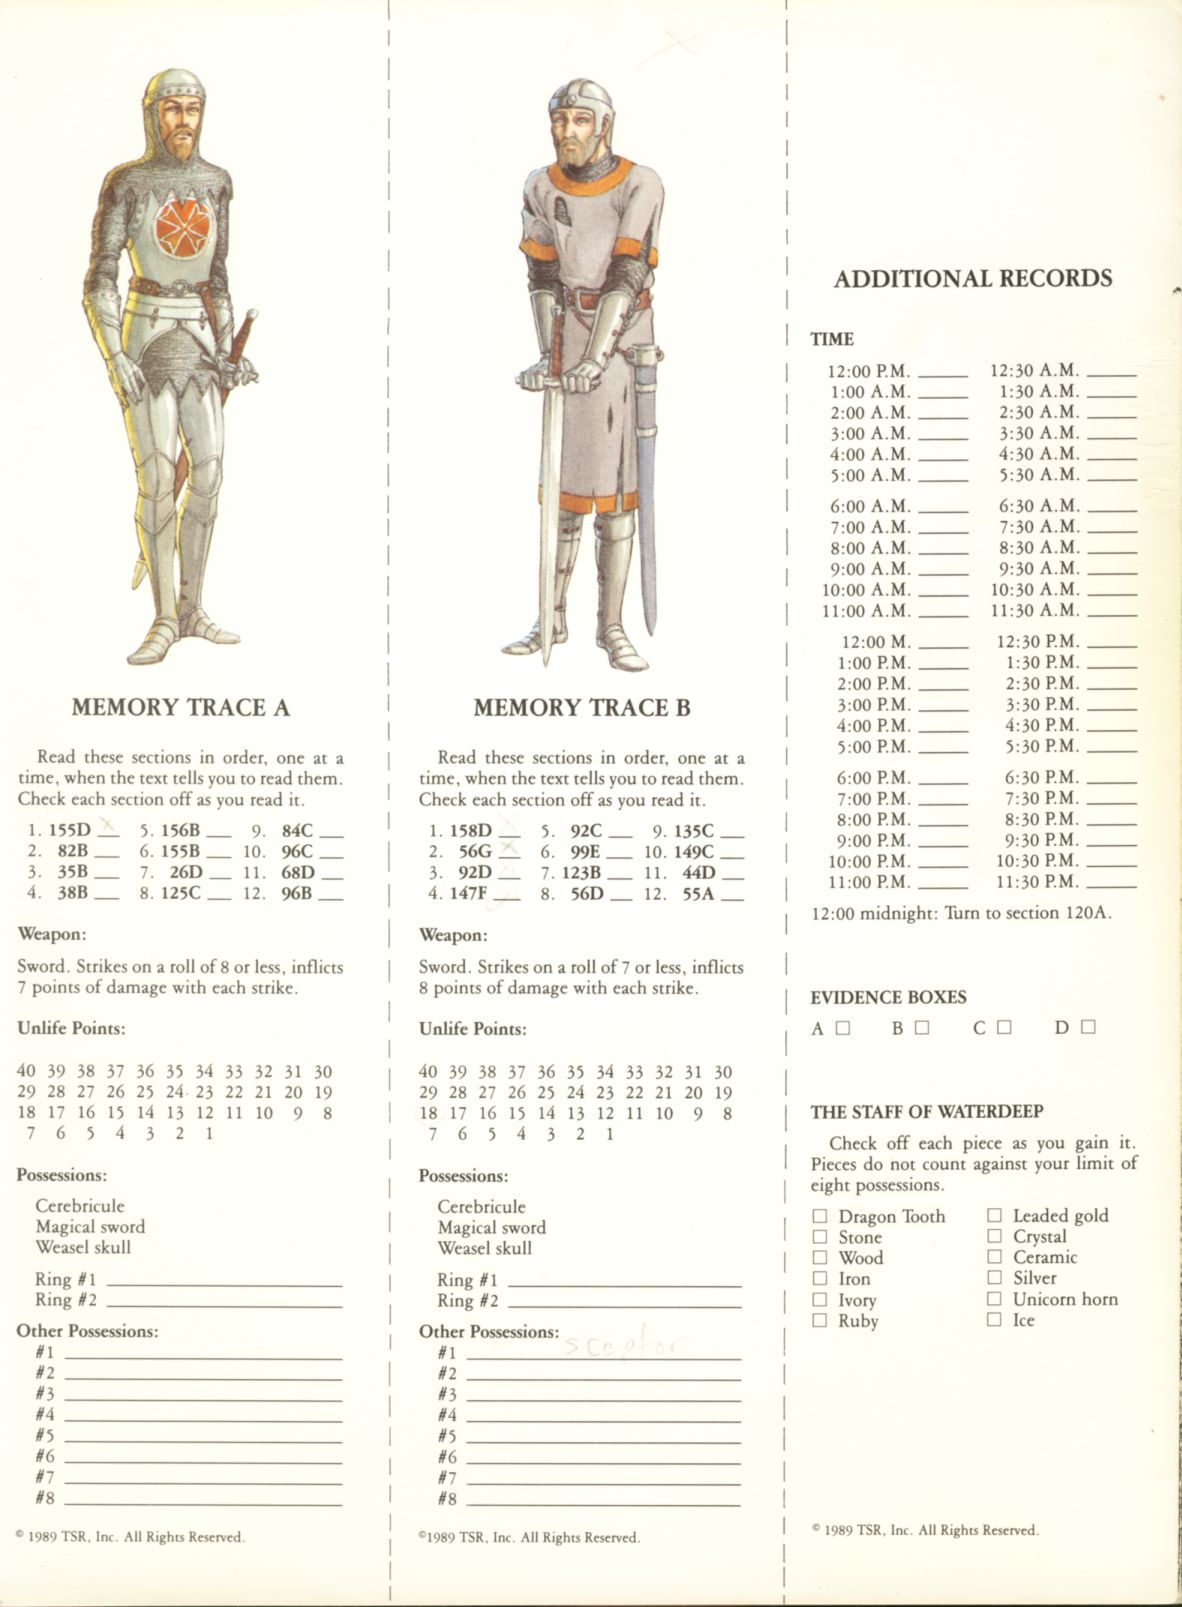
Prince of Shadows Character Sheet (left side)
Prince of Shadows Character Sheet (right side)
QuestWorld Map
- This PDF map, assembled by amateur creator Travis Henry with input from Rose Estes, creates a world map and setting for the Endless Quest books and other TSR-published gamebooks. A png version and PDF containing related communication and historical context are also available. The files are shared with permission.
Real Life Gamebooks #2 Character Sheet
Real Life Gamebooks #7 Character Sheet
Rider of the Black Sun Character Sheet (page 1)
- Thanks to sireeyore for the scan.
Rider of the Black Sun Character Sheet (page 2)
- Thanks to sireeyore for the scan.
Robin of Sherwood Character Sheet
Robin of Sherwood Combat Diagrams
Sagas of the Demonspawn #1 Character Sheet
- Thanks to Ben Nelson for providing this file.
Sagas of the Demonspawn #2 / #3 Character Sheet
- Thanks to Ben Nelson for providing this file.
Sagas of the Demonspawn #2 Rules Reference
Search for the Golden Acorn Competition Sheet
Sherlock Holmes Solo Mysteries #1 Character Sheet (back)
Sherlock Holmes Solo Mysteries #1 Character Sheet (front)
Sherlock Holmes Solo Mysteries #4 Character Sheet (back)
Sherlock Holmes Solo Mysteries #4 Character Sheet (front)
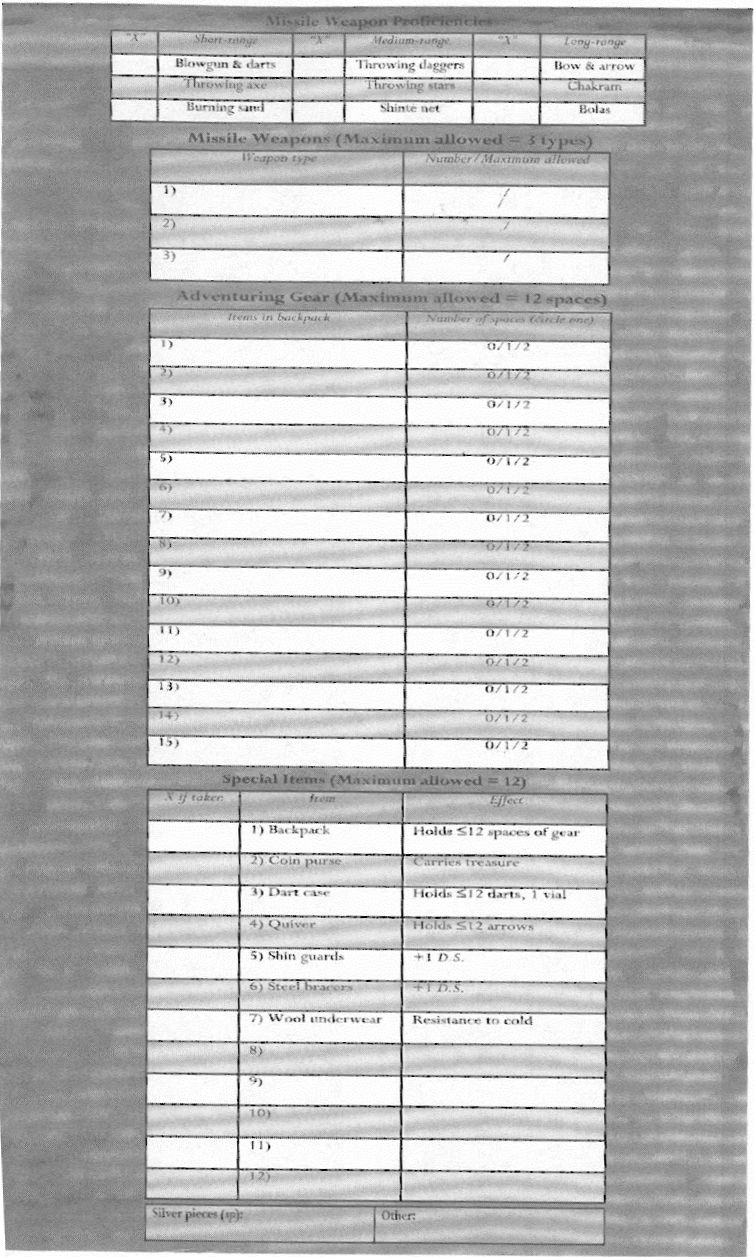
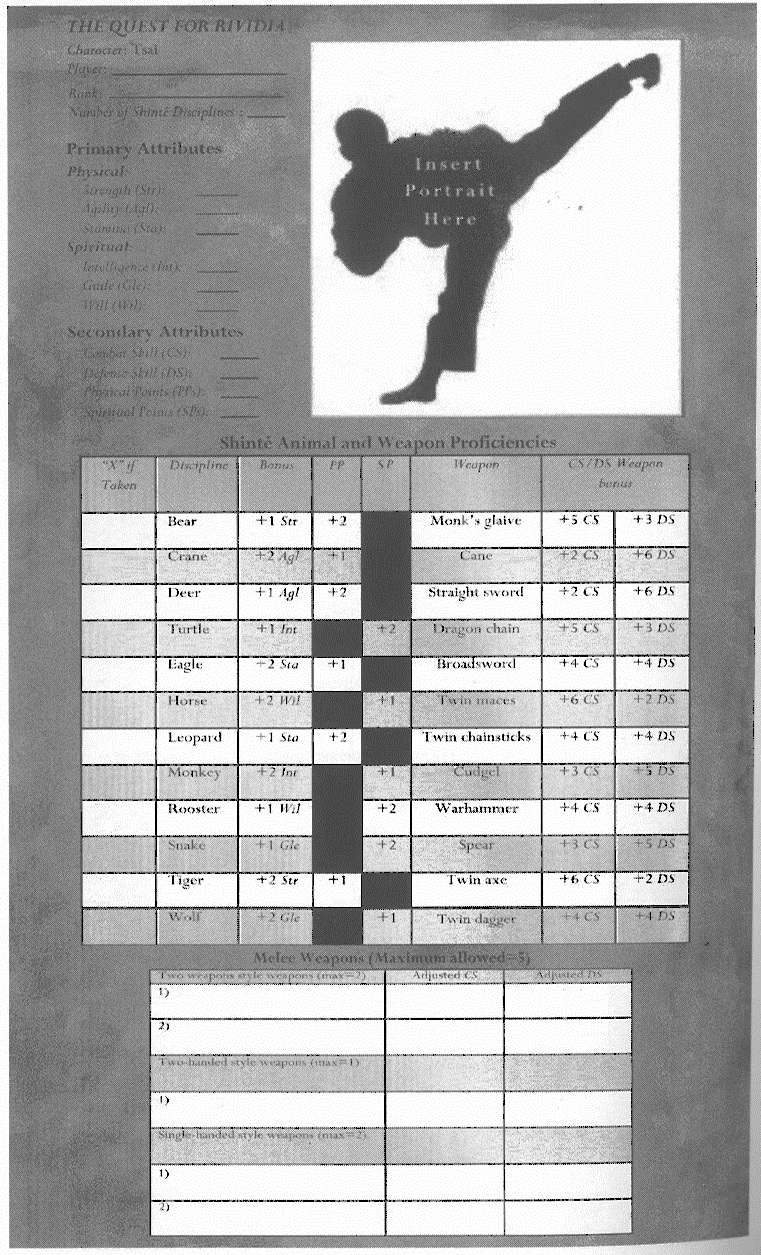
Shinté Warrior #1 Character Sheet (page 1)
- Thanks to sireeyore for the scan.
Shinté Warrior #1 Character Sheet (page 2)
- Thanks to sireeyore for the scan.
Shinté Warrior #2 Character Sheet (page 1)
- Thanks to sireeyore for the scan.
Shinté Warrior #2 Character Sheet (page 2)
- Thanks to sireeyore for the scan.
Sniper! #2 Character Sheet
Sniper! #3 Character Sheet
Sniper! #4 Character Sheet
Sniper! #5 Character Sheet
Sniper! #6 Character Sheet
Sonic the Hedgehog #1 Character Sheet
Sonic the Hedgehog #2 Sonic Character Sheet
Sonic the Hedgehog #2 Tails Character Sheet
Sonic the Hedgehog #3 - #4 Character Sheet
Sonic the Hedgehog #5 Character Sheet
Sonic the Hedgehog #6 Character Sheet
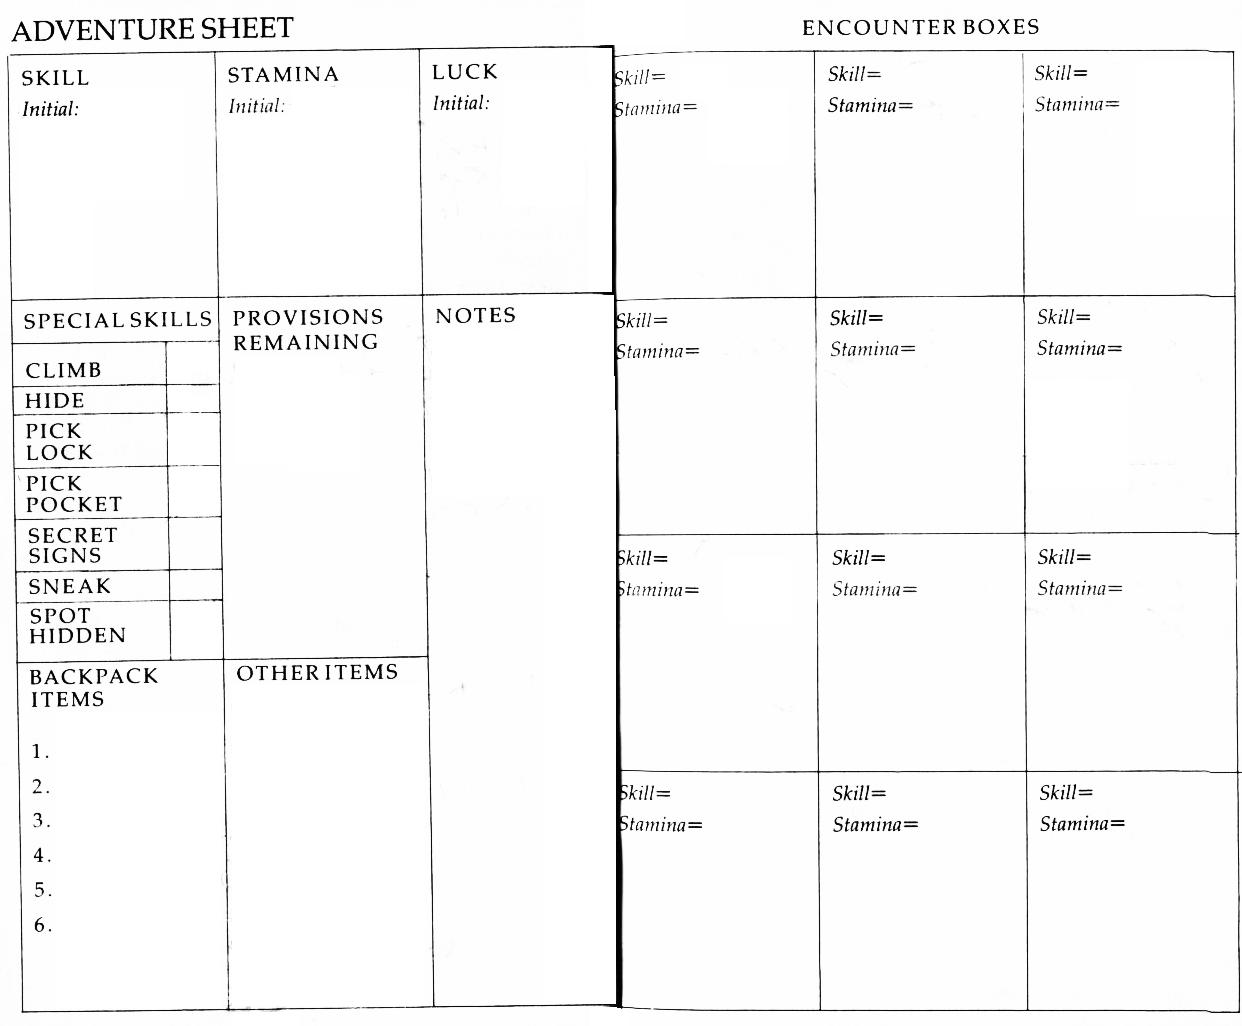
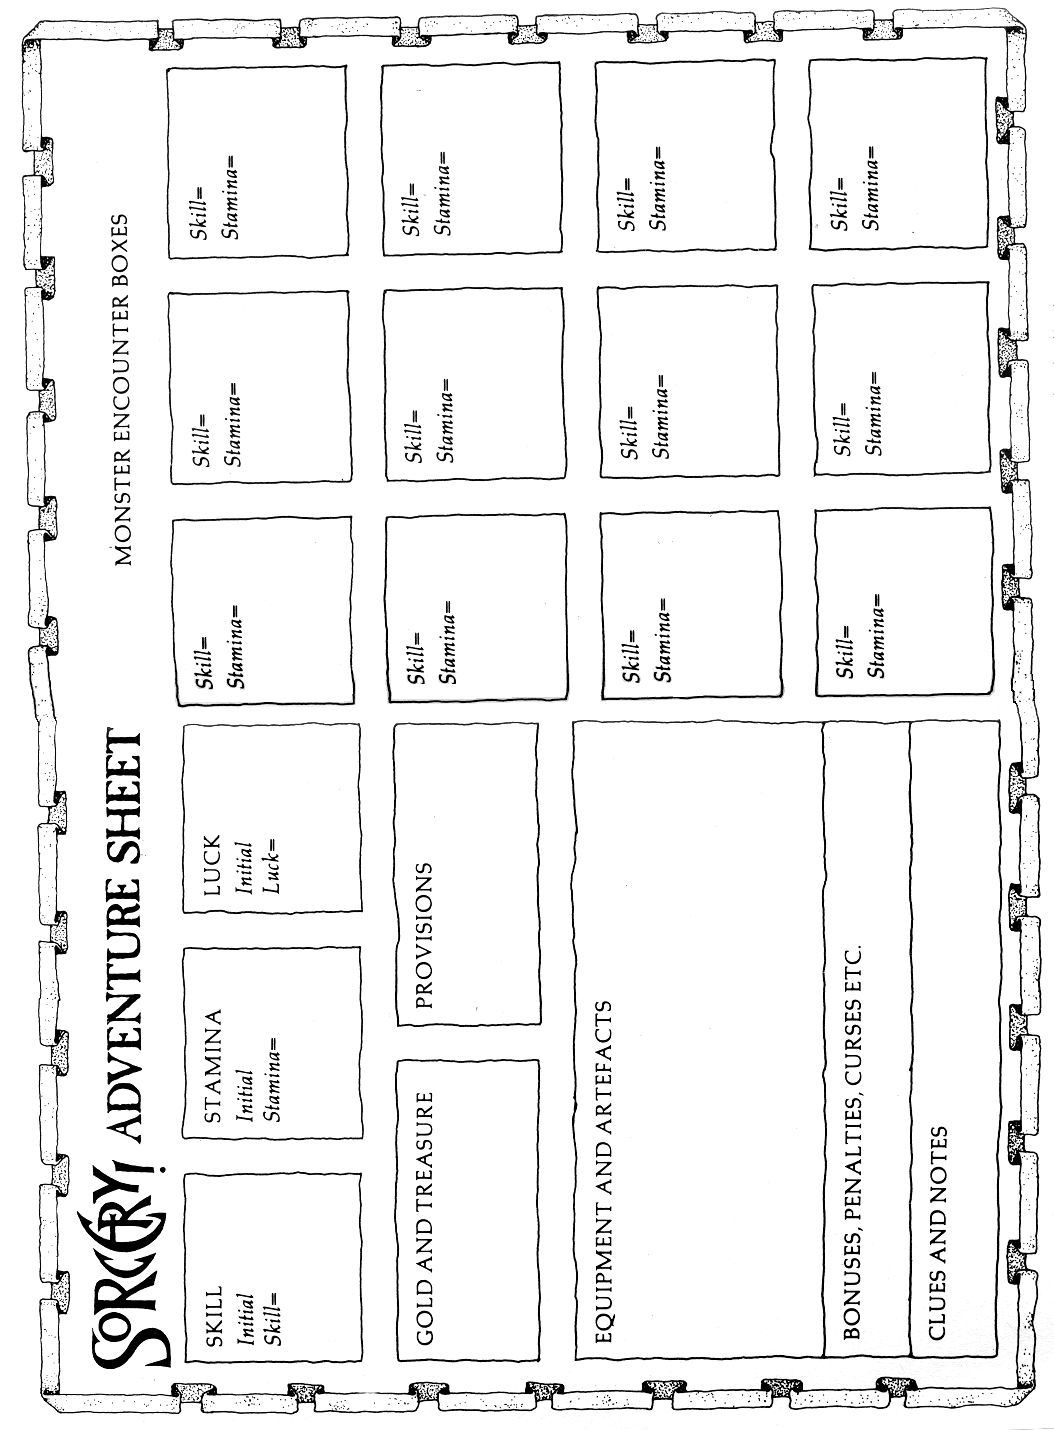
Sorcery! Character Sheet
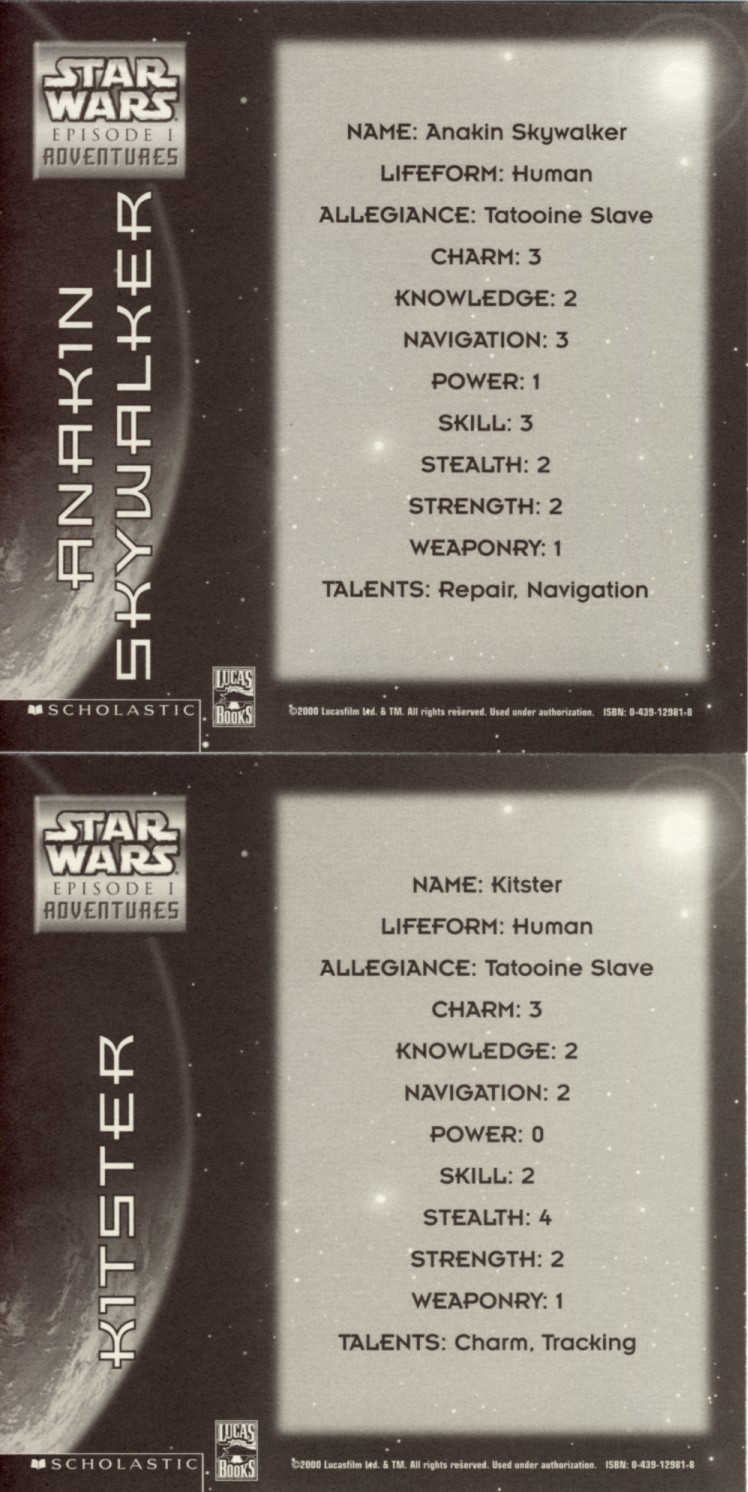
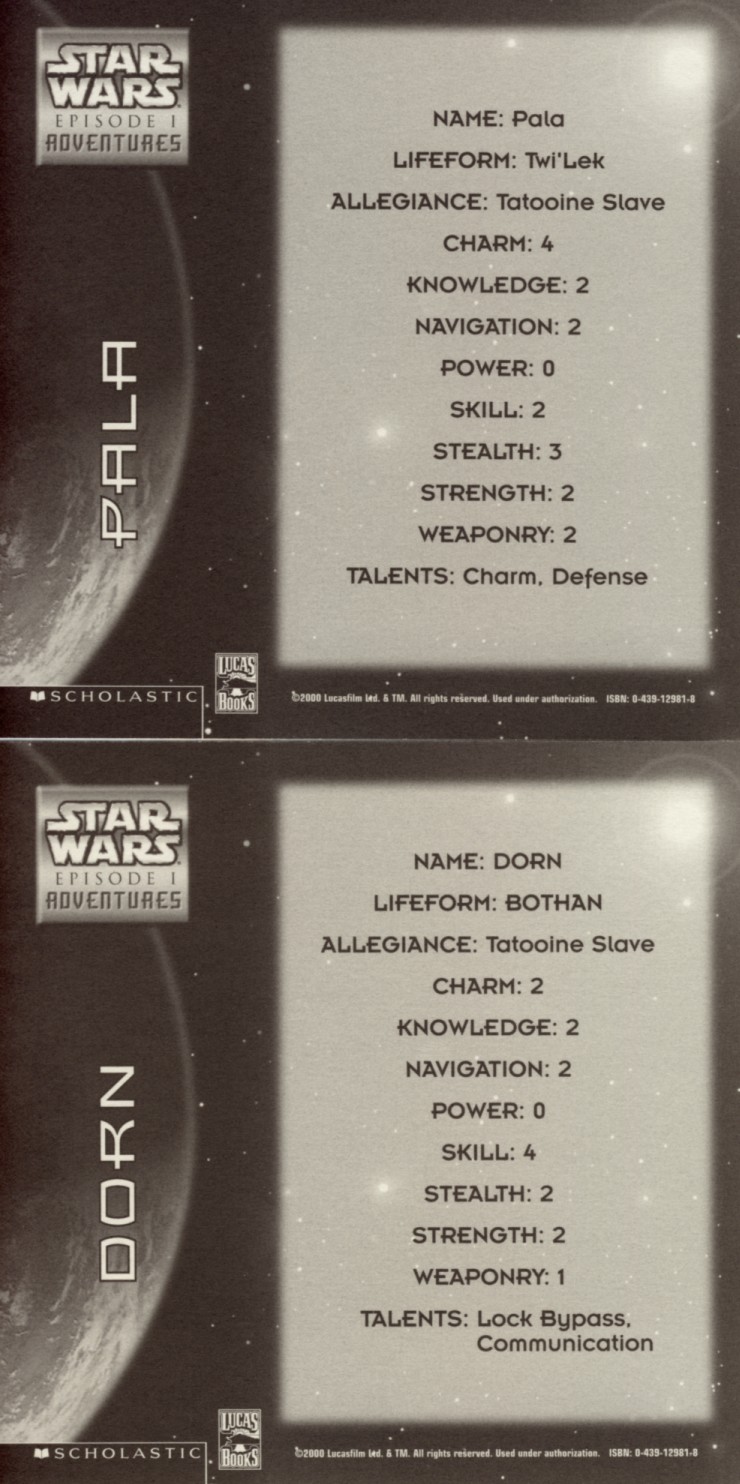
Star Wars Episode I Adventures # 1 Character Card Backs (1/2)
Star Wars Episode I Adventures # 1 Character Card Backs (2/2)
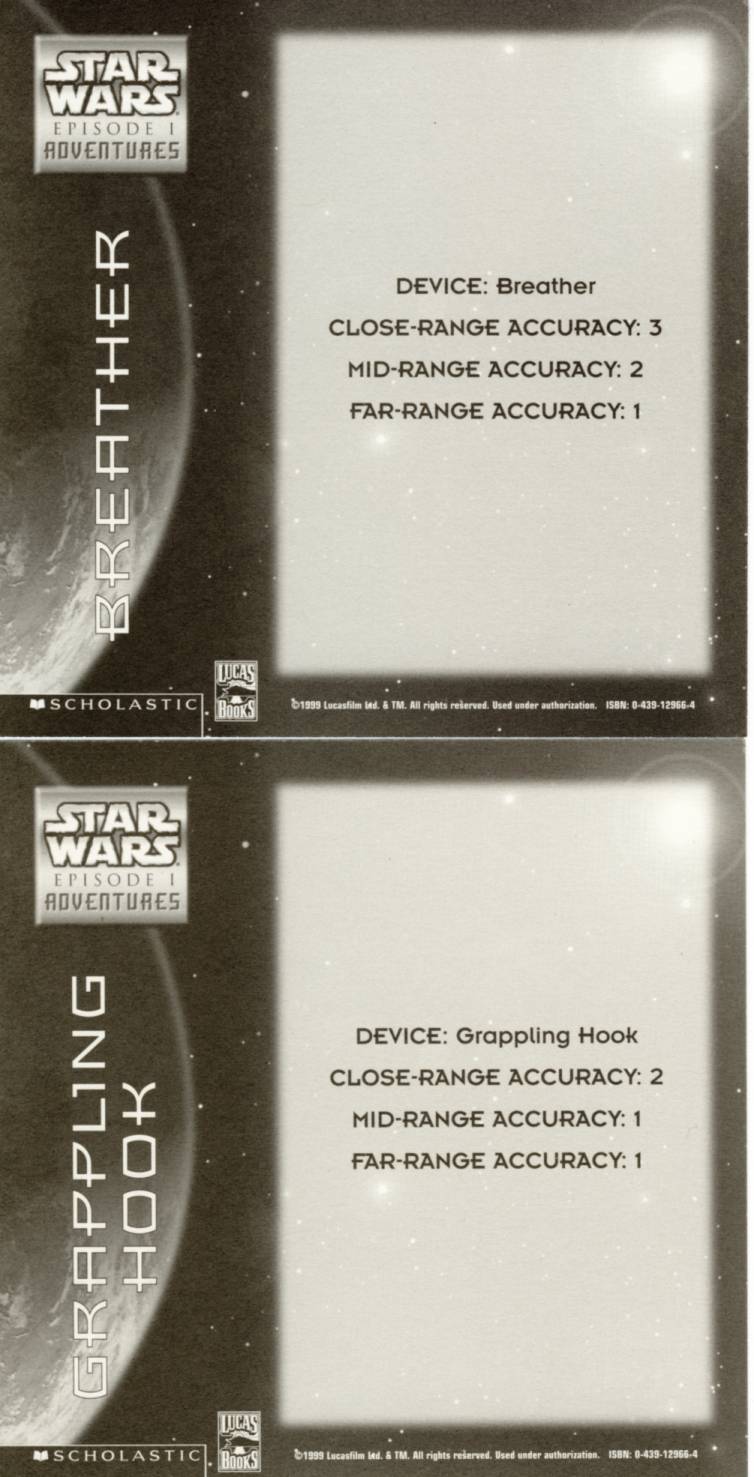
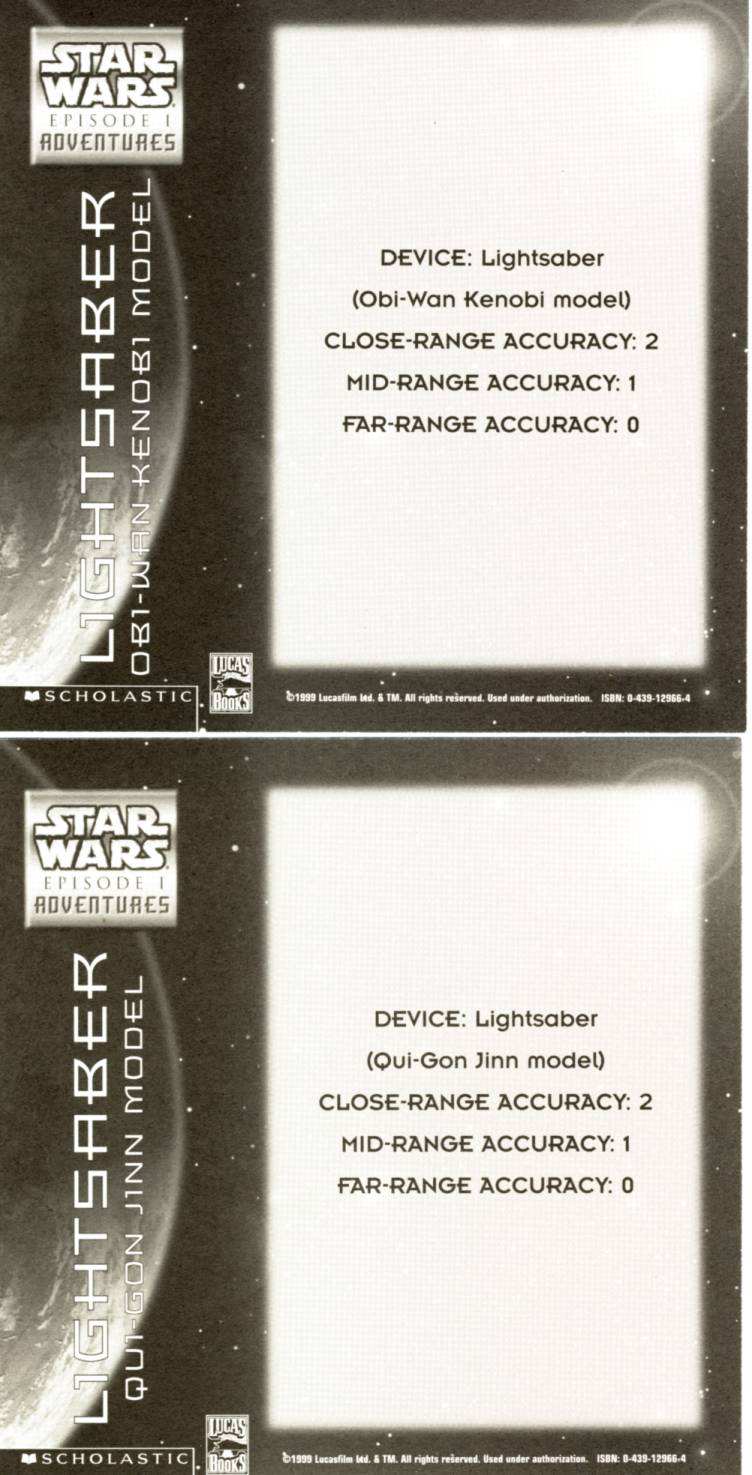
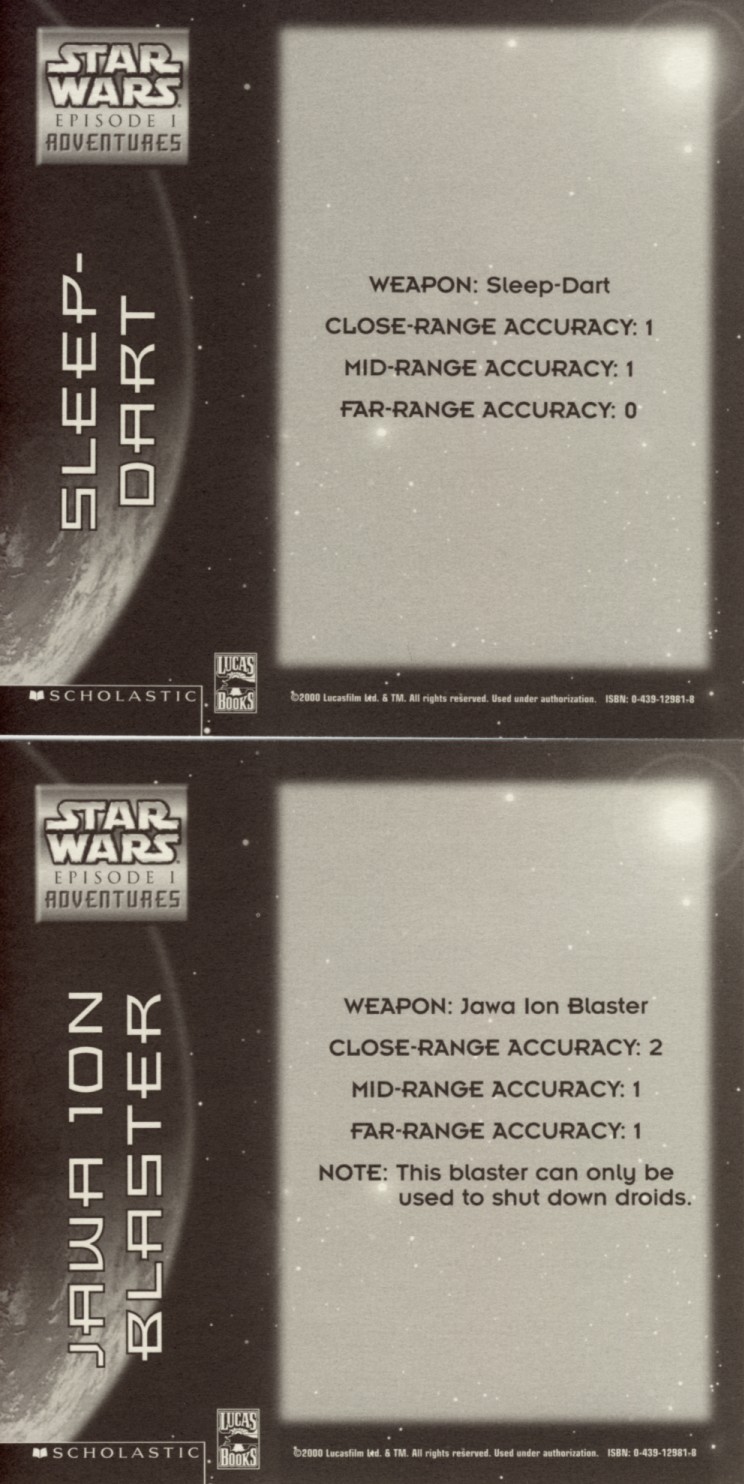
Star Wars Episode I Adventures # 1 Equipment Card Backs (1/2)
Star Wars Episode I Adventures # 1 Equipment Card Backs (2/2)
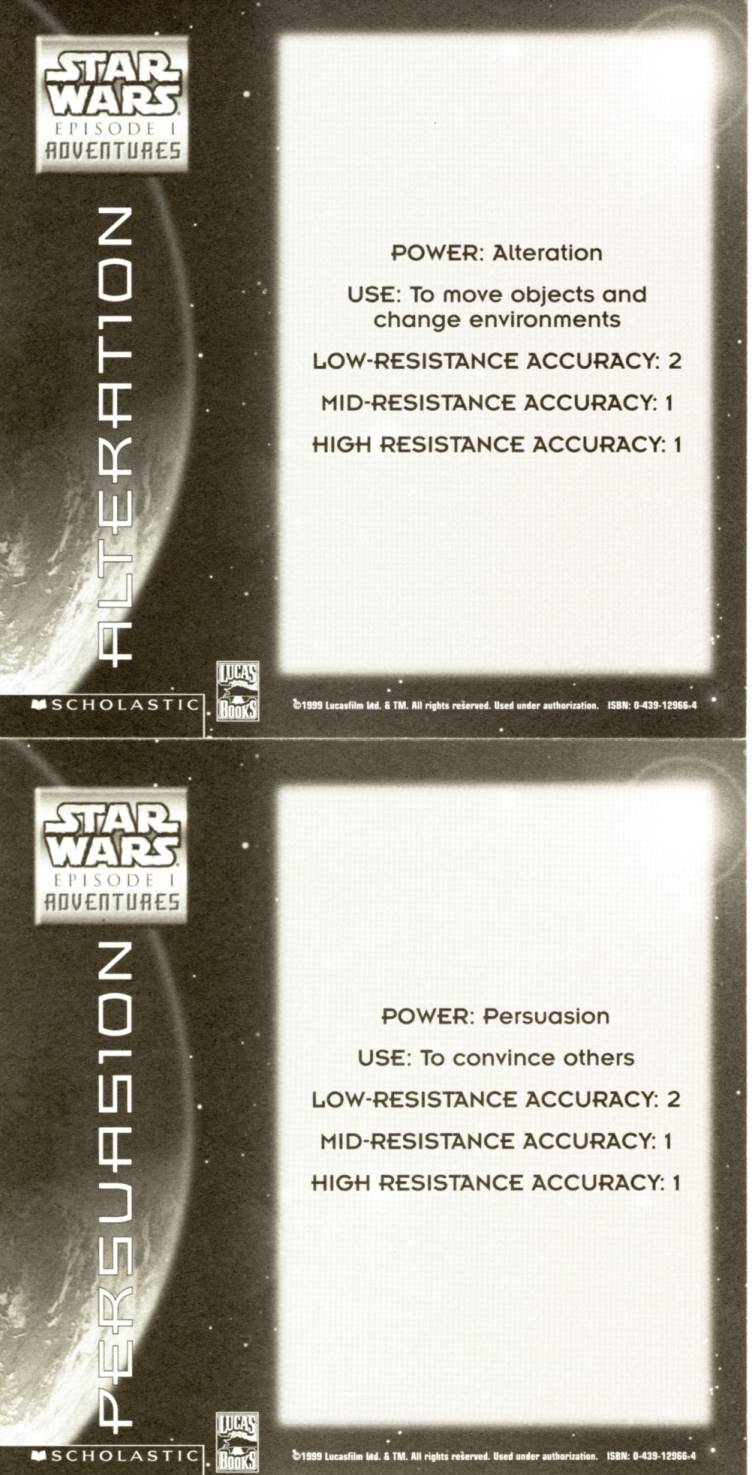
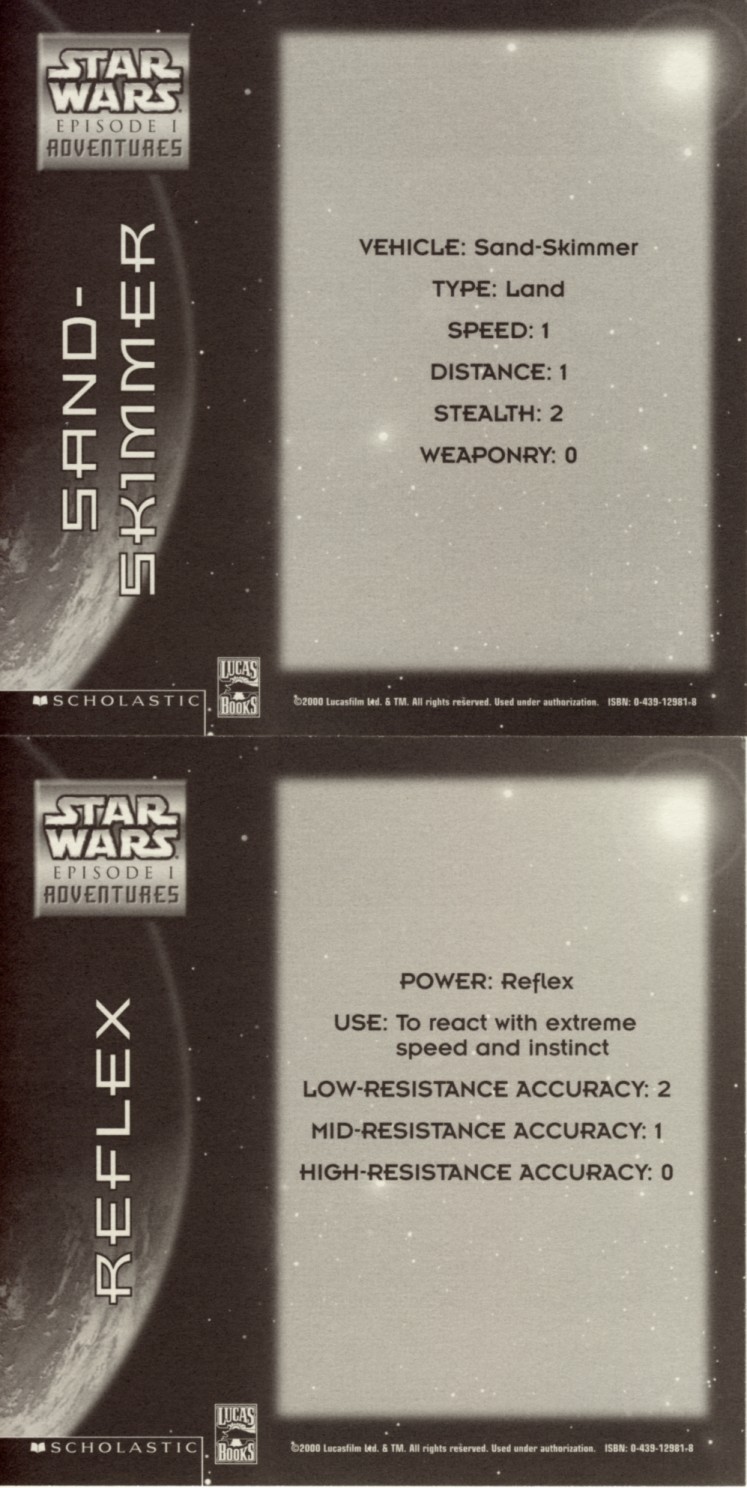
Star Wars Episode I Adventures # 1 Power Card Backs
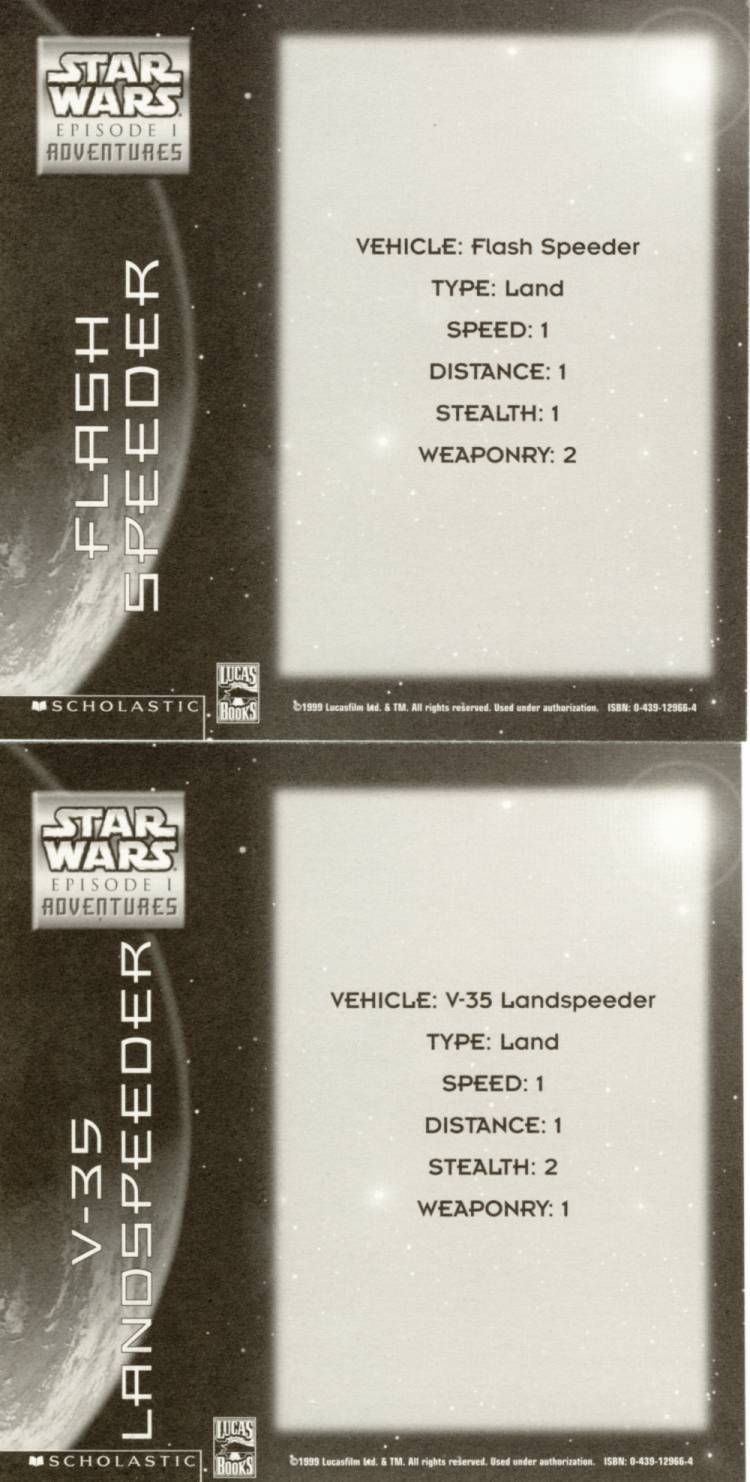
Star Wars Episode I Adventures # 1 Vehicle Card Backs
Star Wars Episode I Adventures # 5 Character Card Backs (1/2)
Star Wars Episode I Adventures # 5 Character Card Backs (2/2)
Star Wars Episode I Adventures # 5 Equipment Card Backs
Star Wars Episode I Adventures # 5 Power/Vehicle Card Backs
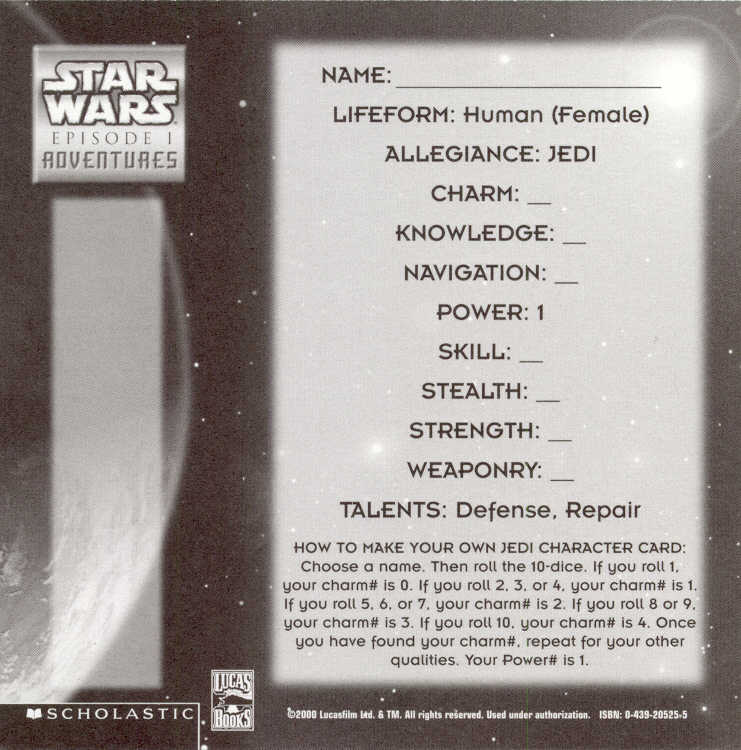
Star Wars Episode I Adventures #13 Blank Female Jedi Card (back)
Star Wars Episode I Adventures #13 Blank Female Jedi Card (front)
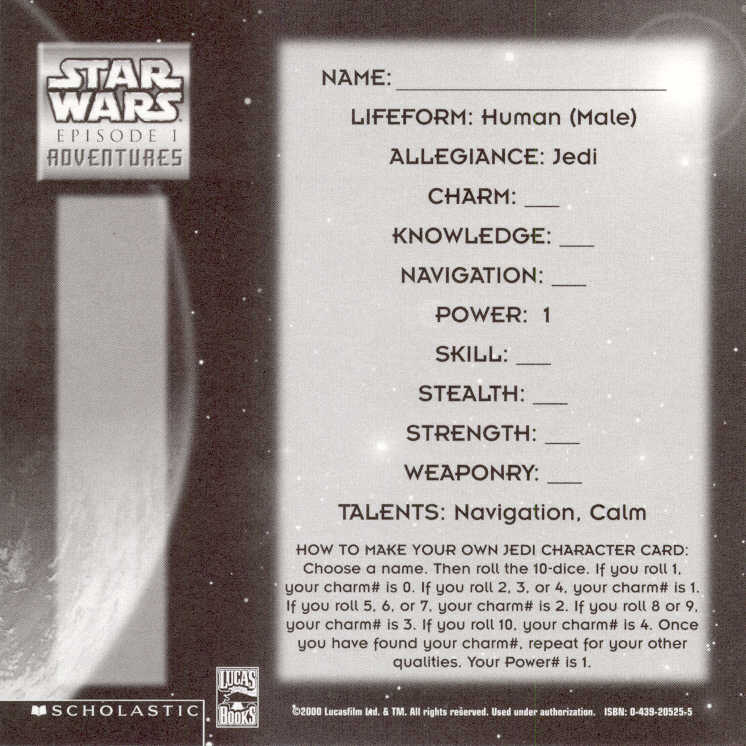
Star Wars Episode I Adventures #13 Blank Male Jedi Card (back)
Star Wars Episode I Adventures #13 Blank Male Jedi Card (front)
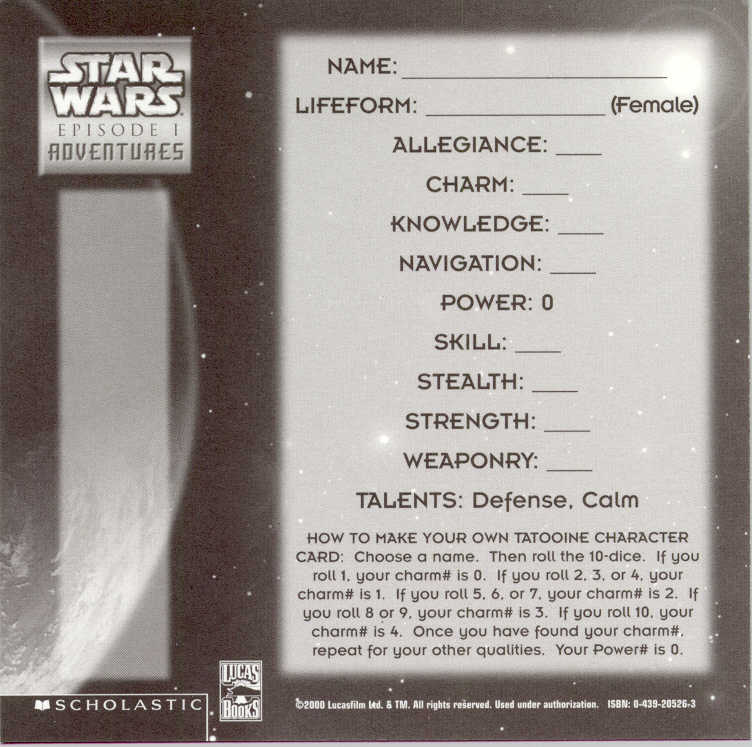
Star Wars Episode I Adventures #14 Blank Female Tatooine Card (back)
Star Wars Episode I Adventures #14 Blank Female Tatooine Card (front)
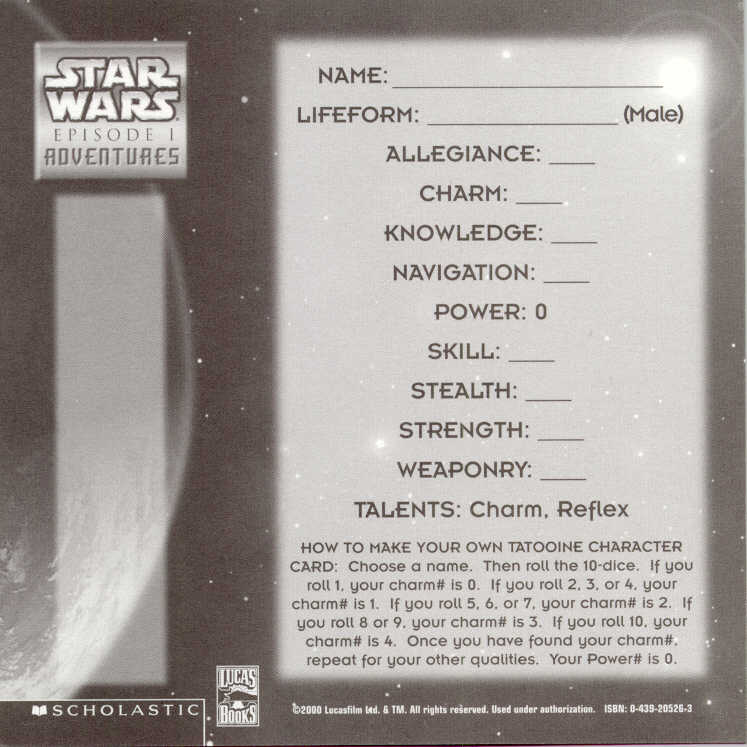
Star Wars Episode I Adventures #14 Blank Male Tatooine Card (back)
Star Wars Episode I Adventures #14 Blank Male Tatooine Card (front)
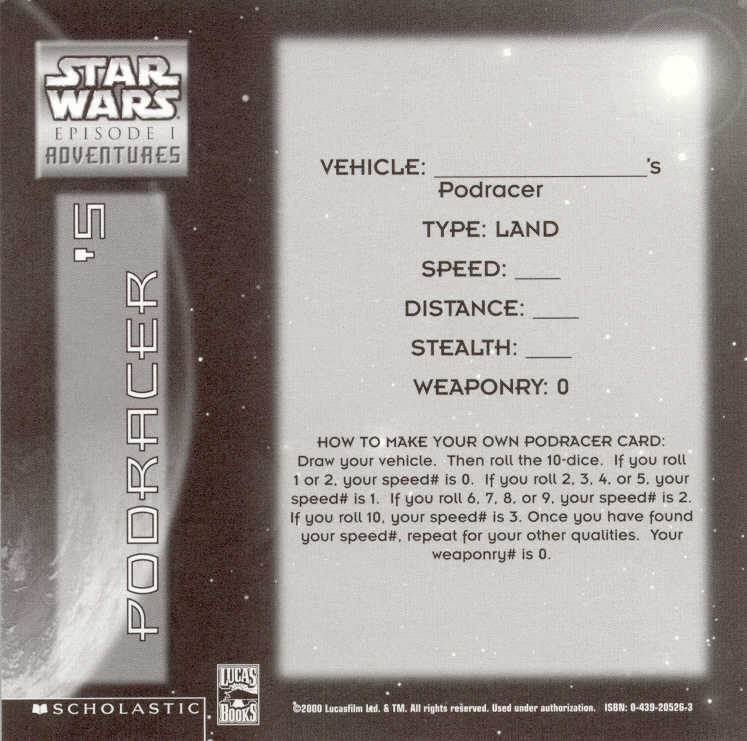
Star Wars Episode I Adventures #14 Blank Podracer Card (back)
Star Wars Episode I Adventures #14 Blank Podracer Card (front)
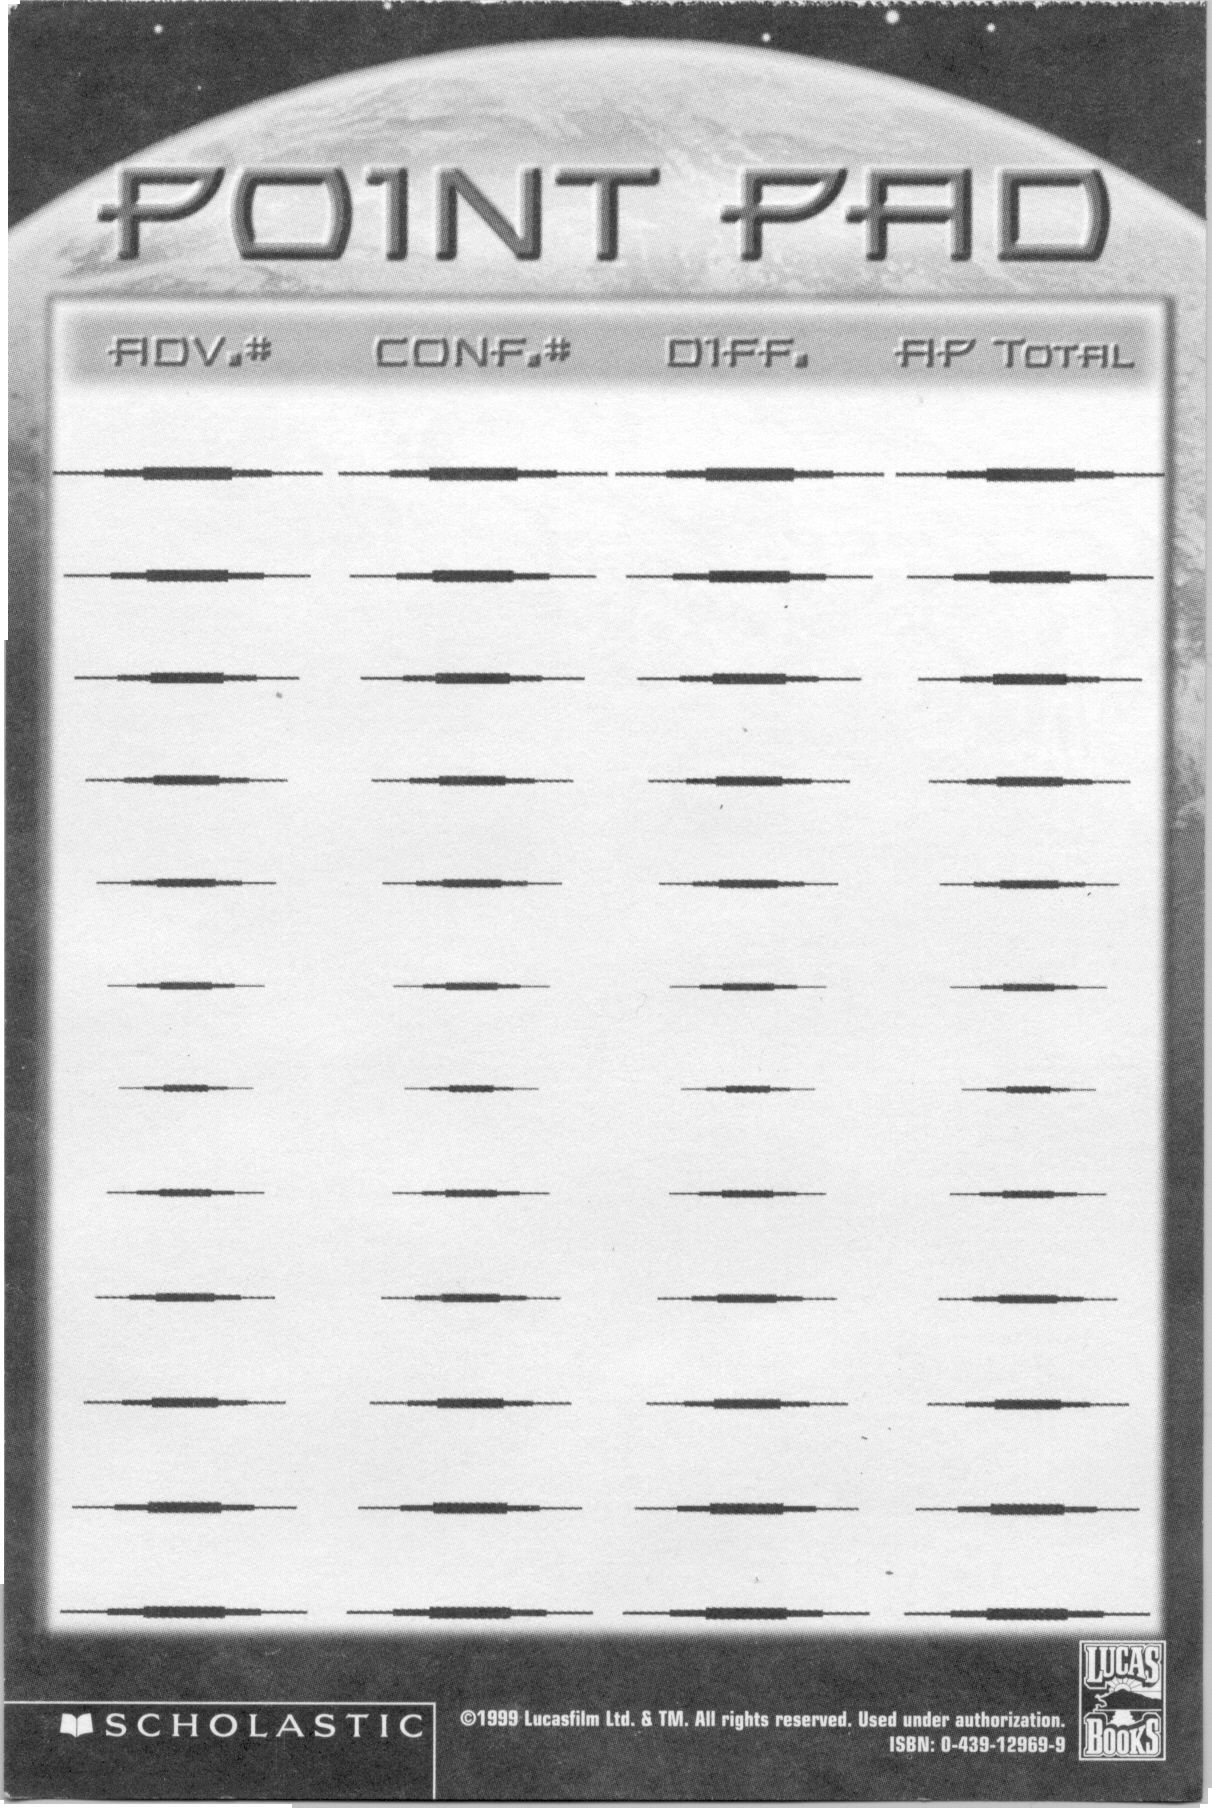
Star Wars Episode I Adventures Point Pad
Star Wars Missions # 1 Cards
Star Wars Missions # 2 Cards
Star Wars Missions # 3 Cards
Star Wars Missions # 4 Cards
Star Wars Missions # 5 Cards
Star Wars Missions # 6 Cards
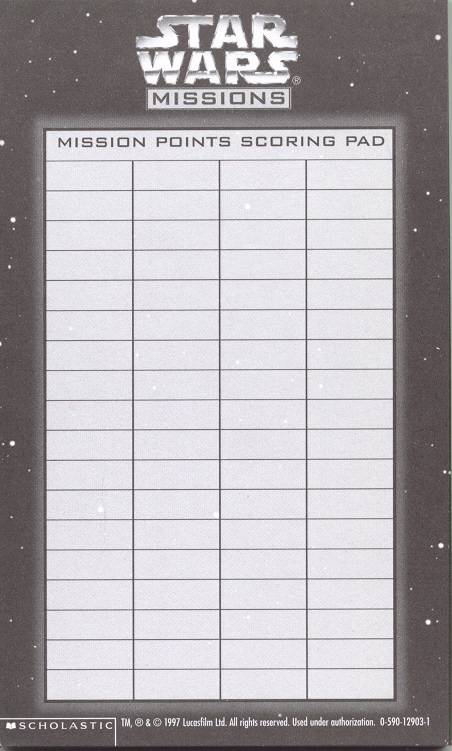
Star Wars Missions Point Pad
Star Wars RPG: Imperial Double-Cross Character Sheet
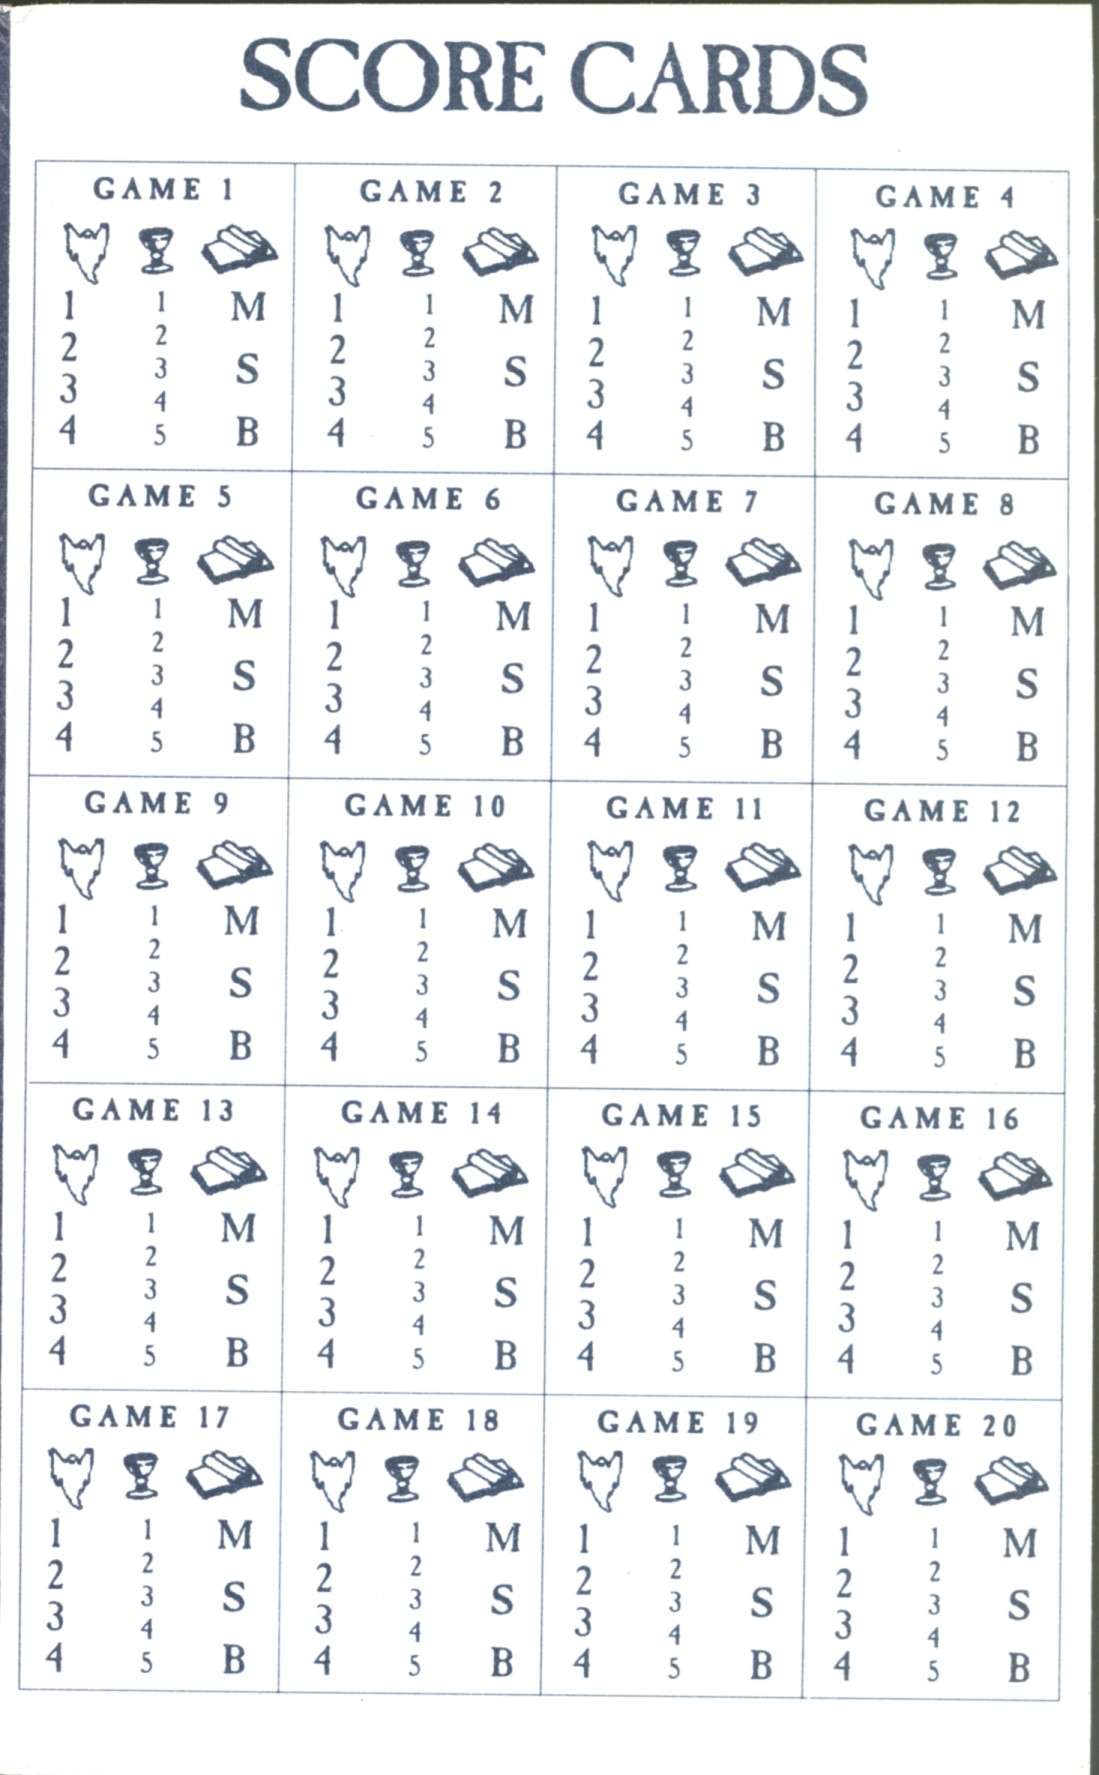
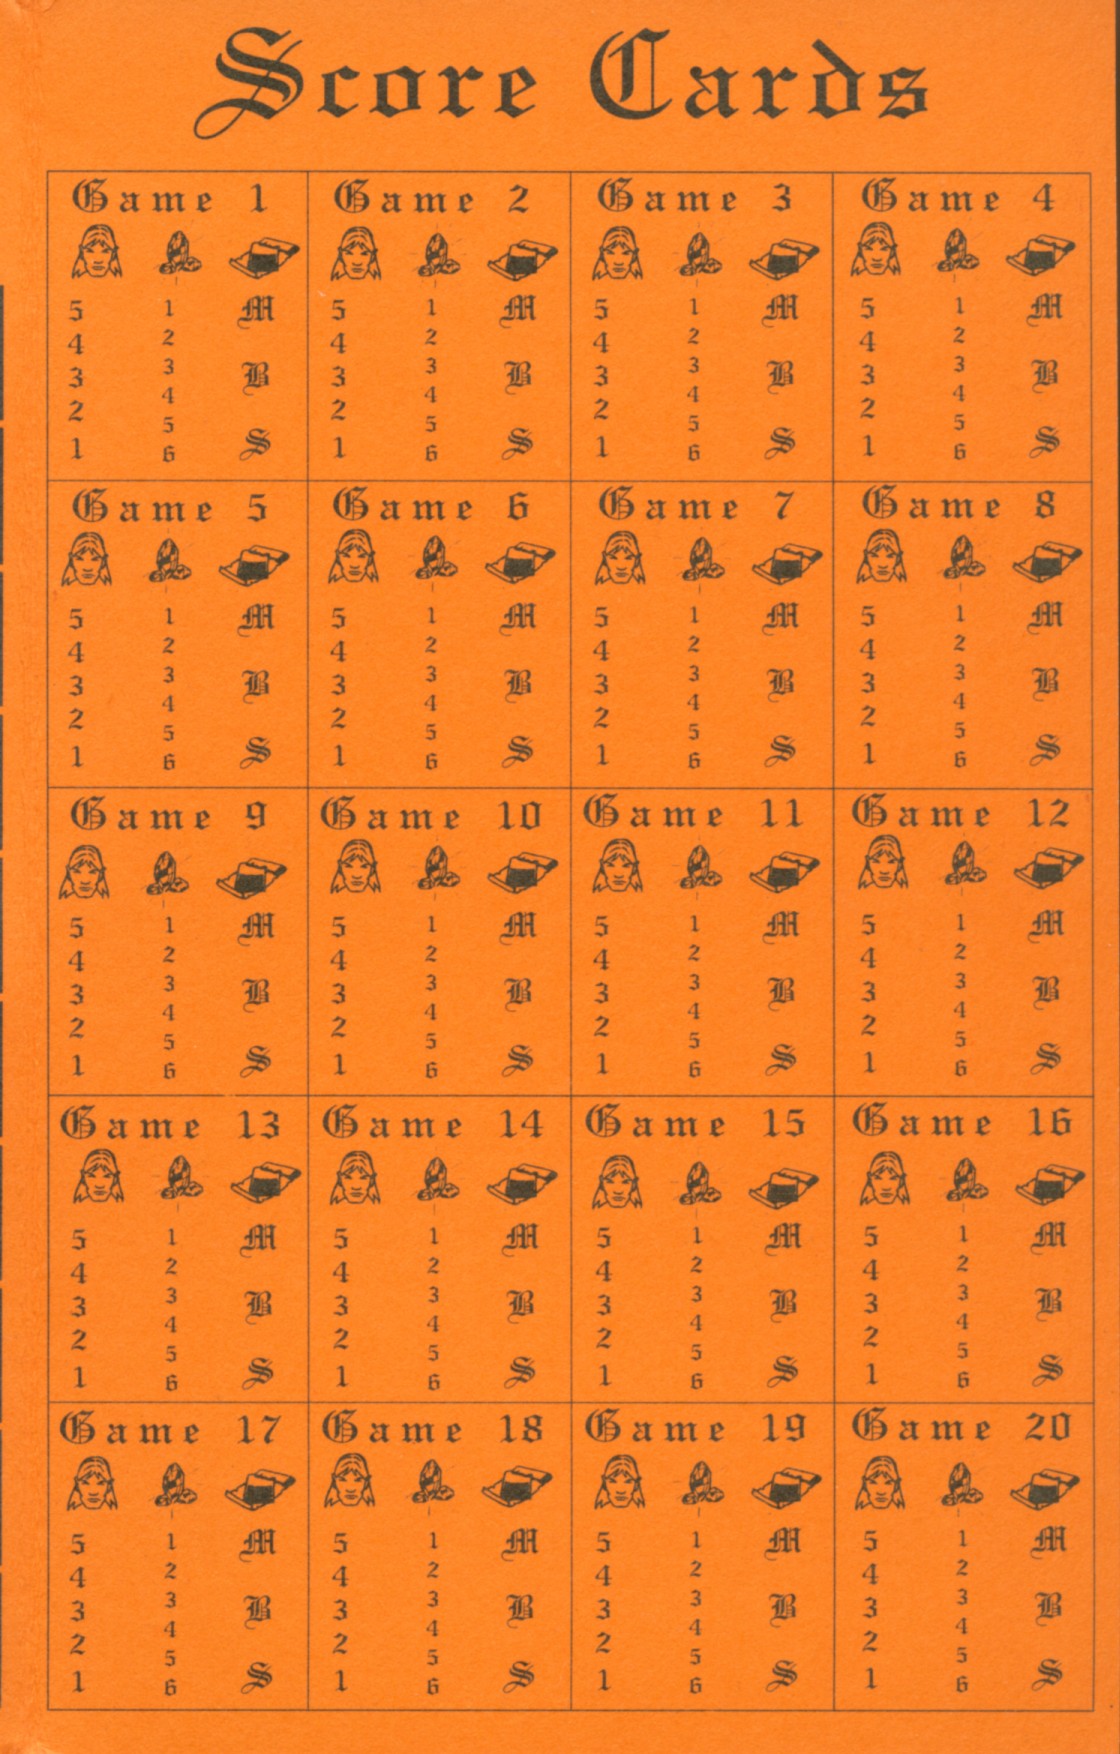
Stephen Thraves Compact Adventure Gamebooks #1 Score Cards
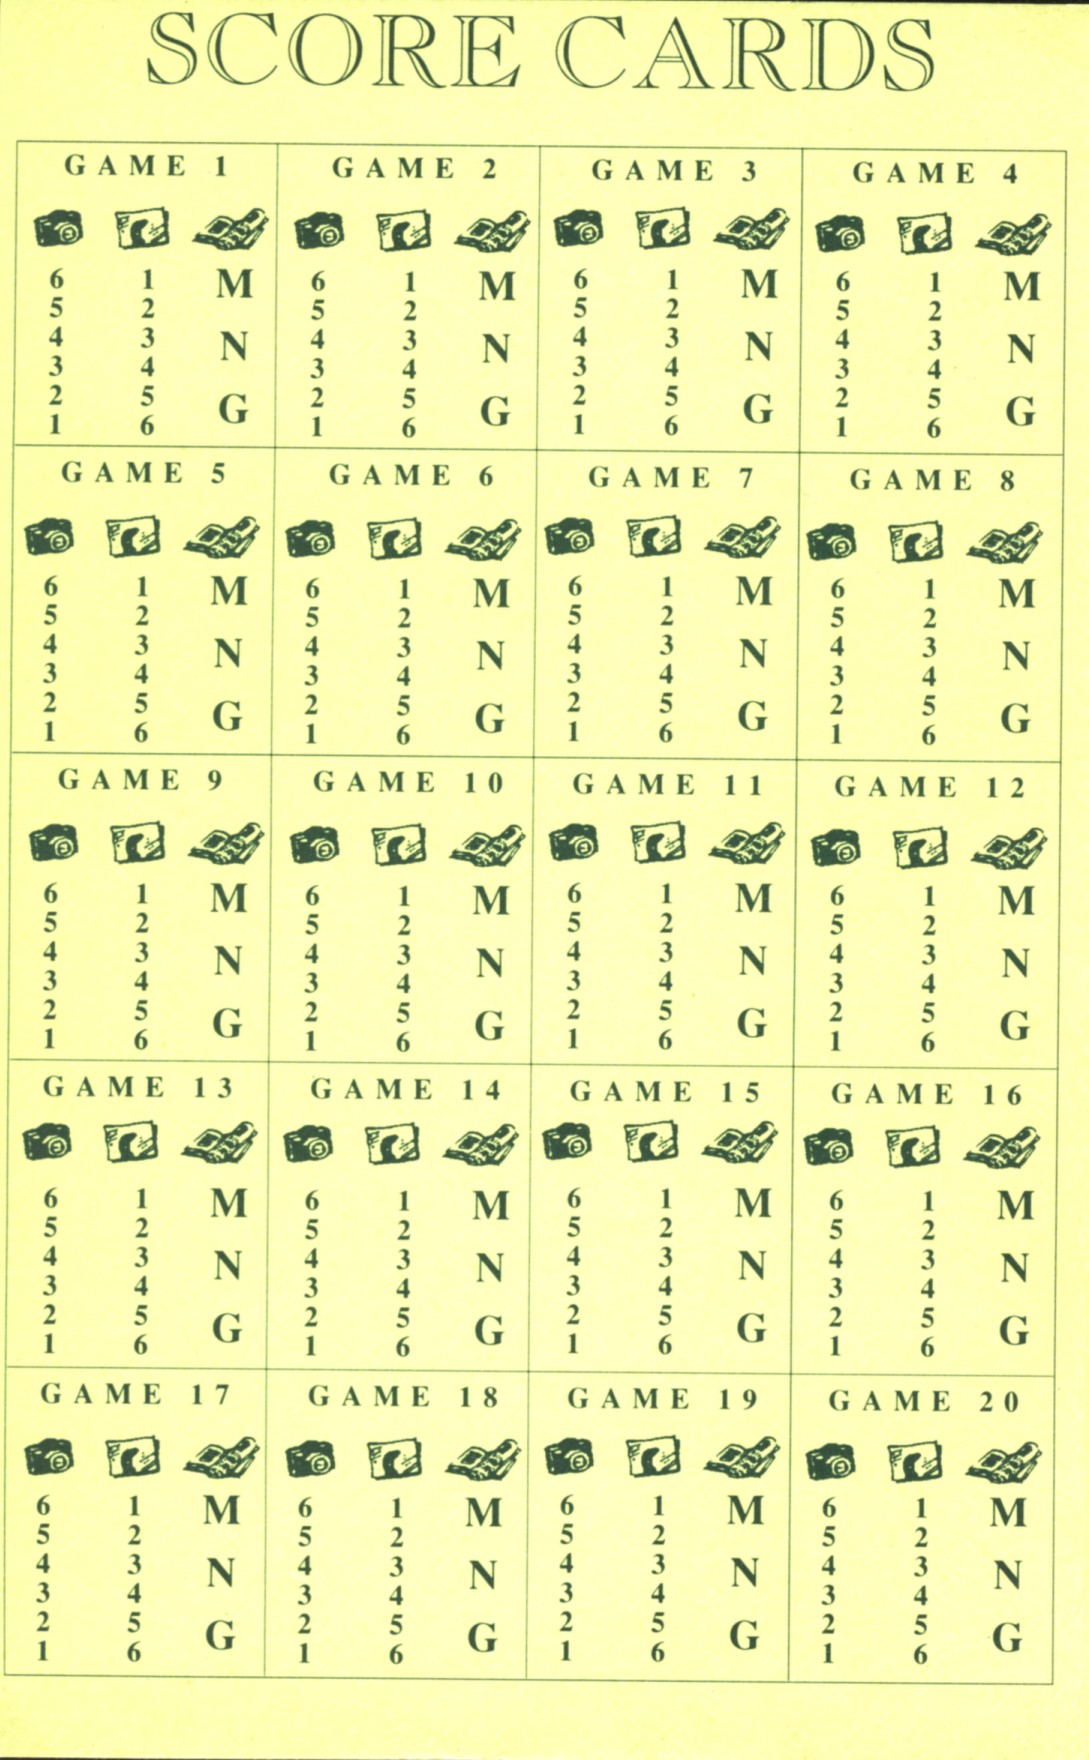
Stephen Thraves Compact Adventure Gamebooks #2 Score Cards
Stephen Thraves Compact Adventure Gamebooks #3 Score Cards
Swordquest #1 Character Sheet
Swordquest #2 Character Sheet
Swordquest #3 Character Sheet
Swordquest #4 Character Sheet
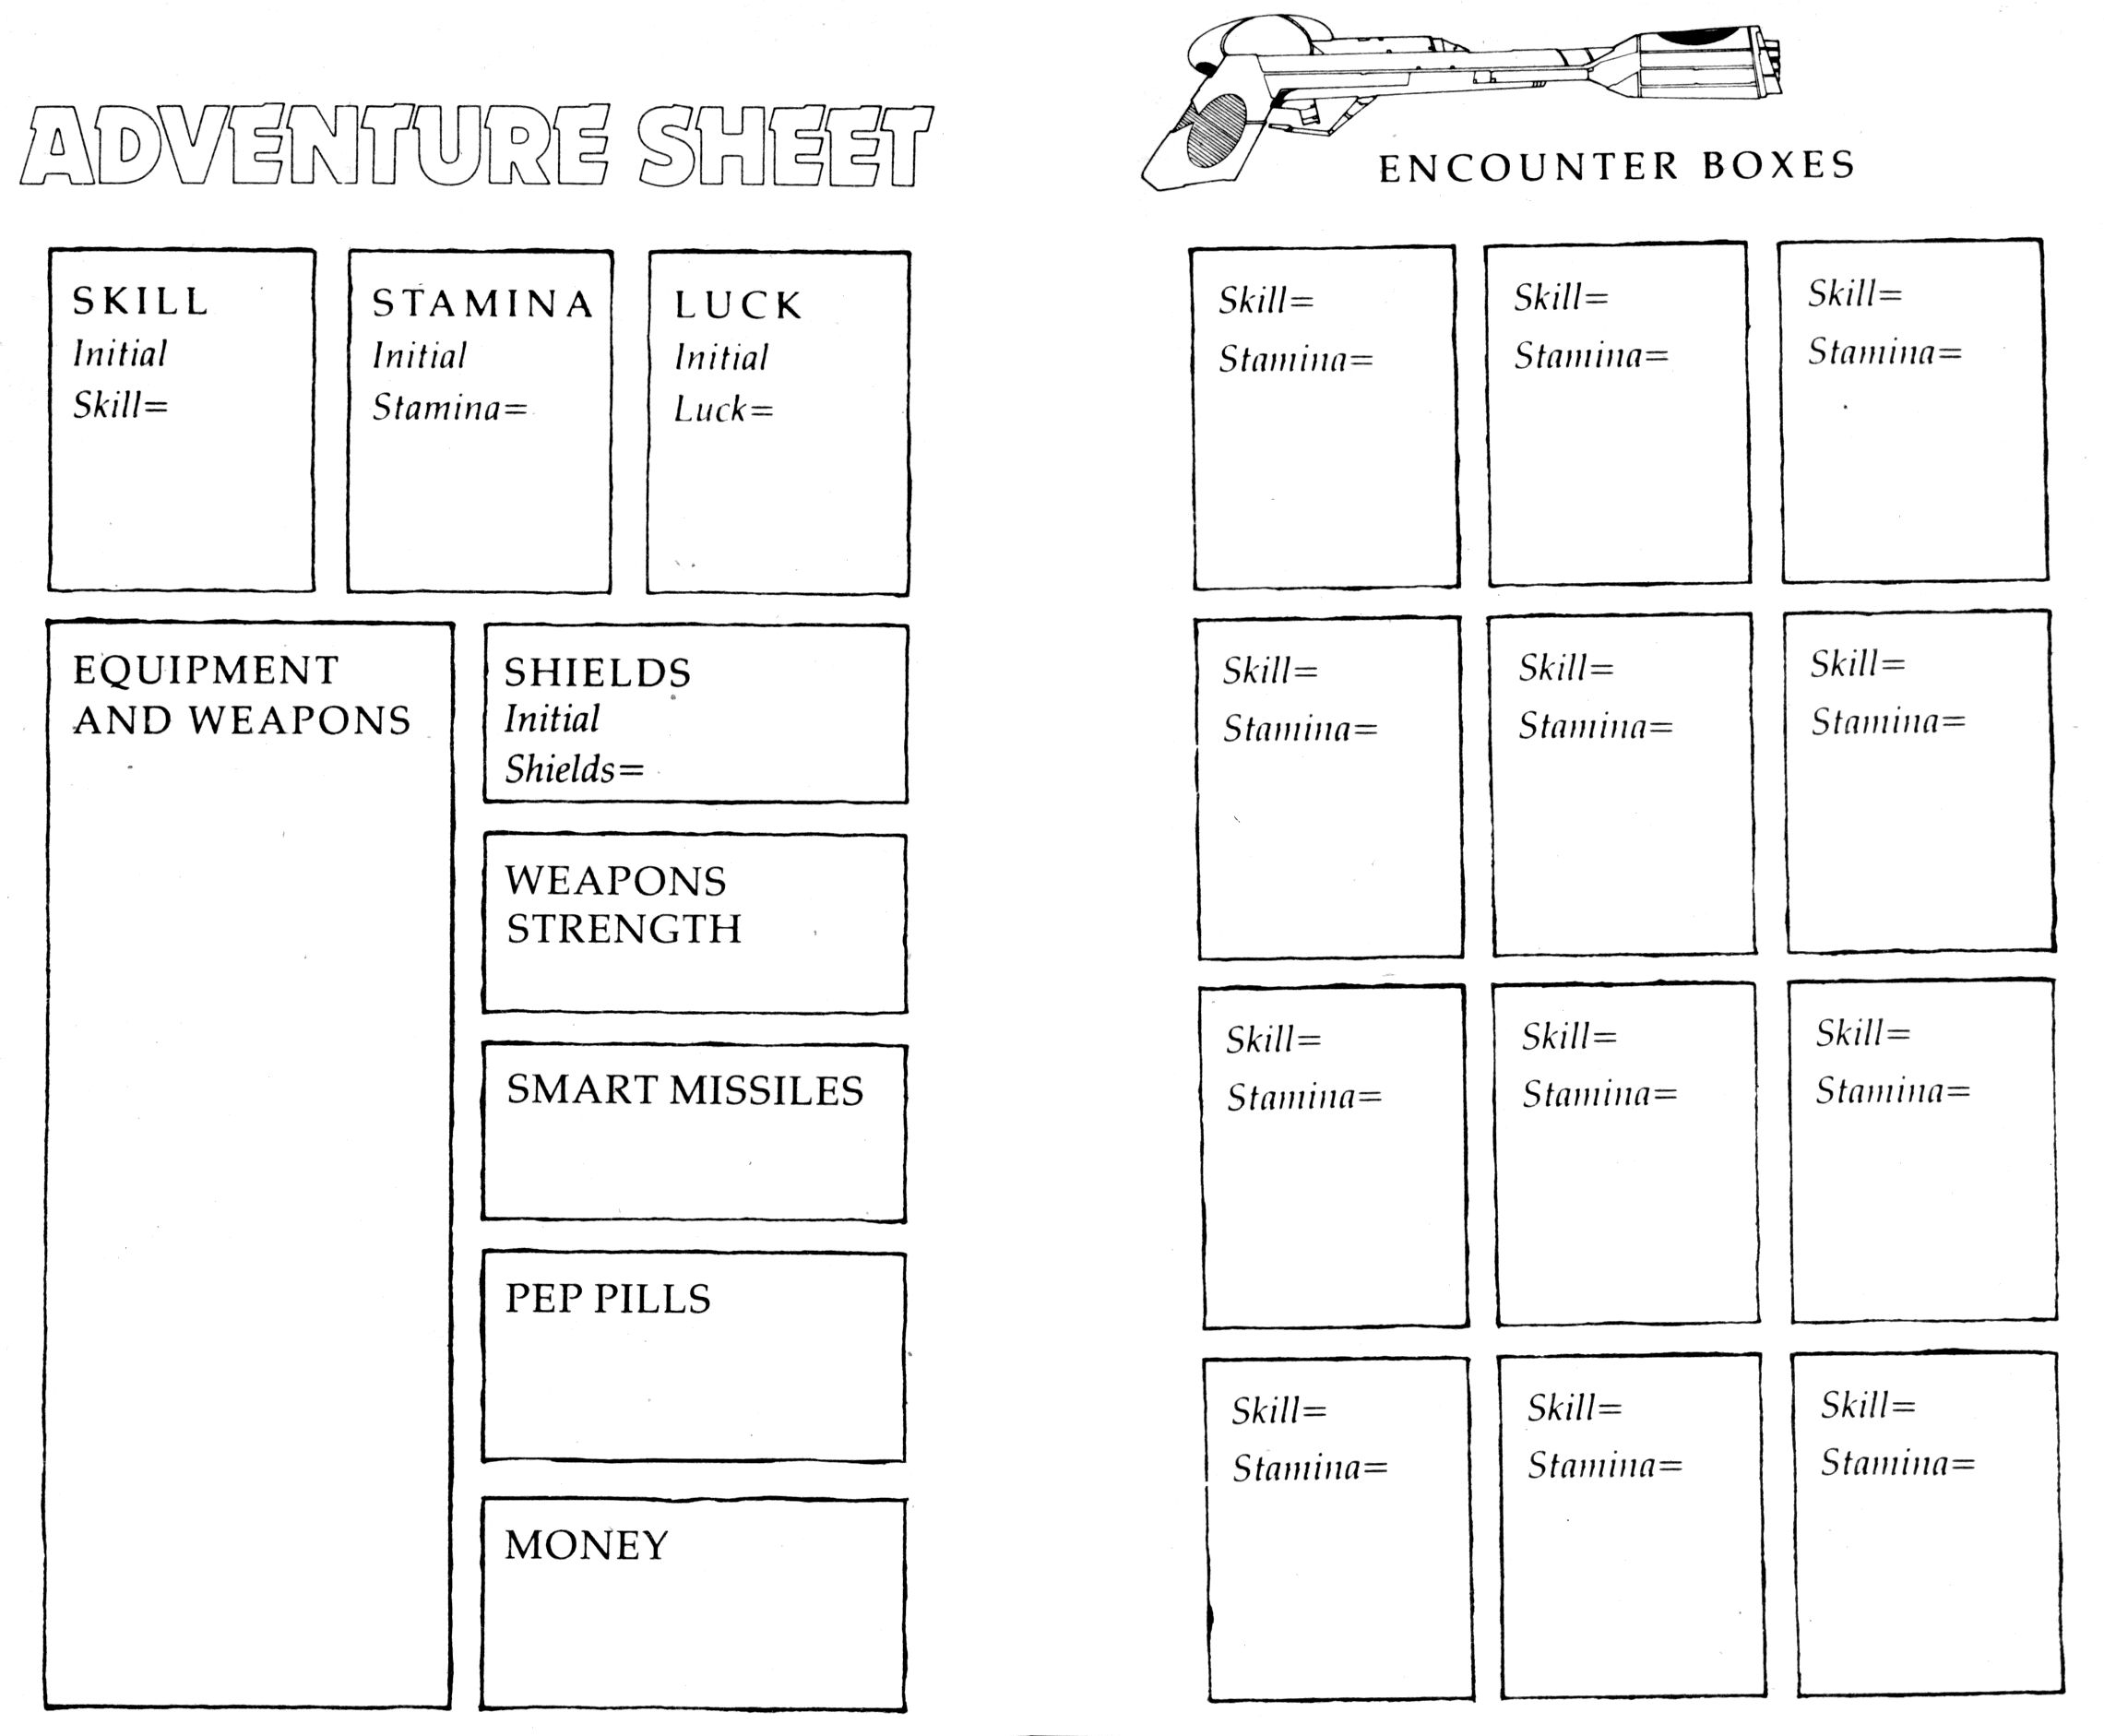
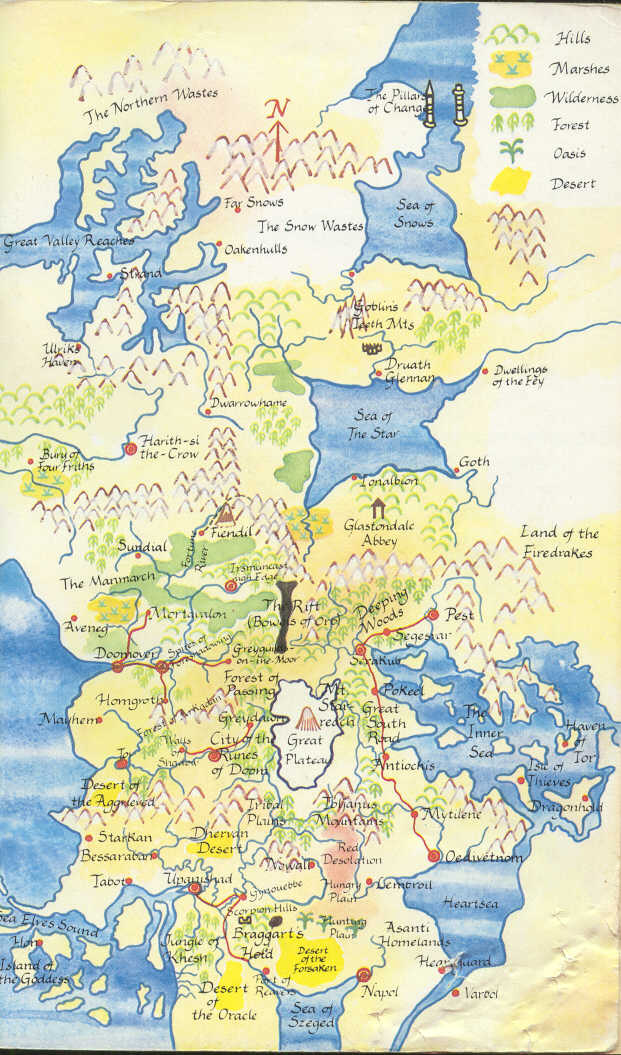
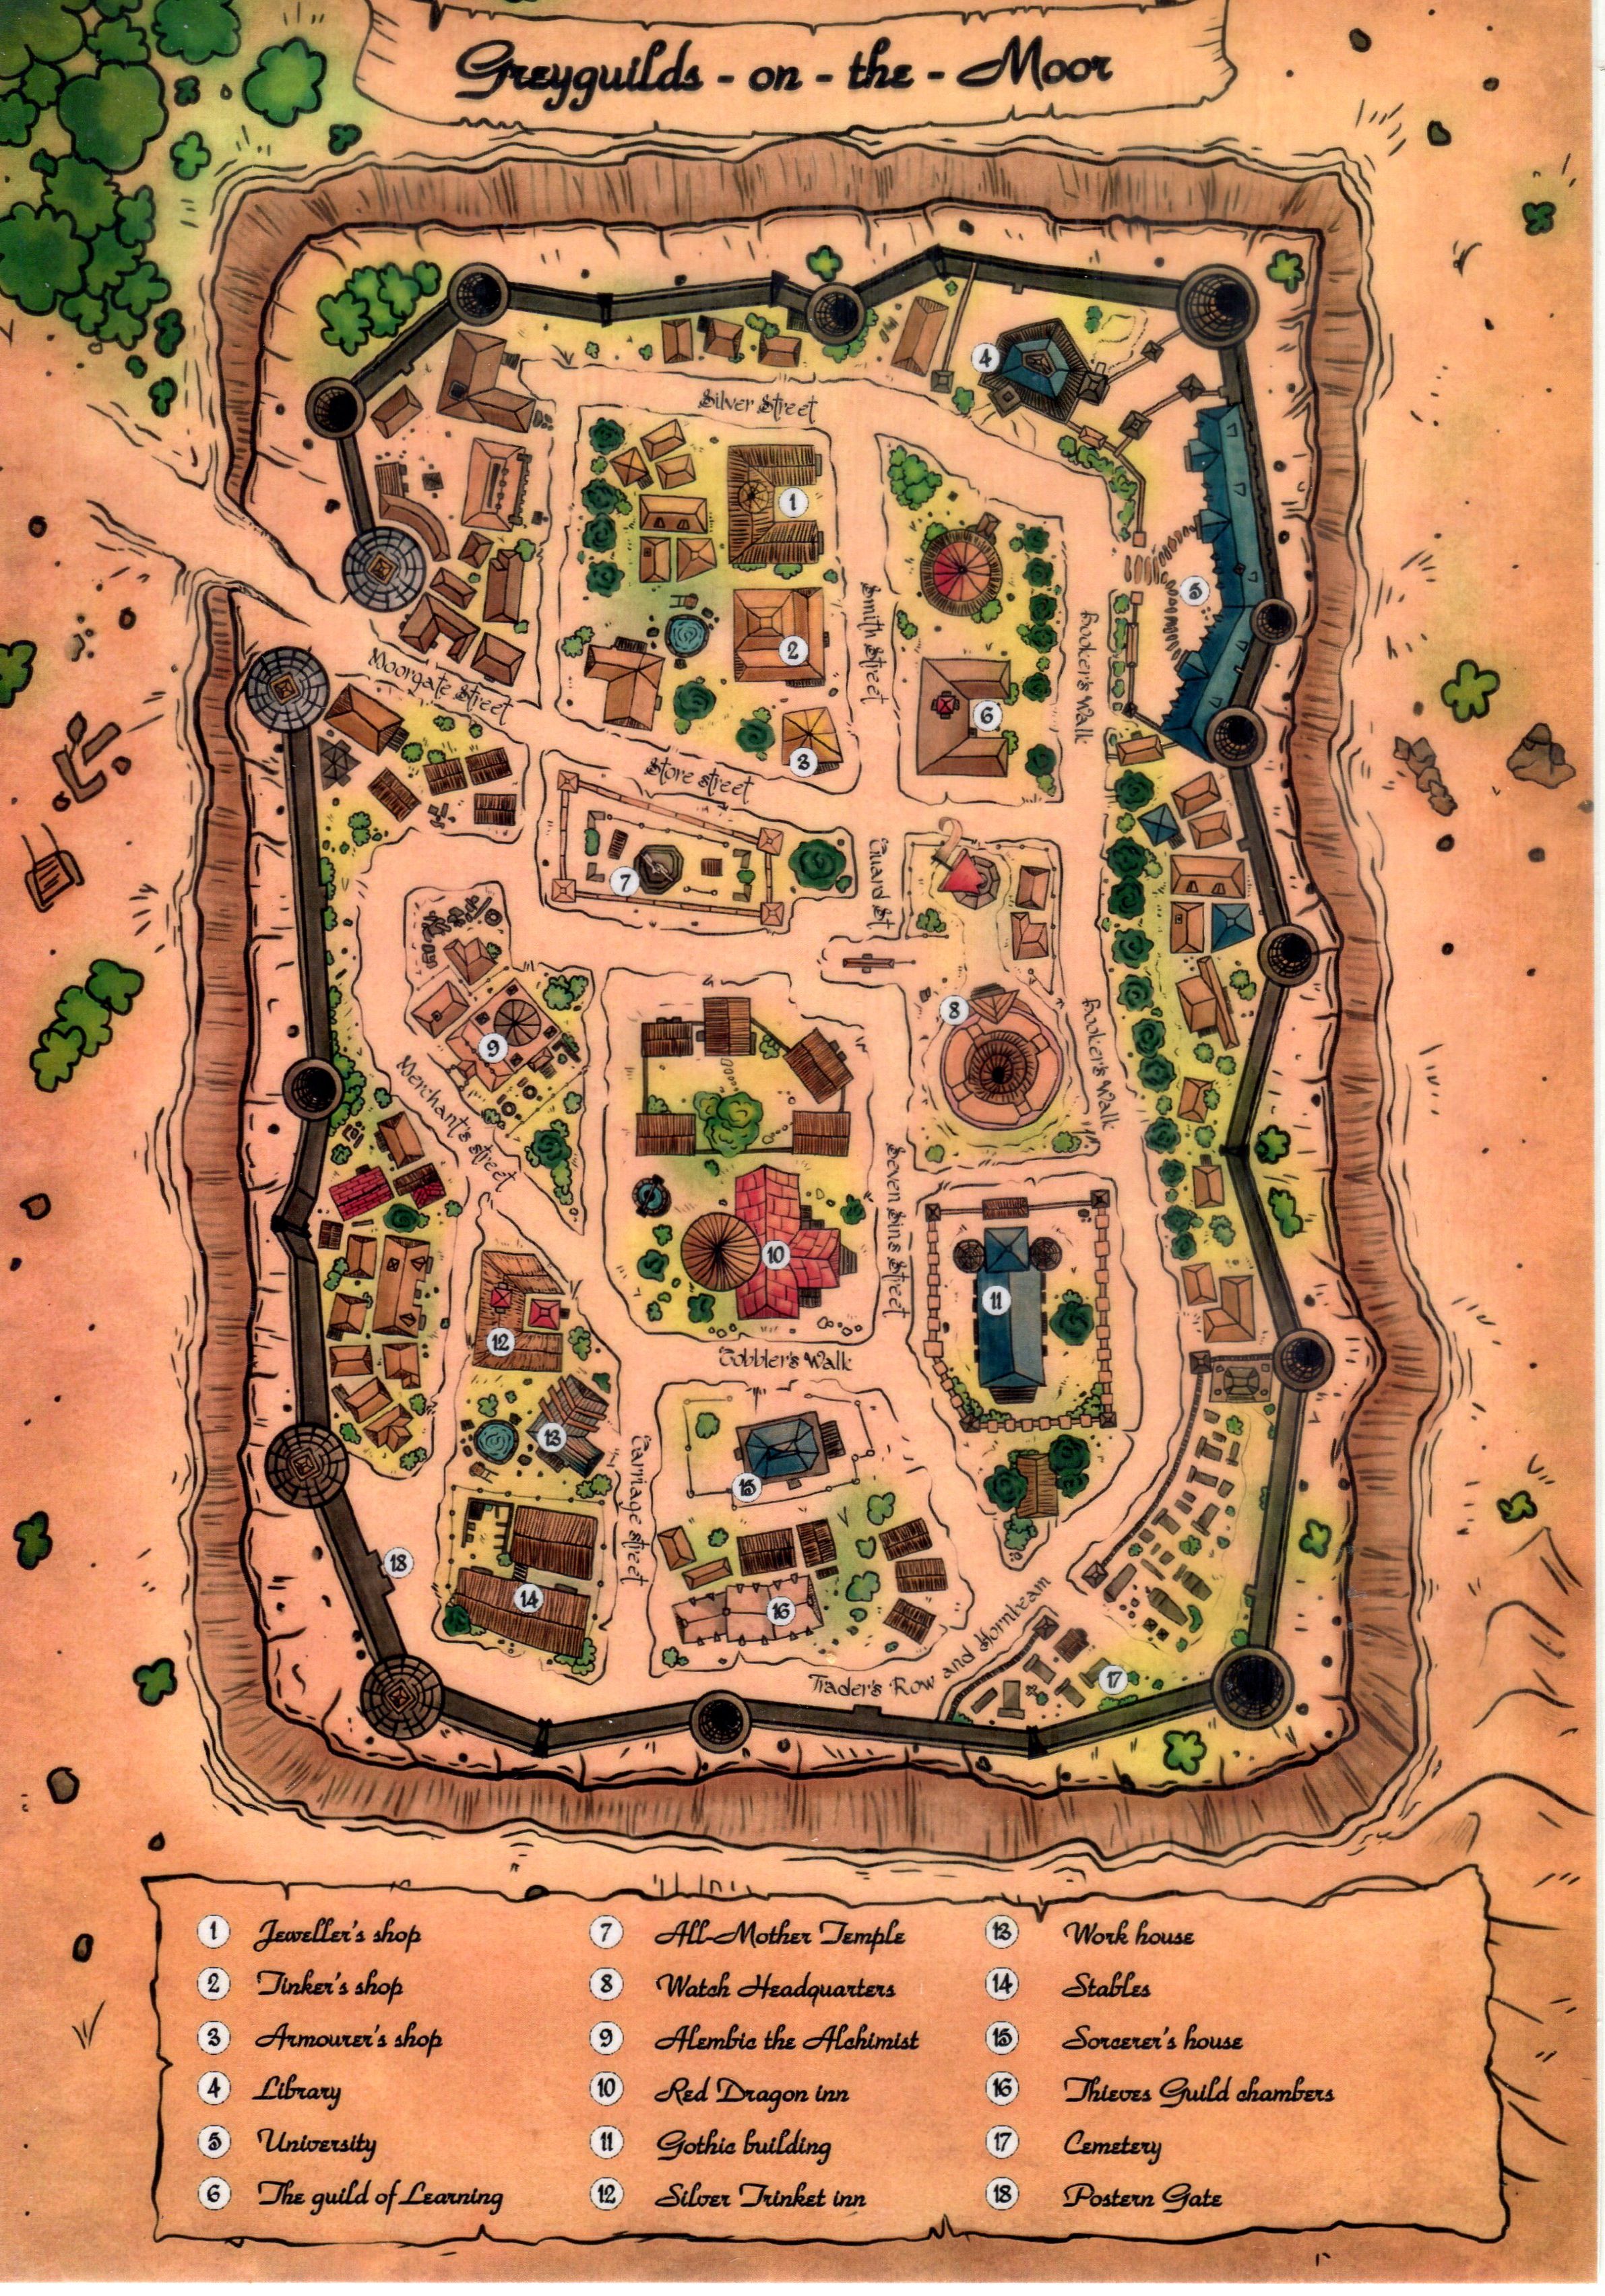
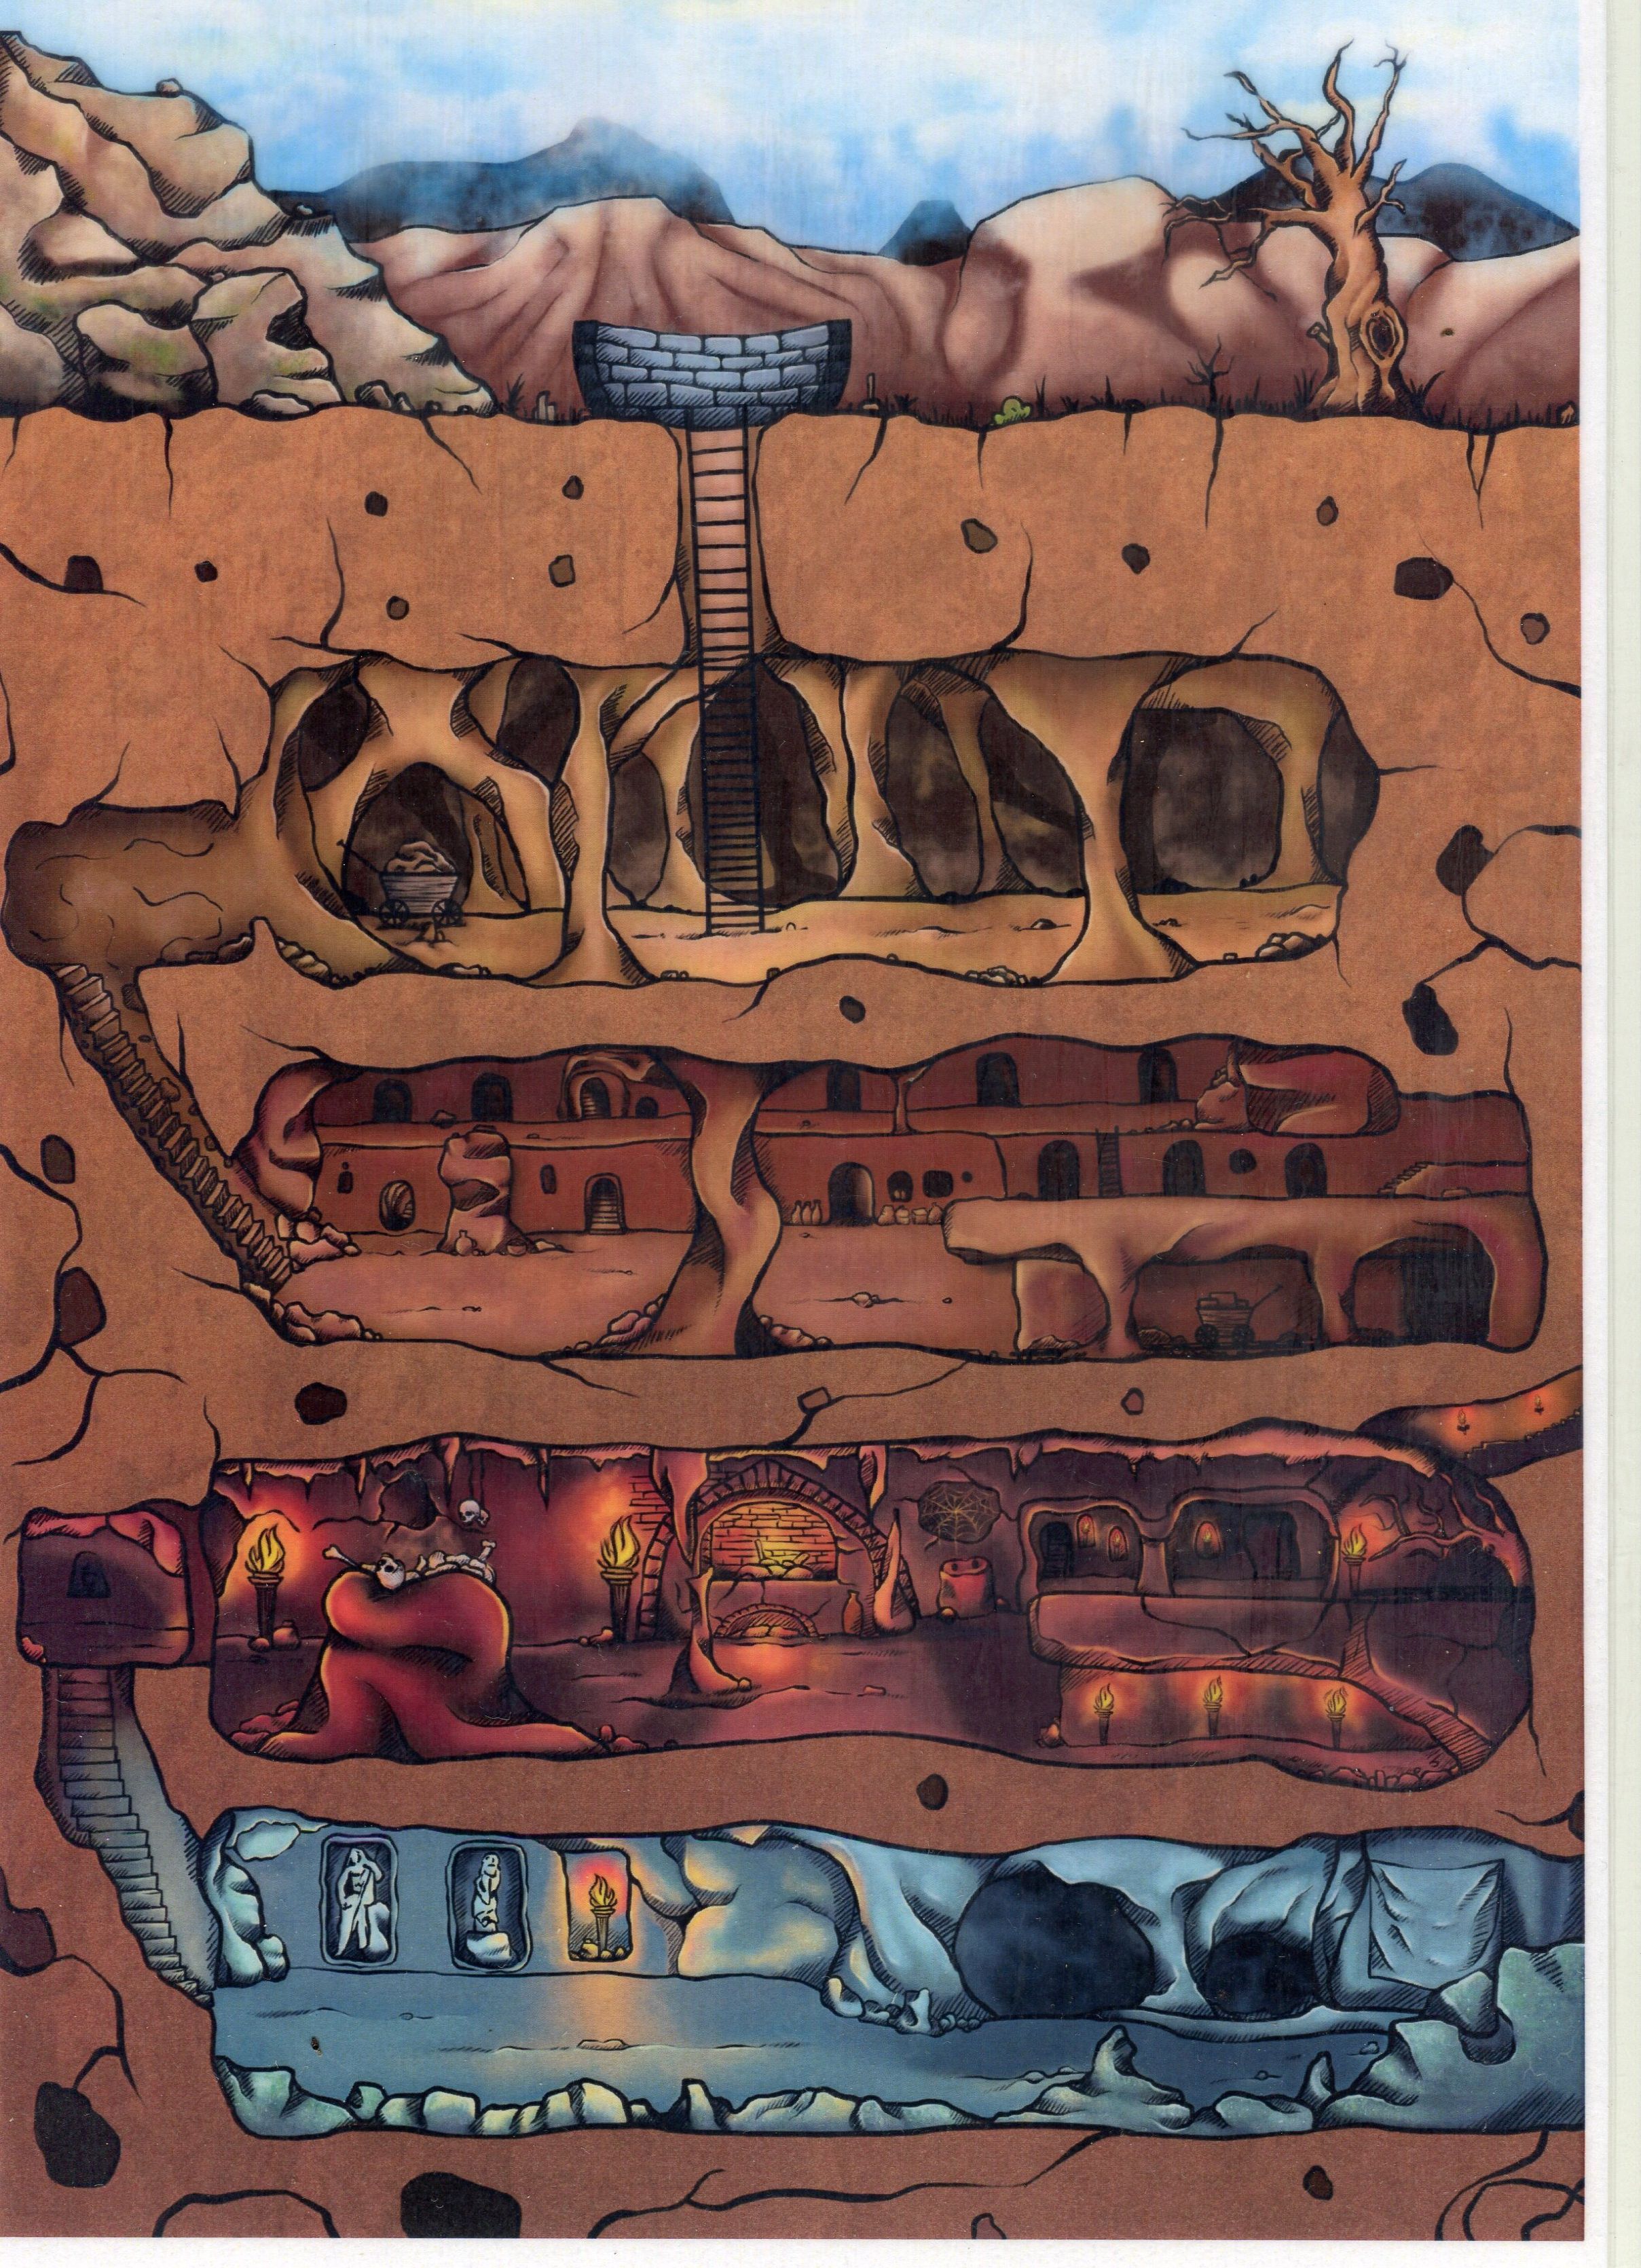
Tales of Quahnarren: Beyond the Morning Mountains - Volume One: Instructions, Rules & Maps
- A FREE companion document for Volume One, this PDF replicates the frequently used information and maps required during gameplay. This second document allows players of the PDF version of Beyond the Morning Mountains to retain their current page when referring to information found elsewhere within Volume One.
This PDF also serves as a preview document for those desiring to sample the game rules or view the general quality of the adventure, and provides printable map files for those playing the printed editions.
Thanks to Ryan Lynch and the author for sharing the document for inclusion here.
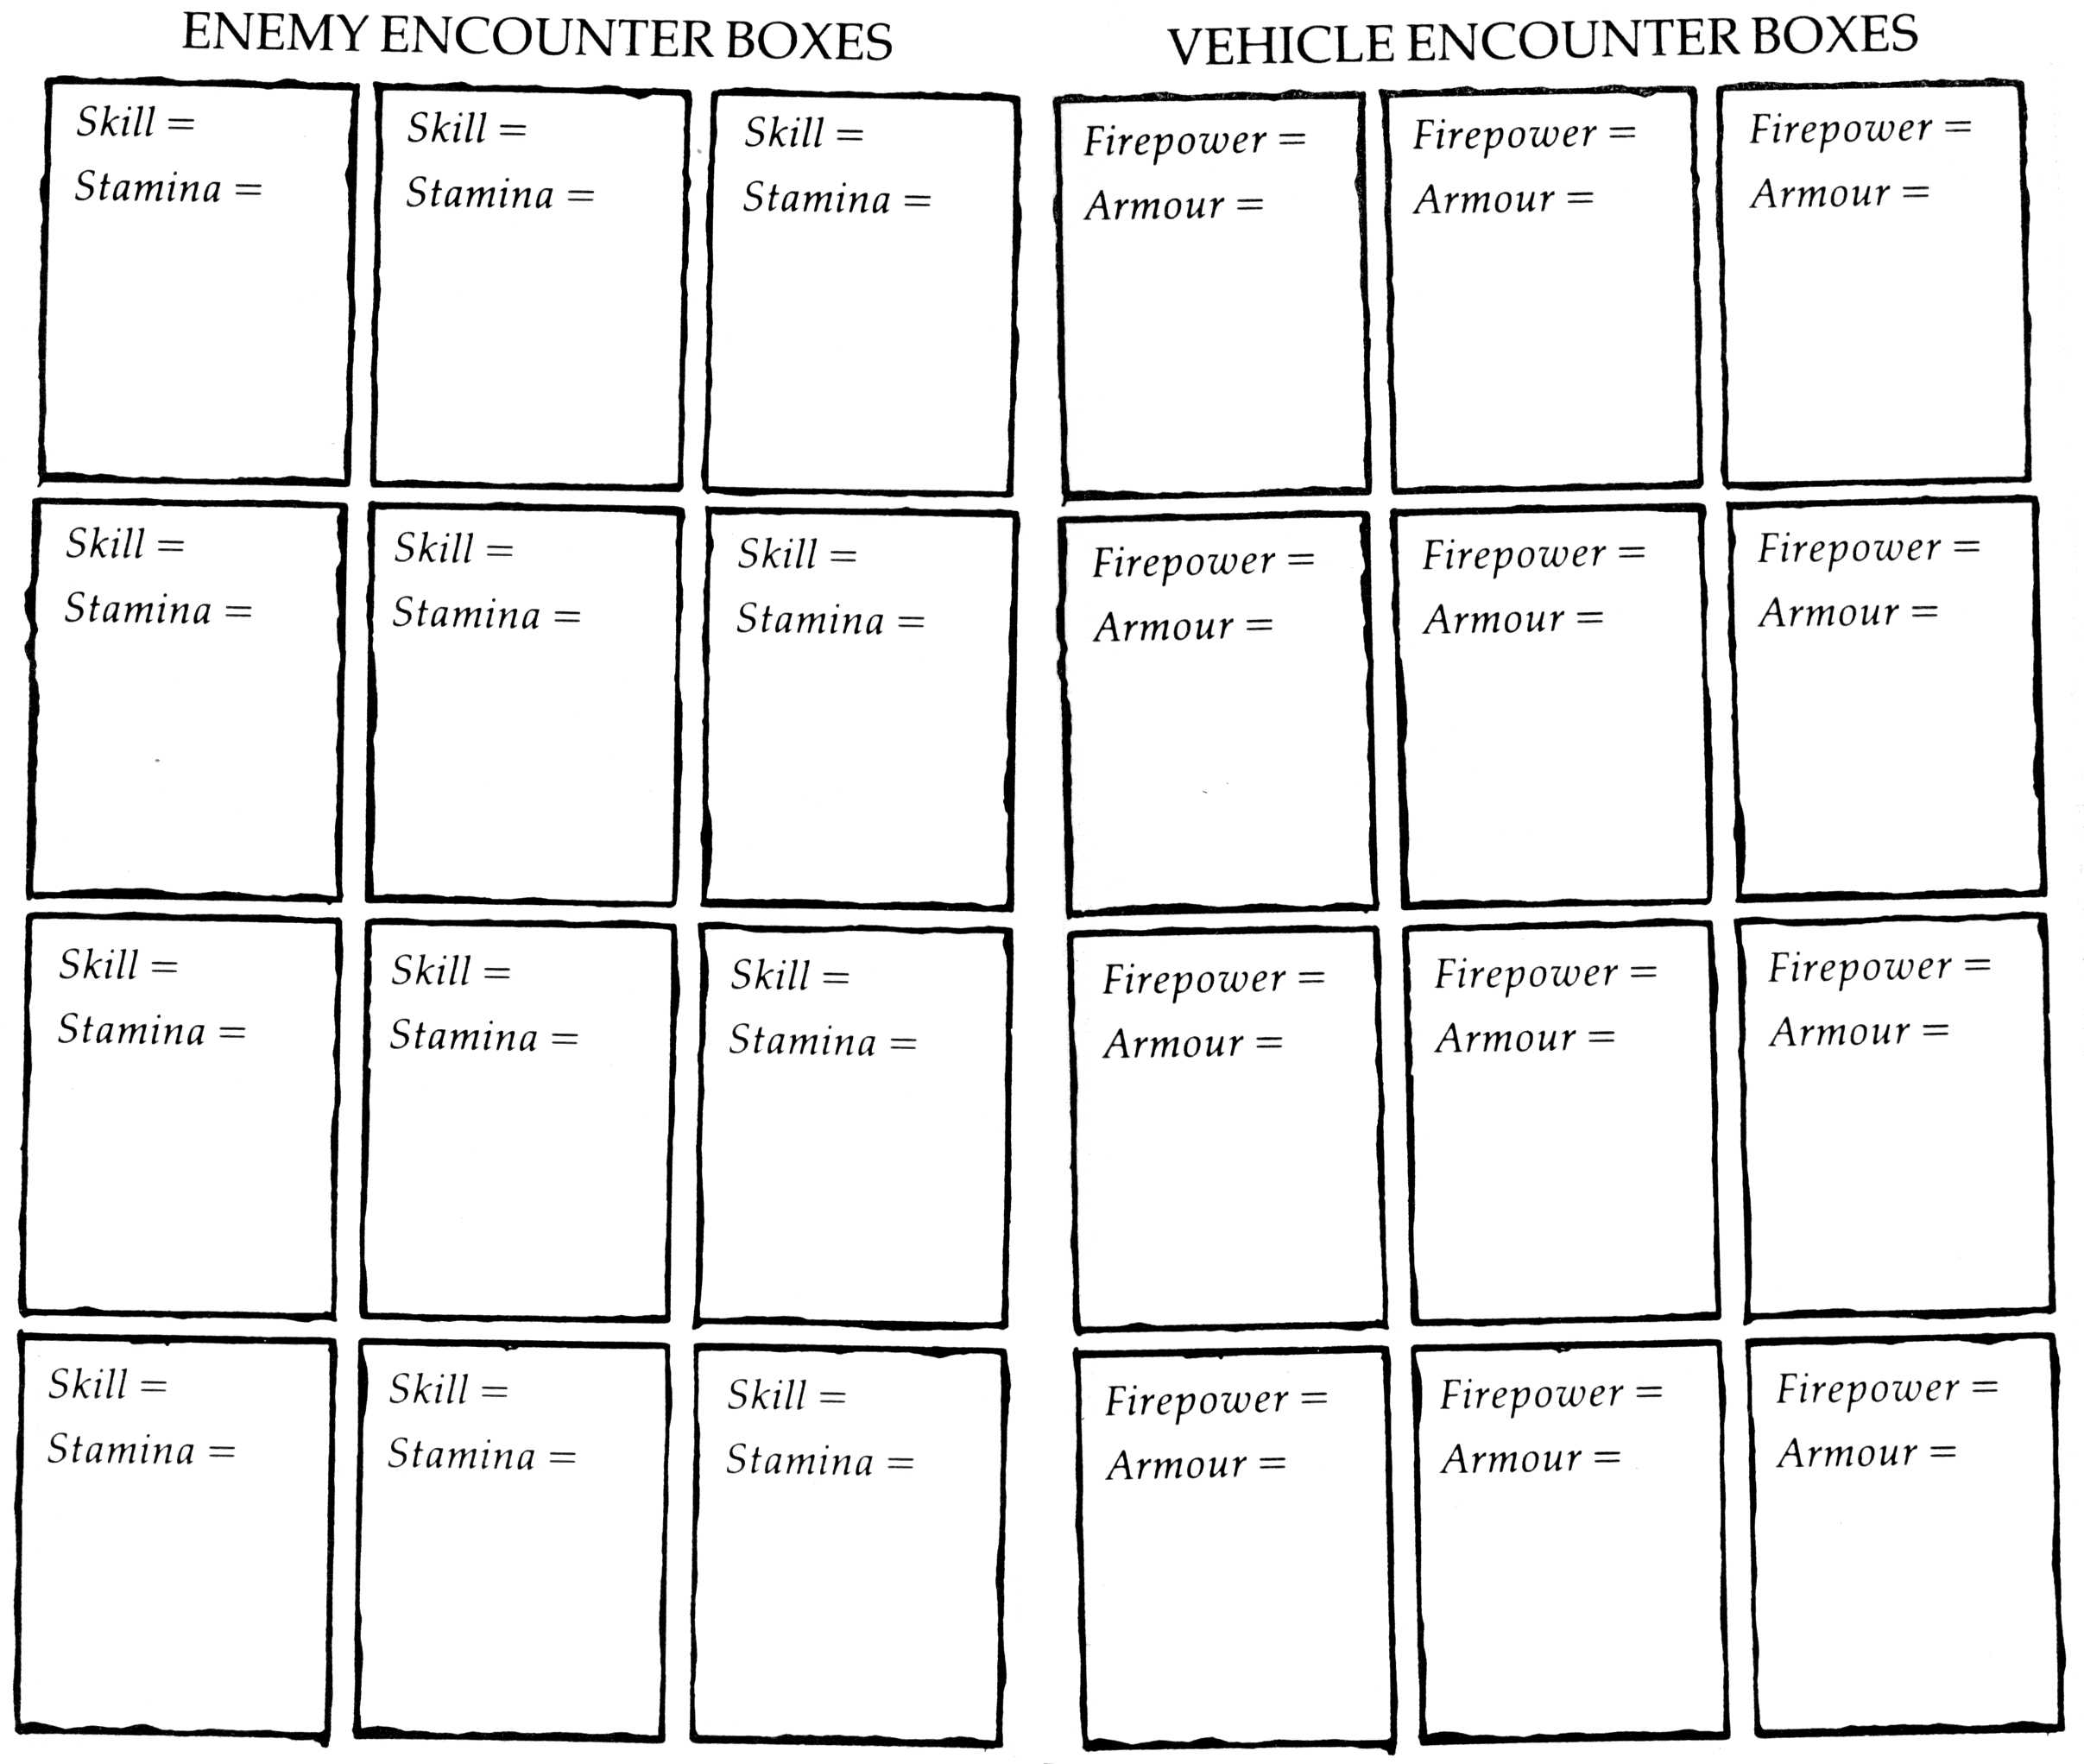
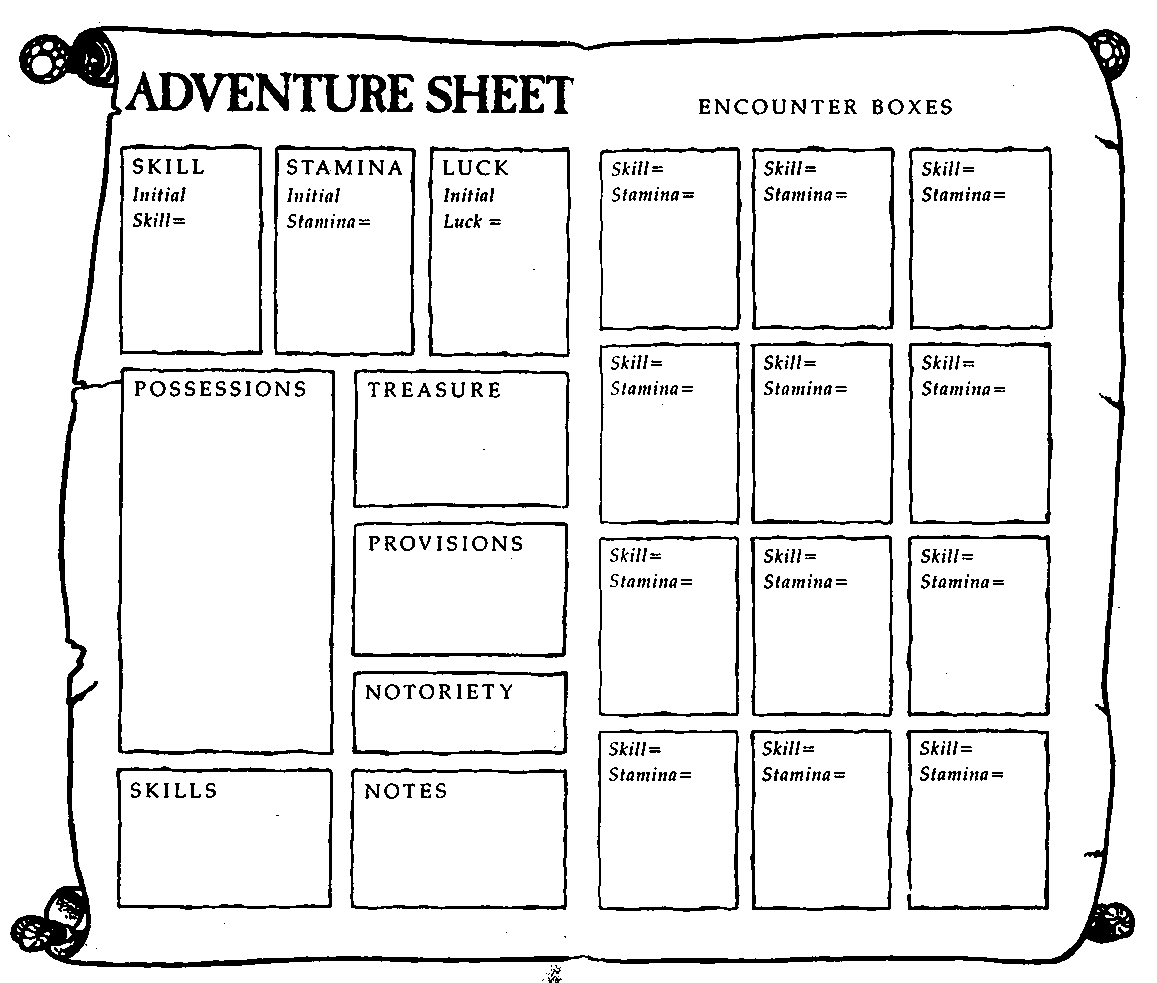
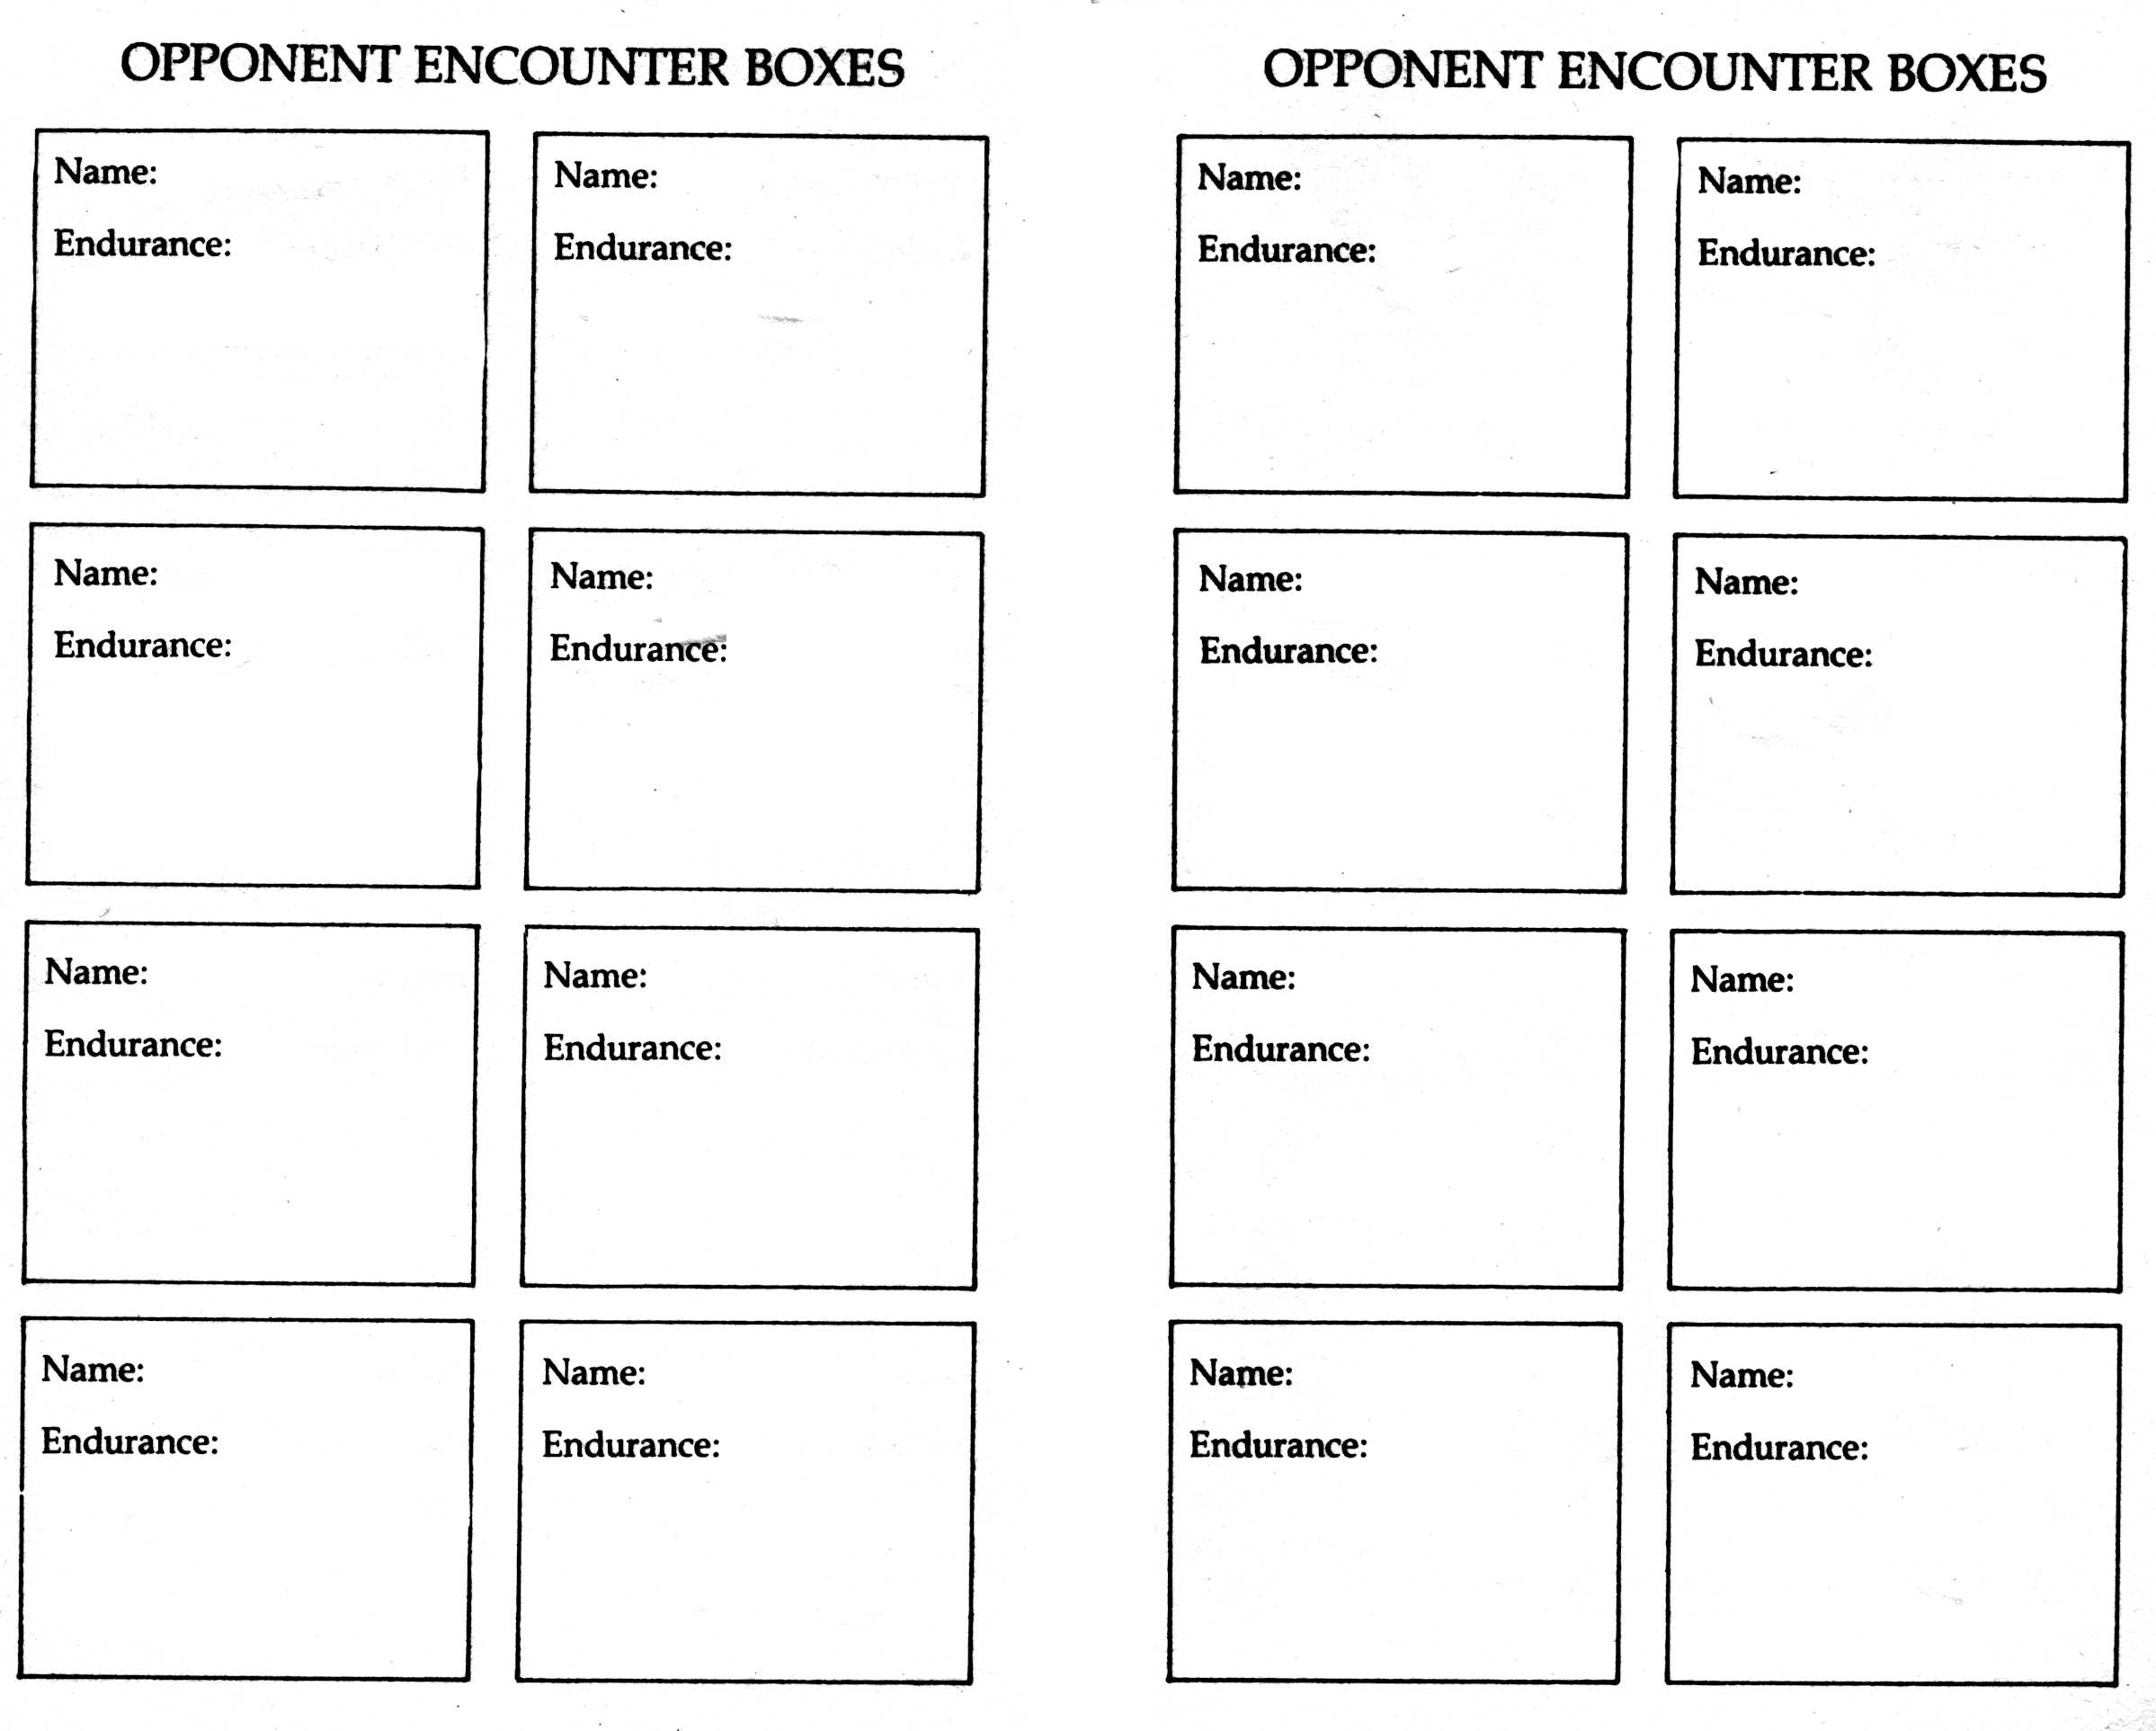
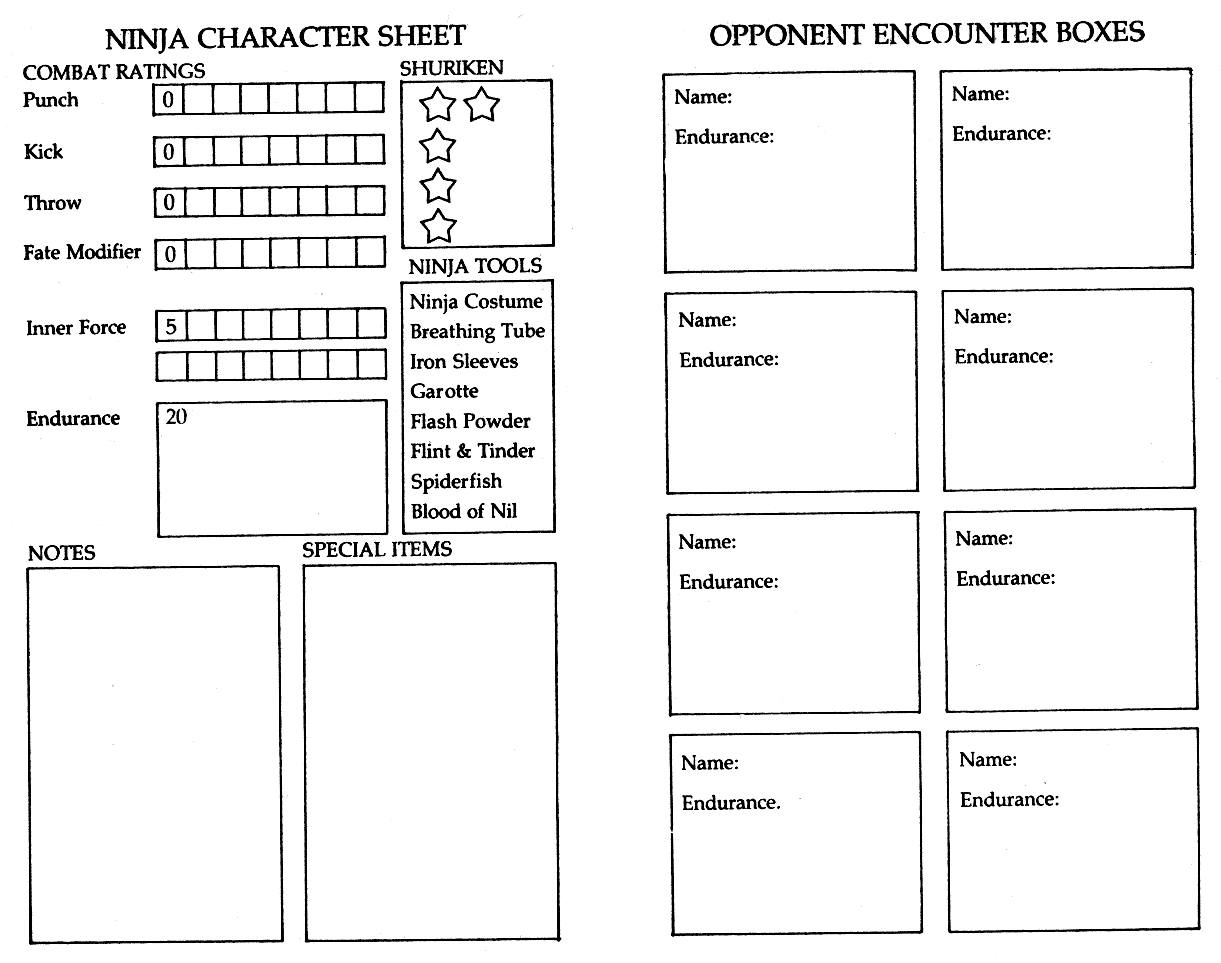
Tales of Quahnarren: Character Record & Battle Boxes
- Thanks to Ryan Lynch and the author for sharing this file.
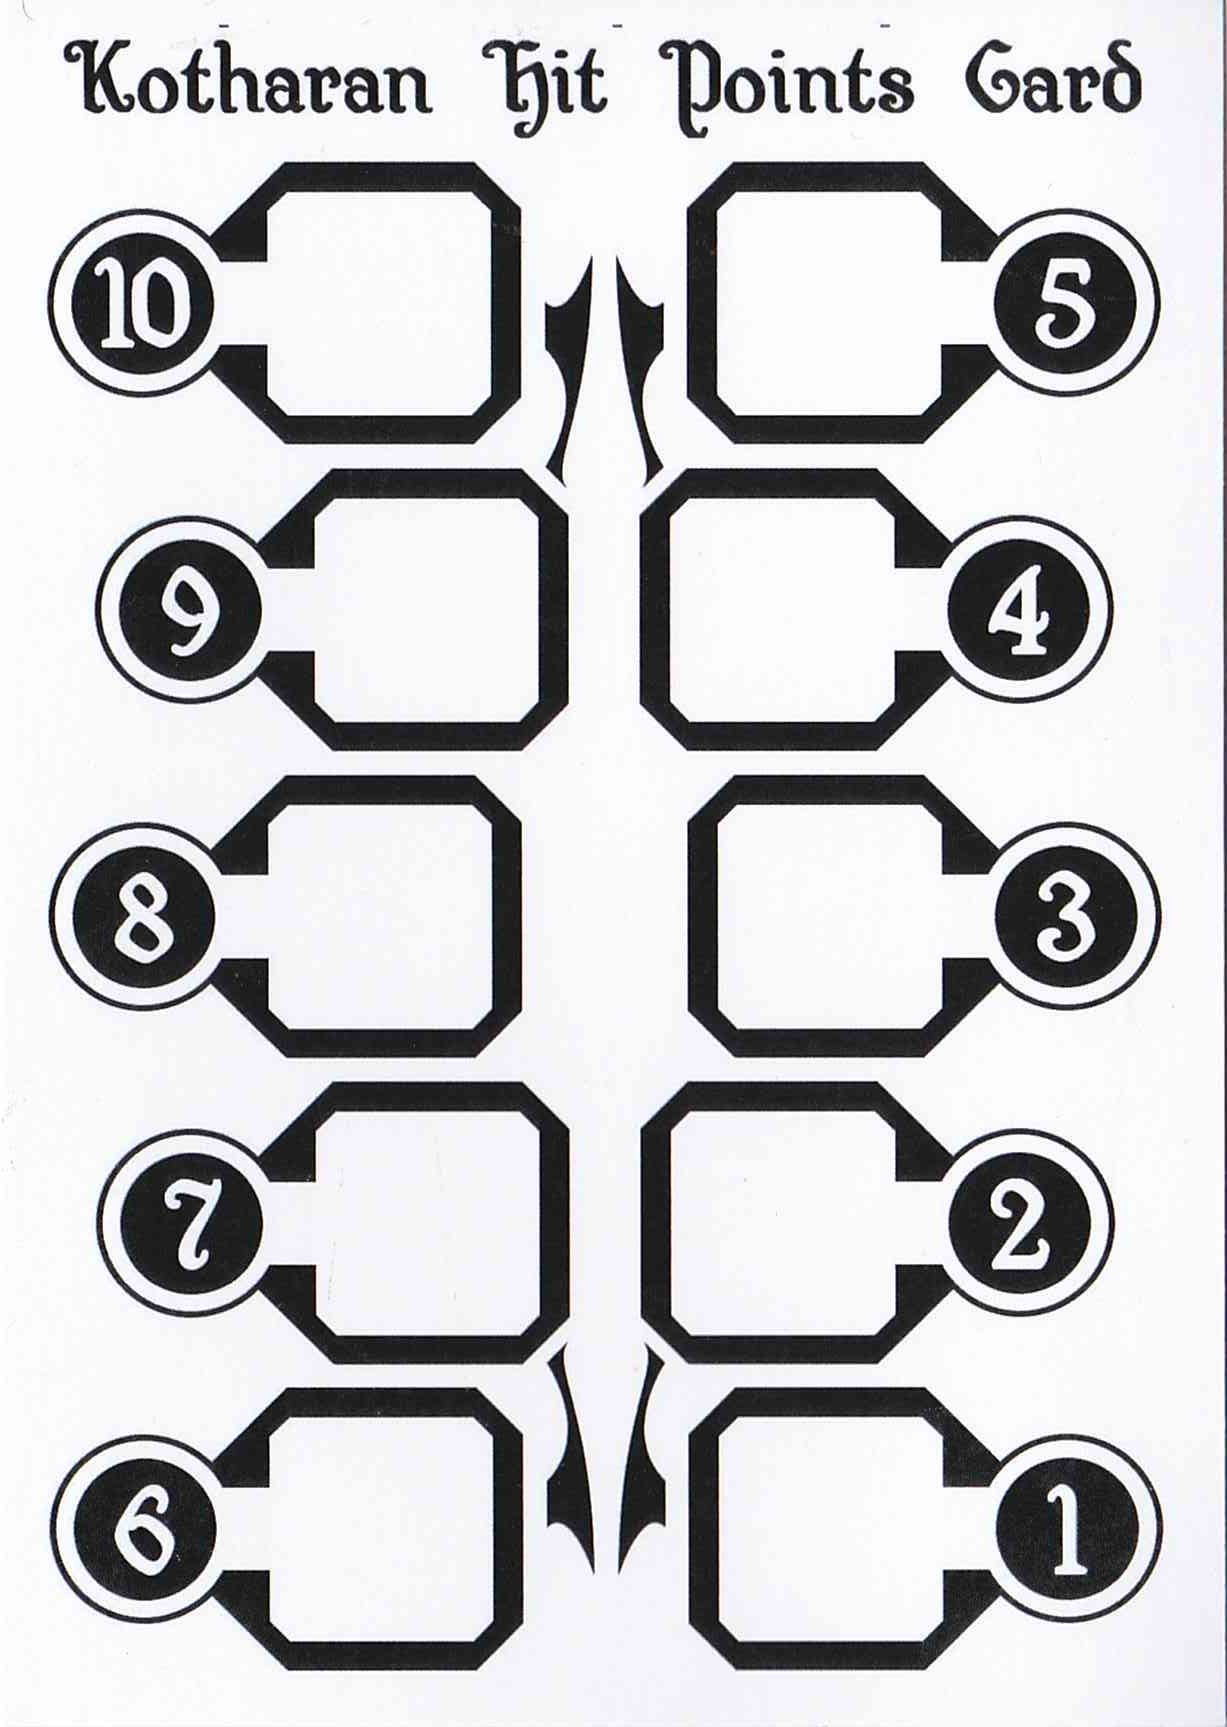
The Keep of Bane Hit Points Sheet
- Thanks to Dane Barrett for this.
The Rooms - Deluxe Edition Blank Map
- Sourced from http://www.yvestourigny.com/. Permission granted to print and make reproductions for personal use.
The Rooms - Standard Edition Map
- Sourced from http://www.yvestourigny.com/. Permission granted to print and make reproductions for personal use.
Twistaplot #15 Wizard's Worksheet
Virtual Reality #1 Character Sheet
Virtual Reality #3 Character Sheet
Virtual Reality #5 Character Sheet
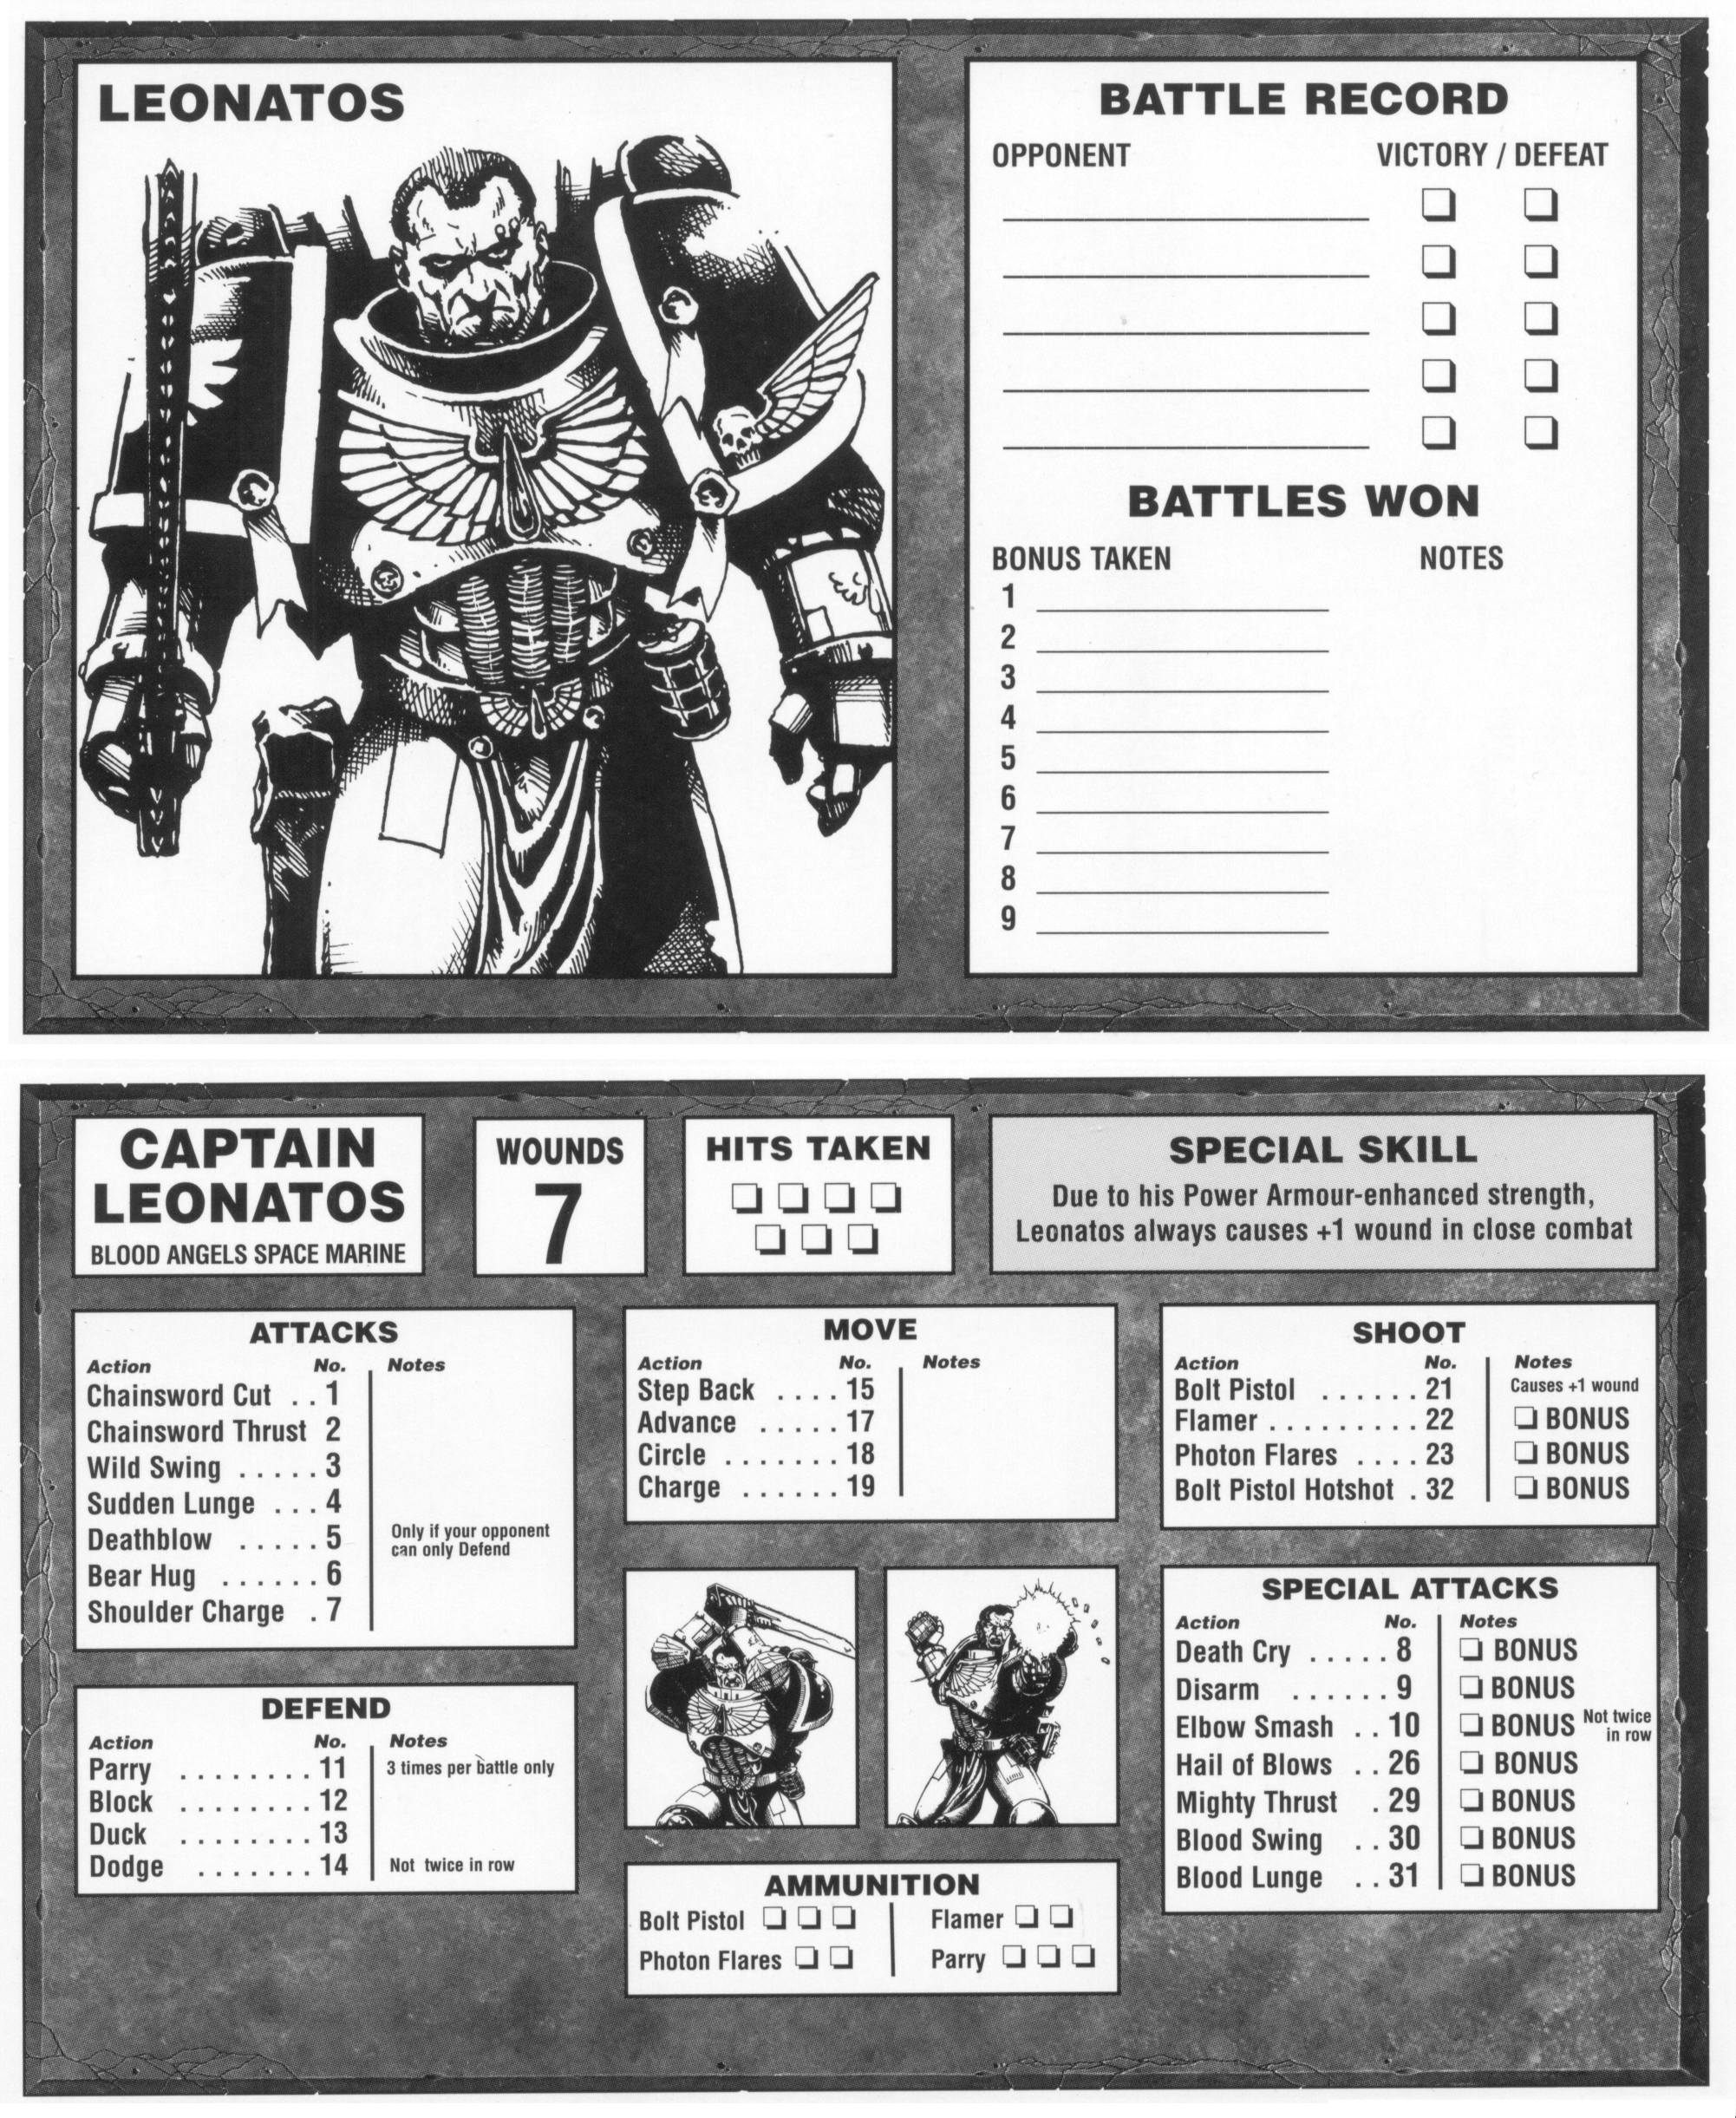
Warhammer Warriors - Captain Leonatos Character Sheet
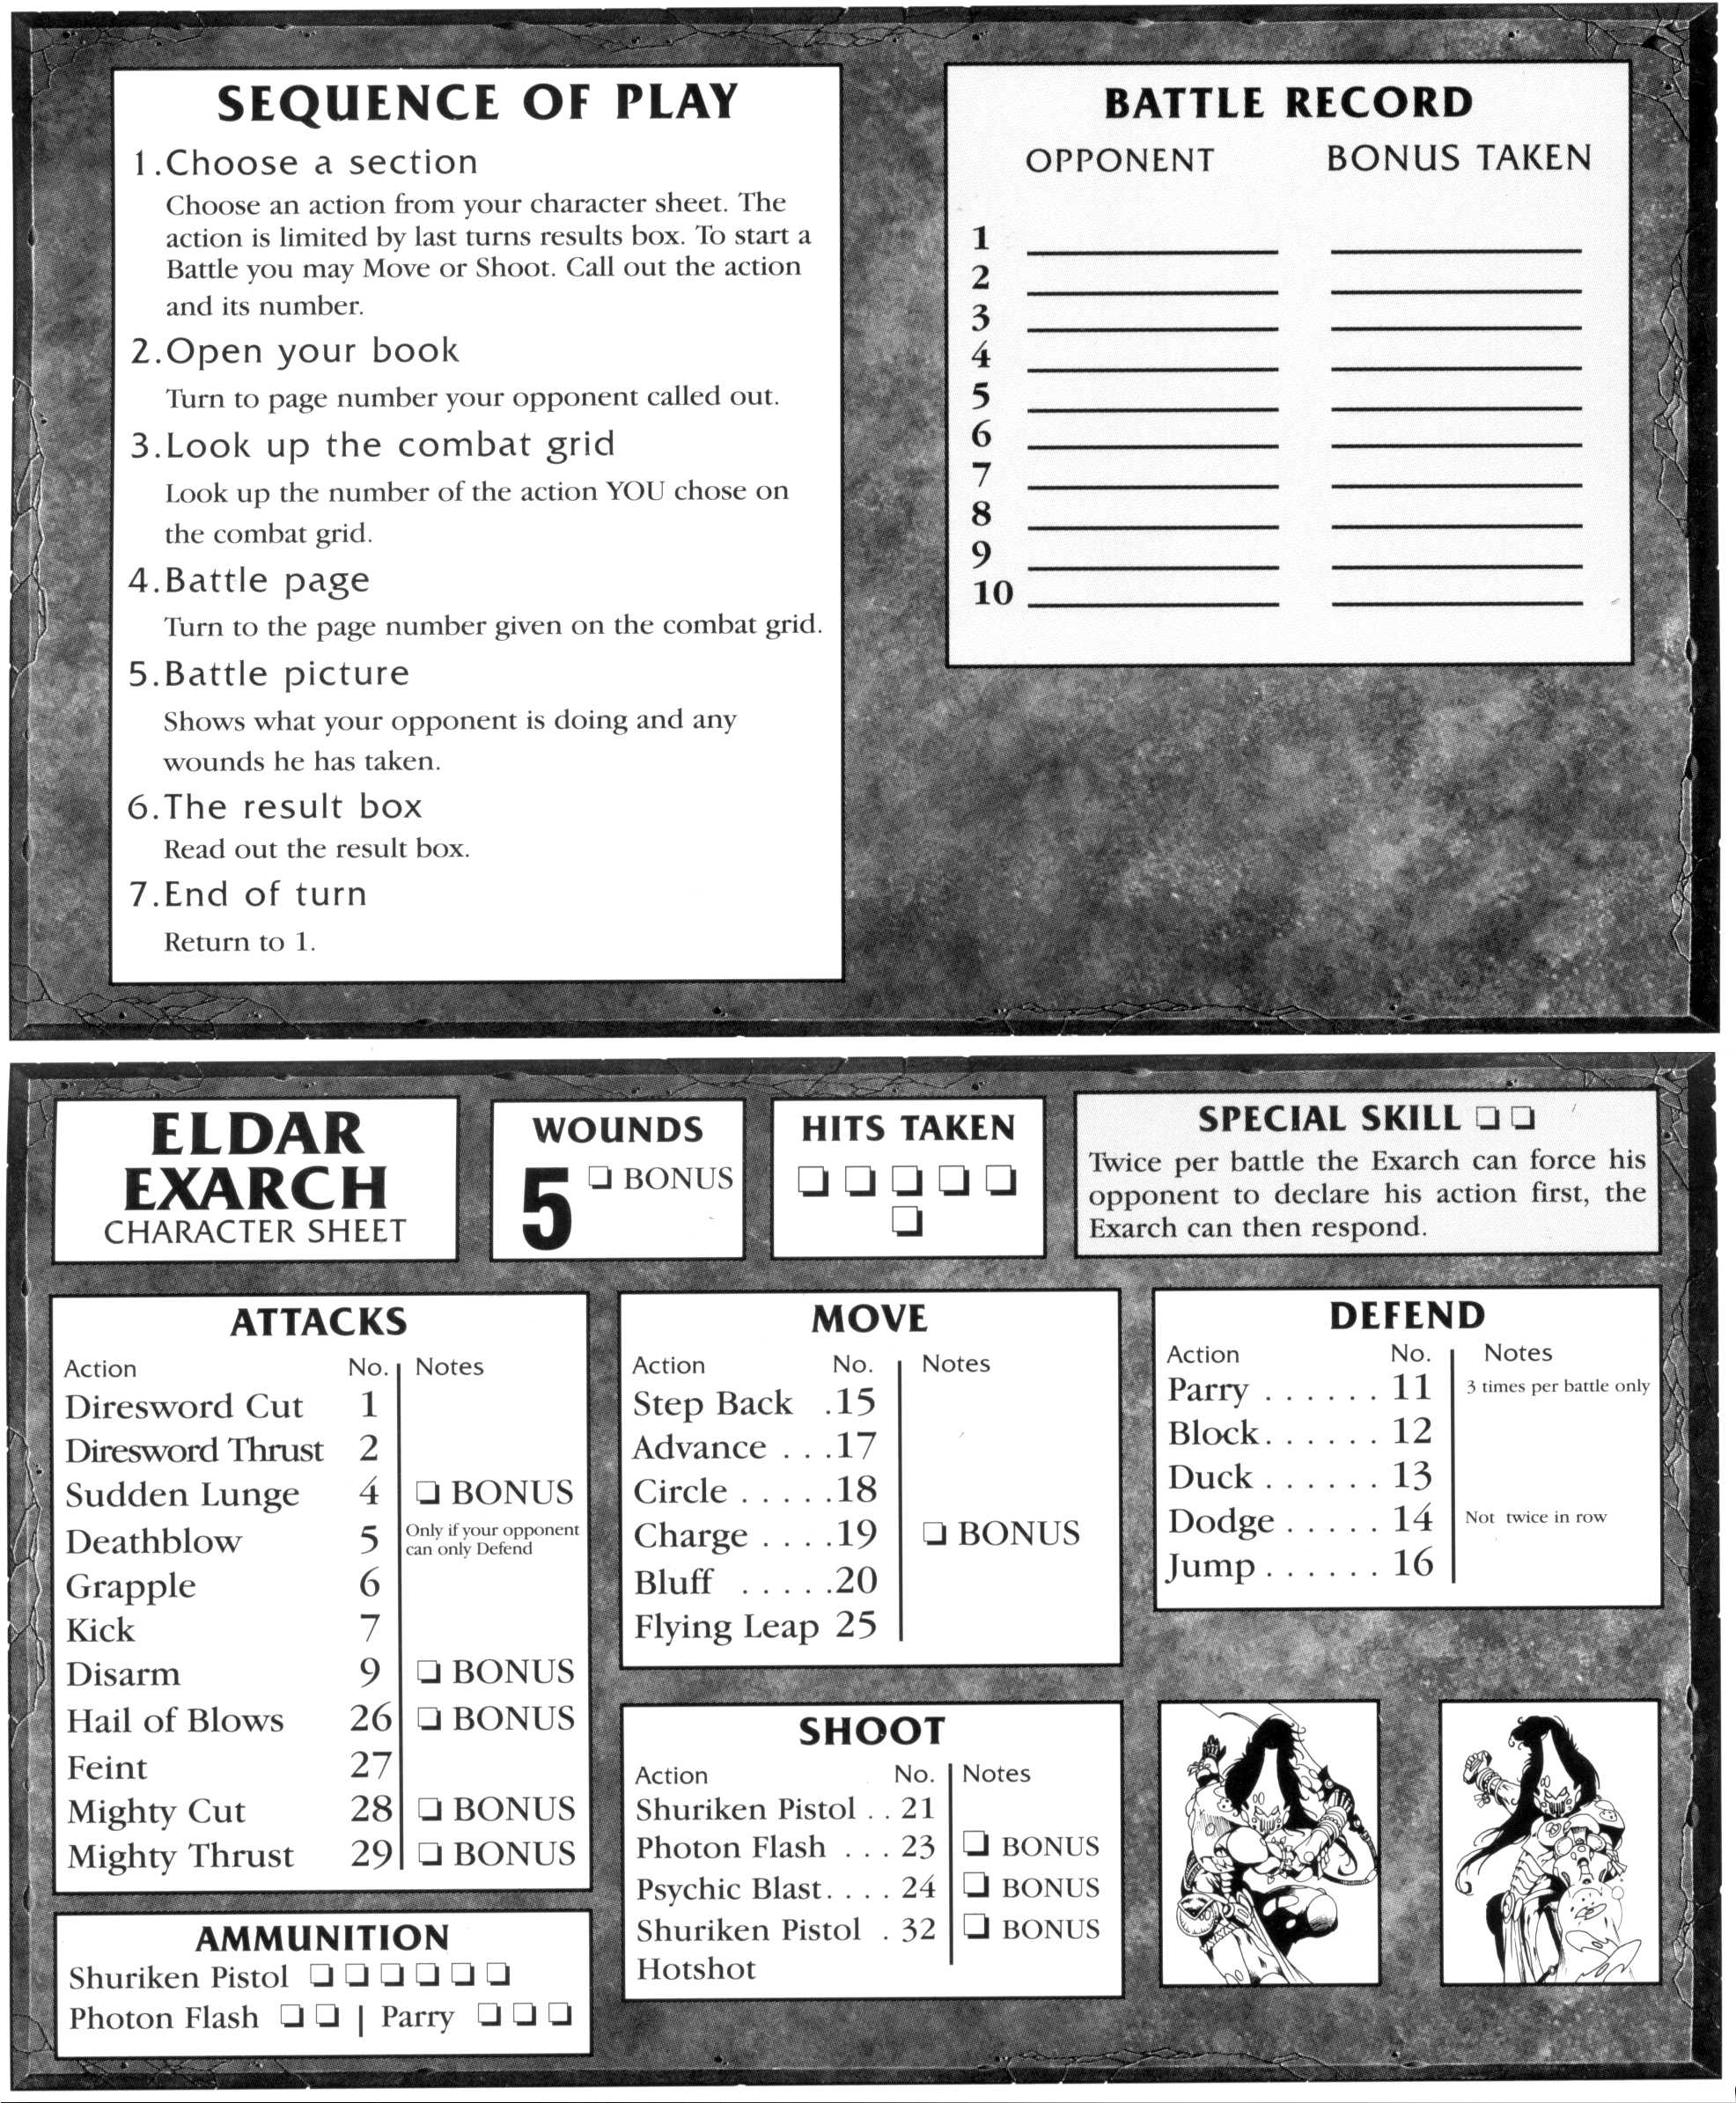
Warhammer Warriors - Eldar Exarch Character Sheet
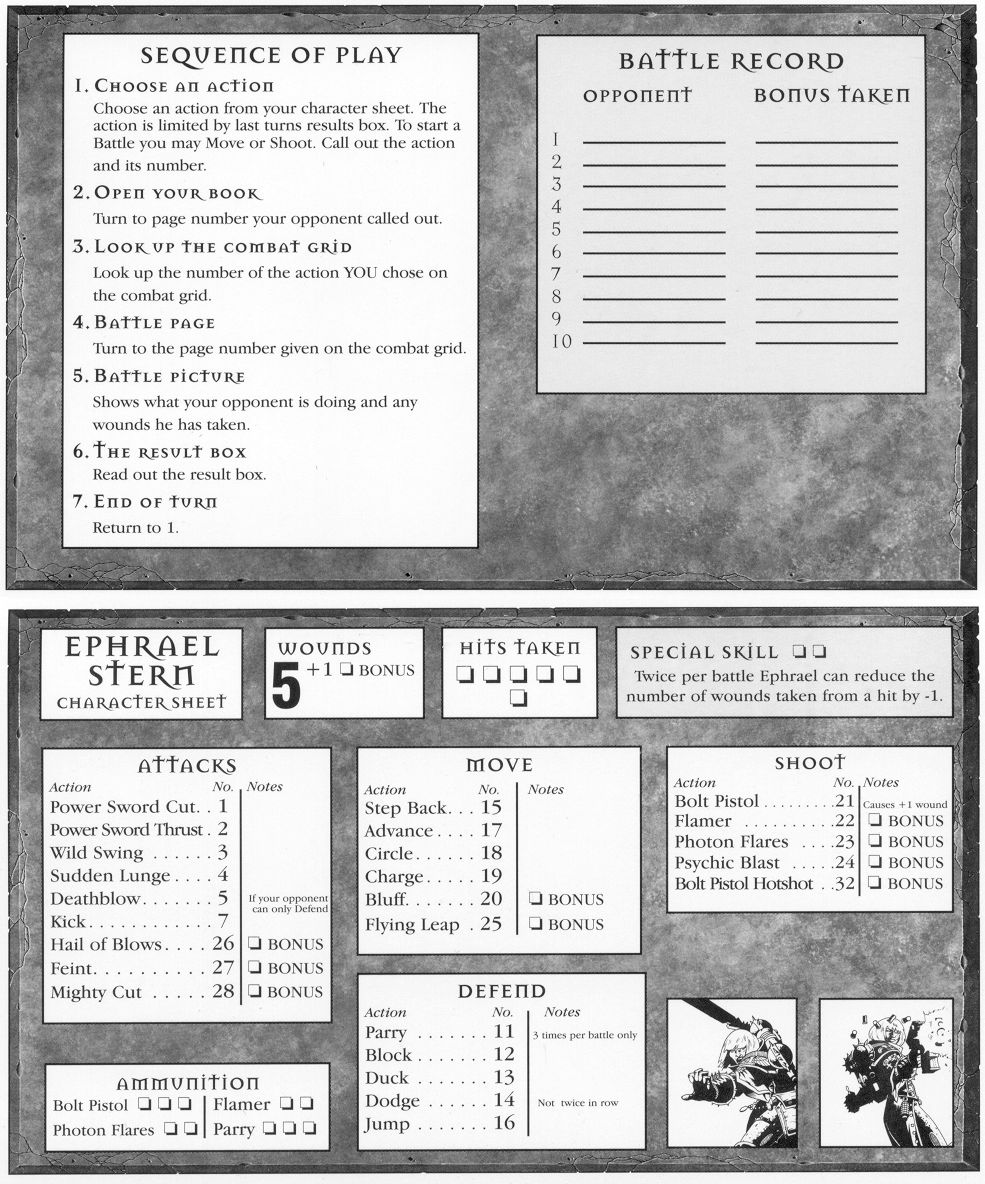
Warhammer Warriors - Ephrael Stern Character Sheet
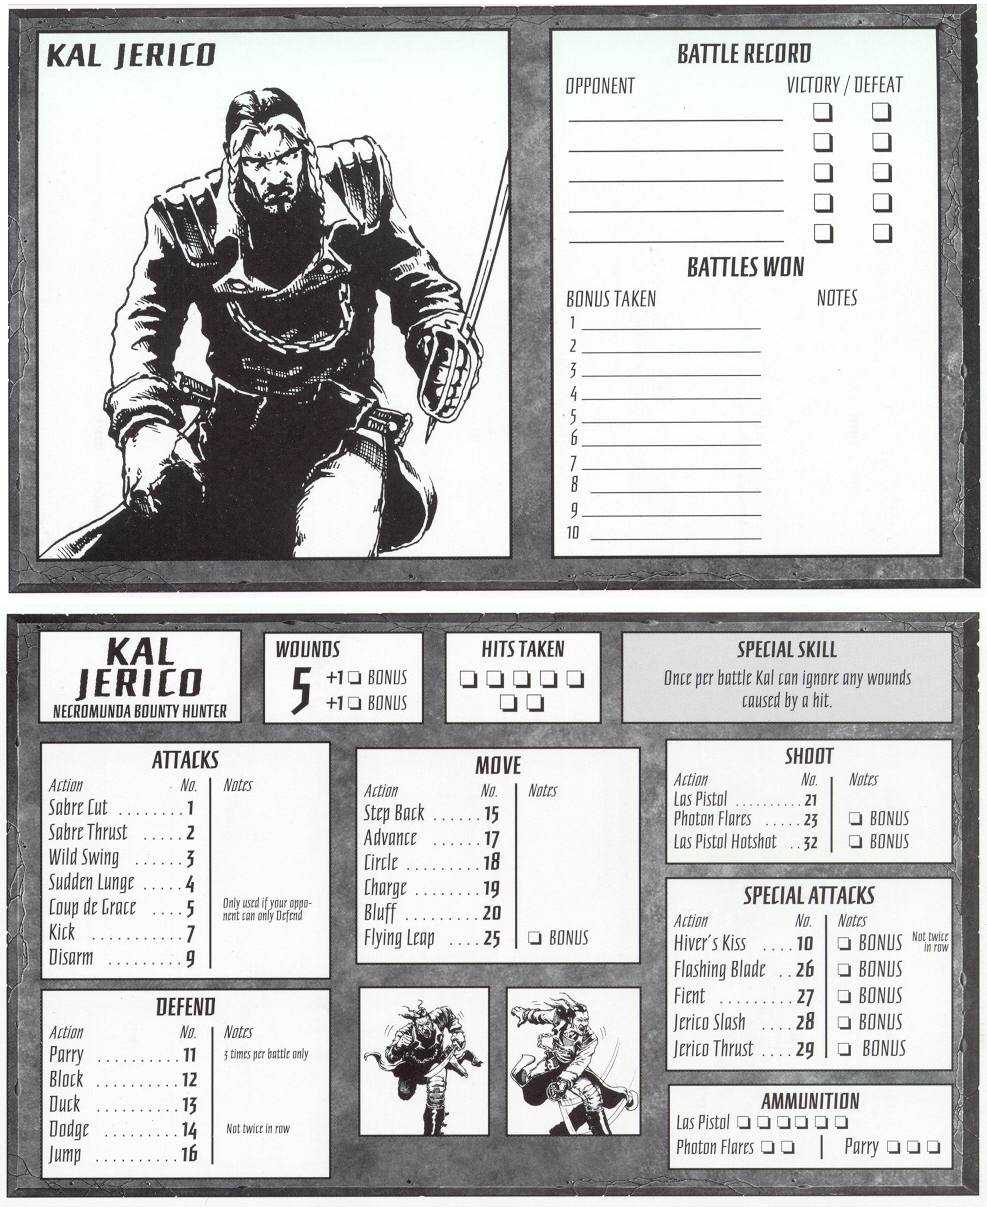
Warhammer Warriors - Kal Jerico Character Sheet
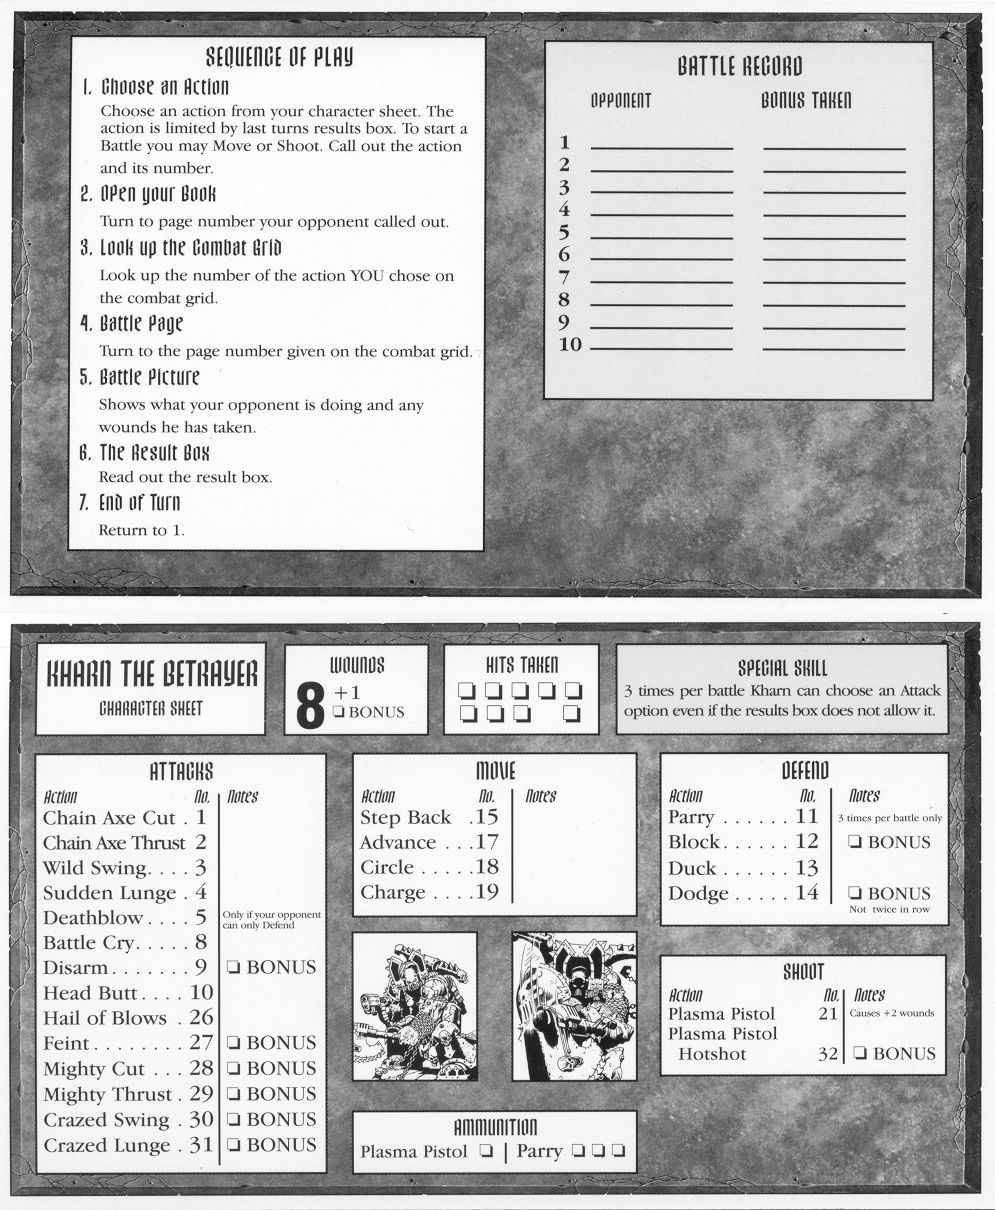
Warhammer Warriors - Kharn Character Sheet
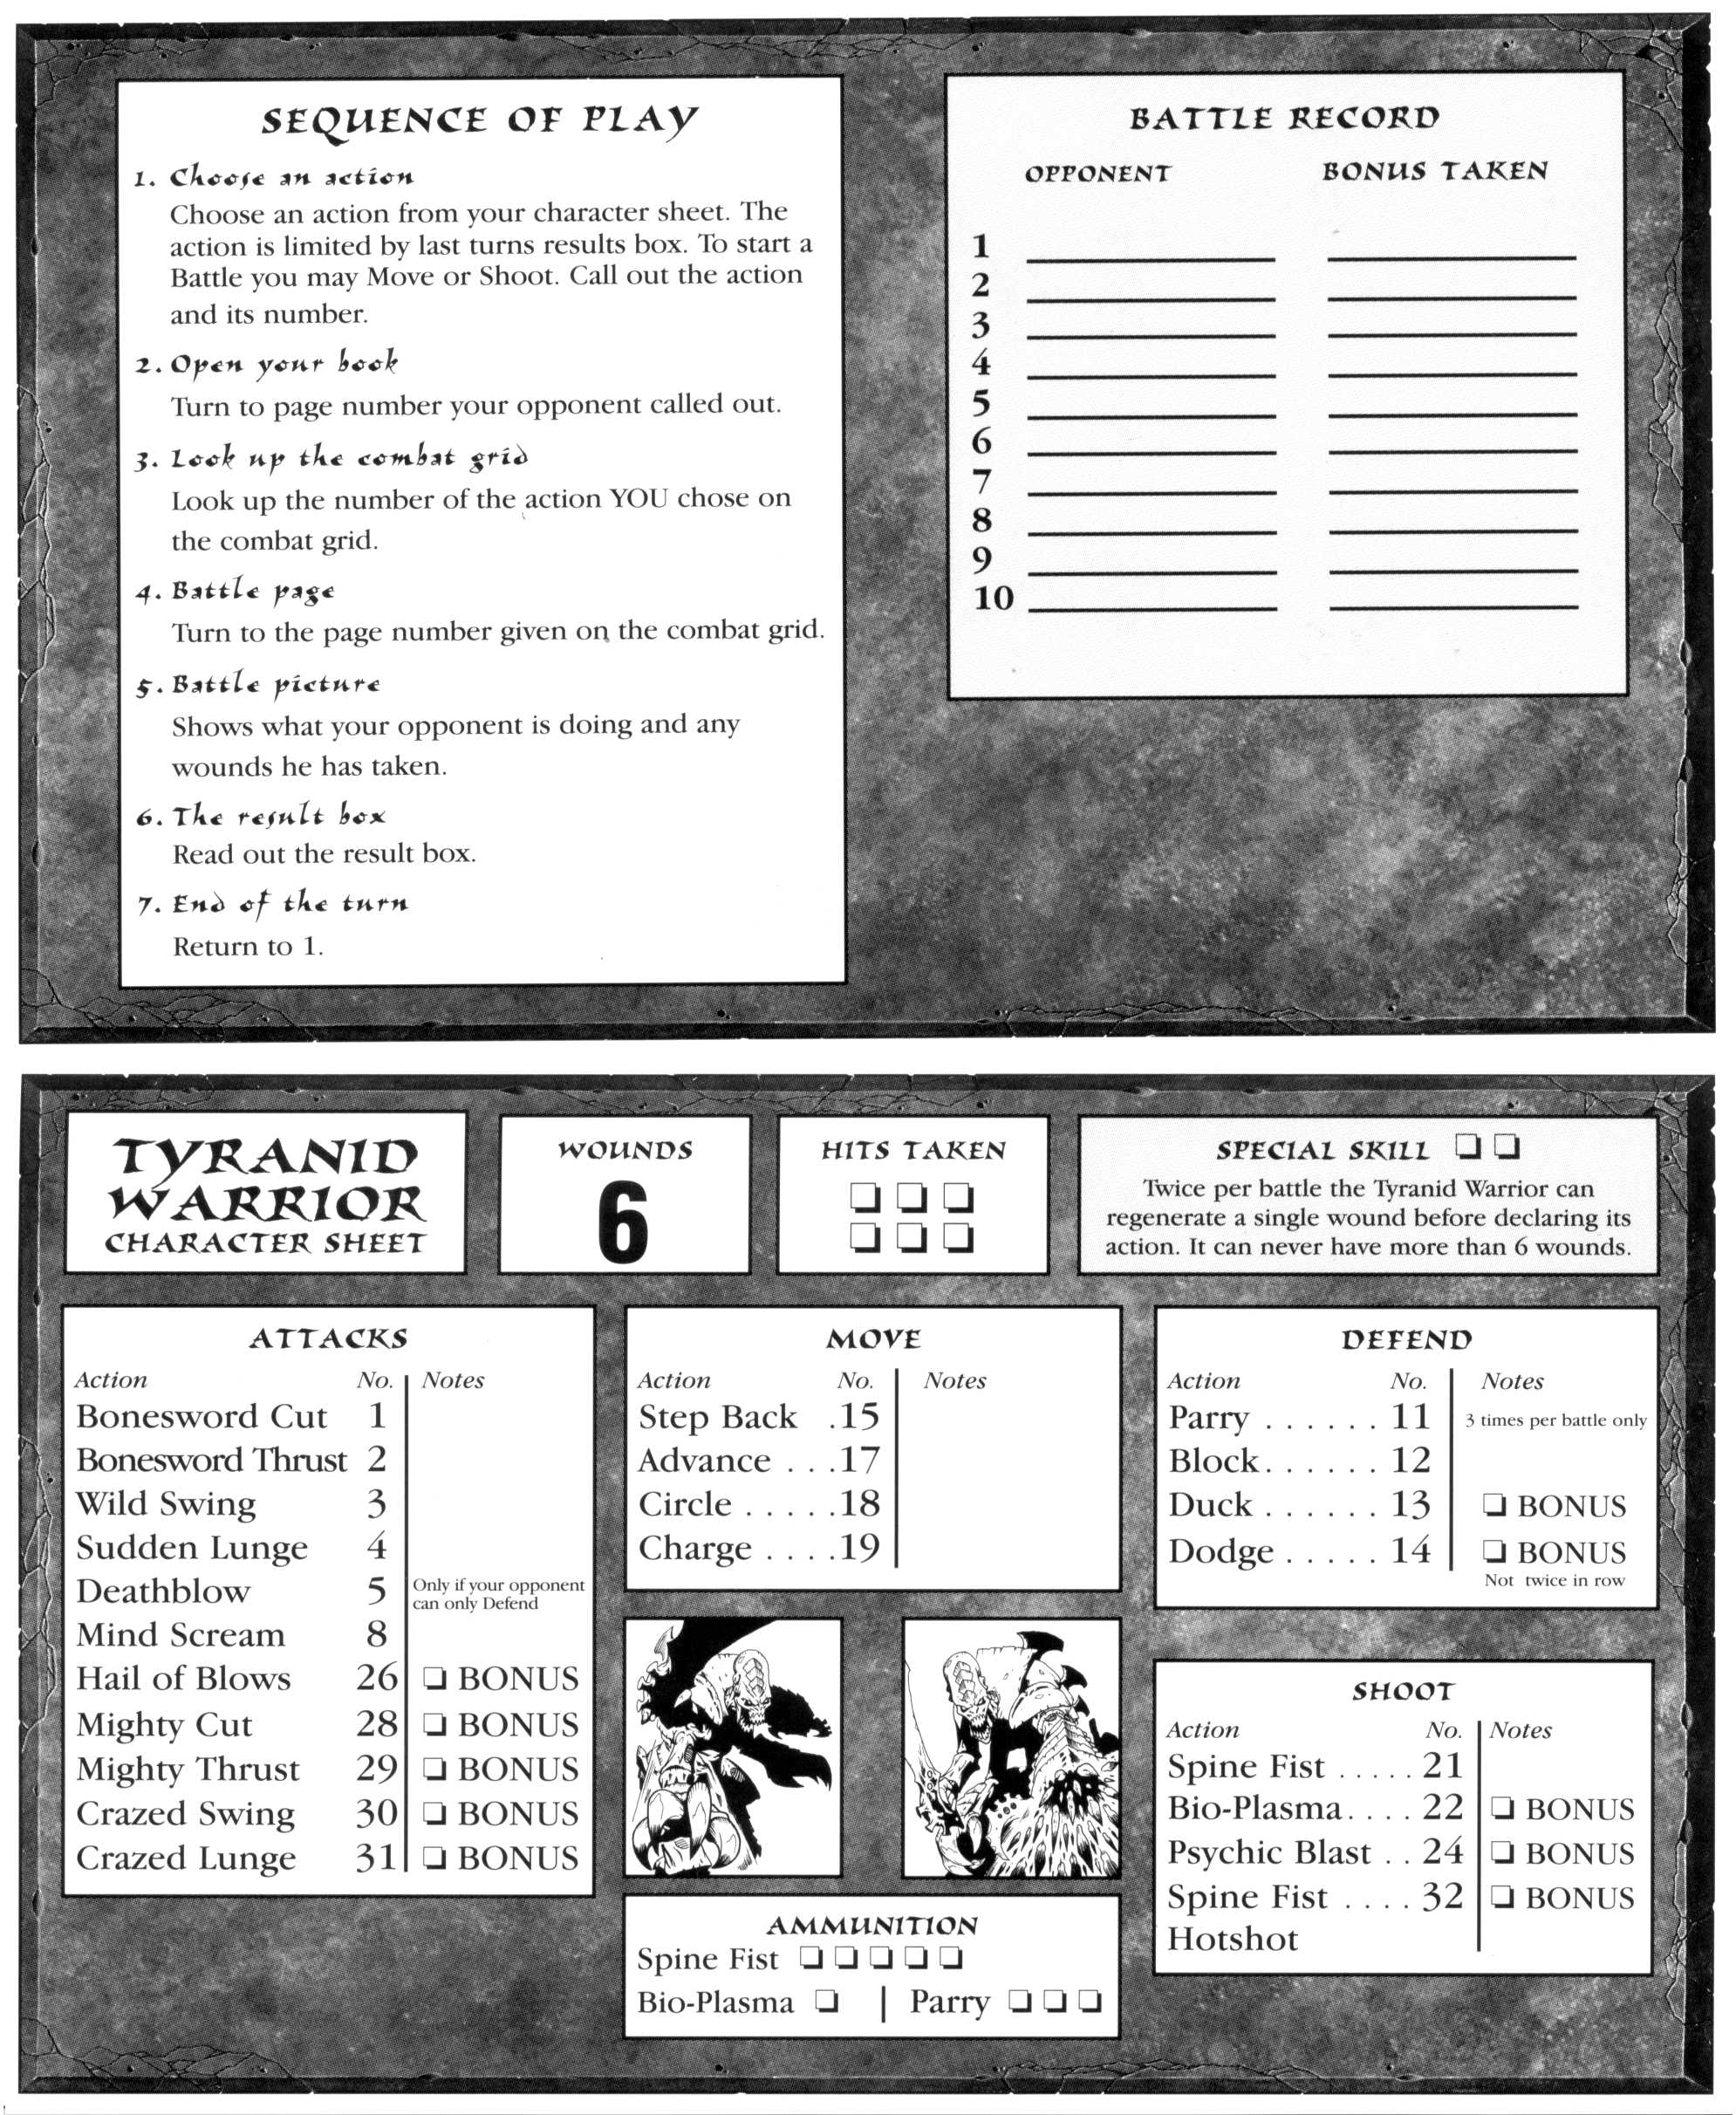
Warhammer Warriors - Tyrannid Warrior Character Sheet
Warhammer: Path to Victory #2 Character Sheet
- Thanks to sireeyore for the scan.
Warhammer: Path to Victory #3 Character Sheet
- Thanks to sireeyore for the scan.
Warhammer: Path to Victory #4 Blood Dragon Character Sheet
- Thanks to sireeyore for the scan.
Warhammer: Path to Victory #4 Lahmian Character Sheet
- Thanks to sireeyore for the scan.
Warhammer: Path to Victory #4 Von Carstein Character Sheet
- Thanks to sireeyore for the scan.
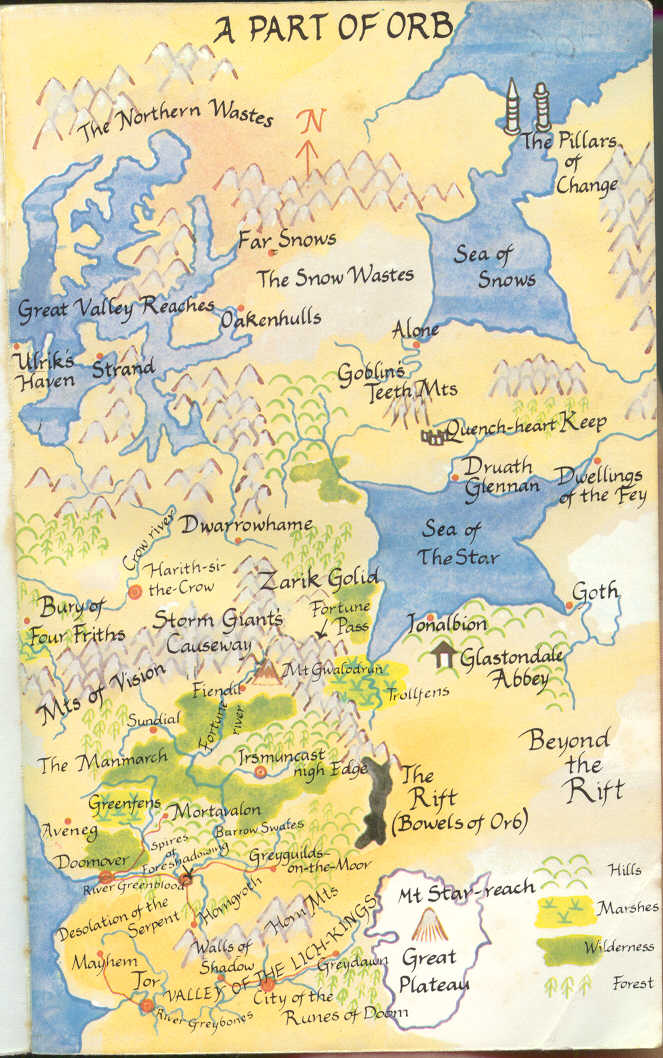
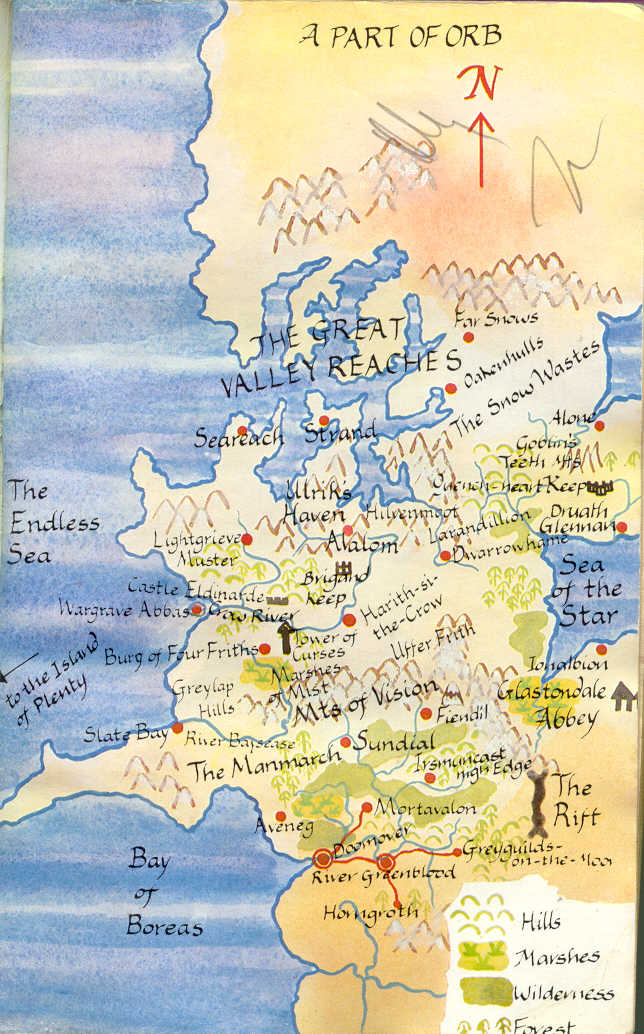
Way of the Tiger #0 Map (Megara)
- Thanks to Ian Berger for the map.
Way of the Tiger #1 Character Sheet
Way of the Tiger #1 Map
Way of the Tiger #2 Character Sheet
Way of the Tiger #2 Map
Way of the Tiger #2 Map (Megara)
- Thanks to Ian Berger for the map.
Way of the Tiger #3 Character Sheet (back)
Way of the Tiger #3 Character Sheet (front)
Way of the Tiger #3 Map
Way of the Tiger #3 Map (Megara)
- Thanks to Ian Berger for the map.
Way of the Tiger #6 Map (Megara)
- Thanks to Ian Berger for the map.
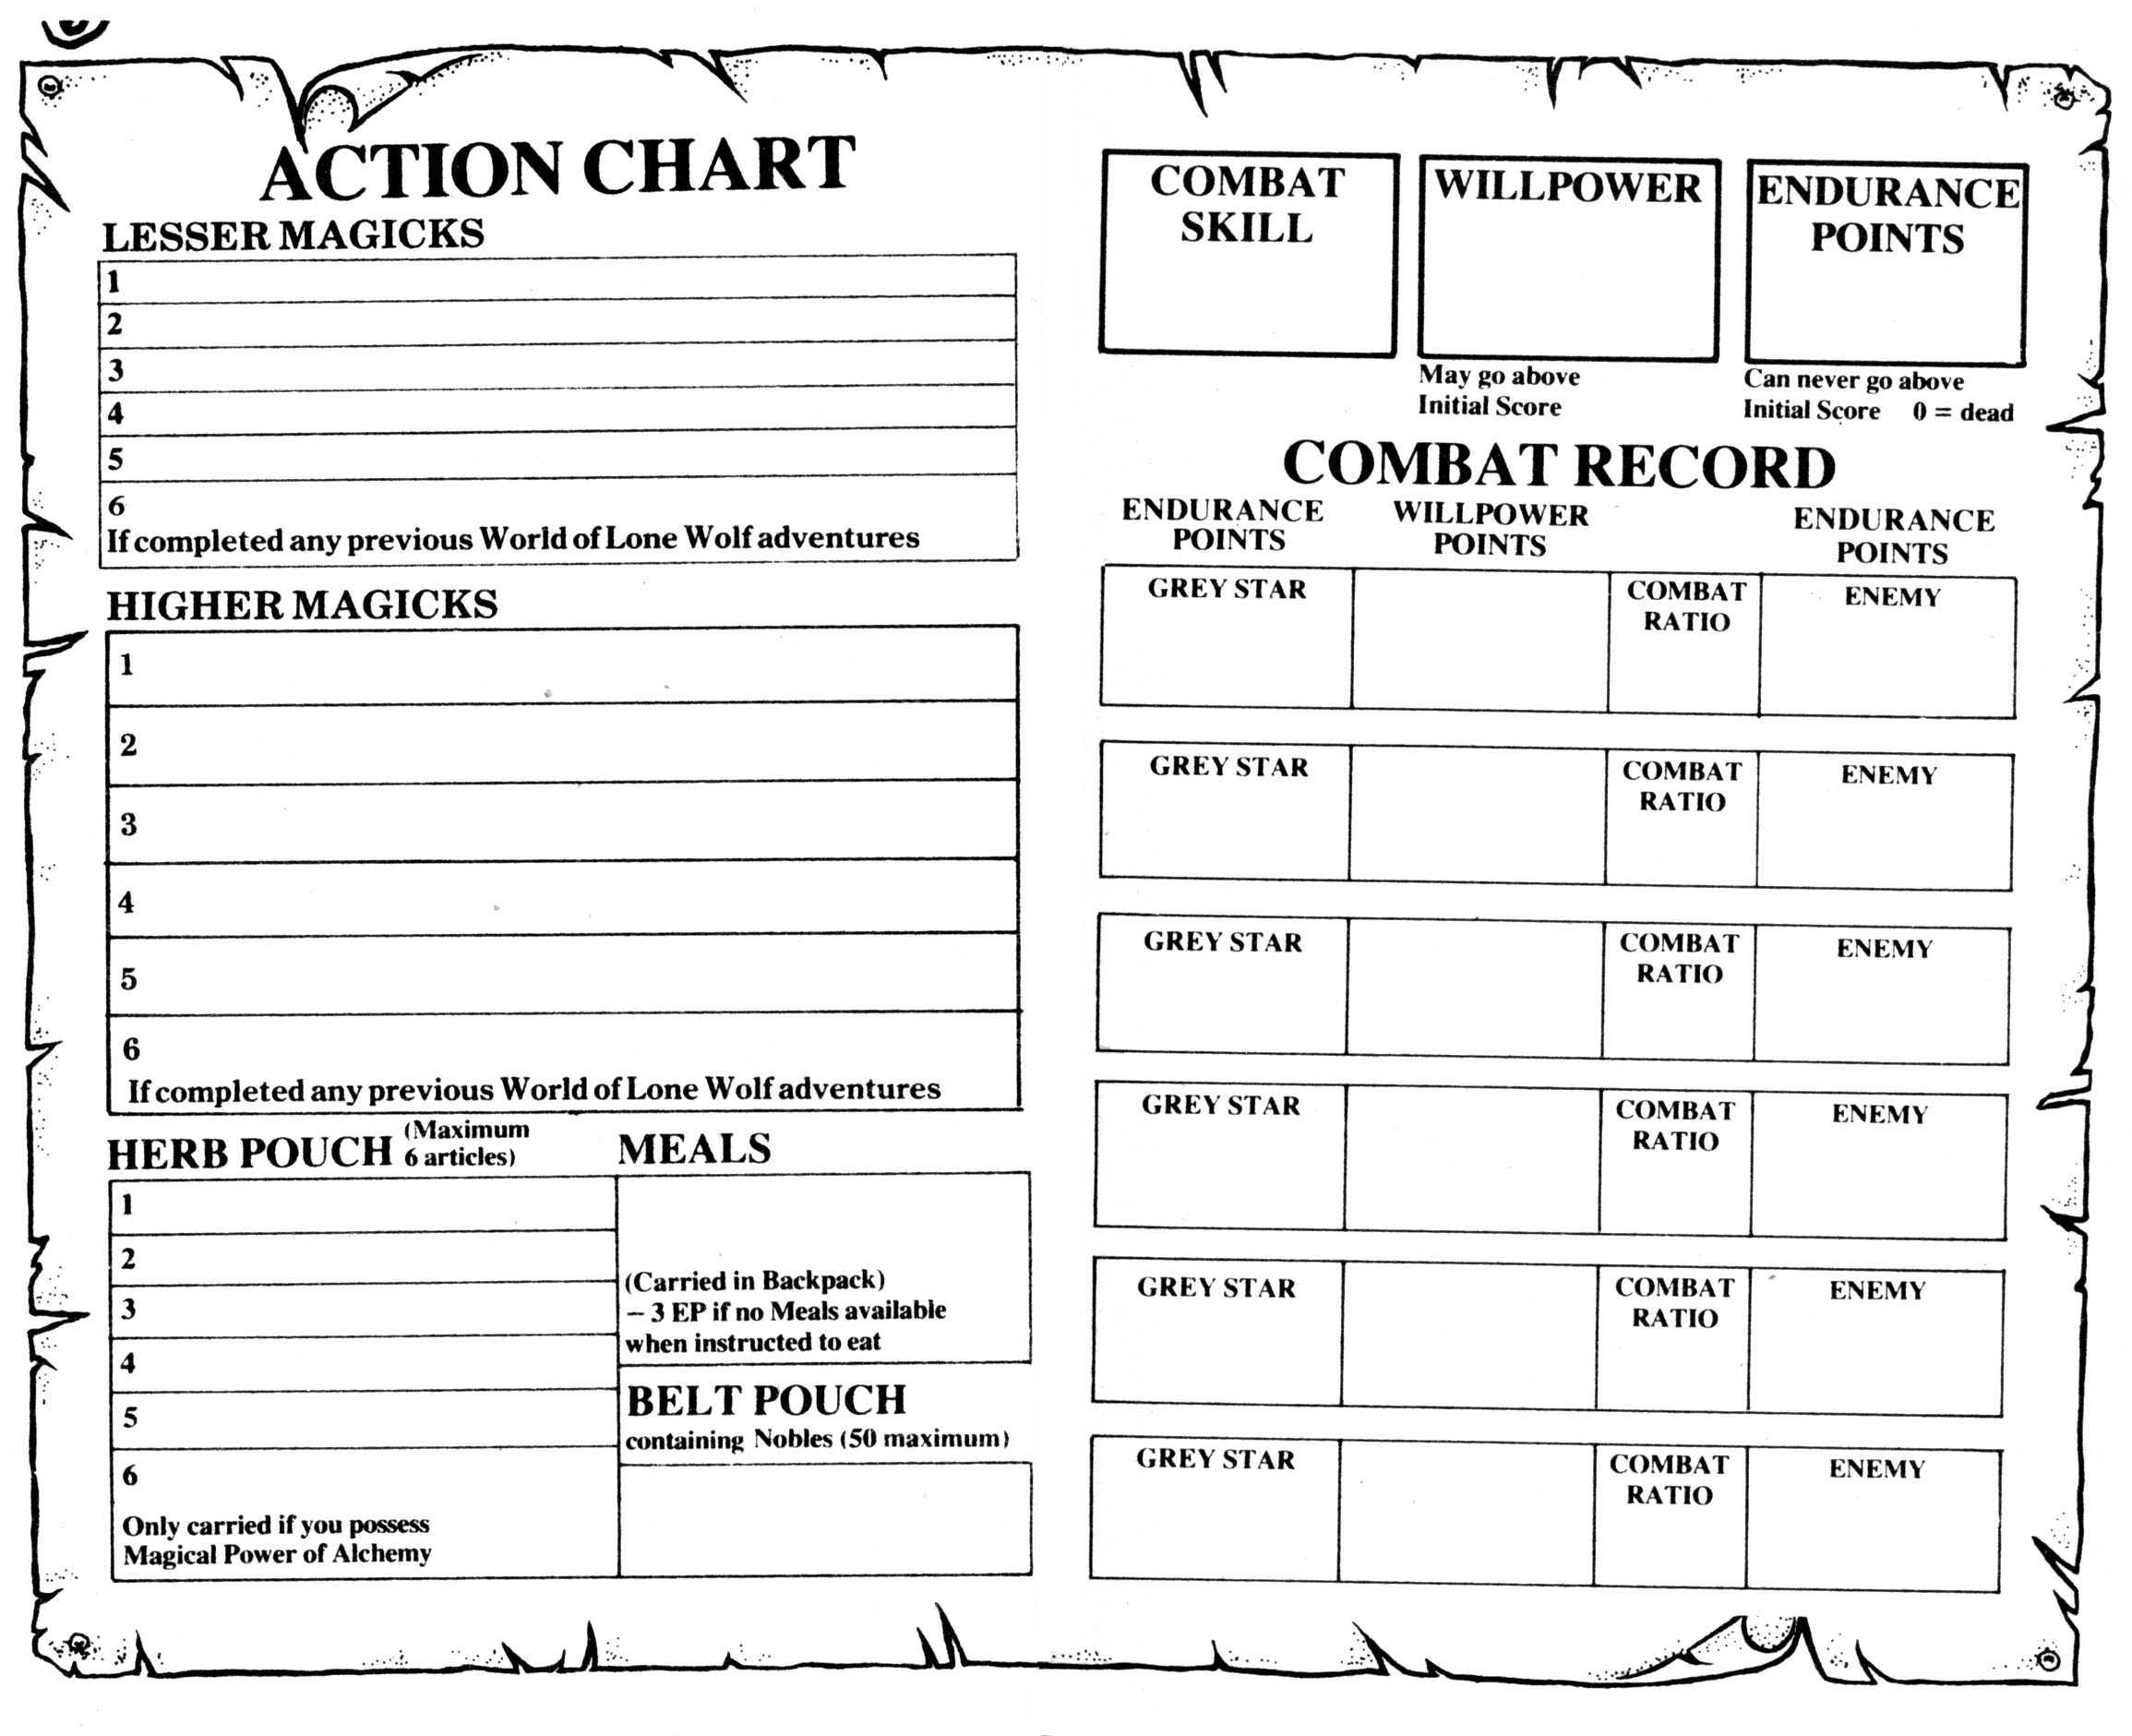
World of Lone Wolf #1 - #3 Character Sheet (back)
World of Lone Wolf #1 Character Sheet (front)
World of Lone Wolf #2 Character Sheet (front)
World of Lone Wolf #3 Character Sheet (front)
World of Lone Wolf #4 Character Sheet (back)
World of Lone Wolf #4 Character Sheet (front)
Structure Diagram
Amazing Stories #1 Diagram
Amazing Stories #2 Diagram
Amazing Stories #3 Diagram
Amazing Stories #4 Diagram
Amazing Stories #5 Diagram
Amazing Stories #6 Diagram
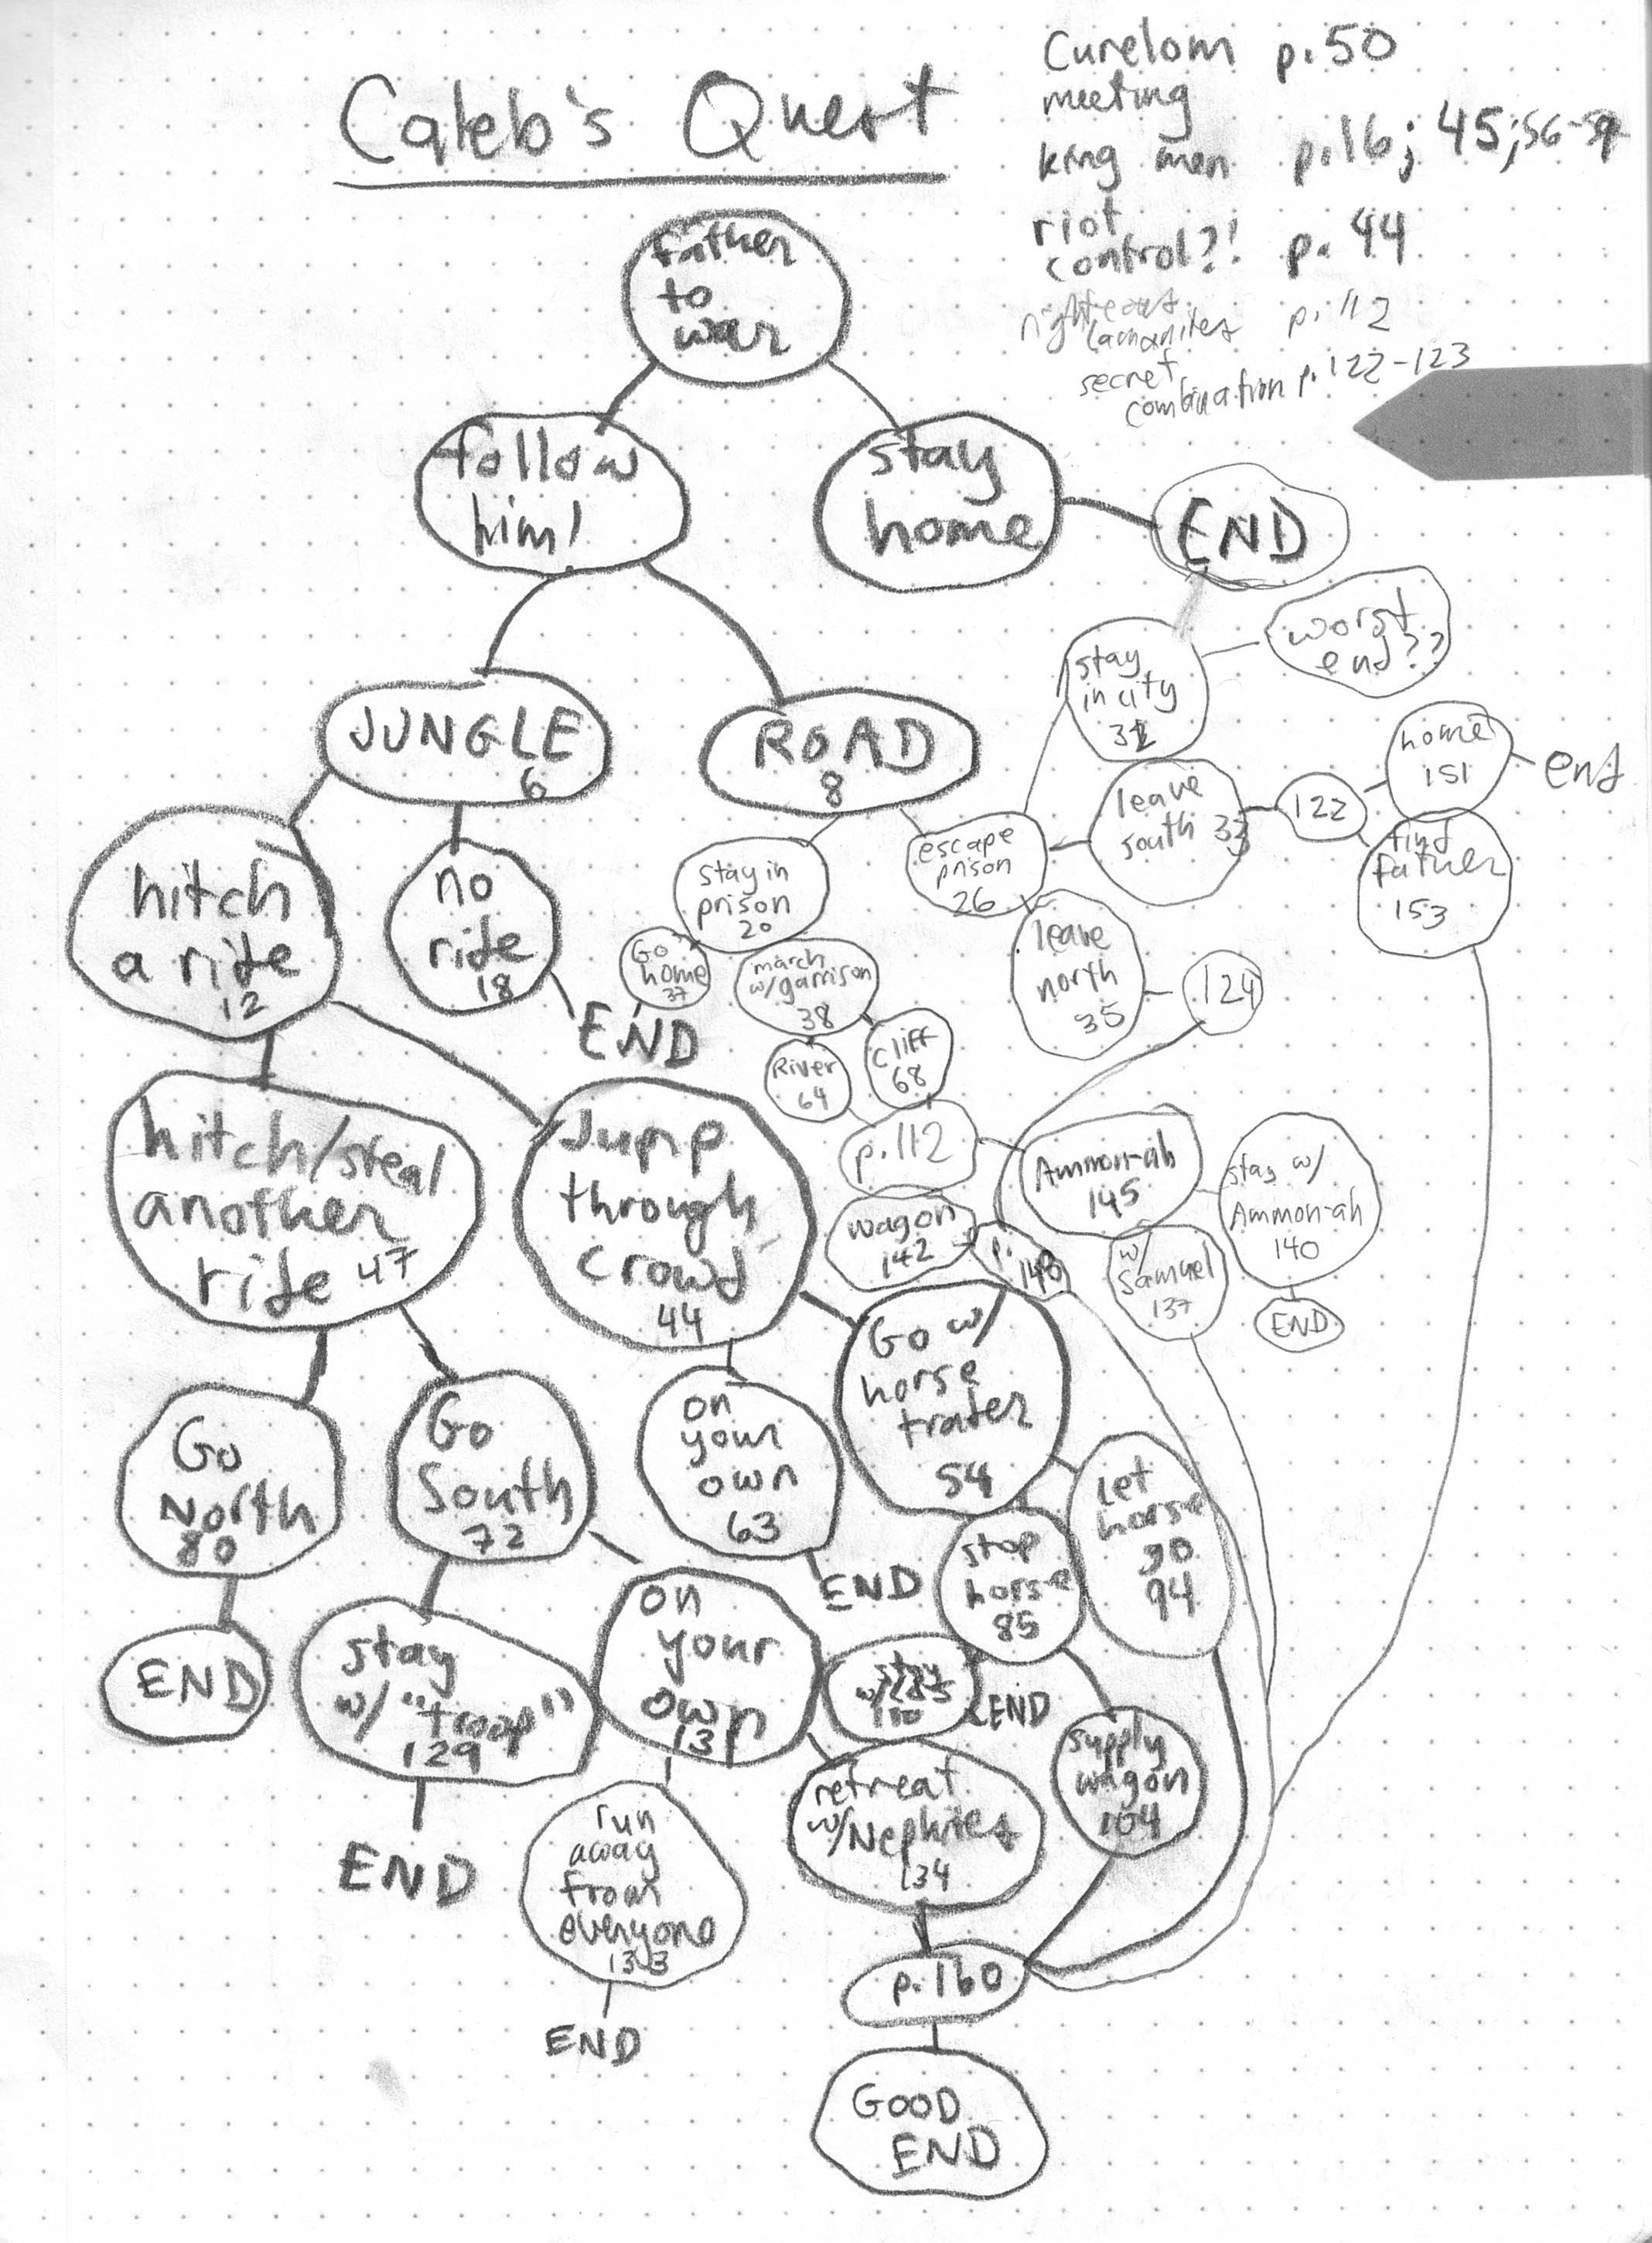
Caleb's Quest Structure Diagram
- Thanks to Rachel Helps for sharing this diagram.
Choose Your Own Adventure # 7 Diagram
- This map was provided by Ace High.
Choose Your Own Adventure #18 Diagram
- This map was provided by Ace High.
Choose Your Own Adventure #21 Diagram
- This map was provided by Ace High.
Dragontales # 3 Structure Diagram
- Thanks to criver for contributing this map. The DOT source file is also available.
Notes from the contributor: You'll find instructions how to visualize it in the playground of graphviz. There are comments in the DOT file that are spoilery, but they do not show up in the graphics. Finally, one of the nodes is called unknown and marked by a "?" node - this is because the scan from which I read this book was missing a large part of section 31, so I don't know whether it merges with some other section or whether it ends there.
Equestria Girls #1 Map
Grailquest #1 Map
- This flowchart of the book was contributed by Christopher McGeorge.
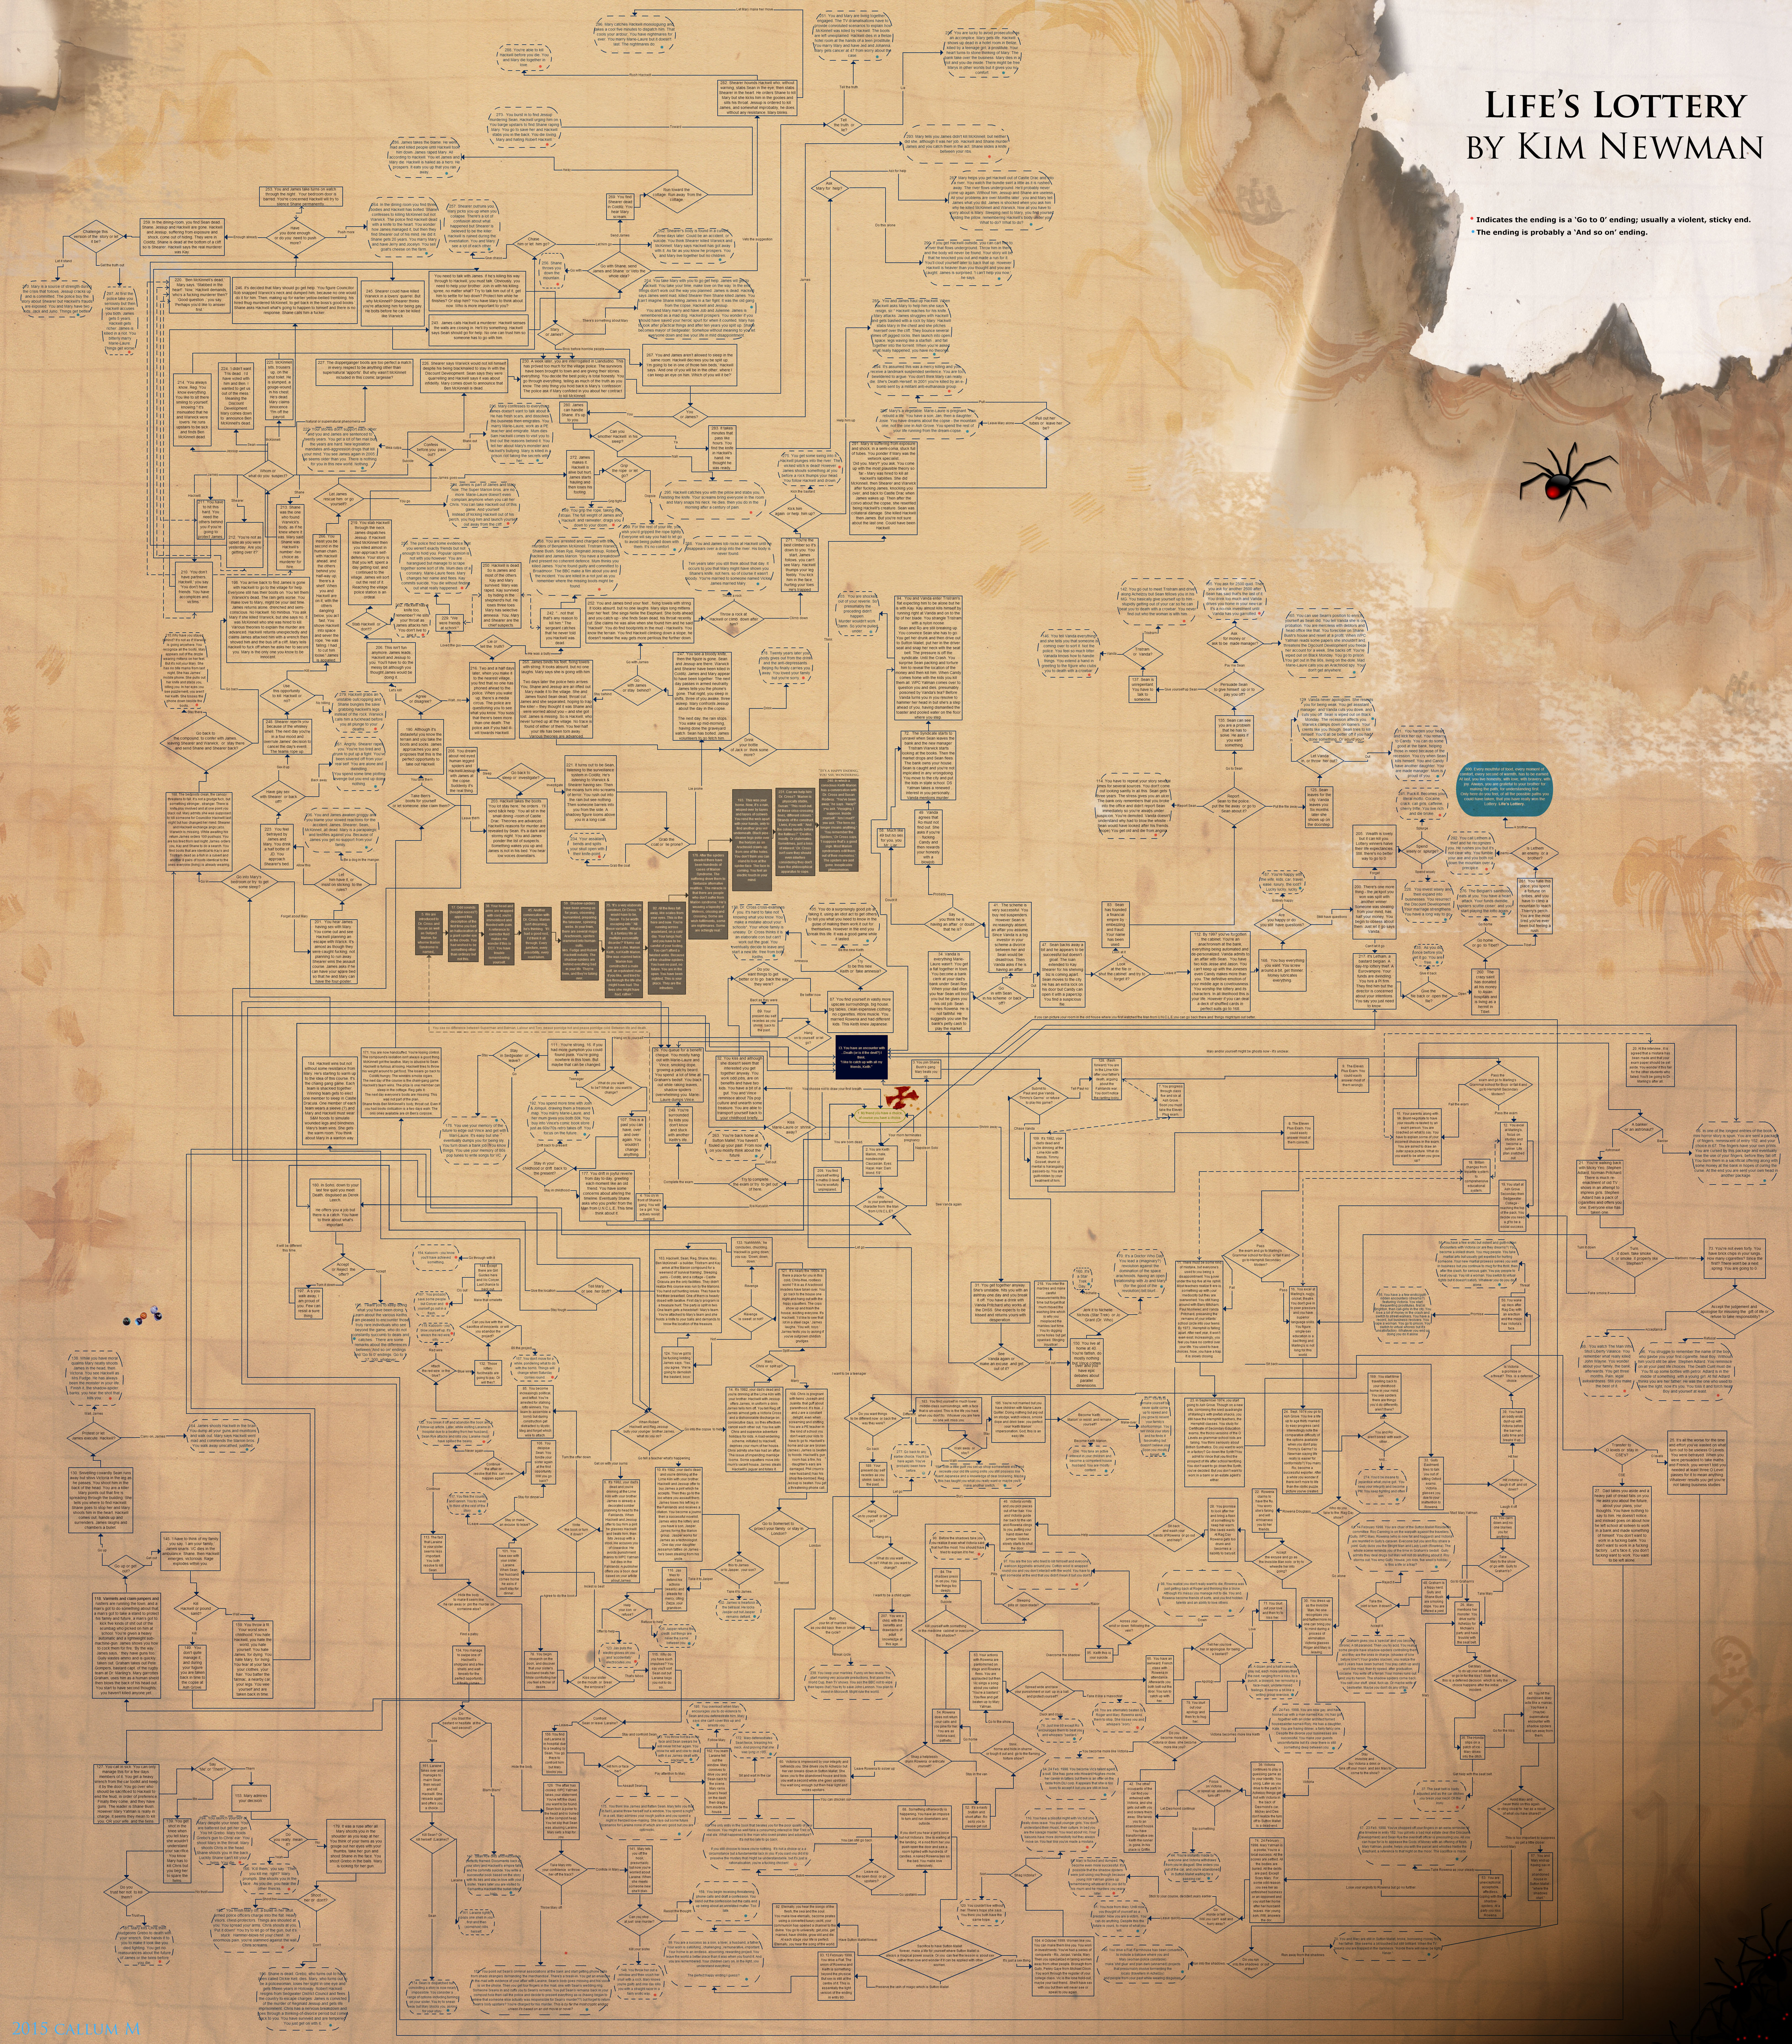
Life's Lottery Flowchart
- Thanks to Callum MacKendrick for sharing this.
Lone Wolf # 1 Map
- This file includes a map of the structure of the original version of Lone Wolf #1: Flight from the Dark, courtesy of Nils.
Den mystiska påsen Structure Diagram
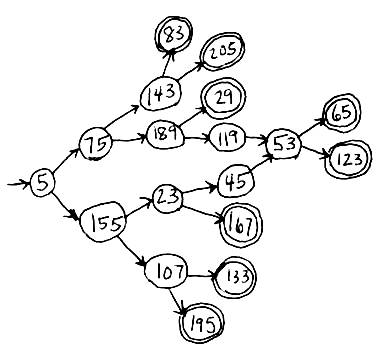
Sugarcane Island Diagram
- The numbers in this diagram do not correspond with the pages of the book; see The Evolution of Sugarcane Island for a key.
Time Machine # 1 Map
- Thanks to Julien Peter Benney for contributing this map of the book's structure.
Time Machine # 3 Map
- Thanks to Julien Peter Benney for contributing this map of the book's structure.
Time Machine # 4 Map
- Thanks to Julien Peter Benney for contributing this map of the book's structure.
Time Machine # 5 Map
- Thanks to Julien Peter Benney for contributing this map of the book's structure.
Time Machine # 7 Map
- Thanks to Julien Peter Benney for contributing this map of the book's structure.
Time Machine # 8 Map
- Thanks to Julien Peter Benney for contributing this map of the book's structure.
Time Machine # 9 Map
- Thanks to Julien Peter Benney for contributing this map of the book's structure.
Time Machine #10 Map
- Thanks to Julien Peter Benney for contributing this map of the book's structure.
Time Machine #11 Map
- Thanks to Julien Peter Benney for contributing this map of the book's structure.
Time Machine #12 Map
- Thanks to Julien Peter Benney for contributing this map of the book's structure.
Time Machine #15 Map
- Thanks to Julien Peter Benney for contributing this map of the book's structure.
Time Machine #16 Map
- Thanks to Julien Peter Benney for contributing this map of the book's structure.
Time Machine #17 Map
- Thanks to Julien Peter Benney for contributing this map of the book's structure.
Time Machine #19 Map
- Thanks to Julien Peter Benney for contributing this map of the book's structure.
Time Machine #22 Map
- Thanks to Julien Peter Benney for contributing this map of the book's structure.
Time Machine #24 Map
- Thanks to Julien Peter Benney for contributing this map of the book's structure.
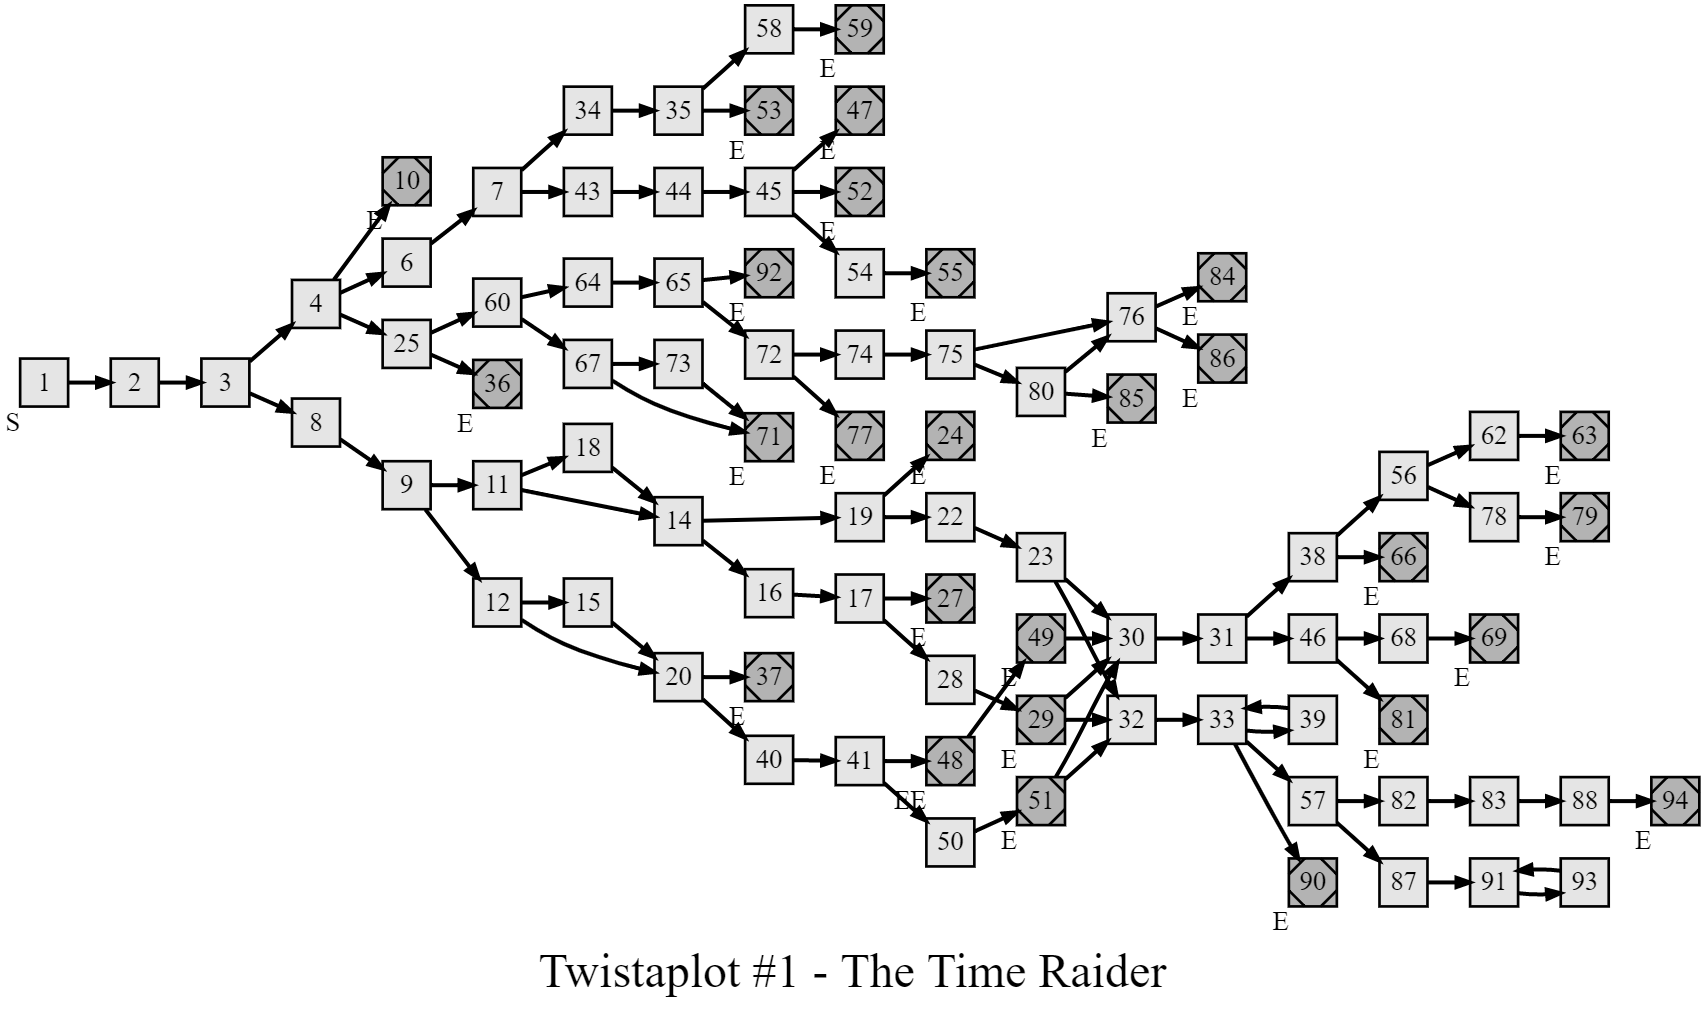
Twistaplot # 1 Structure Diagram
- Thanks to Ryan Lynch for sharing this.
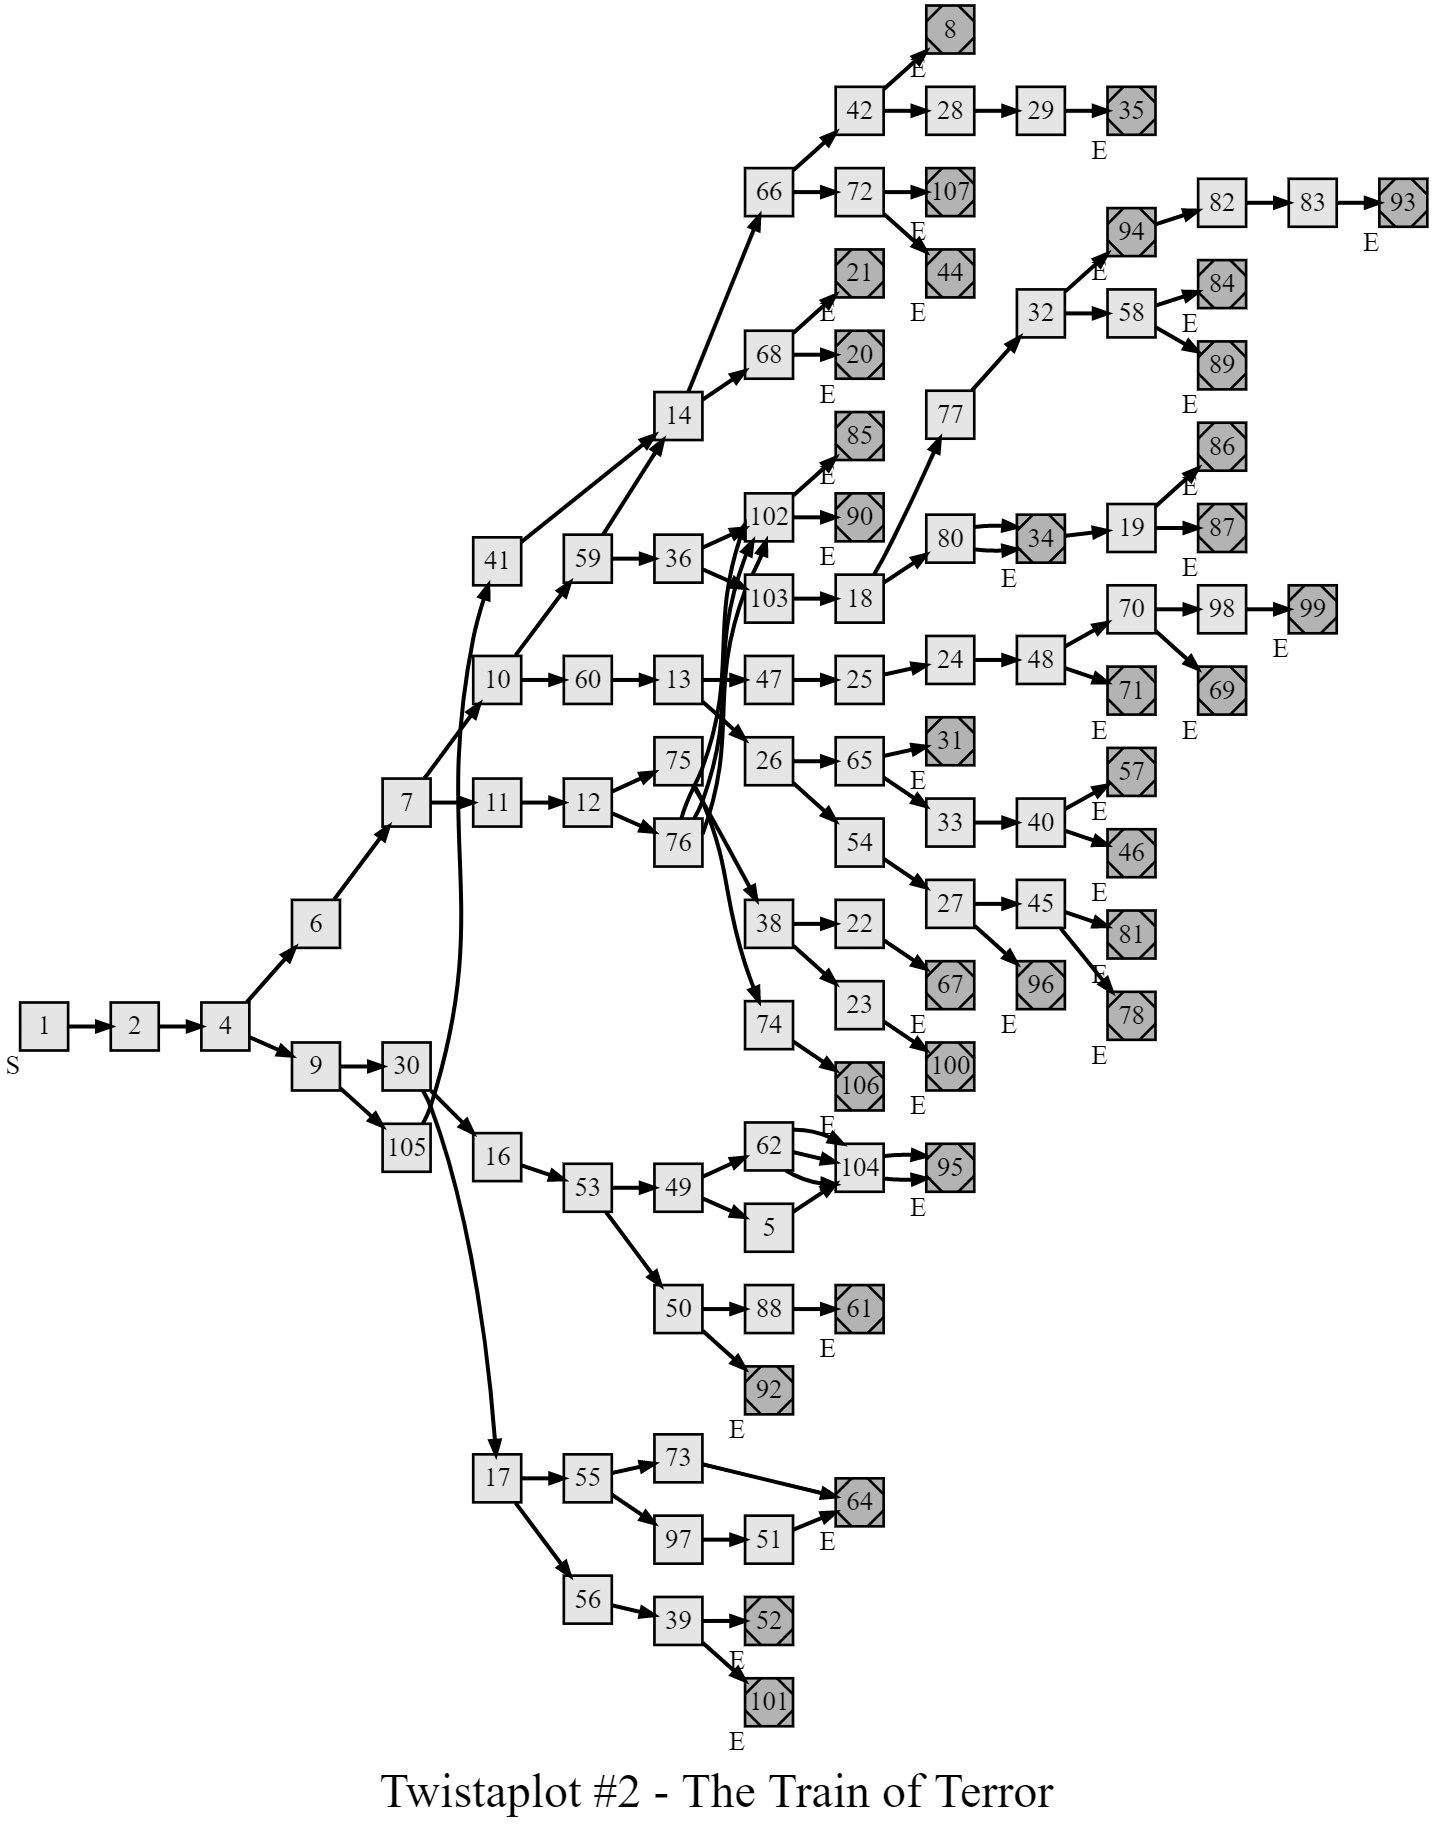
Twistaplot # 2 Structure Diagram
- Thanks to Ryan Lynch for sharing this.
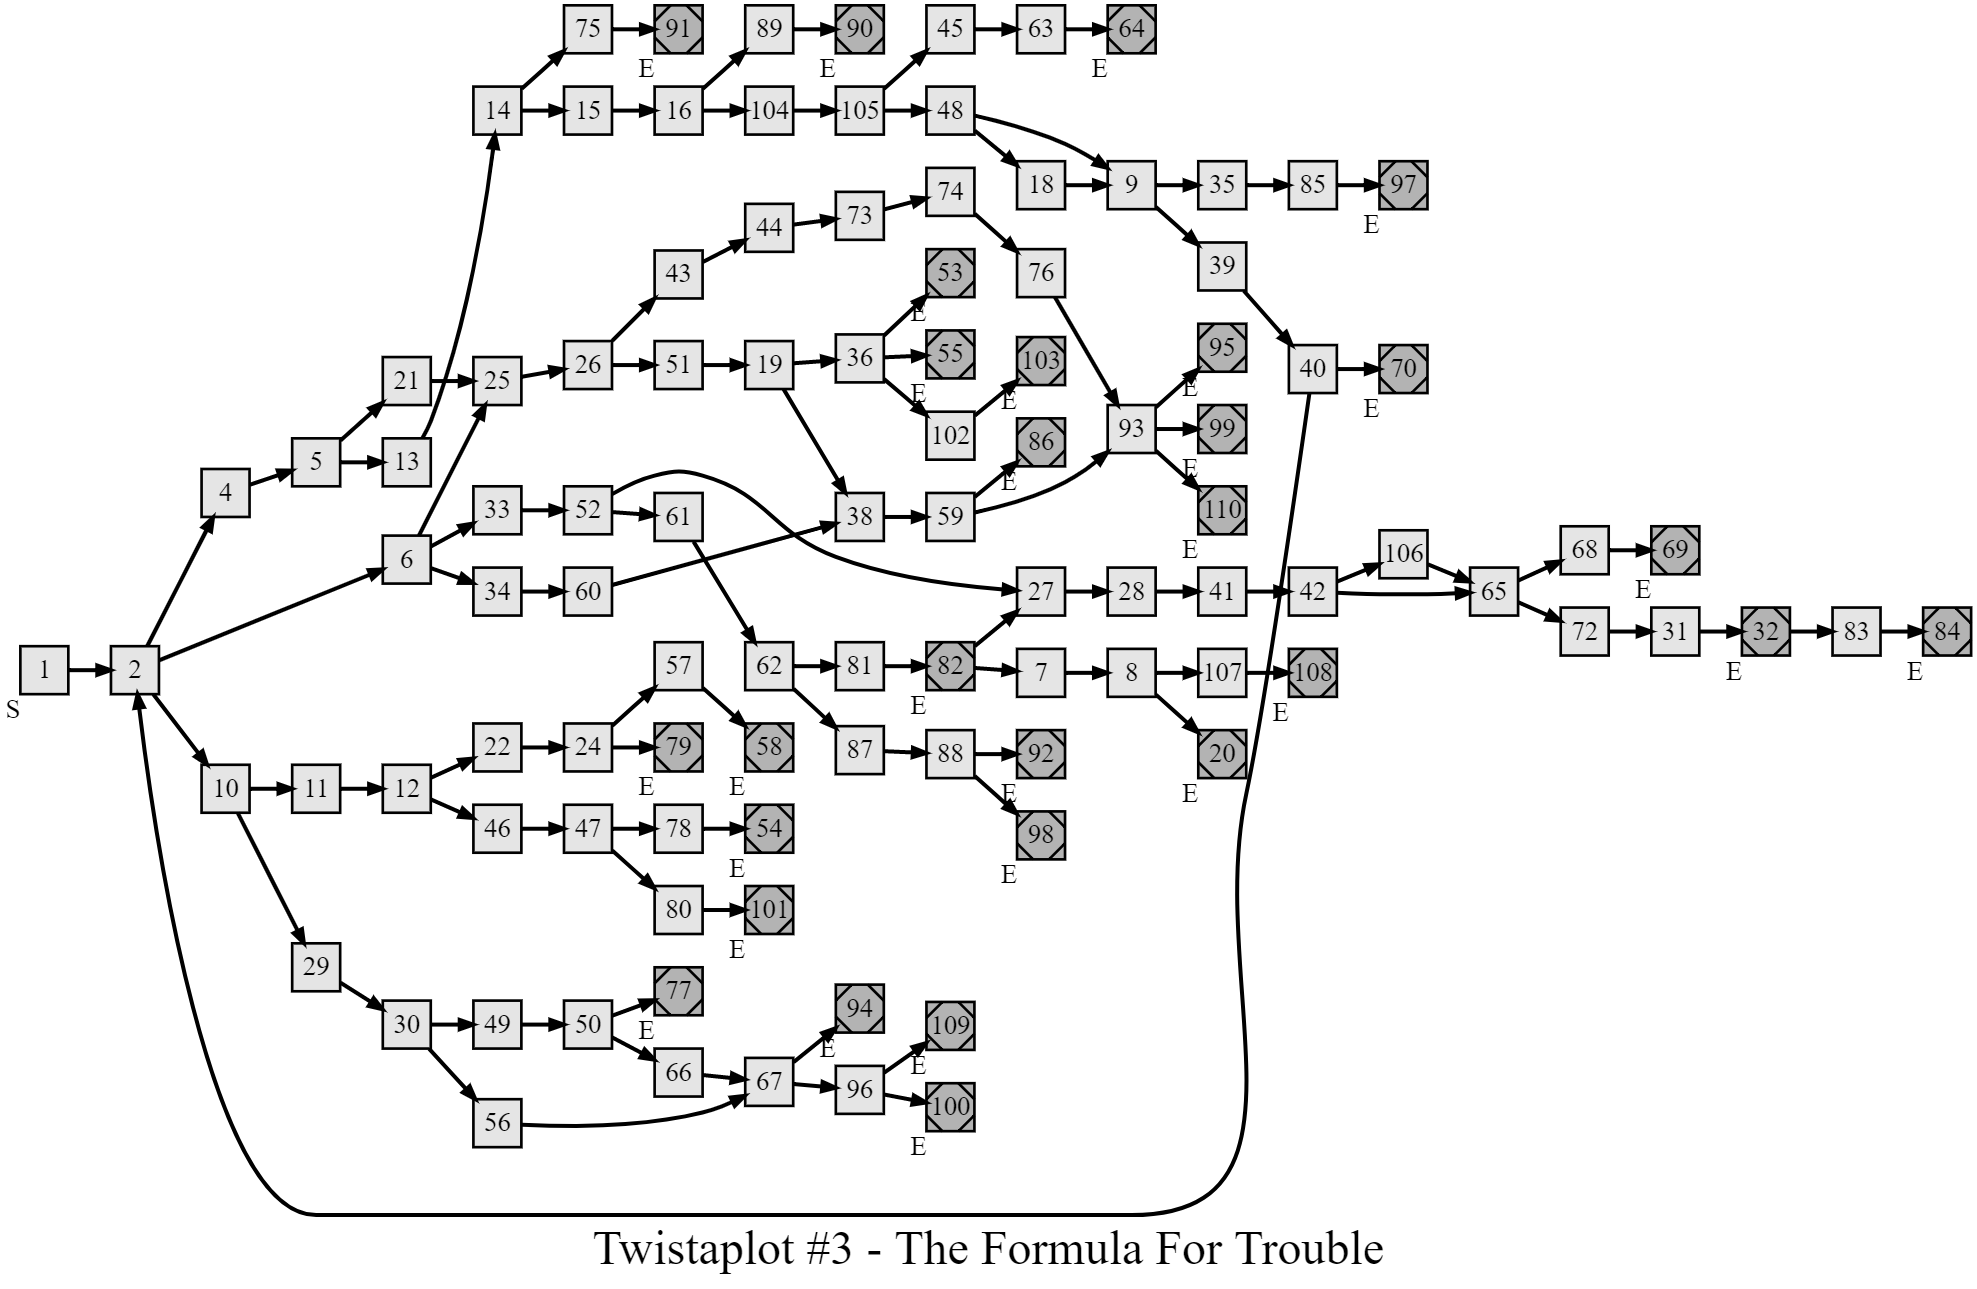
Twistaplot # 3 Structure Diagram
- Thanks to Ryan Lynch for sharing this.
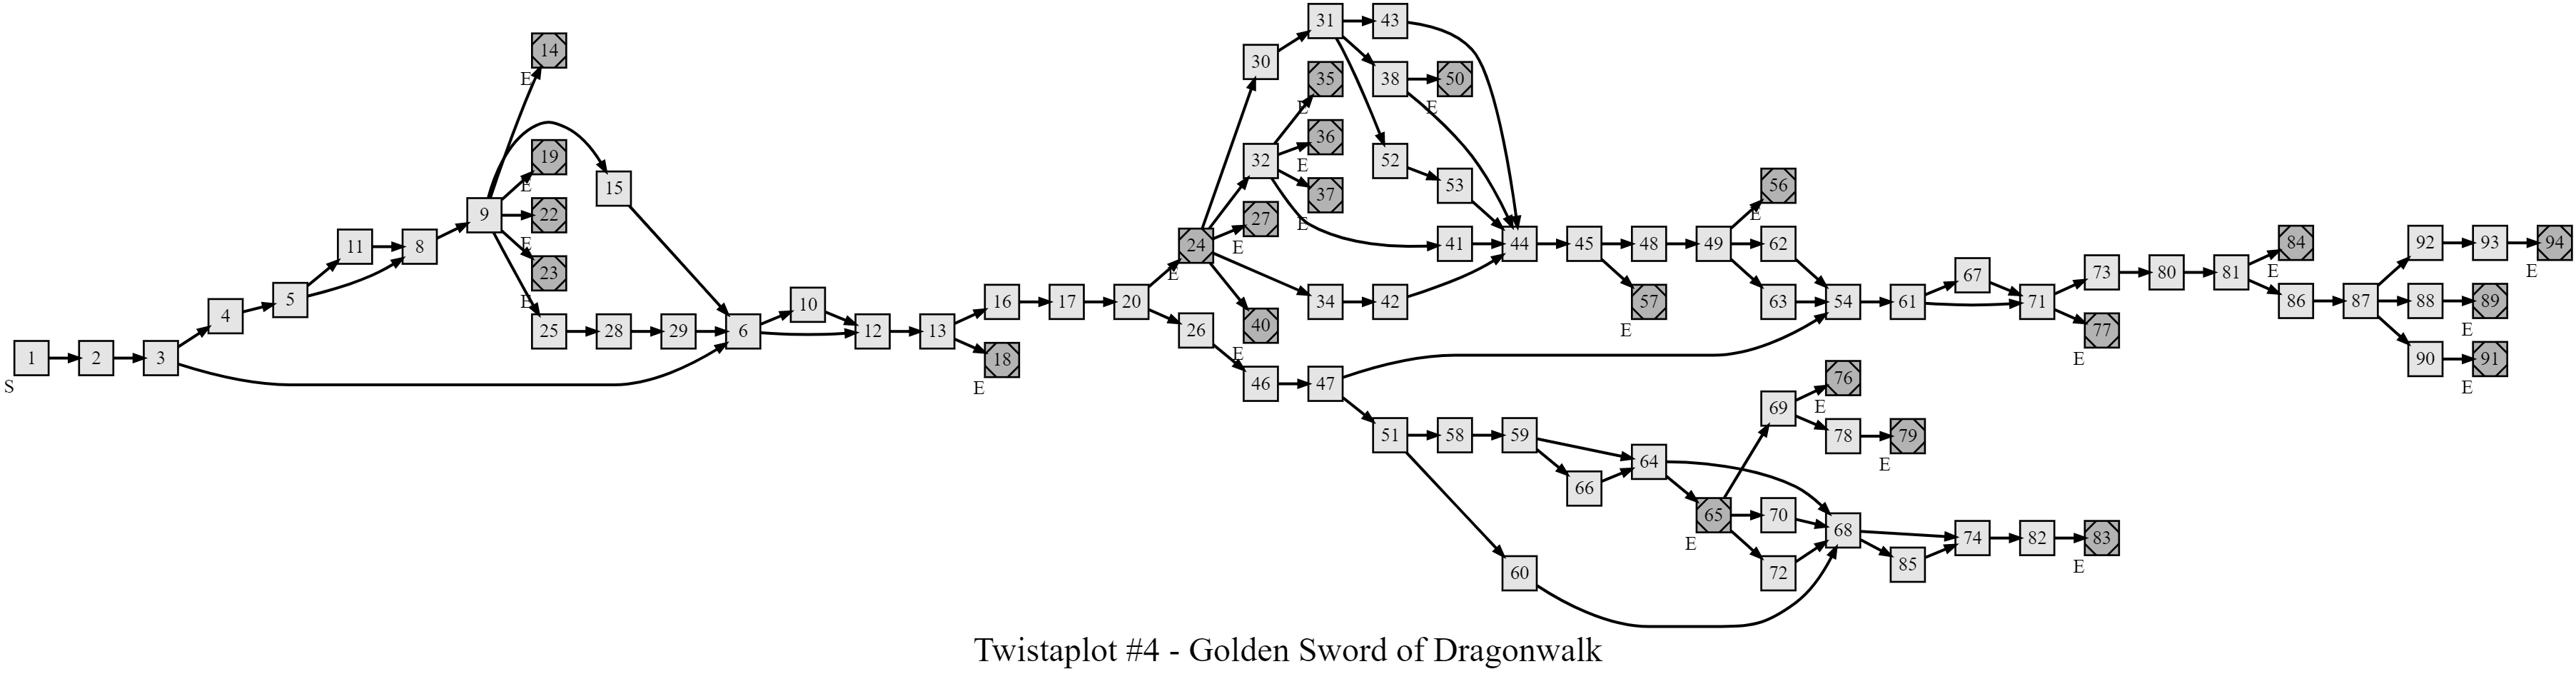
Twistaplot # 4 Structure Diagram
- Thanks to Ryan Lynch for sharing this.
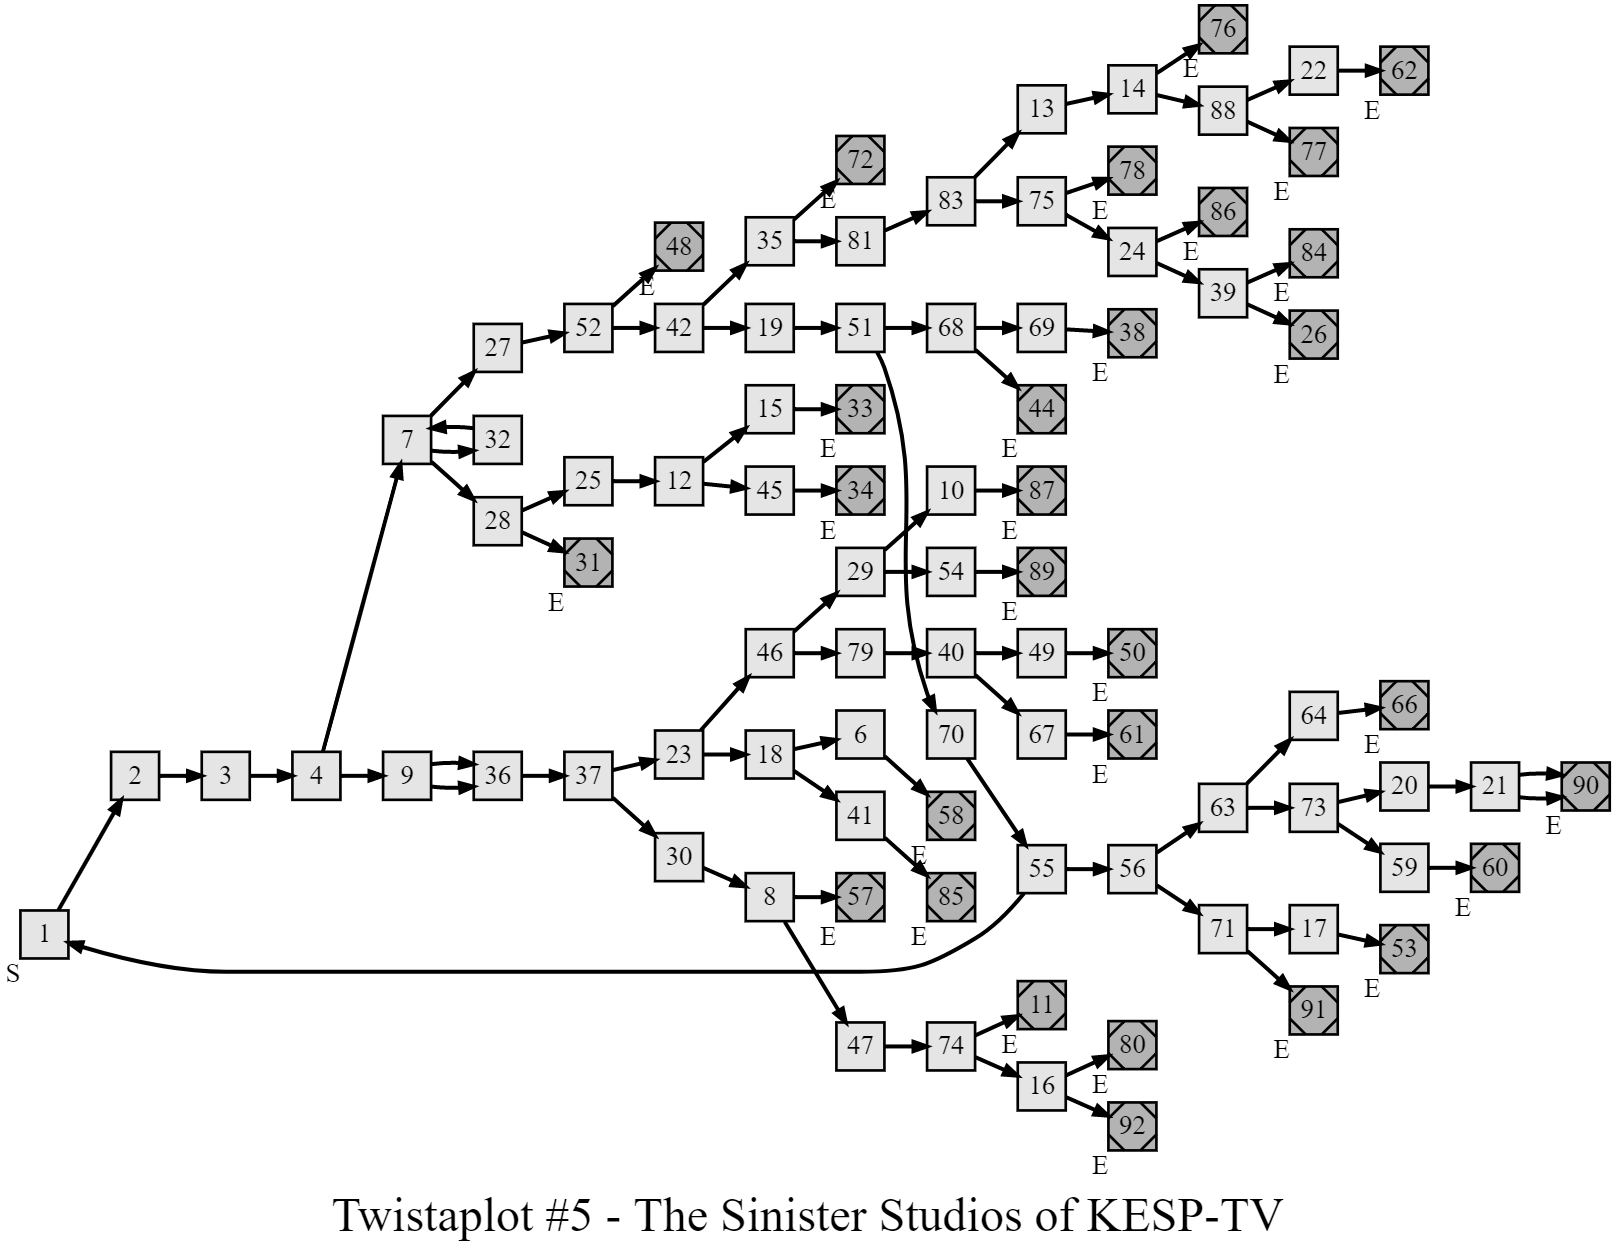
Twistaplot # 5 Structure Diagram
- Thanks to Ryan Lynch for sharing this.
Twistaplot # 6 Structure Diagram
- Thanks to Ryan Lynch for sharing this.
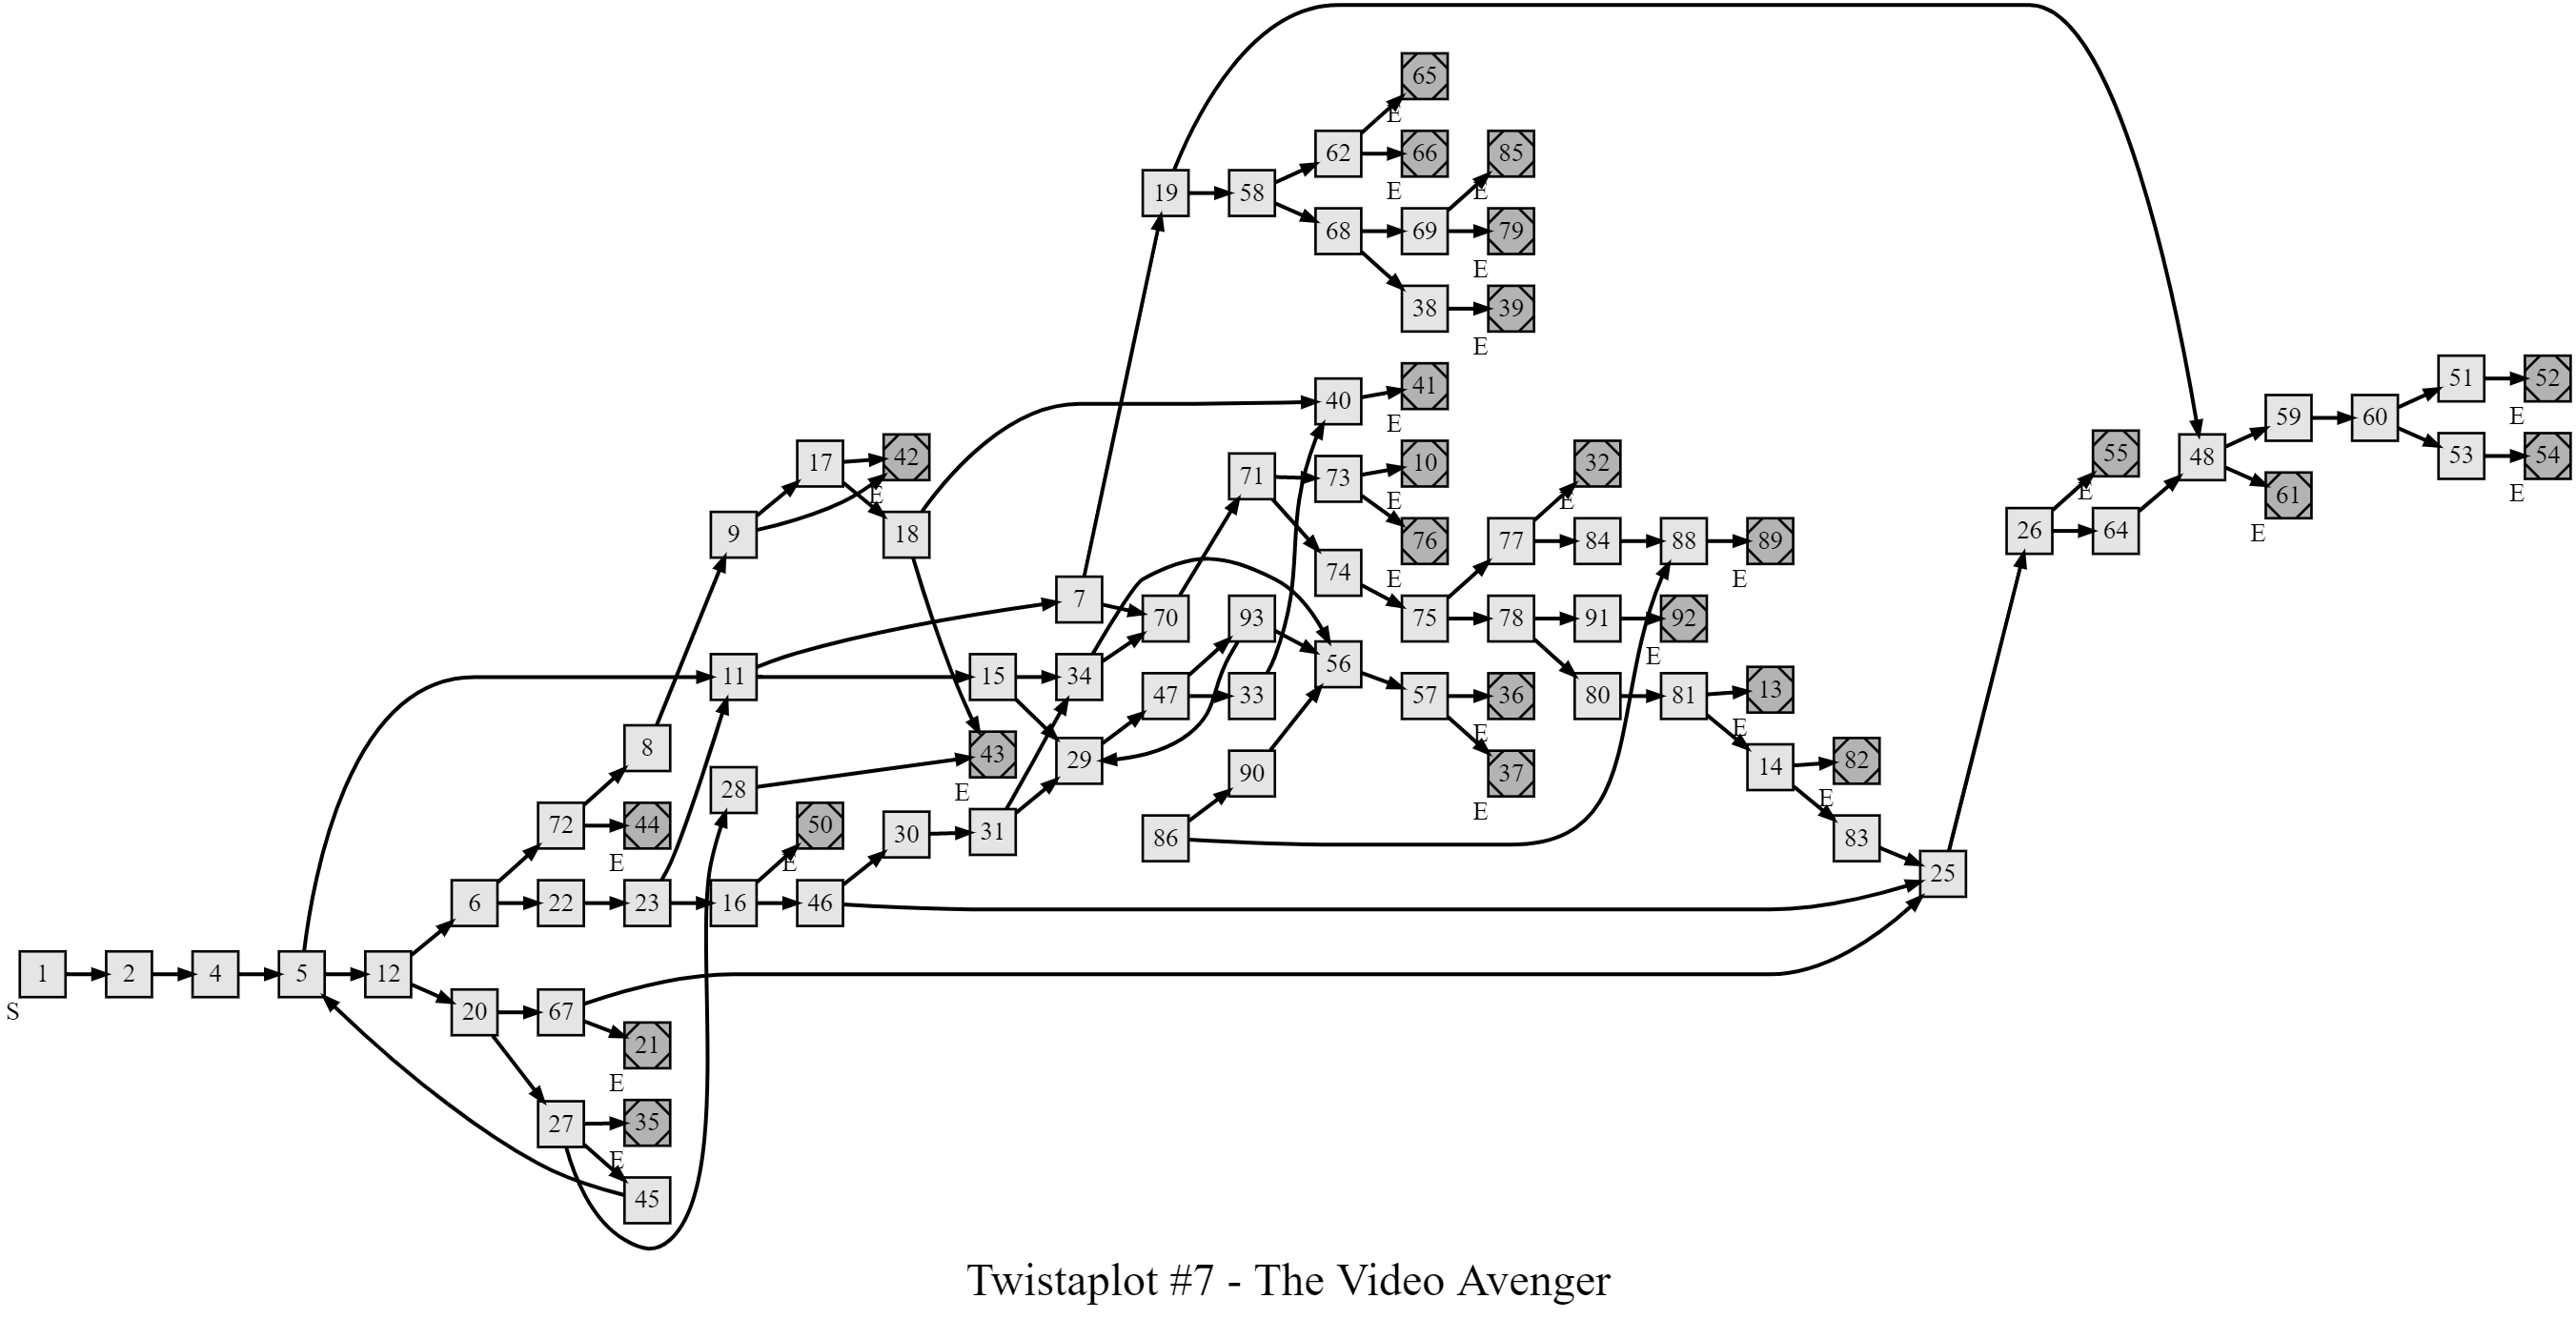
Twistaplot # 7 Structure Diagram
- Thanks to Ryan Lynch for sharing this.
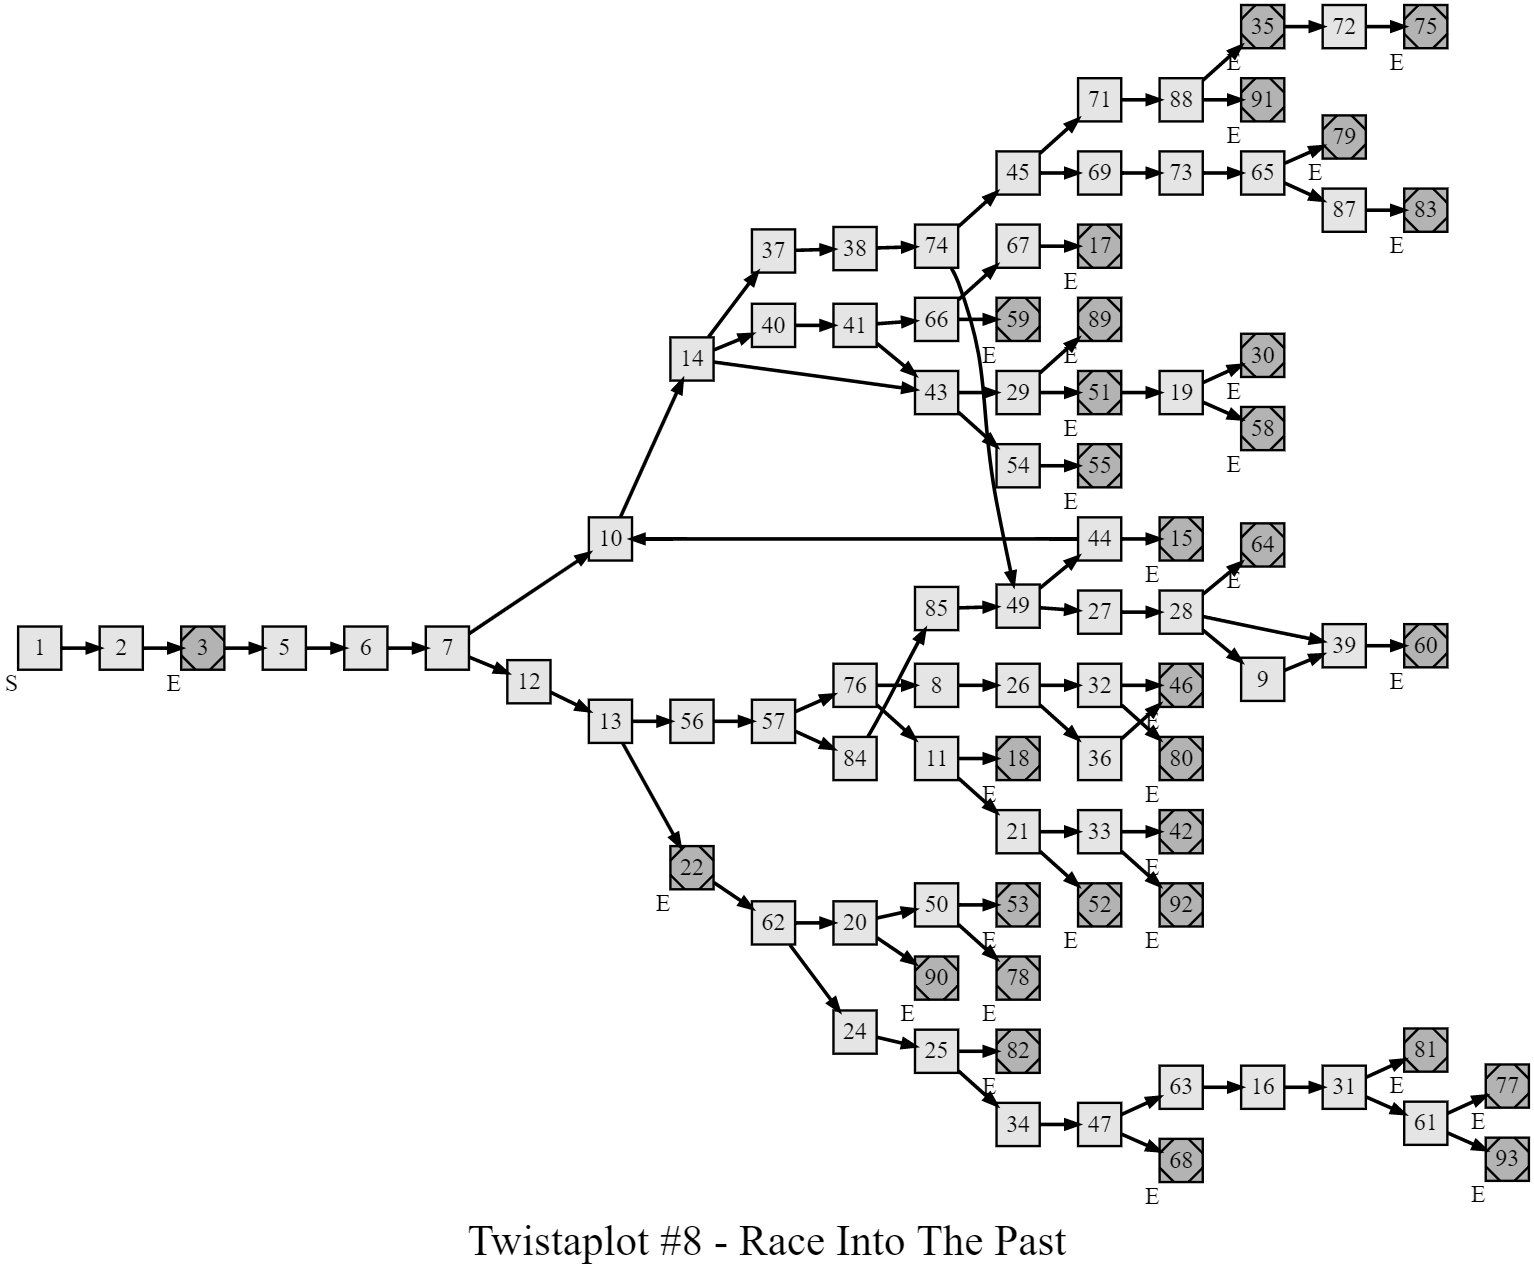
Twistaplot # 8 Structure Diagram
- Thanks to Ryan Lynch for sharing this.
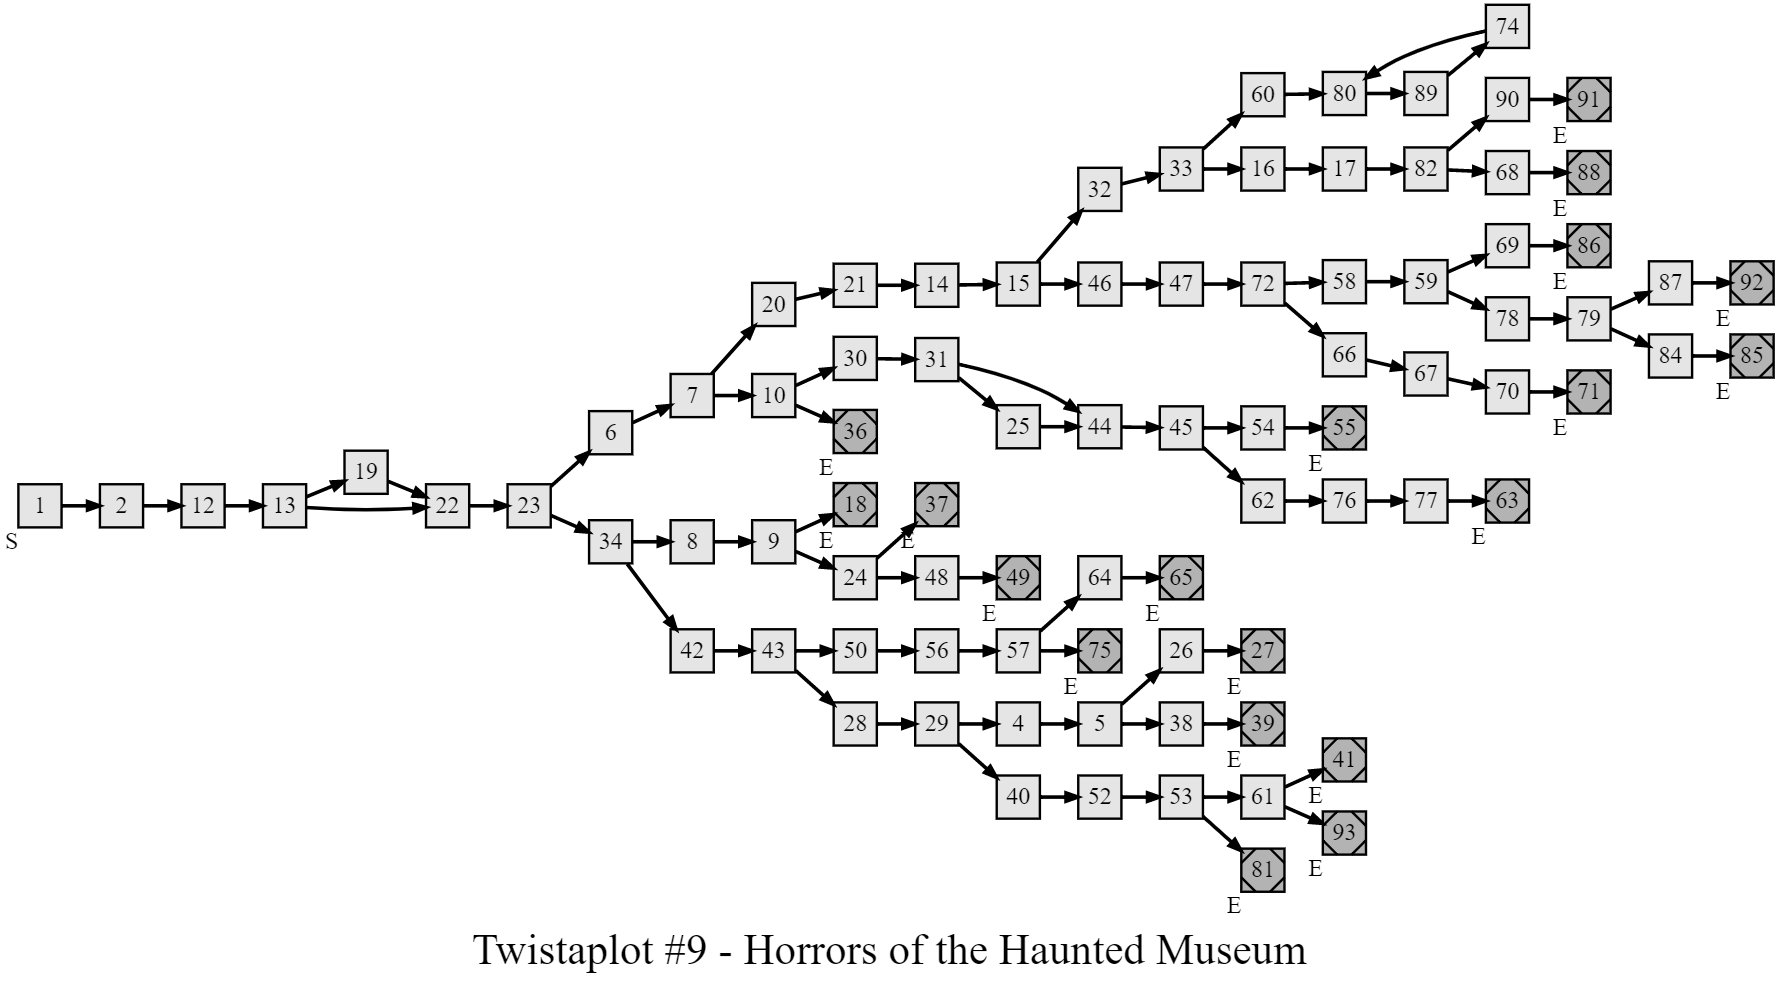
Twistaplot # 9 Structure Diagram
- Thanks to Ryan Lynch for sharing this.
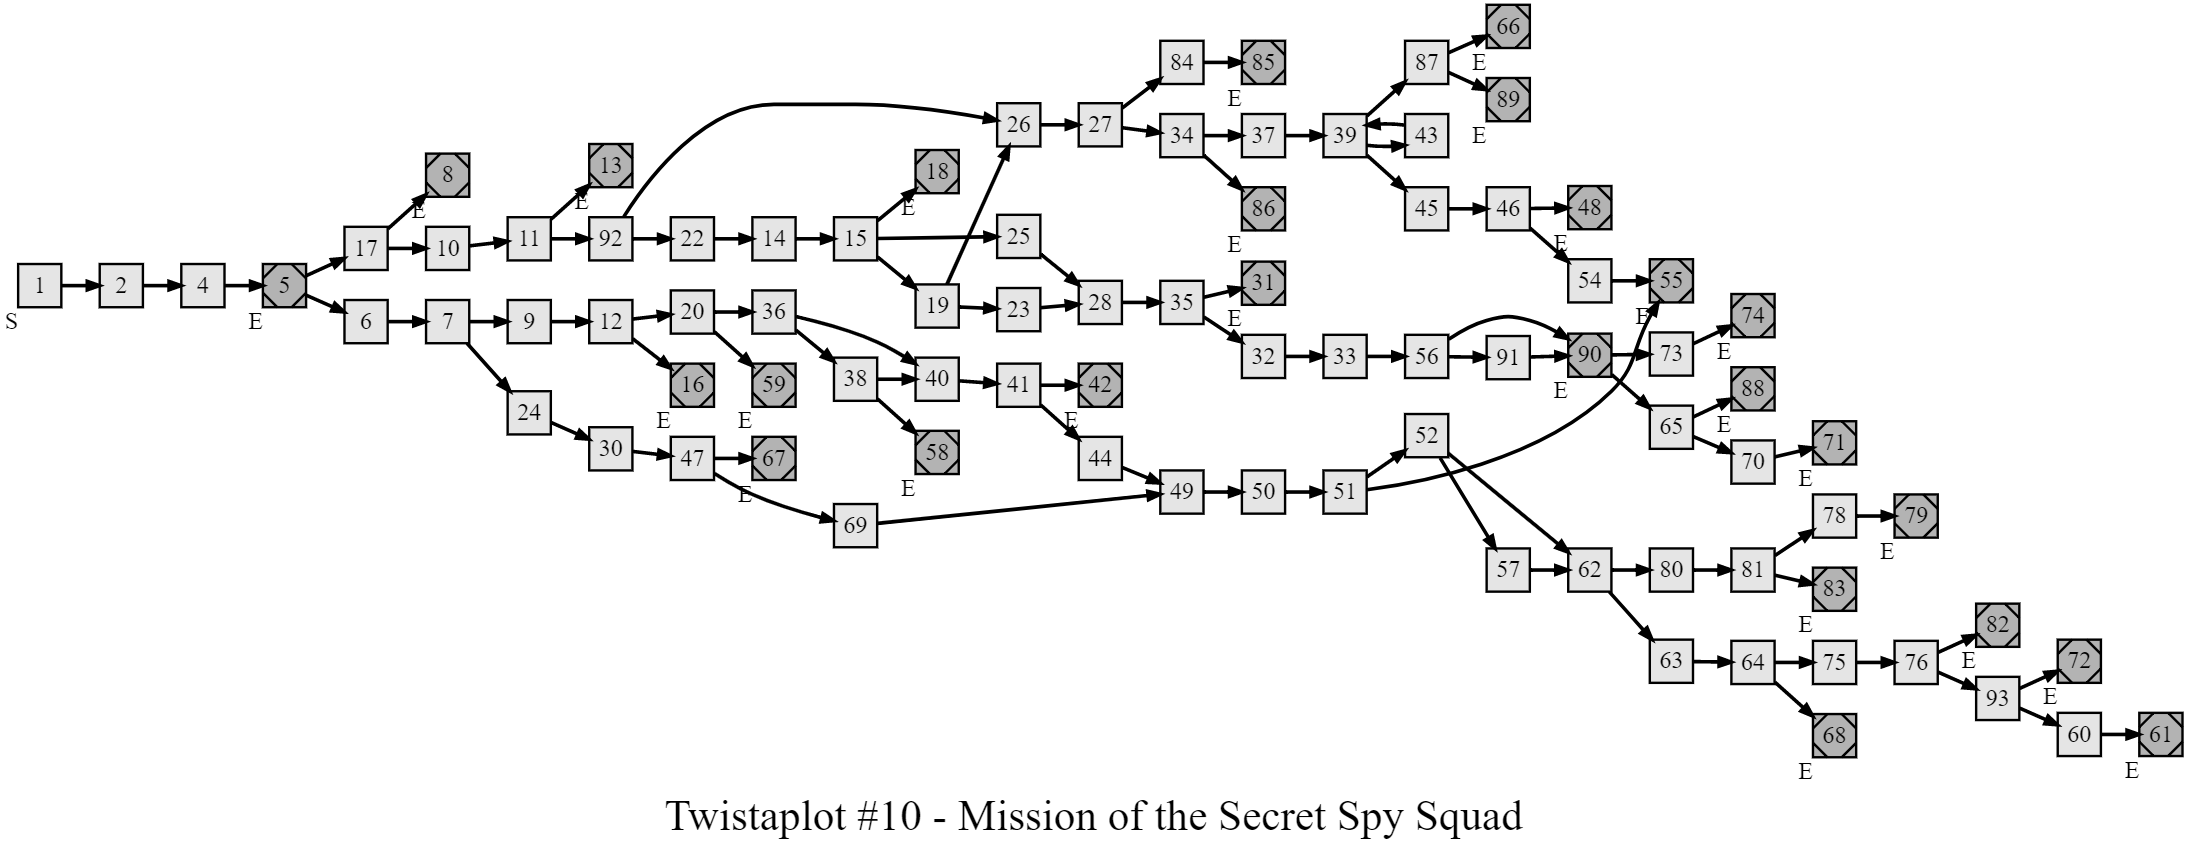
Twistaplot #10 Structure Diagram
- Thanks to Ryan Lynch for sharing this.
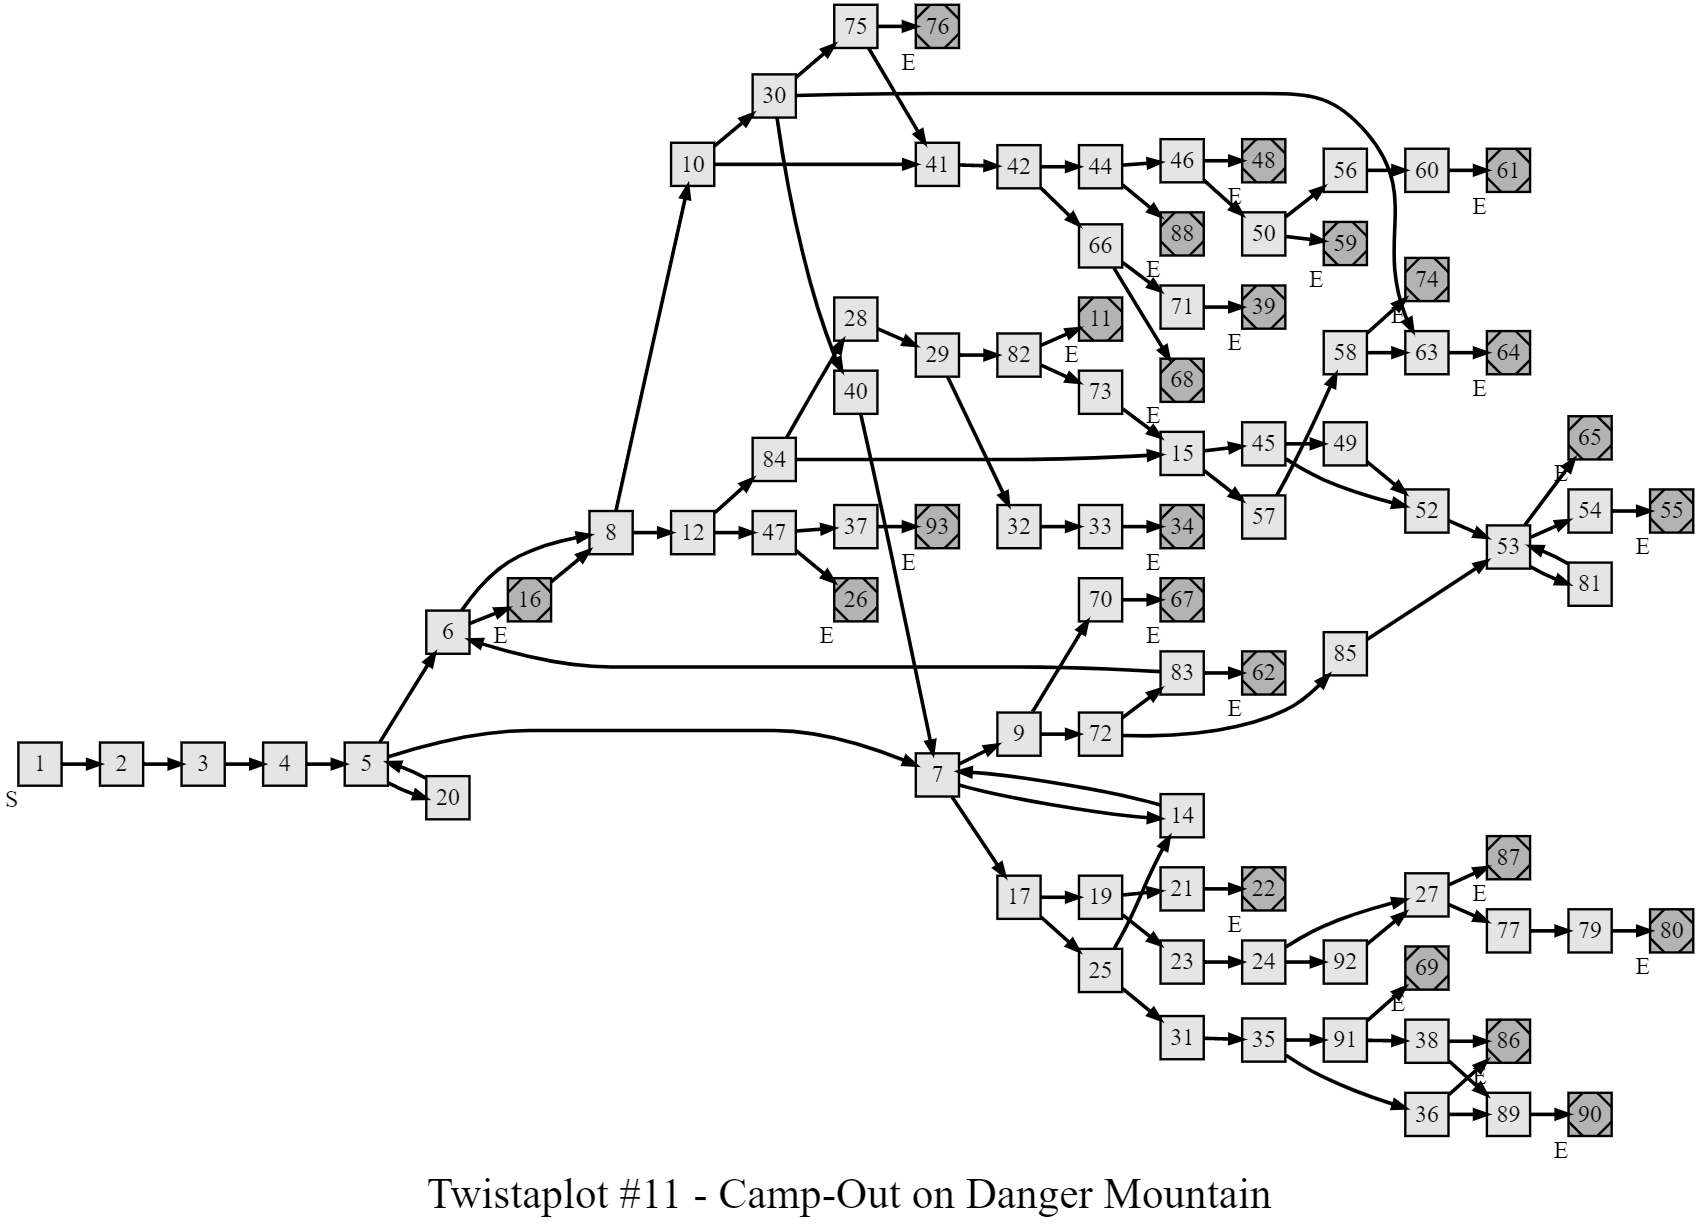
Twistaplot #11 Structure Diagram
- Thanks to Ryan Lynch for sharing this.
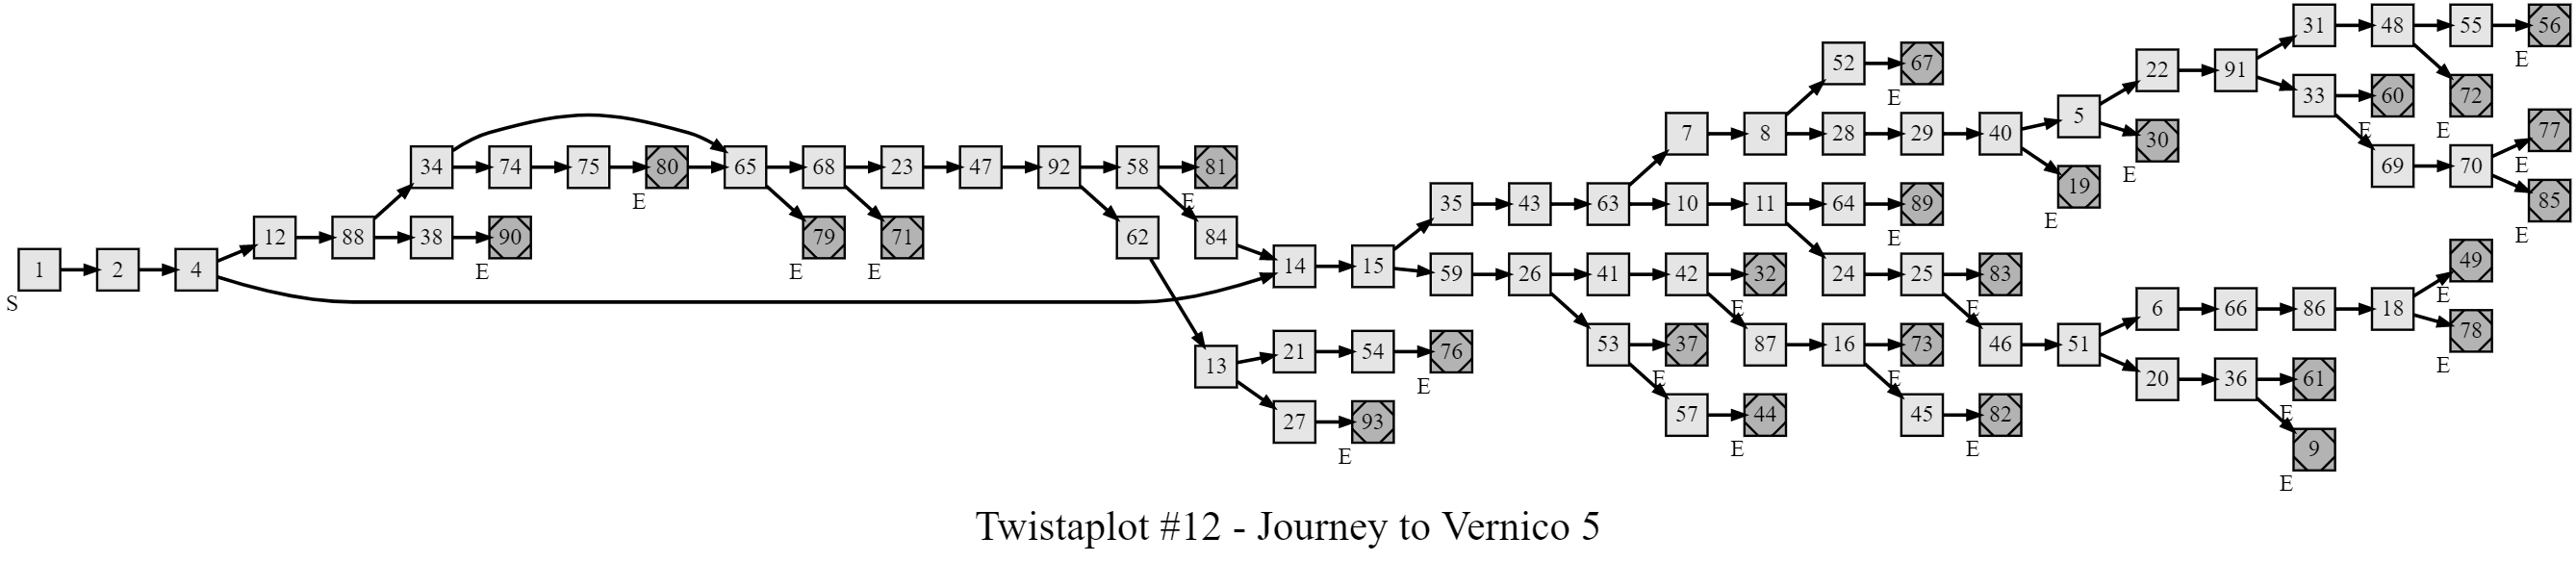
Twistaplot #12 Structure Diagram
- Thanks to Ryan Lynch for sharing this.
Twistaplot #13 Structure Diagram
- Thanks to Ryan Lynch for sharing this.
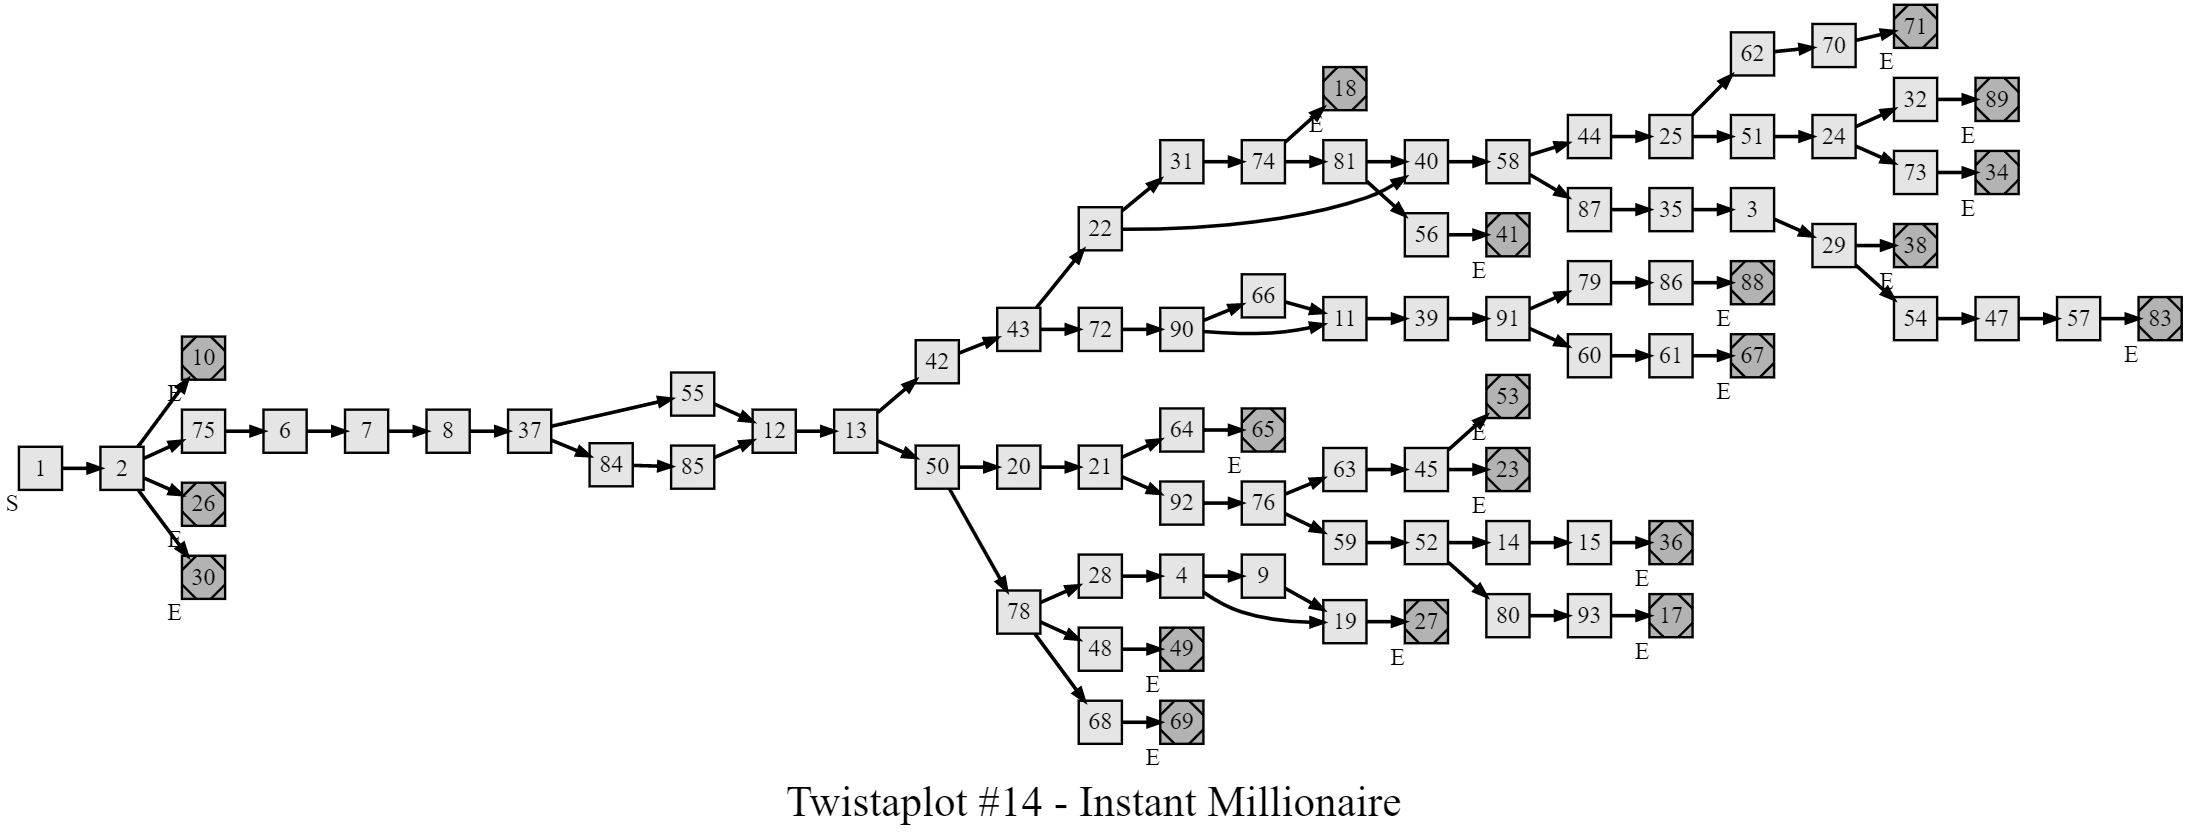
Twistaplot #14 Structure Diagram
- Thanks to Ryan Lynch for sharing this.
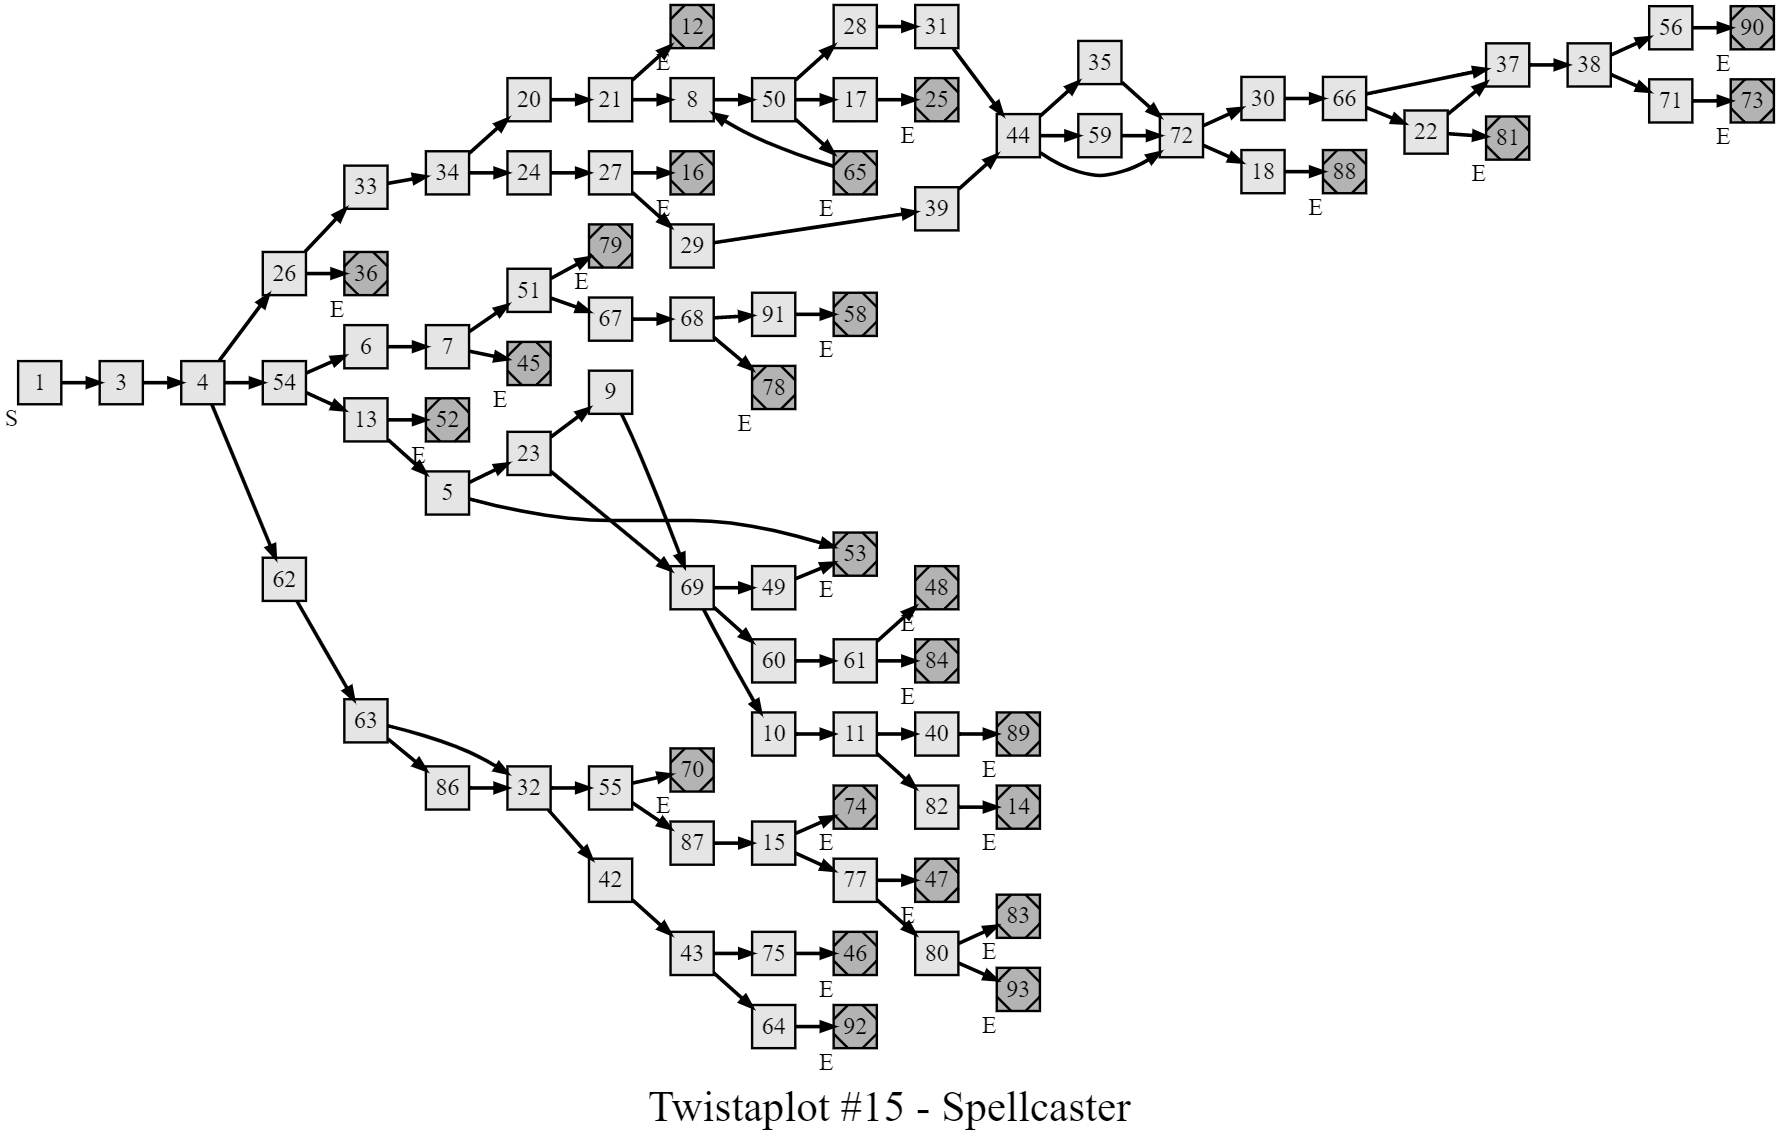
Twistaplot #15 Structure Diagram
- Thanks to Ryan Lynch for sharing this.
Twistaplot #16 Structure Diagram
- Thanks to Ryan Lynch for sharing this.
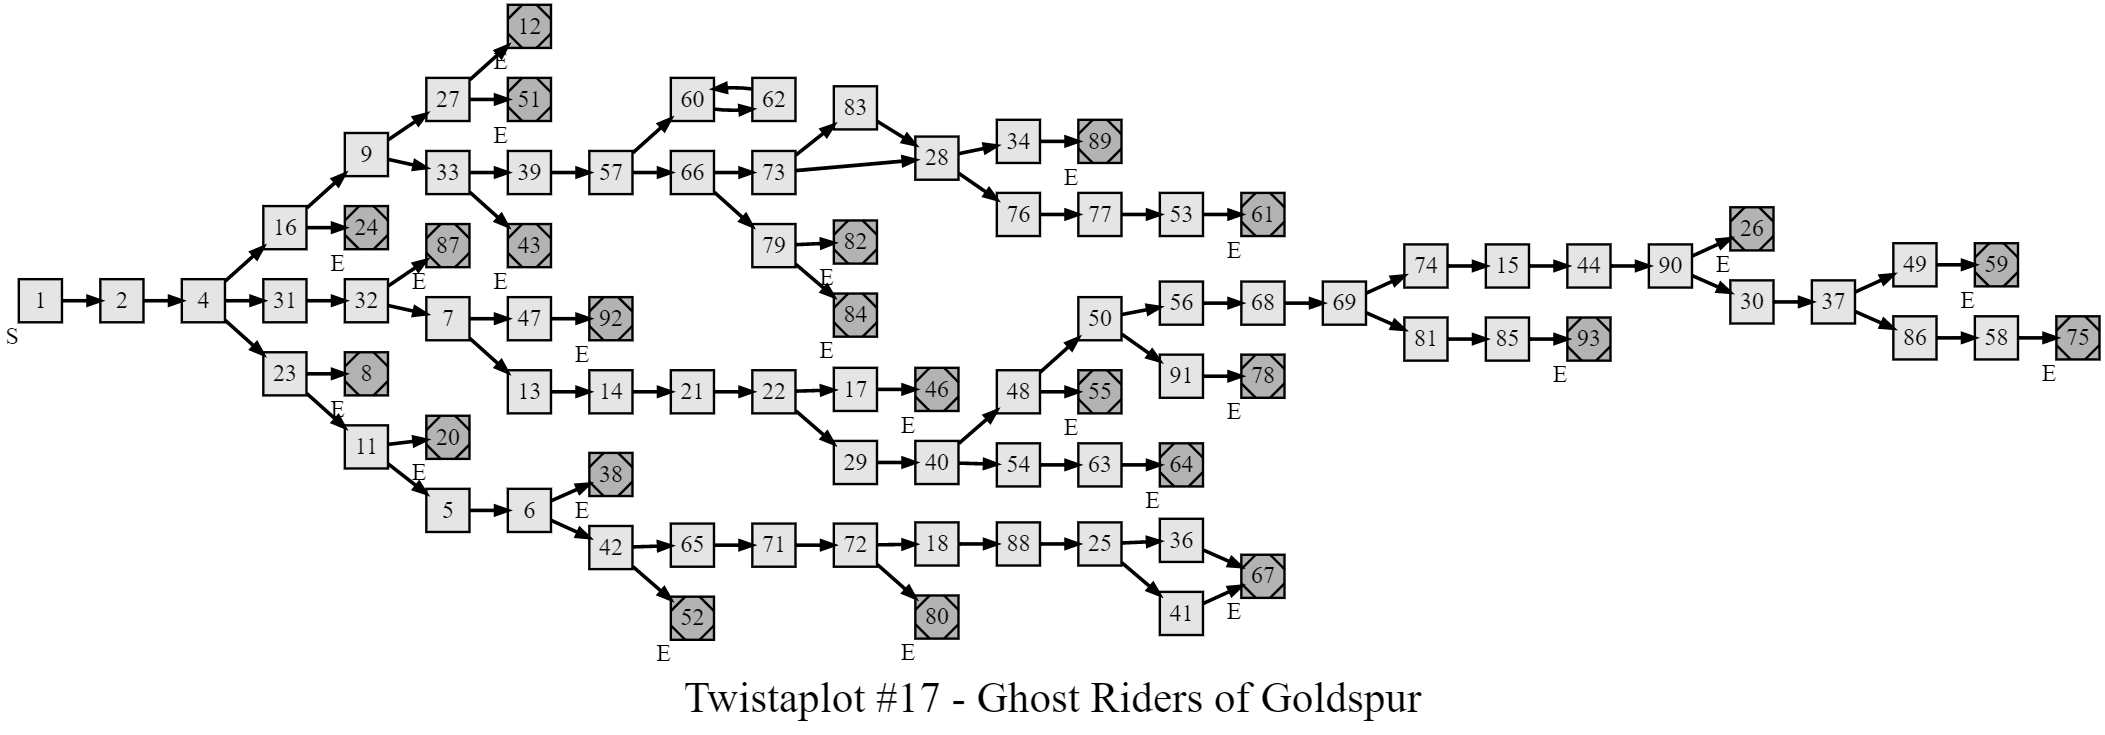
Twistaplot #17 Structure Diagram
- Thanks to Ryan Lynch for sharing this.
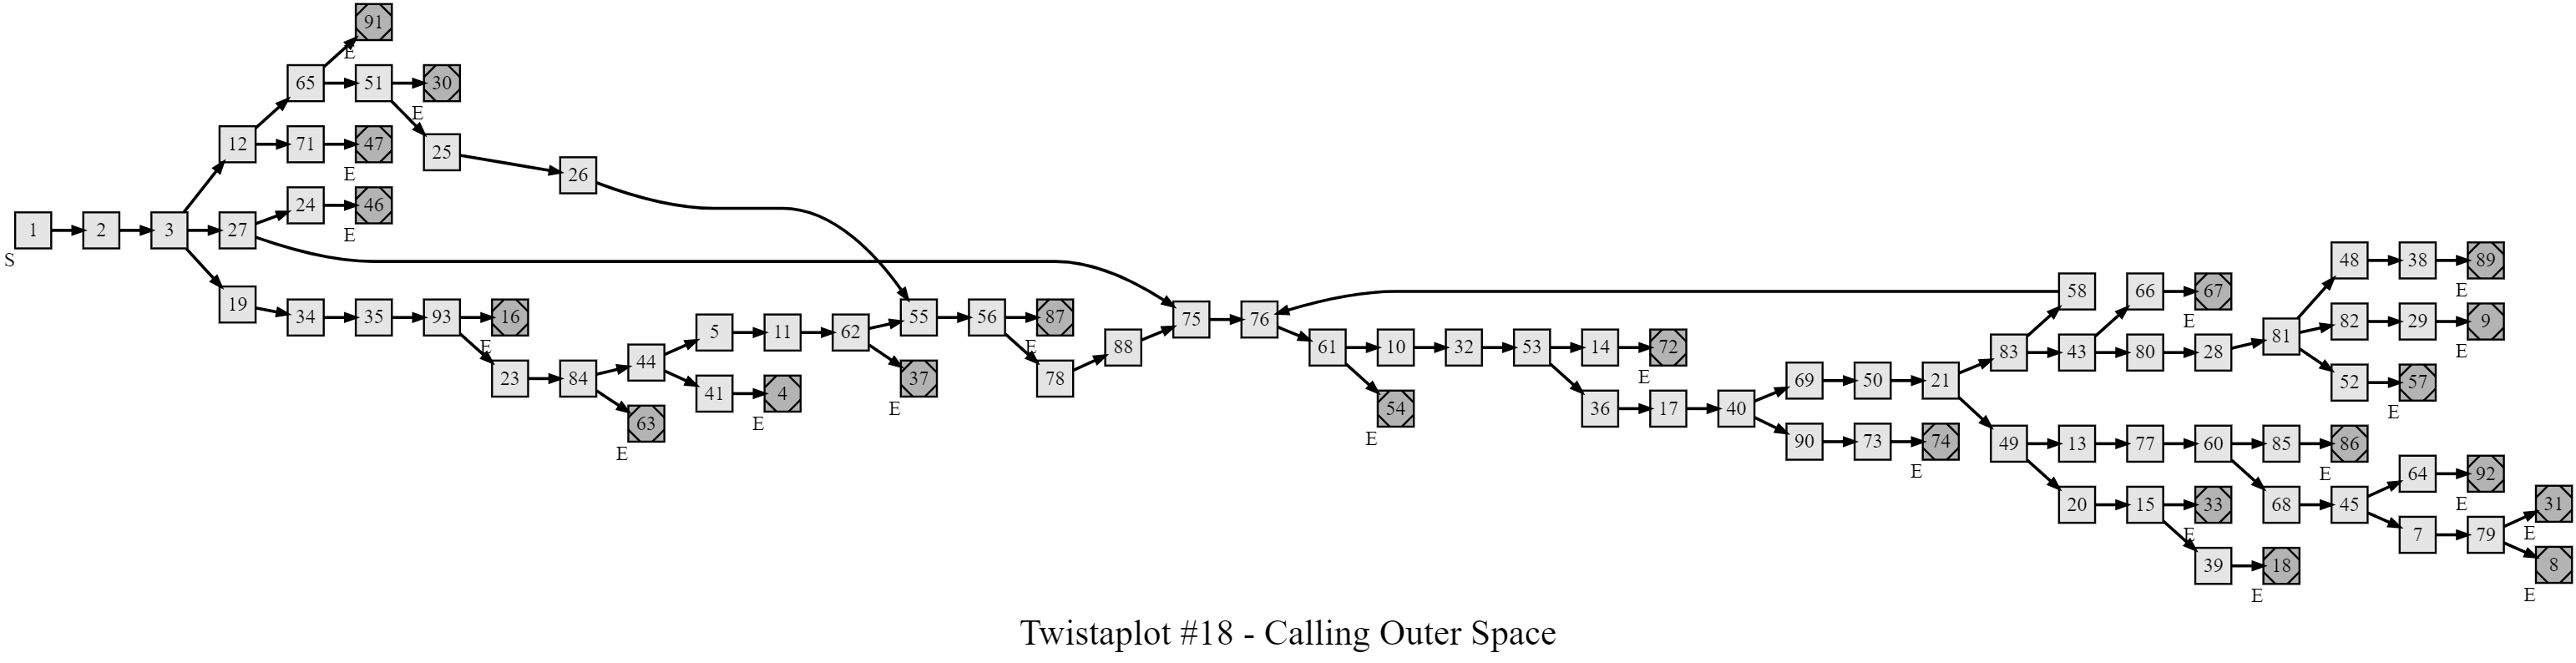
Twistaplot #18 Structure Diagram
- Thanks to Ryan Lynch for sharing this.
Twisted Journeys # 2 Diagram
Twisted Journeys # 7 Diagram
Twisted Journeys #14 Diagram
Twisted Journeys #16 Diagram
Twisted Journeys #22 Diagram
Undertale #1 Map
- This file contains a diagram of the flow of the first Undertale gamebook.
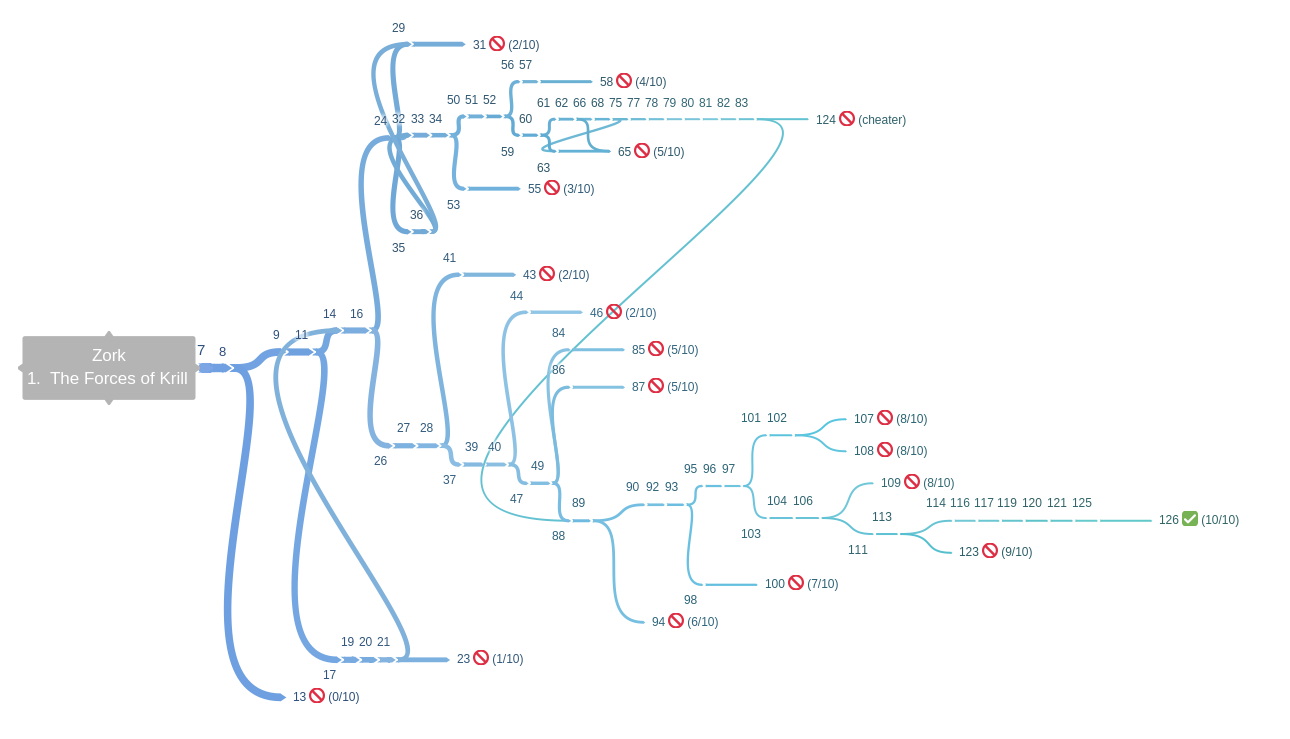
Zork #1 Map
- Thanks to Ryan Lynch for creating this diagram.
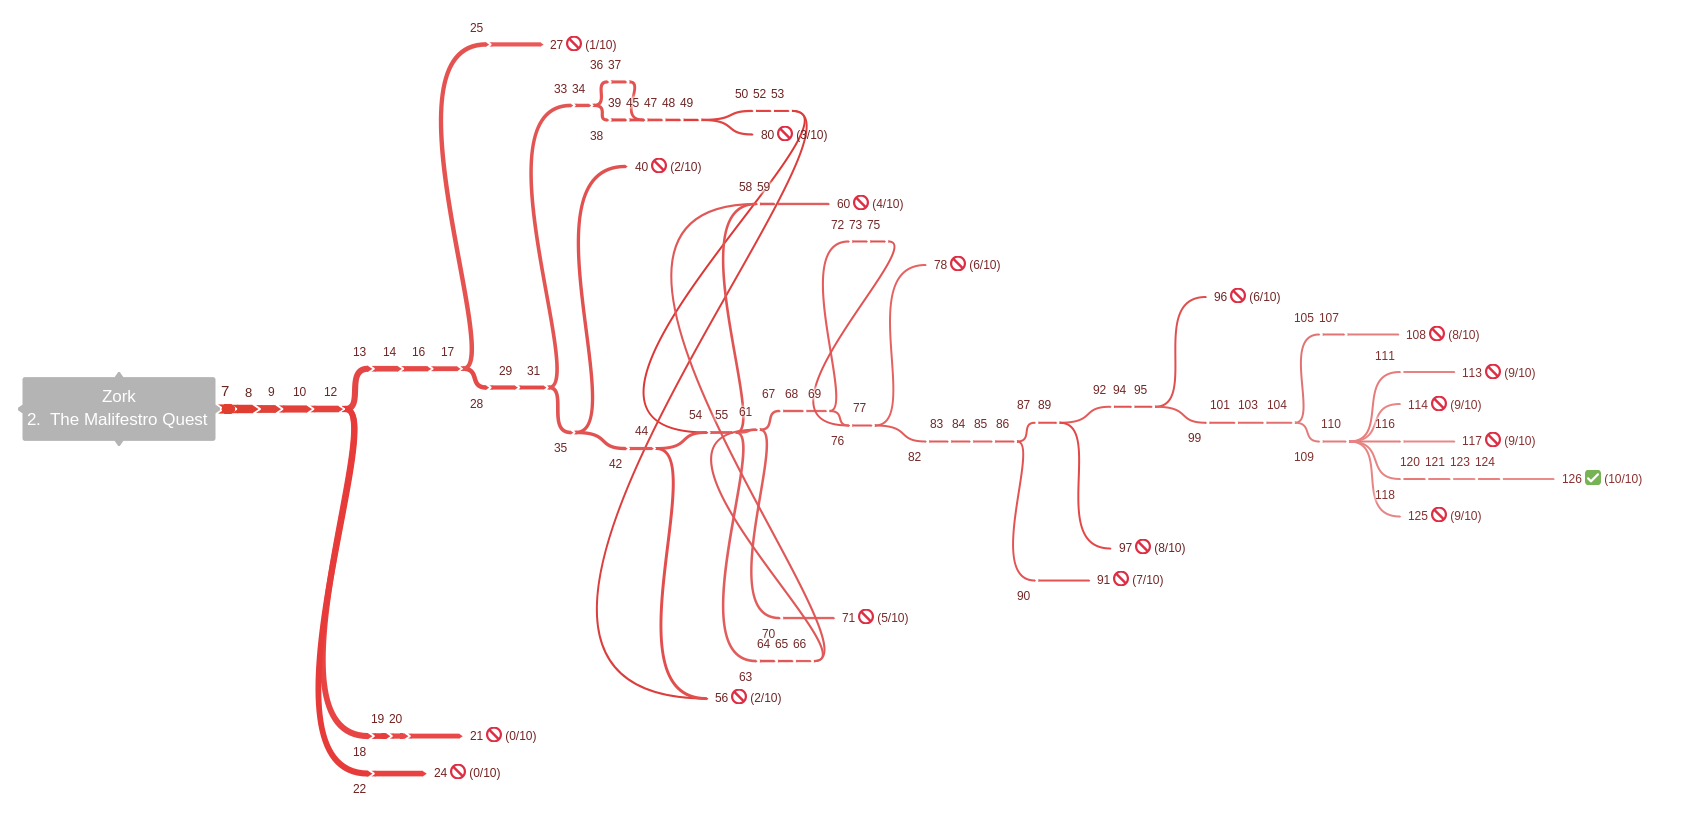
Zork #2 Map
- Thanks to Ryan Lynch for creating this diagram.
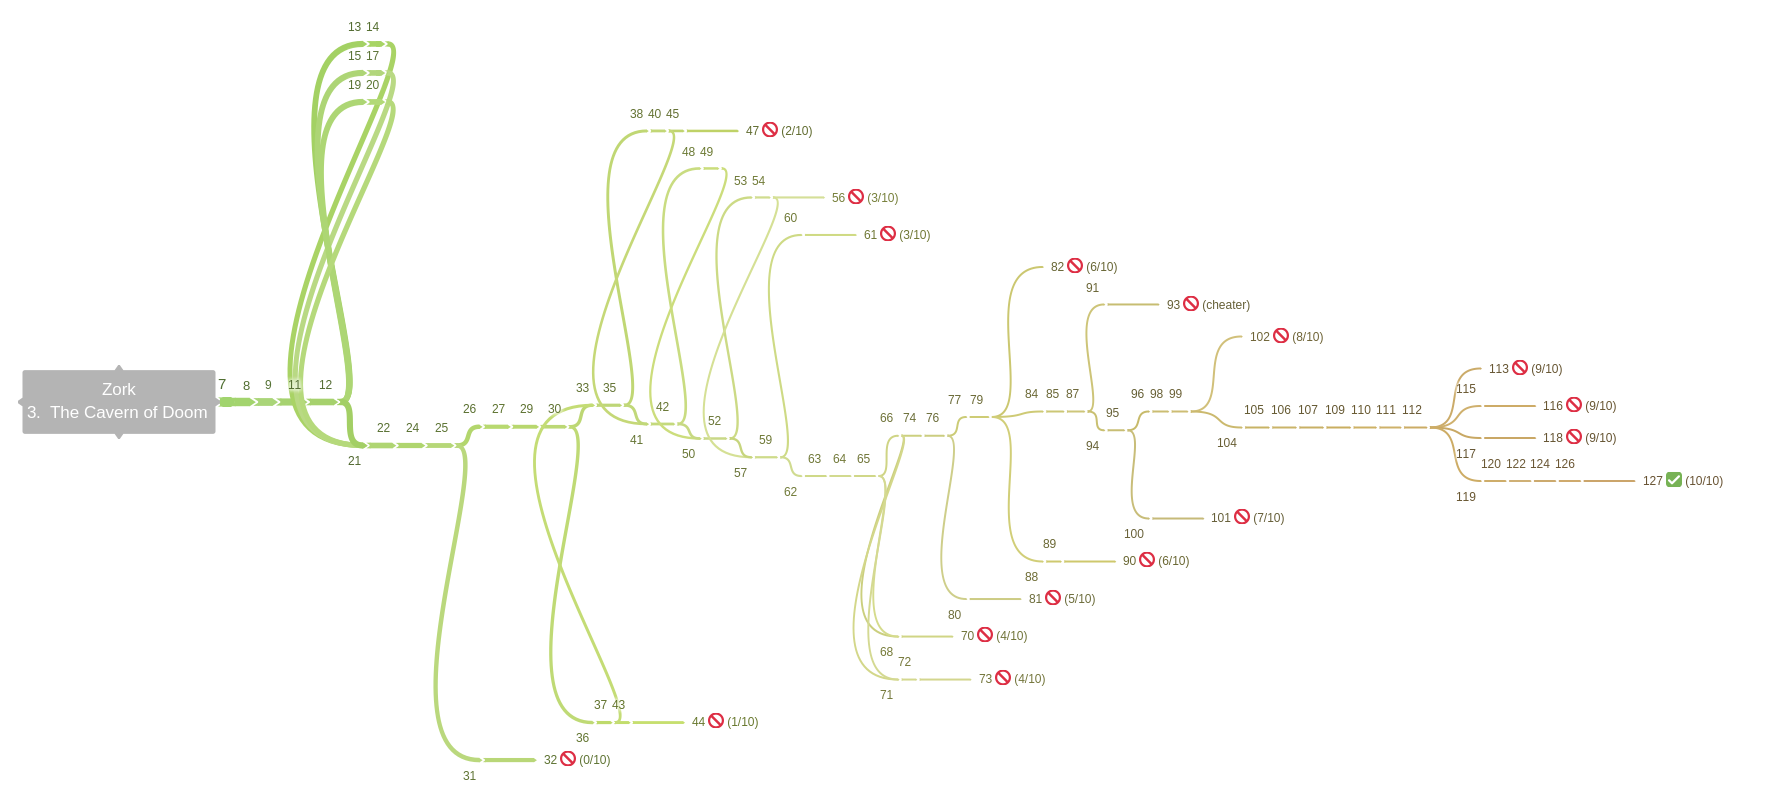
Zork #3 Map
- Thanks to Ryan Lynch for creating this diagram.
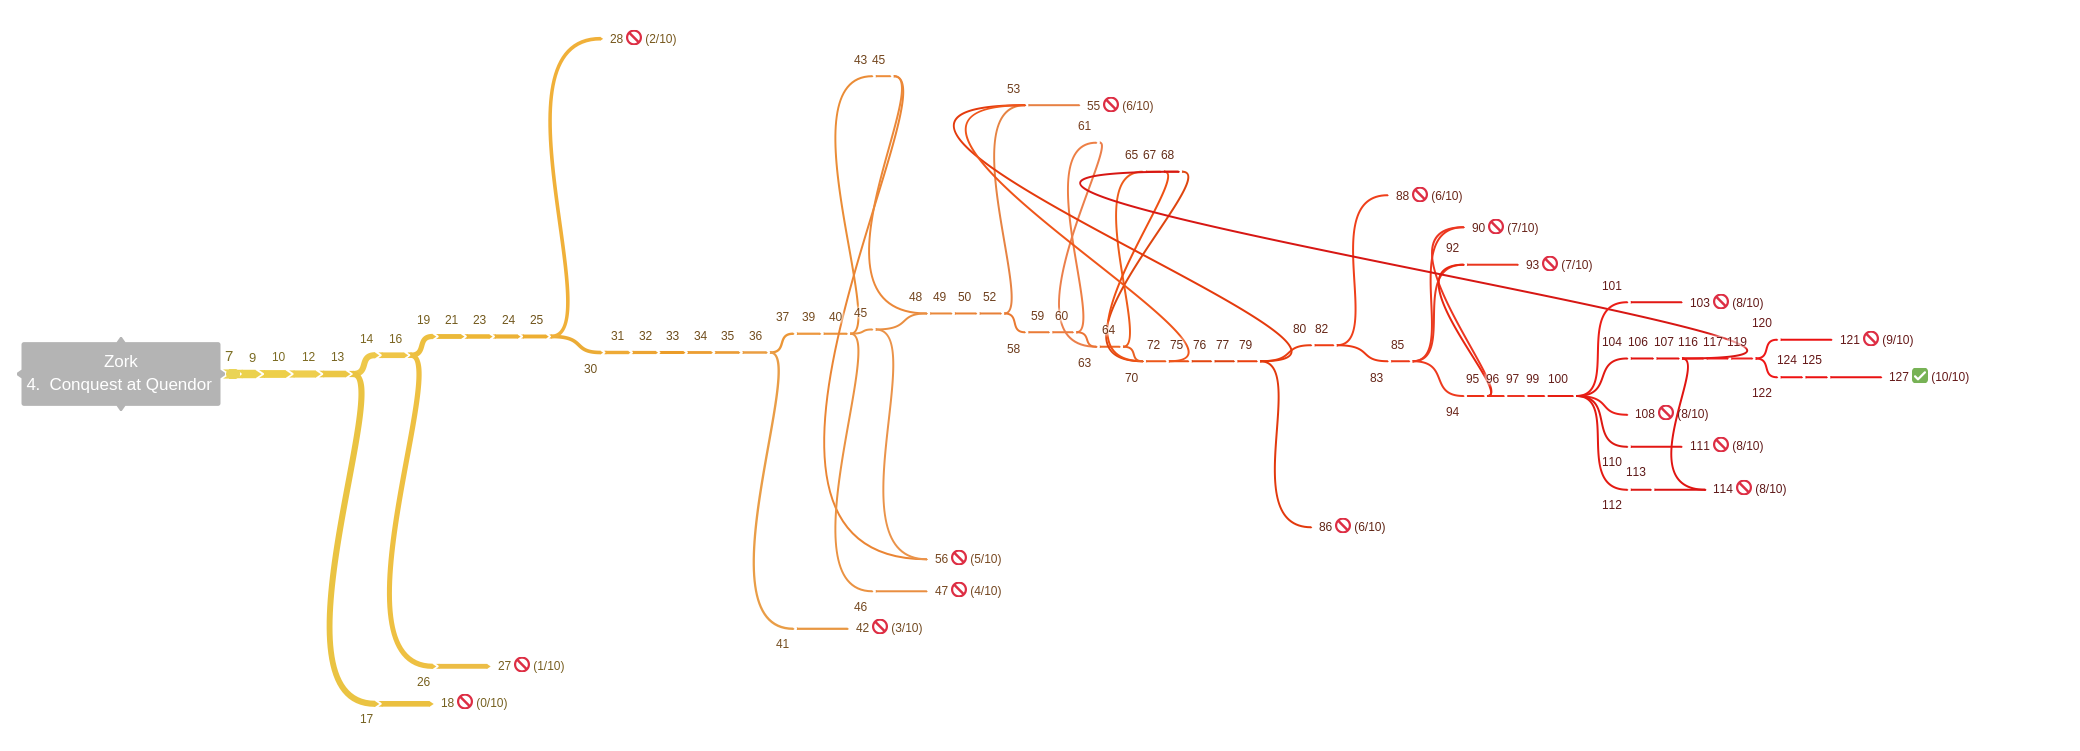
Zork #4 Map
- Thanks to Ryan Lynch for creating this diagram.